



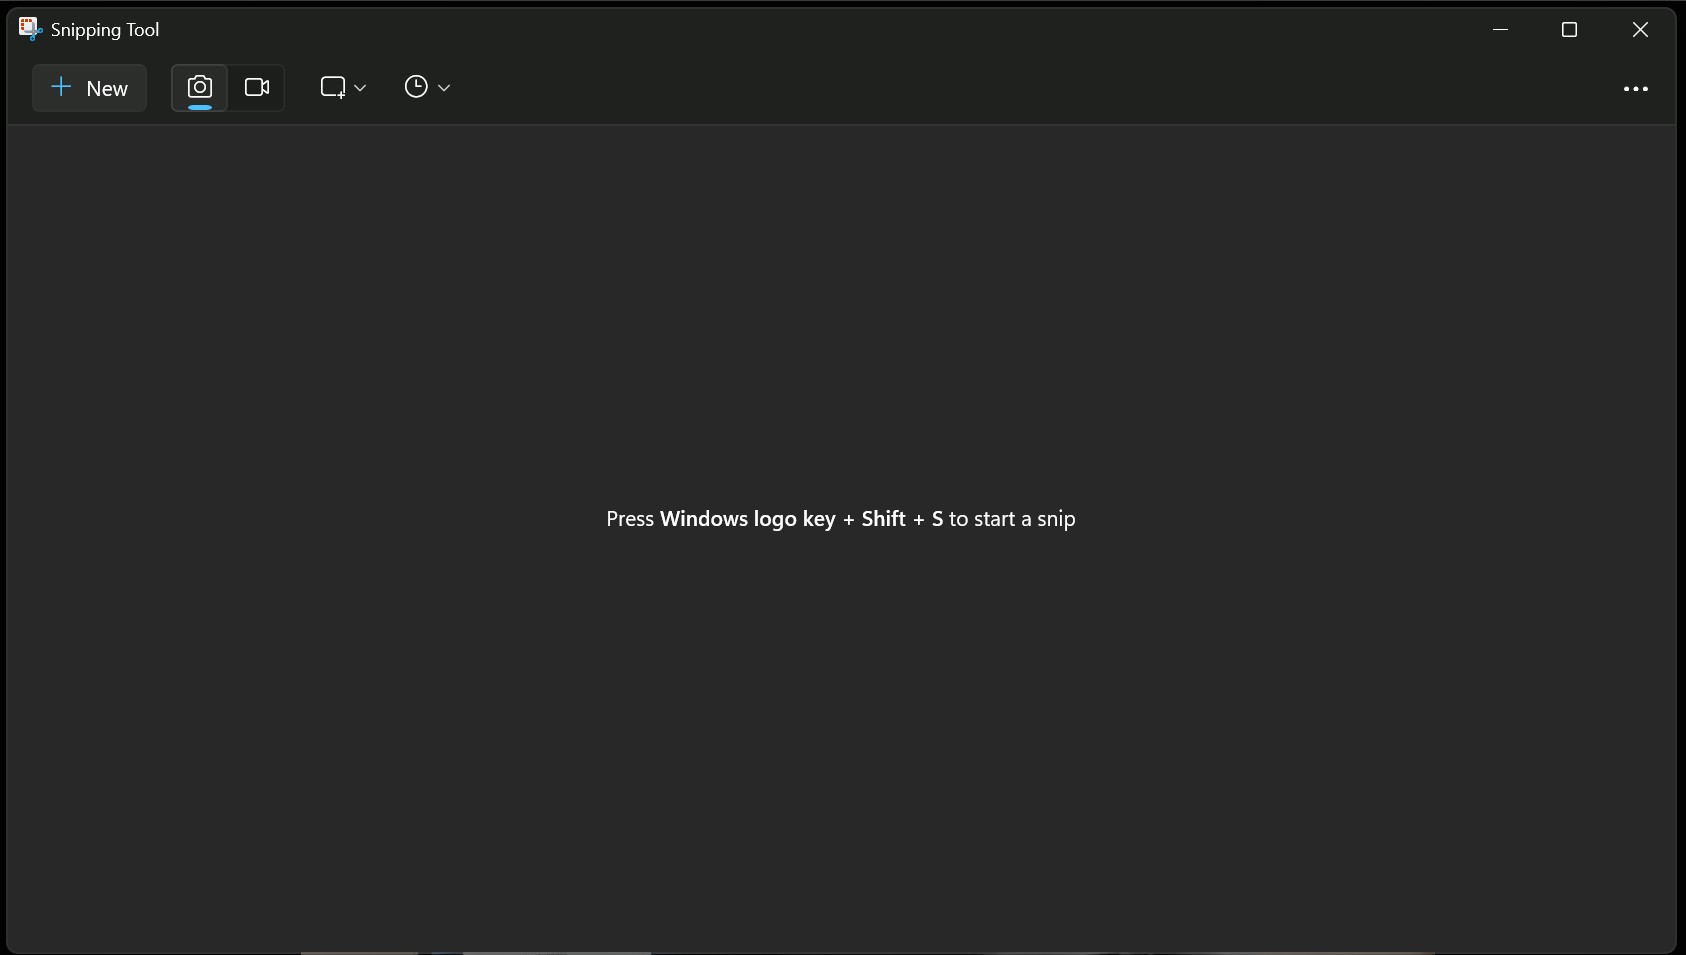
You have plenty of built‑in tools to capture your screen on a Windows 10 laptop. The fastest options are the keyboard shortcuts for full‑screen, active‑window, or custom area snips. This guide shows the quickest methods, where your screenshots are saved, and what to do next (edit, annotate, or share).
Before you start
- Know your PrtScn key: On many laptops it’s labeled PrtSc, PrtScn, or Print Screen. Some models require holding Fn with it.
- Clipboard vs file: Some shortcuts copy to the clipboard (you paste with Ctrl + V), others save a file automatically.
- Snip toolbar: Windows + Shift + S opens the on‑screen snipping toolbar for rectangle, freeform, window, or full‑screen captures.
1) Save a full‑screen screenshot as a file
Press Windows + PrtScn. The screen briefly dims, and Windows saves a PNG in Pictures\Screenshots. On some laptops you may need Fn + Windows + PrtScn.
Pro tip: Use File Explorer’s Quick access to pin the Screenshots folder if you take captures often. If you want to change or move this folder, see how to change the default Screenshots folder location.
2) Copy the whole screen to the clipboard
Press PrtScn (or Fn + PrtScn on some laptops). Then paste into an app (Paint, Word, chat) with Ctrl + V. This is the fastest “grab and paste” method and doesn’t create a file unless you save it.
Note: To capture only the active window to the clipboard, press Alt + PrtScn. Paste with Ctrl + V.
3) Snip a region, window, or full screen (Snip & Sketch)
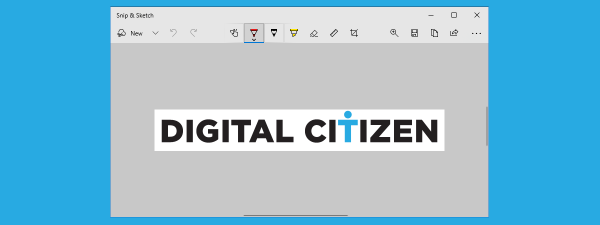
Press Windows + Shift + S to open the snipping toolbar, then pick Rectangle, Freeform, Window, or Full‑screen. The capture goes to the clipboard and a thumbnail opens in Snip & Sketch for editing and annotation.
For full instructions, see how to use Snip & Sketch to take screenshots in Windows 10 and how to edit screenshots with Snip & Sketch. You can also add an outline to your snips to make them stand out.
Also useful: If you prefer the classic app, here’s how to use the Snipping Tool in Windows 10 and ways to open the Snipping Tool fast.
4) Take a screenshot while gaming (Xbox Game Bar)
Press Windows + G to open the Game Bar, then click the camera button in the Capture widget, or press Windows + Alt + PrtScn. Images save in Videos\Captures. If Game Bar doesn’t open, see how to enable and open Xbox Game Bar and how to change its keyboard shortcuts. For more help, read Xbox Game Bar is not working (fixes).
5) Use a tablet or 2‑in‑1 hardware shortcut
On Windows tablets without a physical keyboard, press the Windows button + Volume Down to save a full‑screen capture to Pictures > Screenshots. On Surface laptops/tablets, some models use Power + Volume Up to save a screenshot.
Where do screenshots go?
- Windows + PrtScn:
Pictures\Screenshots. - Xbox Game Bar (Win + Alt + PrtScn):
Videos\Captures. - Snip & Sketch / Snipping Tool: Clipboard first; save where you choose.
Need to relocate or back up your captures? See how to change the default Screenshots folder and where screenshots are saved on Windows and other platforms. For a broader overview of methods, check all the ways to take a screenshot in Windows.
Tips
- Time a snip: In Snip & Sketch, open the app and use New > Snip in 3/10 seconds to capture open menus.
- Mark up fast: After Windows + Shift + S, click the thumbnail to annotate, draw arrows, and crop before saving.
- Laptop quirk: If PrtScn does nothing, try Fn + PrtScn or check if F‑Lock is enabled.
- Organize automatically: Create subfolders in Pictures > Screenshots by project or app to keep work tidy.
FAQs
Why won’t PrtScn save a file? Because it copies to the clipboard. Use Windows + PrtScn to save a PNG automatically.
Can I change the shortcut for Game Bar screenshots? Yes. Open Game Bar settings > Shortcuts, or see how to change Game Bar shortcuts.
How do I fix Game Bar not opening? Ensure it’s enabled in Settings > Gaming > Xbox Game Bar. See our Game Bar troubleshooting guide.
Summary
- Save a file instantly: Windows + PrtScn → Pictures\Screenshots.
- Copy to clipboard: PrtScn or Alt + PrtScn → paste with Ctrl + V.
- Snip a region/window: Windows + Shift + S → edit in Snip & Sketch.
- In games: Windows + G then camera, or Windows + Alt + PrtScn → Videos\Captures.
- On tablets: Windows + Volume Down (or Surface: Power + Volume Up).
Conclusion
For most people, Windows + PrtScn (file) and Windows + Shift + S (snip) cover nearly every need on a Windows 10 laptop. If you capture while gaming, add the Game Bar shortcut to muscle memory. When you’re done, organize the Pictures\Screenshots folder or move it to a backed‑up location so your captures are easy to find later.
Discussion (1)
This is all nice, but what I absolutely need is something that takes a screenshot and immediately outputs it to the default printer without any nonsense of intermediate files. I don’t understand why this seems to be so hard and why I’m the only person that seems to think this is useful.