In the Windows 10 May 2019 Update, Microsoft improves Snip & Sketch by adding a feature that many users asked for: Snip outline. If you want to emphasize your screenshots and give them a clear border, the outline does a good job. Let's find out how to activate the new feature in Windows 10 and how to use Snip & Sketch to create screenshots with colored borders:
How to enable and configure the outline for screenshots in Snip & Sketch
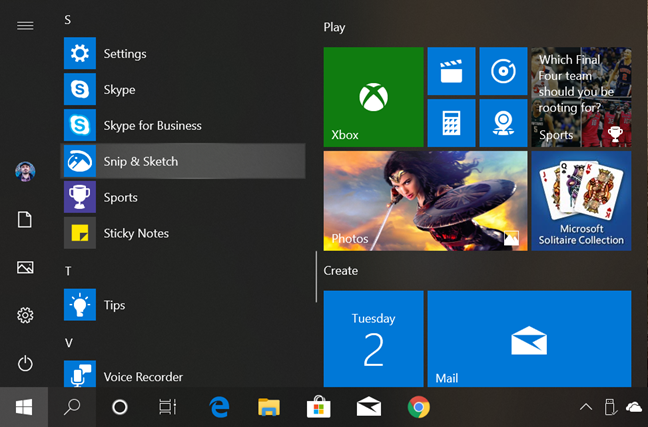
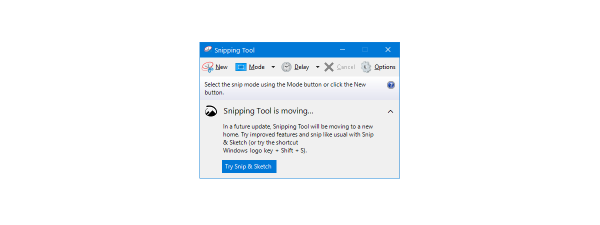
Windows 10 May 2019 Update comes with several improvements, and one area that receives attention from Microsoft is the Snip & Sketch app. Now you can add an outline to your screenshots. Snip & Sketch refers to screenshots as snips, therefore the new feature is named Snip outline. To set the outline, open the Snip & Sketch app from the Start Menu by clicking or tapping its shortcut under the letter S.
The shortcut for Snip & Sketch in Windows 10
For other methods to open the Snip & Sketch app window or its snipping bar, read How to use Snip & Sketch to take screenshots in Windows 10.
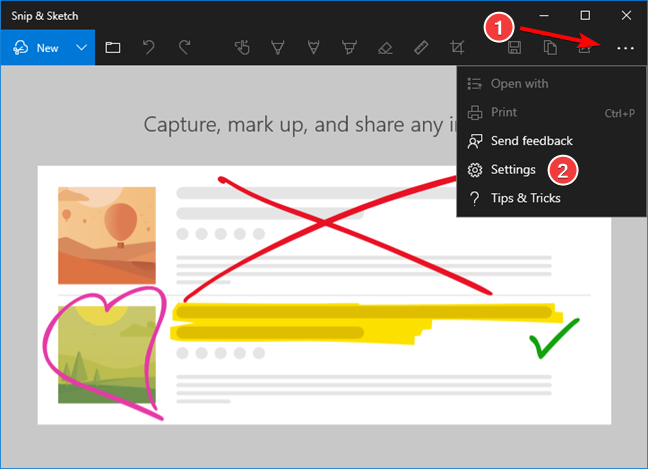
In the Snip & Sketch app window, click or tap the See more button on the top-right corner, and then on Settings in the menu.
Open Settings in Snip & Sketch
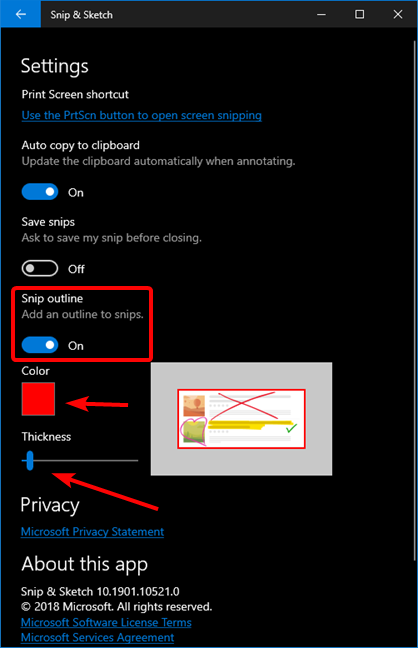
The third and last switch on the Settings screen is named Snip outline. Turn on the switch and a couple of controls appear that allow you to choose the color and the thickness of the outline.
Make your choices for color and thickness and, when you are done, click or tap the Back arrow in the top-left corner to return to the Snip & Sketch window.
Turn on Snip outline in Snip & Sketch
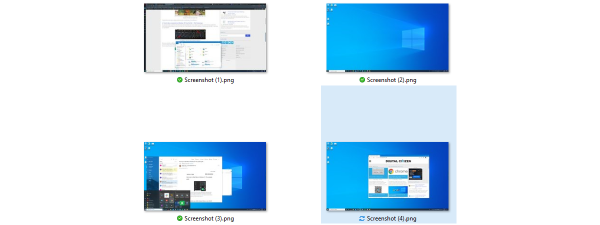
The screenshots you take from now on are surrounded by an outline with the color and the thickness selected in the Settings.
How to take screenshots with an outline in Snip & Sketch
Snip & Sketch gives you several options to take screenshots (snips) always using its snipping bar. Regardless of the method you use to take screenshots, the outline you set in the app settings is applied to all of them.
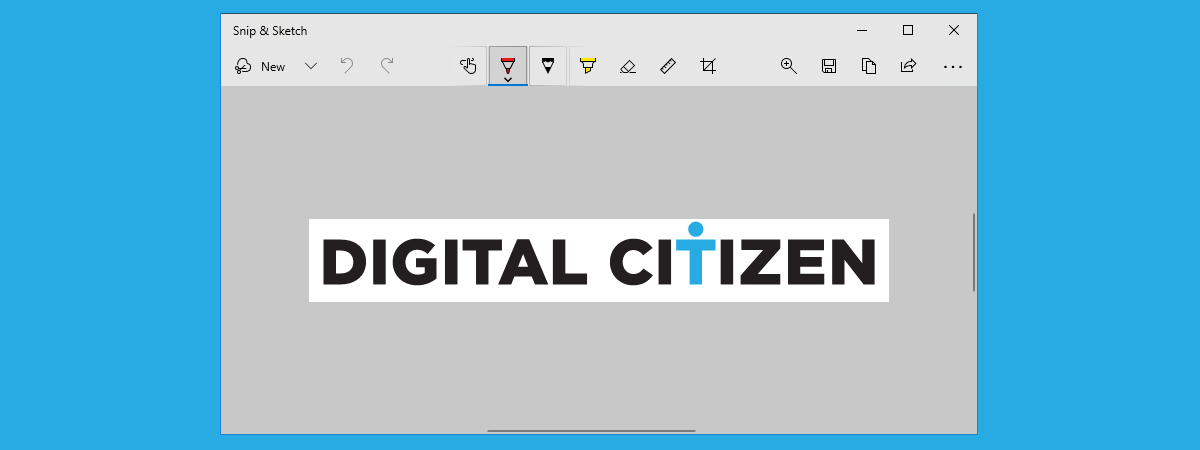
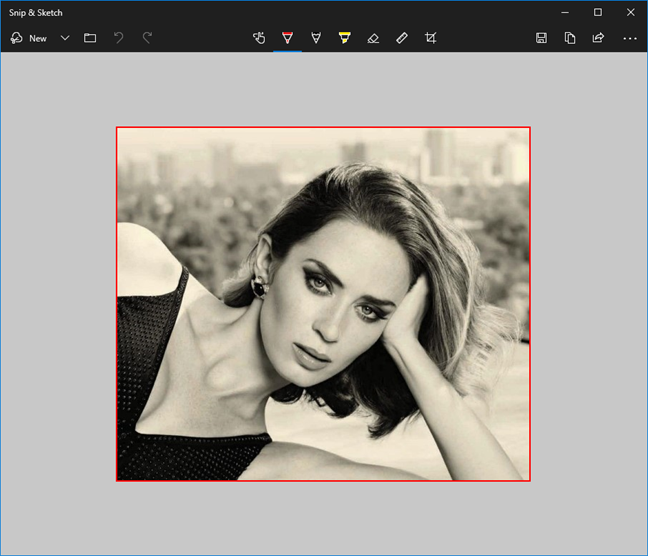
When you finish taking the screenshot, the Snip & Sketch app window is opened, and the screenshot is displayed, with the outline around it.
Screenshot with an outline taken using Snip & Sketch
Did you want to be able to set outlines for your screenshots?
Setting an outline to your screenshots can add more clarity and focus. If the background of your screenshot merges with the background of the material where you decide to insert it, the outline can delineate it and eliminate the confusion this may cause. The outline is also an effective tool to draw attention and add an artistic touch to your screenshots. Do you prefer to set an outline for all your screenshots? Do you like the default red line set by Snip & Sketch, or do you prefer to change it? Share your preferences in a comment below.


Discussion (1)
This is helpful but post changing these setting when you take screenshot using “Cntrl Shift S” then border are not coming