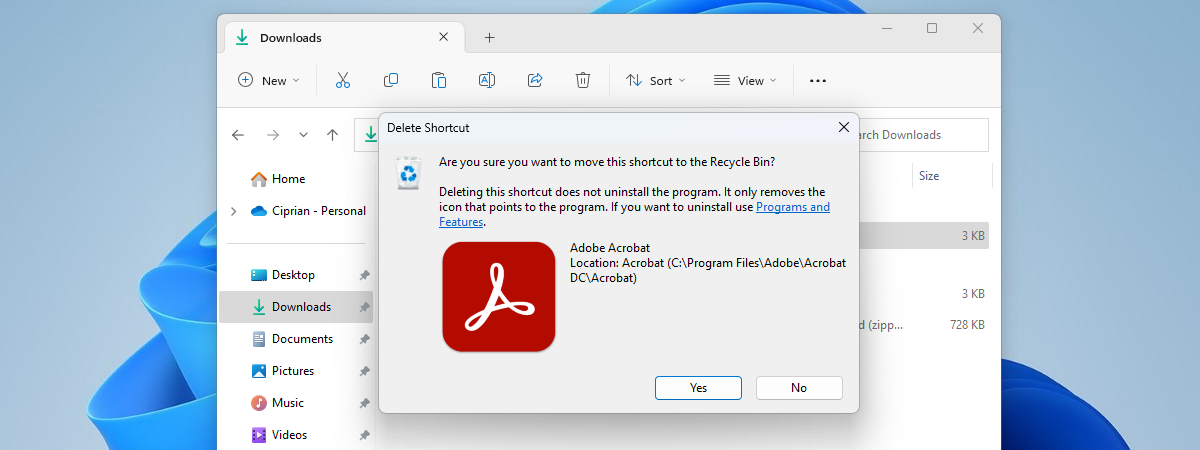
Whether it’s work-related documents and presentations or personal pictures and files, when you run out of space on your Windows 10 or Windows 11 computer or device, you must delete some of them. We all delete files regularly, and yet, not many of us know how the process works or that there is more than one way to delete files. If you want to find out how to delete files on Windows 10 or Windows 11, read on, and you’ll learn not one or two but six different ways to do it. I’ll also show you the “permanent delete shortcut keys” you can use in Windows to remove unwanted files or folders completely. Without further ado, let’s begin:
TIP: When you delete a file, even when you use the permanently delete option, that file can still be recovered. To learn why, read more about what happens to deleted files.
1. How to delete files using your keyboard
The simplest way to delete a file or a group of files is to open File Explorer and navigate to its location. Find the file you want to delete, and click or tap on it to select it. You can select multiple files by pressing the Ctrl key and keeping it pressed. With the mouse, click the files that you want to select. Release the Ctrl key when done.
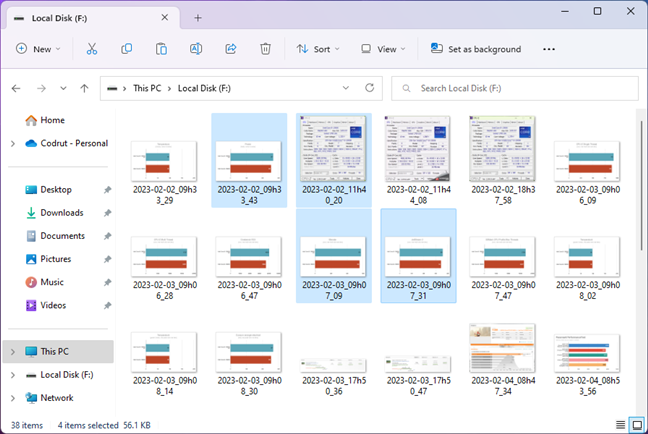
Selecting the files that you want to delete
TIP: To select all files in a folder, you can use the Ctrl + A keyboard shortcut.
To delete the selected file(s) and move it (them) to the Recycle Bin, press Delete or Del on your keyboard.
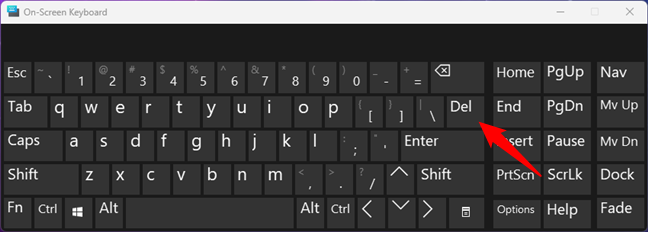
The Delete key on a standard keyboard
By default, neither Windows 10 nor Windows 11 asks for confirmation when you remove files. However, if your Recycle Bin is configured to display a delete confirmation dialog, confirm the action by pressing Yes.
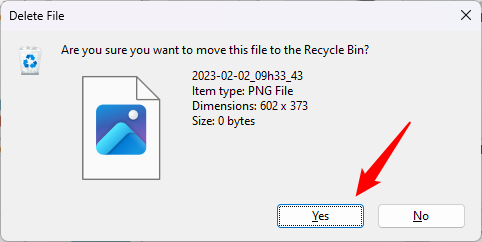
Are you sure you want to move this file to the Recycle Bin?
2. How to completely remove files using the permanent delete shortcut keys
To permanently delete one or more files on your PC, select them as shown in the previous method. Then, you can delete the selected file(s) without moving it (them) to the Recycle Bin using this permanent delete keyboard shortcut: Shift + Delete.
Note that on some keyboards, the Delete key is called Del, so in that case, you need to press Shift + Del.
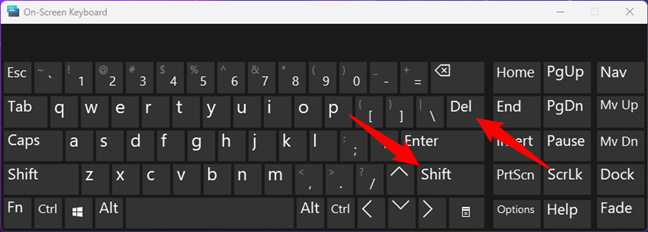
The permanent delete shortcut keys
Pressing the Shift + Delete or Shift + Del keys permanently deletes the selected file(s) but before that, Windows will ask for confirmation. When asked if you’re “[...] sure you want to permanently delete this item/these items?” press Yes.
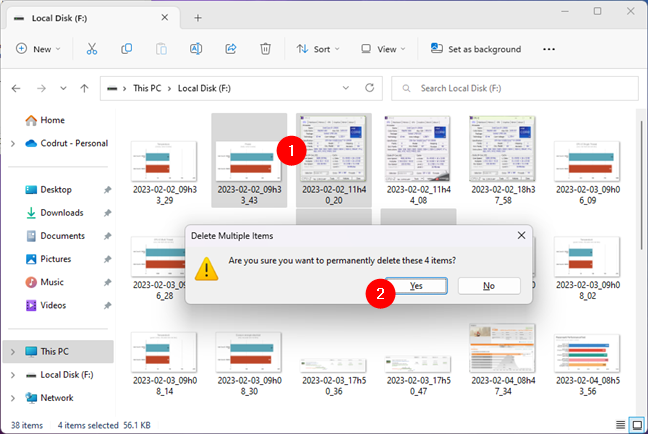
Are you sure you want to permanently delete these items?
Every selected file is gone from your Windows 10 or Windows 11 PC without being moved to the Recycle Bin. You may still have a chance of recovering it but only with specialized software like Recuva.
3. How to delete files on Windows using the right-click menu
Another method involves selecting the file(s) you want to delete in File Explorer and right-clicking (or pressing and holding) the selected item(s). Then, if you’re using Windows 10, in the contextual menu, click or tap Delete.
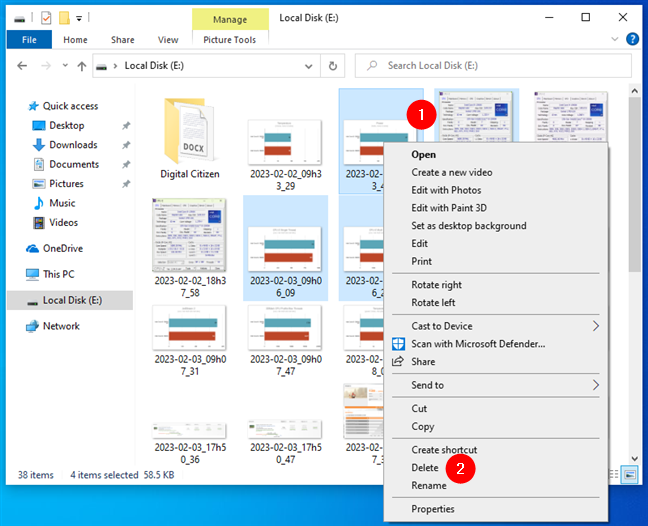
How to delete files from the right-click menu in Windows 10
If you’re using Windows 11, press the small Delete button that looks like a trash can.
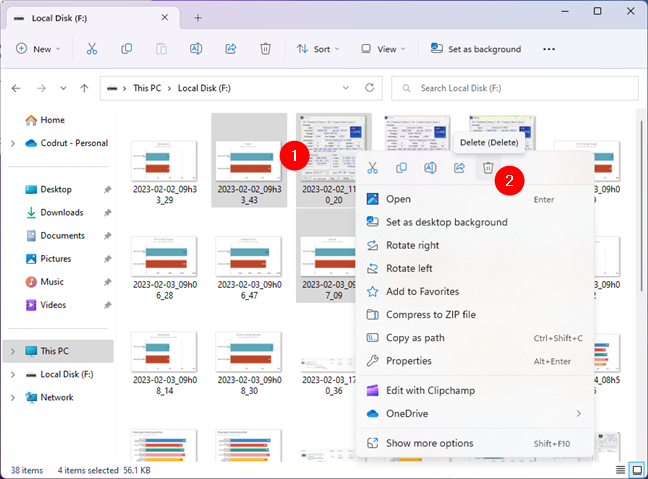
How to delete files from the right-click menu in Windows 11
This action moves the selected file(s) to the Recycle Bin, from where it (they) can be recovered if needed. It does not permanently delete files, as other methods do.
4. How to delete files using File Explorer’s menu
You can also use File Explorer’s top menu or ribbon to delete files on your Windows computer. First, get to the files you want to delete and select them. Then, depending on what version of Windows you use, follow the steps for Windows 10 or Windows 11, illustrated below.
4.1. How to delete files using File Explorer in Windows 10
Click or tap the Home tab on the ribbon and then the Delete button. This action removes the selected item(s) and moves it (them) to the Recycle Bin.
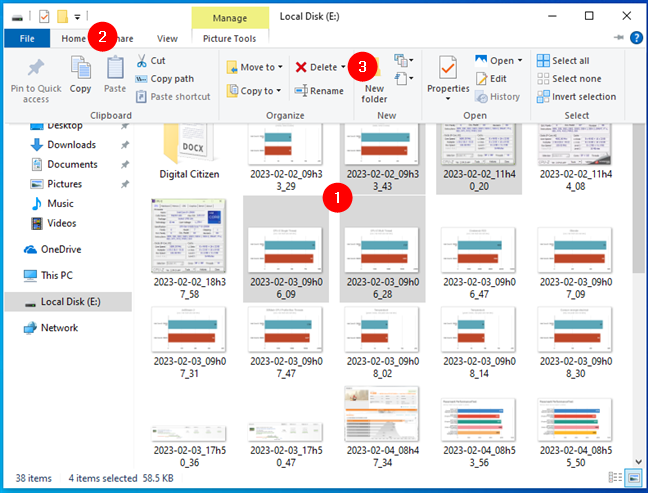
How to delete files from the File Explorer’s Home tab in Windows 10
If you want to delete a file permanently, select it. In the Home tab on the ribbon, instead of clicking Delete, click the arrow beneath the Delete button and then choose Permanently delete.
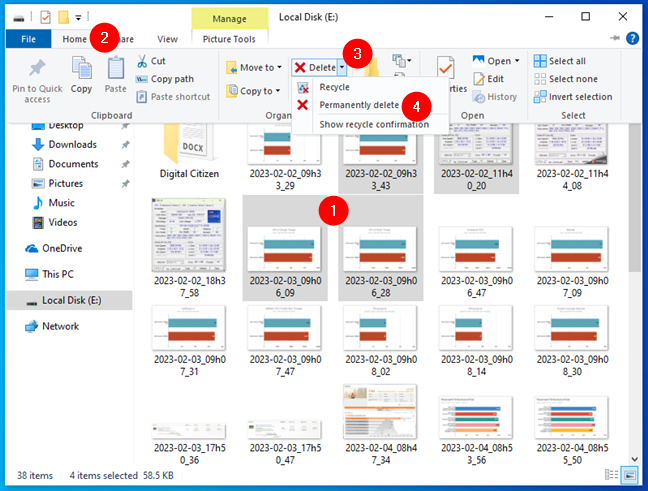
How to permanently delete files in Windows 10 from the File Explorer’s Home tab
4.2. How to delete files using File Explorer in Windows 11
Once you’ve selected the file or files you want to delete, click or tap the Delete button from File Explorer’s menu. Its icon looks like a small trash can.
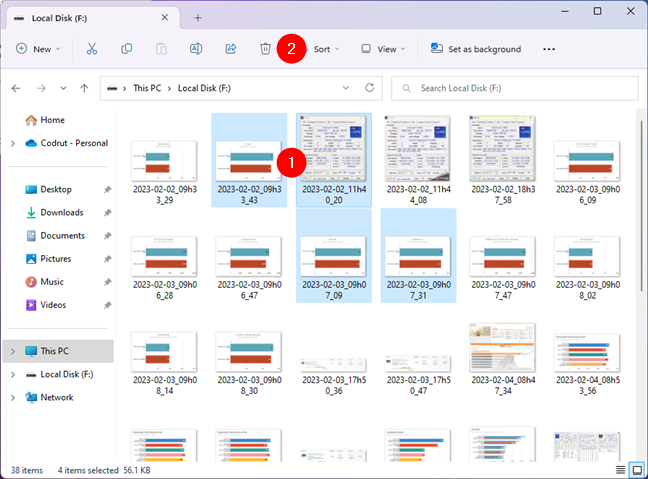
Delete a file from the the File Explorer menu in Windows 11
This action removes the selected item(s), moving it(them) to the Recycle Bin. Unlike Windows 10, Windows 11 doesn’t have a File Explorer dedicated button for permanently deleting files.
5. How to permanently delete files on a PC using commands (PowerShell, Command Prompt, Windows Terminal)
Both Windows 10 and Windows 11 support a command that permanently deletes files. Furthermore, you can use both PowerShell and Command Prompt, regardless of whether you open them as standalone apps or inside the Terminal.
In any command-line environment, enter the command:
For example, to delete the sample.jpg file found on the F drive in the Digital Citizen folder, I had to type:
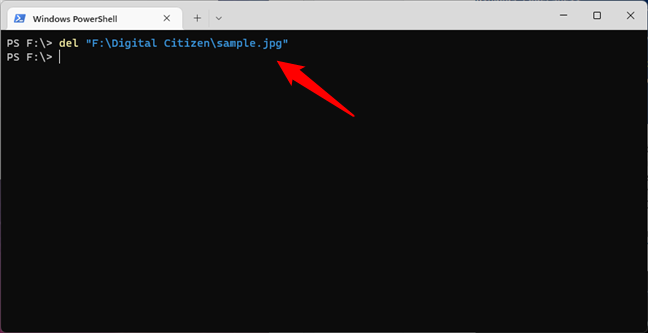
How to delete a file using the del command
Press Enter on your keyboard to execute the command, and the file is deleted without confirmation. As documented by Microsoft, this command can be used with several parameters. The most interesting, in my opinion, is the one that forces the deletion even when dealing with a read-only file that cannot normally be deleted.
To force the deletion of a file in the command line, use the /f parameter if you run the delete command in Command Prompt:
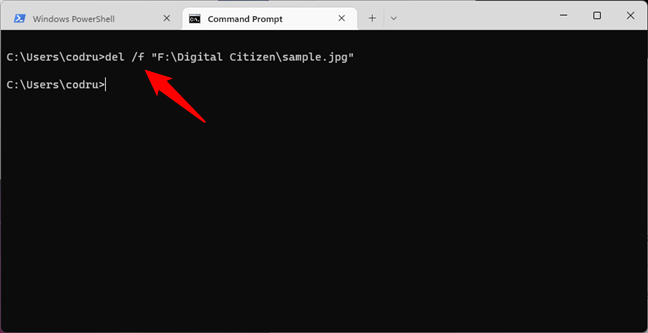
How to delete a read-only file in Command Prompt
Alternatively, if you prefer PowerShell, use the -force parameter when you run the delete command like this:
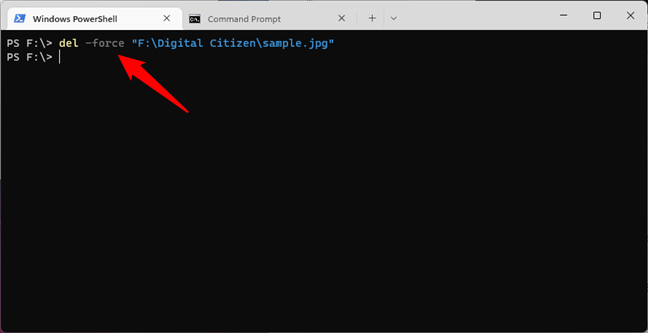
How to delete a read-only file in PowerShell
NOTE: When using the command line to delete files, they are not moved to the Recycle Bin.
6. How to permanently delete files using specialized software
If you want to remove files from your Windows 10 or Windows 11 PC and ensure they cannot be recovered with specialized file recovery tools, you can choose to delete them using apps that are permanent file erasers. Eraser is an excellent app for this purpose, and it works on any PC or device running Windows.
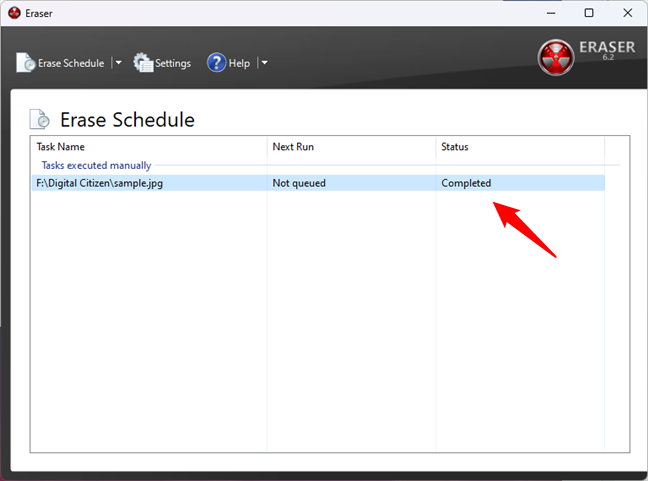
Eraser helps you delete files so that they cannot be recovered
You can also find similar apps in this article about the best free data-erasing software.
Addendum: How to deal with deleting files that are in use
When attempting to delete a file, you may sometimes encounter a “File In Use. This action can’t be completed because the file is open in…” error, followed by an app’s name. If you Try Again, you hit the same error over and over.
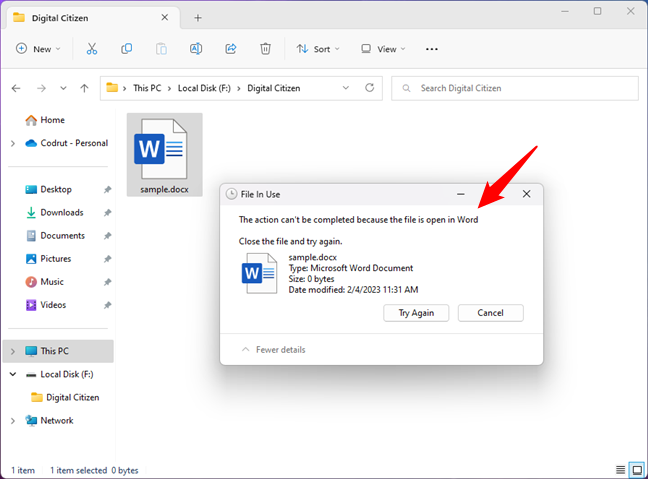
File In Use error in Windows
To solve this problem, you have to close the app mentioned by the error message. That app uses the file you want to remove and keeps it open for editing. In this state, the file cannot be deleted. After the app is closed and it no longer uses the file, the deletion process works.
If closing the app doesn’t lead to the expected result, restart Windows 10 or reboot Windows 11 and try again.
How do you delete files on your Windows PC?
Now you know how to delete files using the keyboard, the mouse, and even specialized software or commands in PowerShell. Before closing this guide, let me know which method you prefer and why. Are you a keyboard user? Do you prefer to use the mouse? Or maybe the del command? Comment below, and let’s discuss the best way to remove files on Windows 10 and Windows 11.


 08.02.2023


