30.06.2022
Many modern devices with Windows 10 or Windows 11 include a webcam, and to use it, you need an app that helps you take pictures, record videos, or stream video while video chatting. For this purpose, Microsoft has built an app called Camera, which is available by default in both Windows 10 and Windows 11. This guide shows you everything you need to know on how to test and use your webcam with the Camera app. Here’s how to start the Camera, how to take pictures and record videos, how to set the brightness and other parameters, and how to configure the way your webcam works:
IMPORTANT: If this is the first time you’re using the Camera app on your Windows 10 or Windows 11 device, please ensure that you have a driver installed for your webcam. Because the Camera app is identical in Windows 11 and Windows 10, we used screenshots taken mainly from Windows 11 to create this guide.
How to start the Camera app in Windows
You can launch the Camera app in multiple ways. One of the fastest methods to start the Camera app, regardless of whether you have Windows 11 or Windows 10, is to use search. Click or tap on the search button (or box) from the taskbar and type in the word camera. Then, click/tap on the Camera app or select it from the results and press Open on the right side of the panel.

How to open Camera in Windows 11 fast
Another way to open the Camera app is offered by the Start Menu. In Windows 11, click or tap the Start button, go to the All apps list, and click or tap on the Camera shortcut.
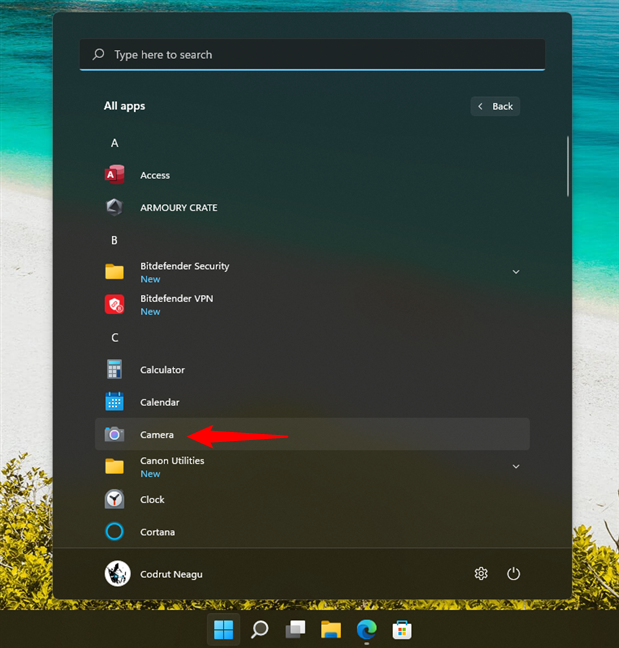
The Camera shortcut from Windows 11's Start Menu
If you have Windows 10, open the Start Menu and scroll down the app list until you get to the Camera. Once you’ve found it, click or tap on it.

The Camera app in the Start Menu
Now that you know how to open the Camera app, let’s see how you can test and use it for capturing photos and filming videos, as well as how to set it up just the way you like it:
How to test your webcam in Windows using the Camera app
Testing whether your webcam works in Windows 11 or Windows 10 is straightforward. You launch the Camera app and check whether you see any video from the webcam. If this is your first time launching the Camera app, the application may ask you to allow it to use your webcam, microphone, and location. We recommend that you enable it to access all these devices and features. Or, at least, let it use your webcam to test it. If you can see an image of what’s in front of the webcam, which is probably you, your camera works. 🙂
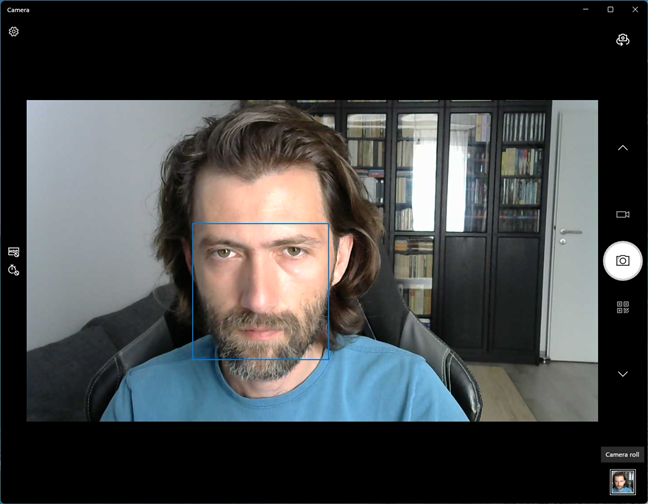
Testing the webcam with the Camera app in Windows 11
That’s all there is to it if you want to test a webcam in Windows 11!
How to choose the webcam used by the Camera app
If you have more than one webcam connected to your Windows 10 or Windows 11 PC or device, you can choose the one you prefer. To switch to your device’s secondary webcam or cycle through all your connected webcams (if you have three or more cameras plugged in), open the Camera app and click or tap the “Change camera” button in the top-right corner of the window.
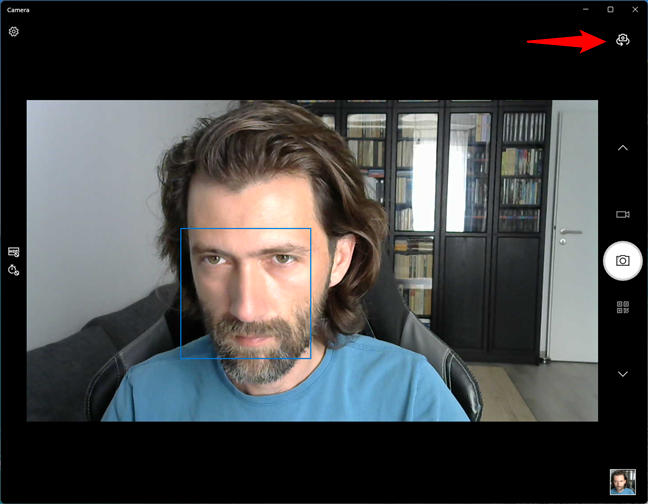
Changing the webcam used by the Camera app from Windows 11
How to use your webcam to take photos in Windows using the Camera app
On the right side of the Camera app, there are a couple of buttons available, each of them granting you access to different camera modes that you can use. By default, the selected mode is the one called “Take Photo.” Notice that the selected mode has a larger button than the others and a white background to make it stand out. All you have to do to take a picture is to click or tap the “Take Photo” button.
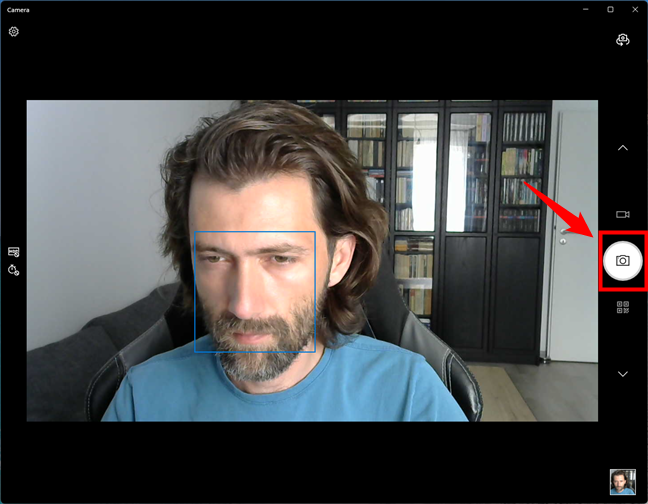
The photo and video modes available in the Camera app from Windows 11
Note that if the Camera app were in “Take Video” or in another mode, you would have to click twice on the “Take Photo” button: once to switch to the Photo mode and once to take the picture.
How to use your webcam to record videos in Windows with the Camera app
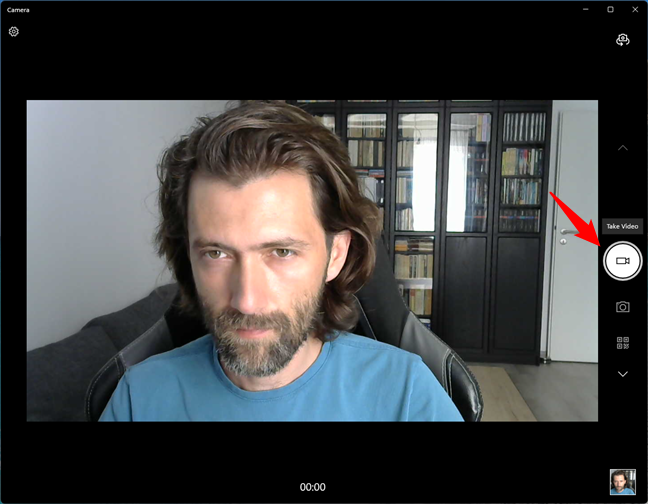
To record videos with the Camera app from Windows 11 or Windows 10, switch to the “Take Video” mode. Click or tap the “Take Video” button from the right side of the app’s window.

The Take Video button from the Camera app
Then, click or tap the “Take Video” button once more.
Start recording a video with the Camera app
When you start recording a video, the Camera app displays a stopwatch at the bottom, keeping track of the time that has passed since you started recording.
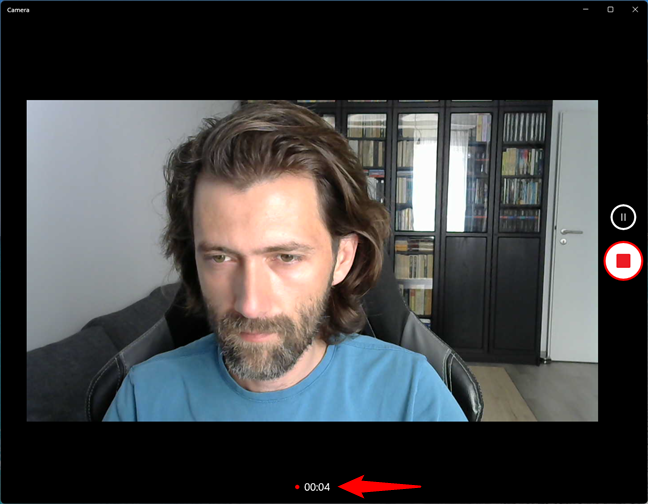
Recording video with your webcam using the Camera app
If you want to pause the video recording, click/tap on the Pause button found on the right side. When a video is paused, you see the message Paused displayed on the right side of the window, as well as the pause symbol to the left of the time elapsed from the beginning of the recording. To resume video recording, click or tap Pause again.
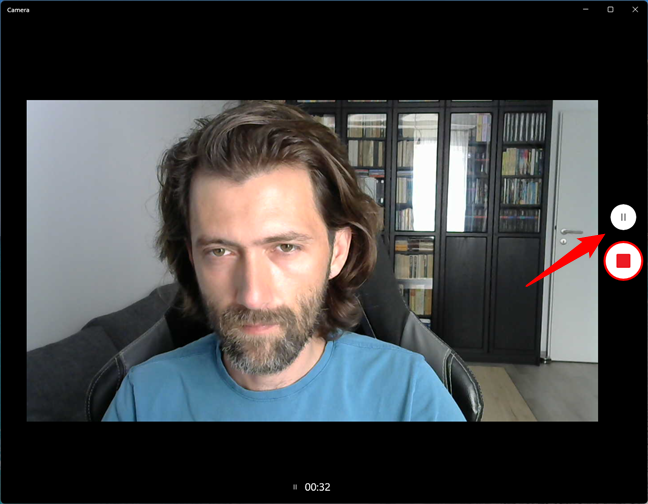
Pausing and resuming video recording in the Camera app
Then, when you want to finalize your video, click or tap the Stop button, also found on the right side.

Stopping the video recording in the Camera app
How to use the webcam on your Windows device to scan barcodes or QR codes
On the right side of the Camera app, you can also choose to shoot a special kind of photo: Scan Barcode. And it works for QR codes too. To scan a barcode, point your webcam towards the barcode and click or tap on the Scan Barcode button from the Camera app.
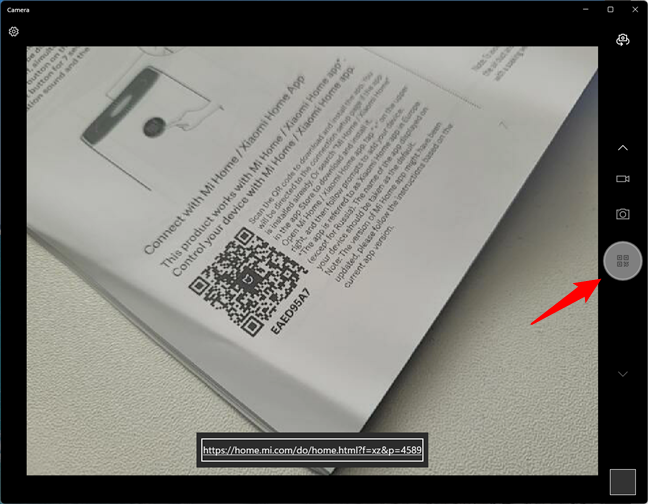
Using the Windows Camera app to scan a QR code
Just like in the screenshot above, the barcode or QR code, if recognized, is immediately translated into something that’s human-readable. That decoded content is shown at the bottom of the window.
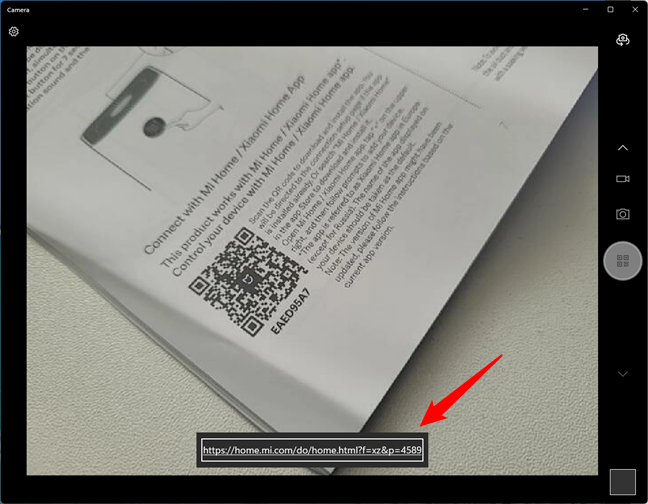
Scanning a barcode with the Windows Camera app
How to use the webcam on your Windows device to take photos of documents, whiteboards, or panoramas
Depending on your webcam or if you own a device designed for mobility, like a tablet or a 2-in-1 hybrid device, there are a couple of photo modes that you might find useful. On the right side of the Camera app, you can choose to shoot special photos: panoramas, documents, and whiteboards. These photo modes can be quite helpful at times if you can physically move your Windows 11 or Windows 10 device, if you have a wireless webcam, or if you’ve transformed your Android smartphone or iPhone into a webcam to use on your Windows PC.
To scan a document with your webcam, point it towards the document and press the “Take Document” button. Similarly, to take a photo of a whiteboard, point your webcam towards it and push the “Take Whiteboard” button.
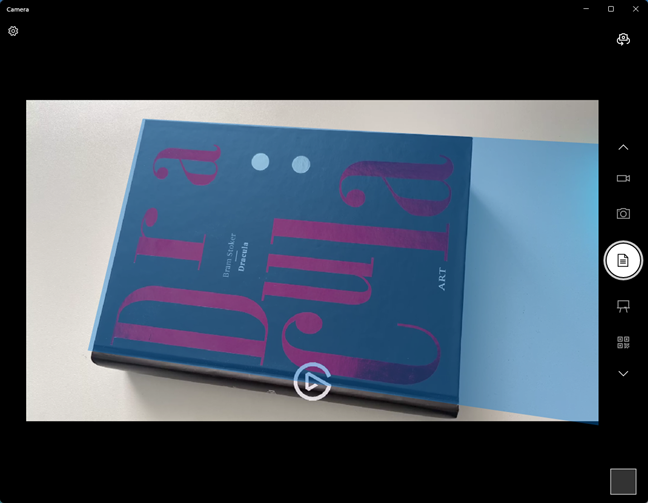
Taking a document photo with a webcam and the Camera app
To shoot a panorama photo with the Windows Camera app, select the “Take Panorama” mode and slowly move your device from left to right.
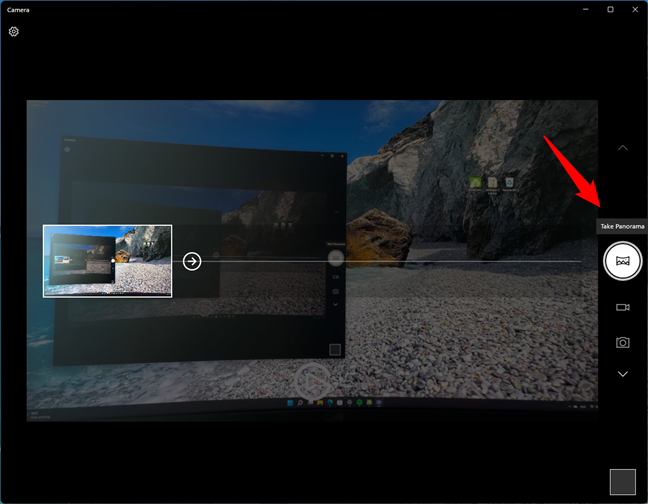
Shooting a panorama photo with the webcam and Windows Camera app
However, note that this photo mode only works as it should if you’re using a Windows tablet or 2-in-1 device with built-in positioning sensors, such as an accelerometer and a geomagnetic field sensor. Otherwise, the Camera doesn’t detect that you are moving your device. In other words, this photo mode doesn’t work with wireless webcams, nor with an Android smartphone or an iPhone turned into a wireless webcam.
How to set a timer for taking photos with the Camera app from Windows
The Camera app also allows you to set up a “Photo timer” for taking pictures automatically, a couple of seconds after you hit the “Take Photo” button. You can use this setting to take pictures with a delay of 2, 5, or 10 seconds. To select the delay, press the stopwatch icon repeatedly. The number of seconds delayed is discreetly shown next to the stopwatch icon.
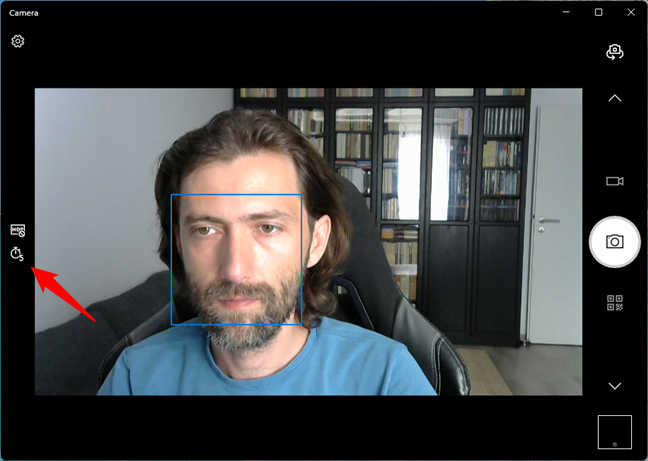
Using the Photo timer in the Camera app
If you change your mind and no longer want to use a timer, press the same stopwatch button until the Camera app is set to “No timer.”
How to use the flash on your webcam in Windows
The Camera app also lets you change how the flash works on your webcam. When it comes to photos, you can click or tap on the Flash button from the left side of the app to cycle between “Flash on,” “Flash off,” and “Flash auto.” However, these options work only if your webcam has a flash on it. 🙂
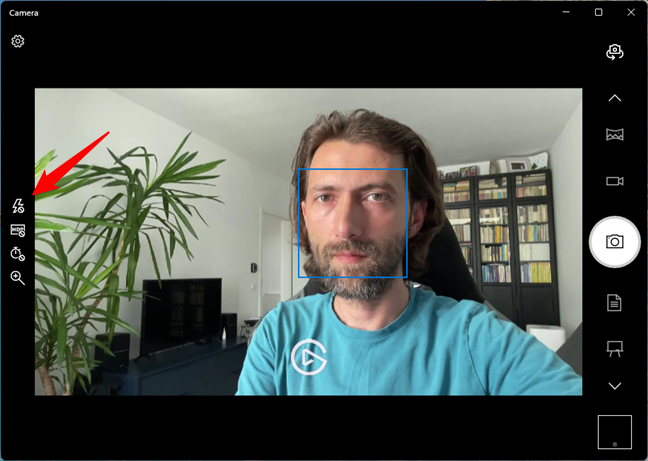
Switching between different flash modes
Similarly, when you’re in “Take video” mode, you can turn “Video light on” or “Video light off,” depending on what you prefer.
How to enable or disable HDR in the photos shot with your webcam
When in photo mode, the Camera app also lets you use HDR (High Dynamic Range). To enable it, click or tap on the HDR button from the left side of the window. Still, if your webcam doesn’t support HDR, this setting has no effect.
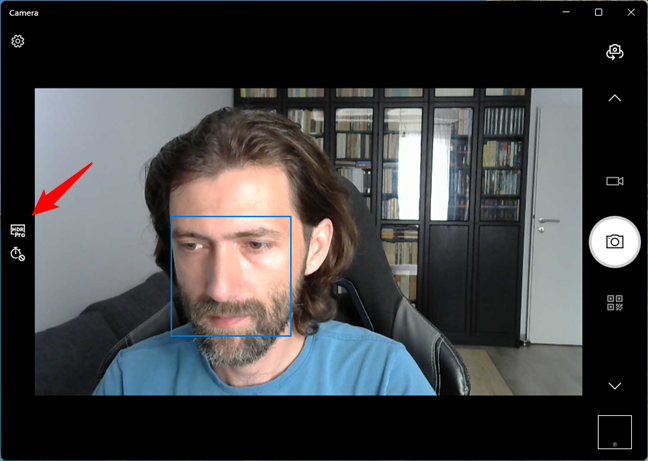
Turning HDR on or off in the Camera app
How to zoom your webcam in the Windows Camera app
Both in photo and video mode, the Camera app lets you zoom your webcam in or out. To do that, click or tap on the Zoom button and use the slider that shows up to adjust the zoom level of the webcam.
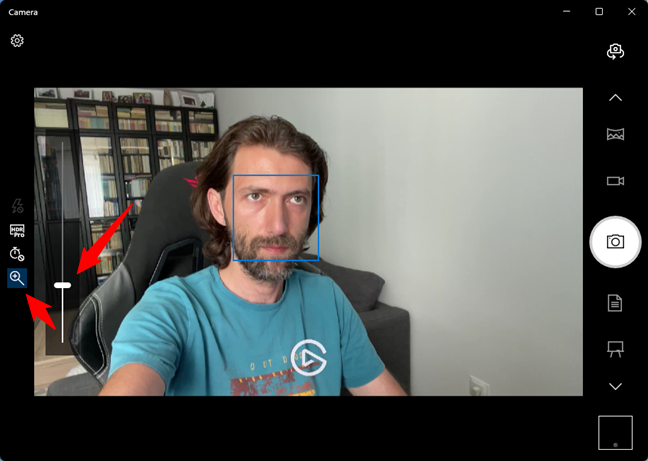
Zooming the webcam in or out with the Windows Camera app
Read the next page of this tutorial to find out how to view the photos and videos you captured with the Camera app and also how to adjust the more advanced settings it offers.