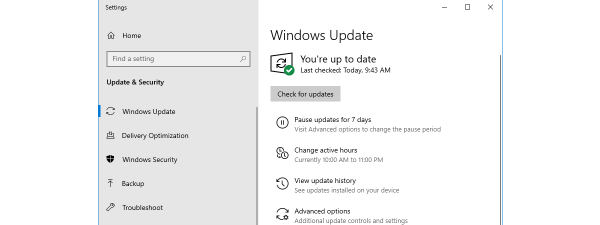
After ending support for the 21H2 Home and Pro editions of Windows 10 back in January 2023, Microsoft has announced that support for Windows 10 21H2 Enterprise and Education will run out on June 10th, 2024. If, for any reason, you haven’t upgraded to the latest 22H2 version of Windows 10, which was released way back in October 2022, your only choice is to upgrade to it as soon as possible. After June 10th, not even business customers will receive security updates and bug patches. One way to upgrade to Windows 10 22H2 is to use Windows Update and check for updates, while another is the Windows 10 Update Assistant - a small tool that does all the work for you. Here’s how the Windows 10 Update Assistant works:
NOTE: Some people also asked us through our contact form if Windows 10 Update Assistant is necessary for upgrading to the latest Windows 10 version. The answer is that it is not. It’s just one way to upgrade to Windows 10 22H2. If you prefer using it instead of Windows Update, this guide is for you.
Step 1. Download the Windows 10 Update Assistant
To upgrade to Windows 10 2022 Update, open your favorite web browser and go to this page to download Windows 10. On the top half of this page, you can see a section named “Windows 10 2022 Update | Version 22H2.” Click or tap the Update now button in it.
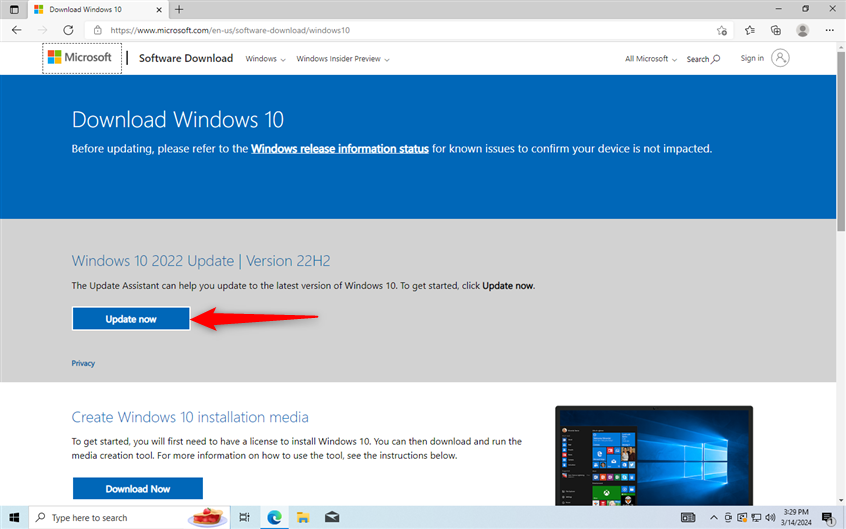
Download the Windows 10 Update Assistant
TIP: If you don’t know which version or edition of Windows 10 you’re using, here’s how to find out your Windows 10 version.
This action triggers the download of a tiny 3.18 MB executable file called:
Save it somewhere on your Windows 10 computer or device. By default, your web browser should save it to your Downloads folder.
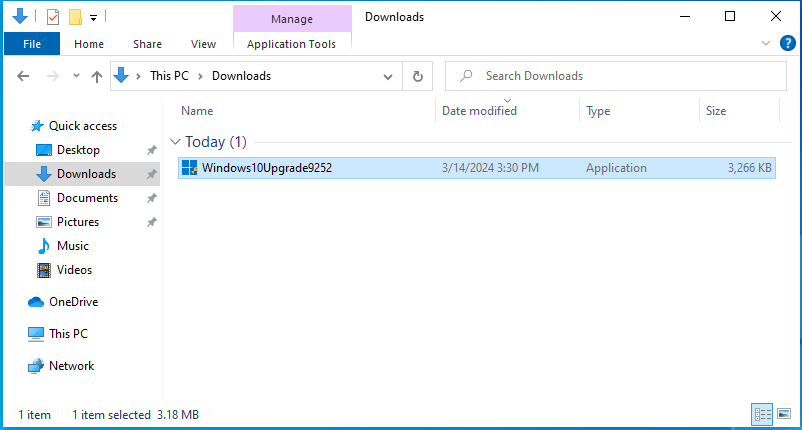
You download a file named Windows10Upgrade9252.exe
TIP: Here are other ways to download the latest version of Windows 10, including as an ISO file, straight from Microsoft’s servers.
Step 2. Run the Windows10Upgrade9252.exe and upgrade to Windows 10 22H2
Make sure you’re using an administrator account on your Windows 10 PC, laptop, or 2-in-1 device. Open File Explorer and go to where you saved the Windows10Upgrade9252.exe file. As I mentioned earlier, it’s most likely in the Downloads folder. Double-click (or double-tap) on Windows10Upgrade9252, and a User Account Control (UAC) prompt pops up. Press Yes to confirm that you want to run the Windows 10 Update Assistant.
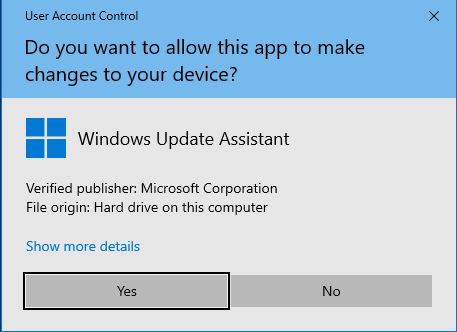
Run Windows10Upgrade9252.exe and press Yes
The Windows 10 Update Assistant loads and allows you to update to the latest Windows 10 version. It will indicate if you’re running an outdated version. For instance, with a message like “[...] This PC is running version 21H2. The latest version is 22H2.” To proceed and update to Windows 10 22H2, click or tap Update now in the bottom-right corner of Windows 10 Update Assistant.
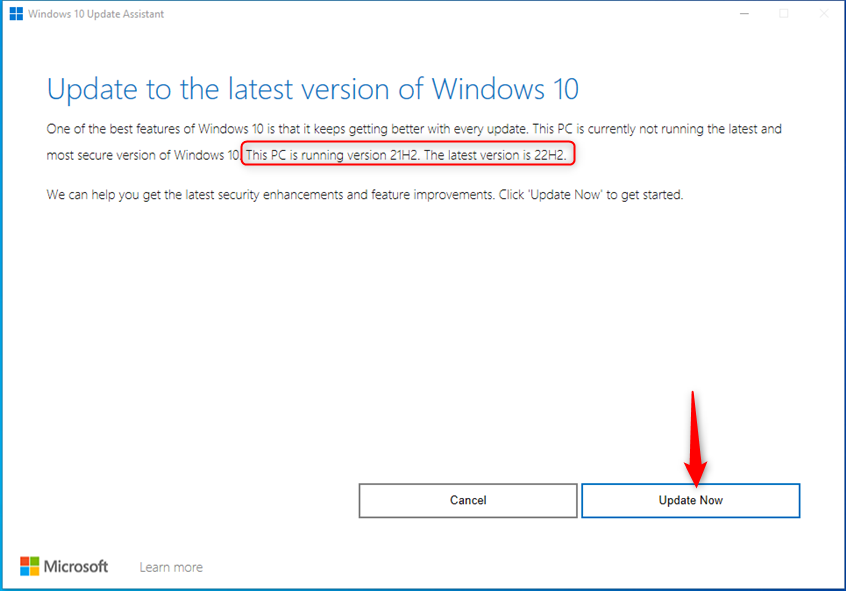
Press Update Now in the Windows 10 Update Assistant
Windows 10 Update Assistant verifies whether your PC, laptop, or 2-in-1 device meets the requirements for installing the latest Windows 10 version. Since this operating system is already installed, the only thing that could go wrong is needing more free disk space to download and install the latest version. Make sure you have at least 10-12 GB of free space on your C: drive, and everything should go smoothly.
The Windows 10 Update Assistant automatically starts the download of the latest version in about ten seconds. If you’re in a hurry, you can start it manually by clicking or tapping Next.
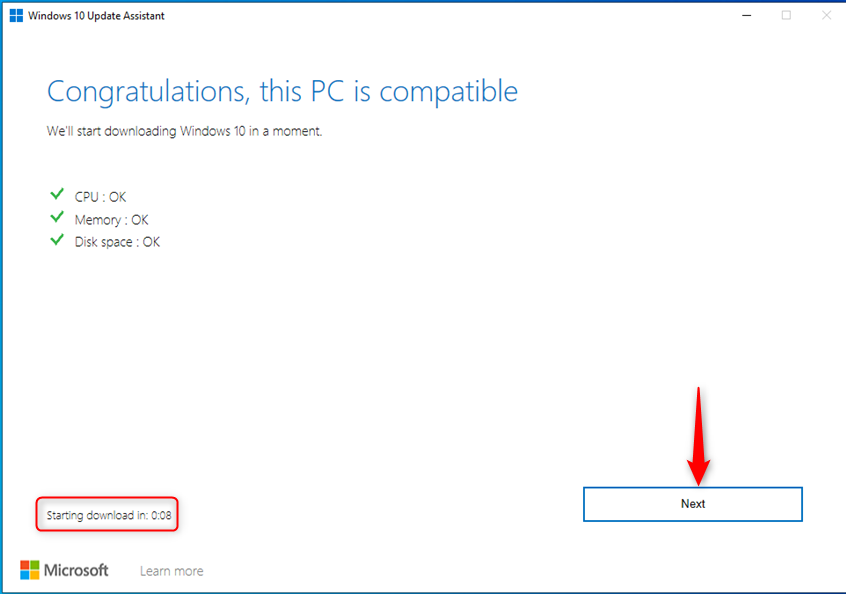
Windows 10 Update Assistant checks if your PC is compatible with Windows 10 22H2
Windows 10 Update Assistant begins downloading all the required files, which takes a lot of time, especially if you have a slow internet connection. If you use a Windows 10 laptop or a tablet, ensure its power cord is plugged in so you don’t run out of battery. Then, grab yourself a cup of coffee or tea and relax. The download progress is displayed as a percentage, like in the screenshot below.
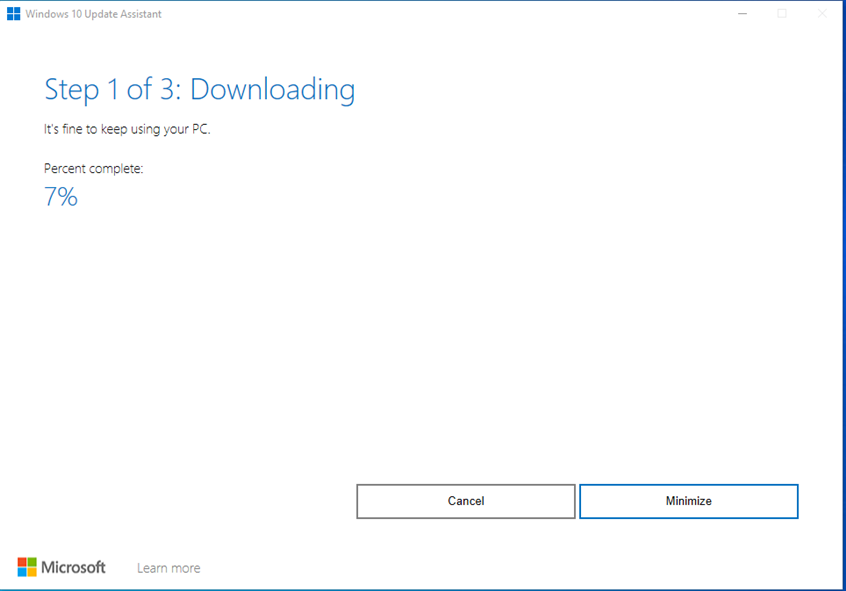
Windows 10 Update Assistant downloads Windows 10 22H2
When the download is finished, the Windows 10 Update Assistant verifies it for integrity. The progress for Verifying download is also shown in percentages, just like the Downloading stage, but it takes very little time. On my Windows 10 computer, it took just a few seconds, and I barely had the time to take the screenshot below.
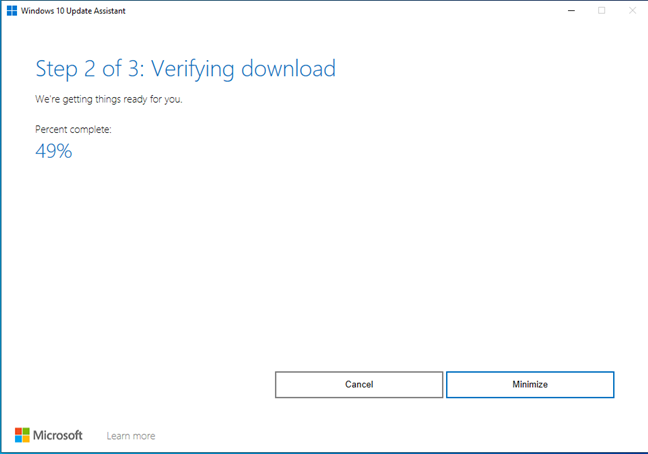
Windows 10 Update Assistant is verifying the files it downloaded
Finally, you get to the step where Windows 10 Update Assistant installs the latest version of Windows 10. If you don’t want to sit idle while the installation is performed, press Minimize and go about your business.
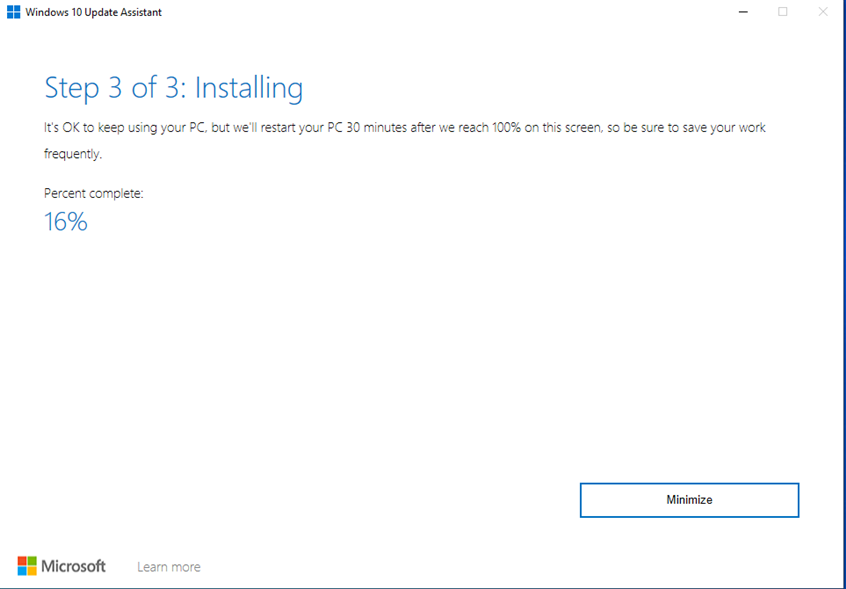
Windows 10 Update Assistant is upgrading to Windows 10 22H2
This part of the update process can take several minutes to finish. Depending on which Windows 10 version you’re using (the older your version, the slower the process), a clean Windows 10 installation of the latest version may be somewhat faster. However, you don’t get to keep all your apps, files, and settings as you do when using Windows 10 Update Assistant.
After a while, you are notified that “Your PC needs to restart to update Windows 10.” You can wait 30 minutes for the automatic reboot or press Restart now. However, make sure you have no apps or files open before restarting.
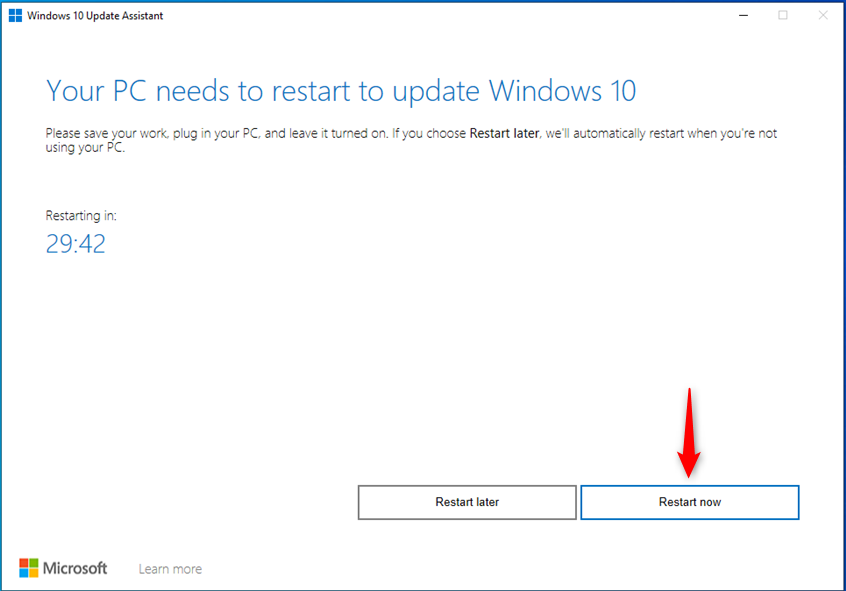
Press Restart now to finalize the upgrade
When it’s time to reboot, you get this message: “You’re about to be signed out. Windows 10 Update Assistant will reboot your device to complete the update.” Click or tap Close, and your computer or device restarts in a couple of seconds.

Windows 10 Update Assistant will reboot your device
After the restart, the Windows 10 upgrade process continues. You will see messages like “Getting Windows ready. Don’t turn off your computer” or “Working on updates.” Also, your Windows 10 computer or device might reboot several times, not just once. My system rebooted three times. This is normal, and all you have to do is wait for the upgrade process to do its thing.
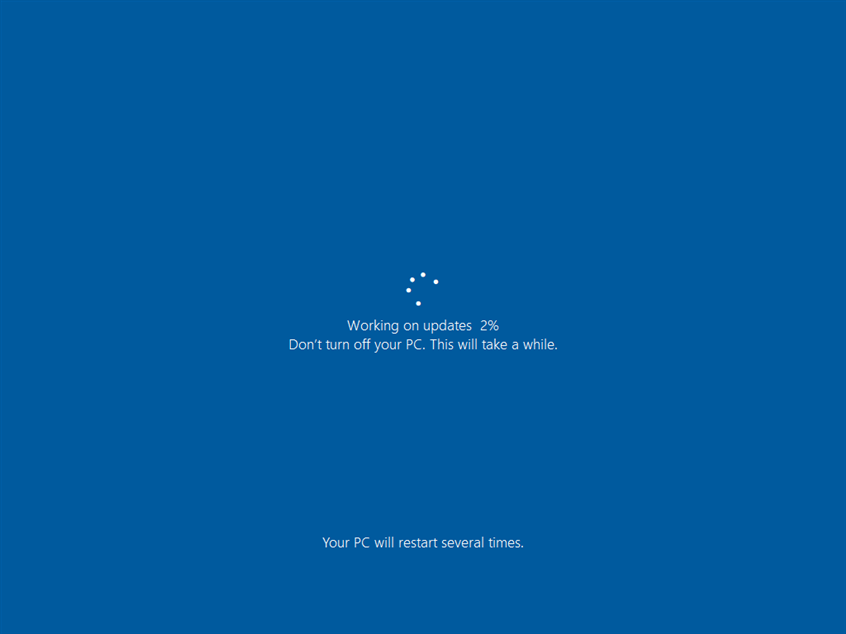
Finalizing the Windows 10 upgrade process takes a few minutes
After you sign in to Windows 10 again, the final waiting period arrives: a minute or two is required for the upgrade process to make its last round of changes. You mustn’t shut down your system during this time.
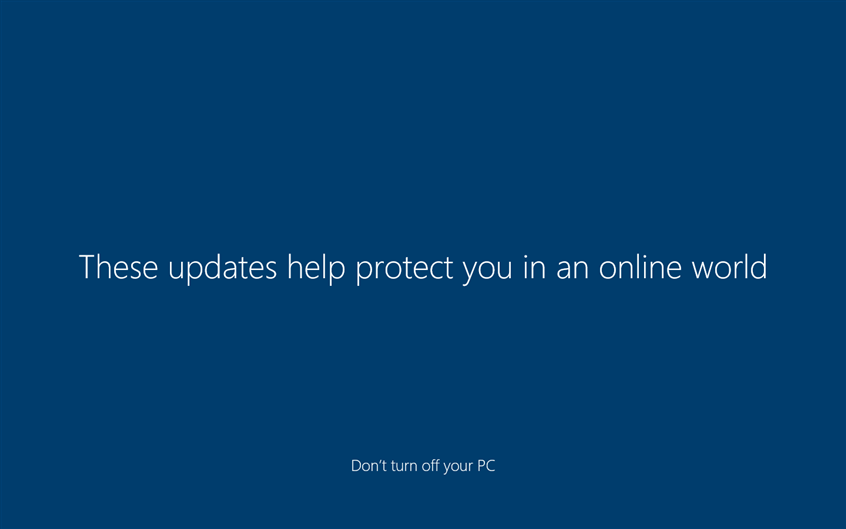
The finishing touches take another couple of minutes
Windows 10 has been upgraded to the latest 22H2 version, and you finally see the desktop.
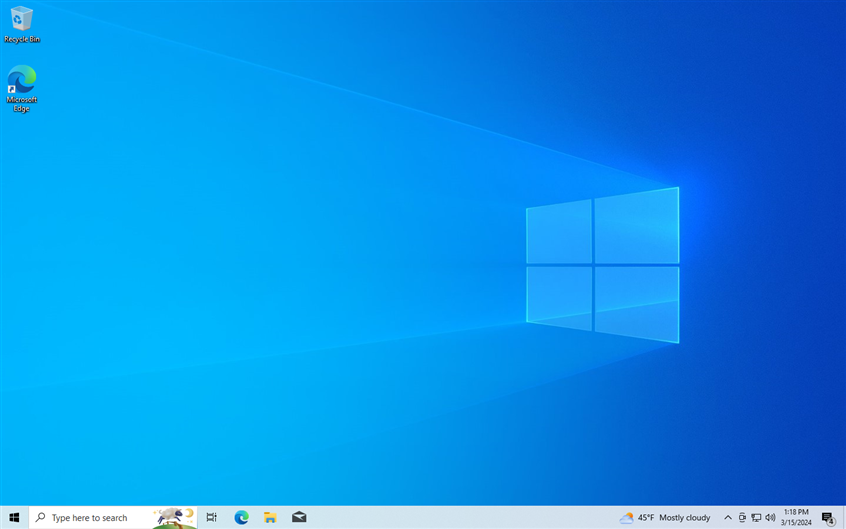
Enjoy using Windows 10 22H2
IMPORTANT: Some readers also asked whether there is a 23H2 version available for Windows 10. Unfortunately, there isn’t such a version. 23H2 is available only for Windows 11. Windows 10 is no longer getting any feature updates, and Microsoft’s support will end on October 14th, 2025. After that date, Windows 10 users won’t get any new updates, and they’ll be forced to upgrade from Windows 10 to Windows 11. Or, who knows, maybe we will have Windows 12 by then.
BONUS: How do I resume Windows 10 Update Assistant?
Suppose you minimized the Windows 10 Update Assistant while downloading Windows 10 22H2. In that case, you can restore it by clicking the Show hidden icons arrow on the taskbar and then the Windows icon representing Windows 10 Update Assistant. The app will be shown again on your desktop, displaying its progress.
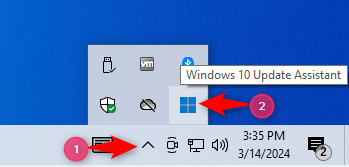
The Windows 10 Update Assistant icon in the system tray
If you change your mind and no longer want to upgrade to the latest Windows 10 version, you can press Cancel. When you do that, the Windows 10 Update Assistant asks for confirmation. Pressing Cancel one more time closes the app and stops the entire process.
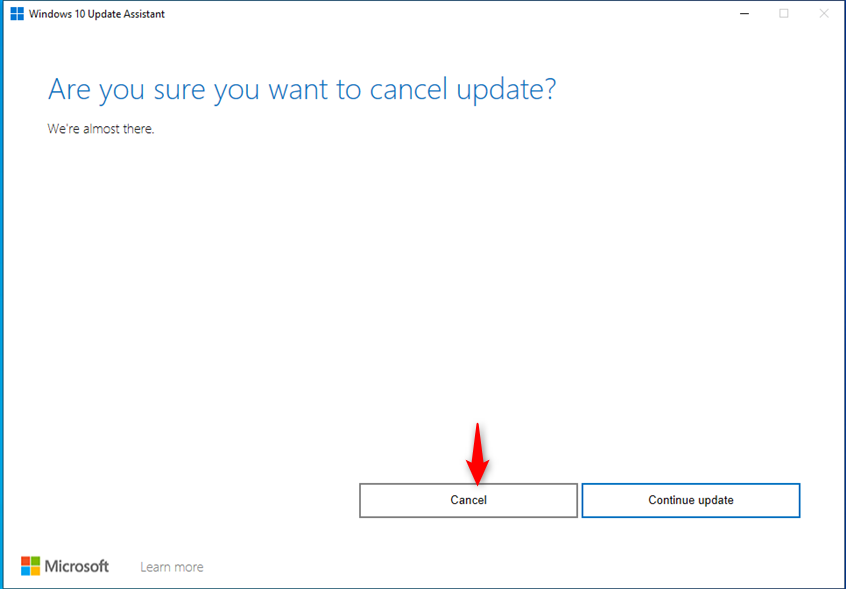
How to cancel the Windows 10 update
If you change your mind again and decide to resume Windows 10 Update Assistant, simply open File Explorer, go to the folder where you downloaded the Windows10Upgrade9252 file, and double-click (or double-tap) on it to run it. Then, go through the same steps shown above. Windows 10 Update Assistant should resume from where it left off when you pressed Cancel during the previous run.
How well did the Windows 10 Update Assistant work for you?
Now you know how to upgrade to Windows 10 22H2 anytime you want. If you’re using an older version of Windows 10, I highly recommend that you perform this upgrade as soon as possible so that your computer won’t be left unprotected by security updates and bug fixes. As you have seen in this guide, the process is not difficult, and you only need to ensure that you have about 12 GB of free space on your C: drive. The Windows 10 Update Assistant (Windows10Upgrade9252.exe) is easy to download and use. Although the upgrade process takes some time, things should run smoothly, and your files, apps, and settings should remain just as they are before running the Windows 10 Update Assistant. If things didn’t work out for you, don’t hesitate to comment using the options below and share your experience.


 21.03.2024