


Discord reactive images let a static avatar react when you speak in a voice channel. The image switches automatically based on microphone input, which makes conversations feel more personal without using a webcam.
Most beginners struggle because guides skip basics like audio setup or tool choice. This guide walks through the entire process step by step, using simple language and beginner-safe tools.
Table of contents
- What Discord reactive images are and how they work
- What you need before getting started
- Option 1: Set up Discord reactive images using beginner-friendly tools
- Option 2: Use OBS for Discord reactive images (recommended for flexibility)
- How to adjust sensitivity so images react naturally
- Common problems and how to fix them
- Tips for better-looking Discord reactive images
- FAQs beginners usually ask
- Summary
What Discord reactive images are and how they work
Reactive images change when your microphone detects sound. You usually use two images: one idle image when you stay silent and one talking image when you speak.
A small app or OBS listens to your microphone and swaps images in real time. Discord itself does not animate images, so an external tool handles the reaction.
What you need before getting started
You need a working microphone that Discord already detects. You also need two images, usually PNGs, that clearly show idle (mouth closed) and talking states (mouth opened).
You will also need a tool that listens to your microphone and switches images automatically. Beginners should start with no-code tools before moving to OBS.
Option 1: Set up Discord reactive images using beginner-friendly tools
The easiest way to work with Discord reactive images is to use Fugi’s tool. For this, you need to download both the Discord desktop app and OBS. You also need to get the microphone you use for Discord ready.
Once these are set, proceed to the steps below:
Step 1: Start set up in the Discord app
- Open the Discord app and click Settings in the bottom left corner.
- Next, select Advanced in the left pane and toggle the switch for Developer Mode forward to enable it.


- From here, select the Voice & Video option in the left pane, select your microphone under Voice settings, and try it out to see that it is working.

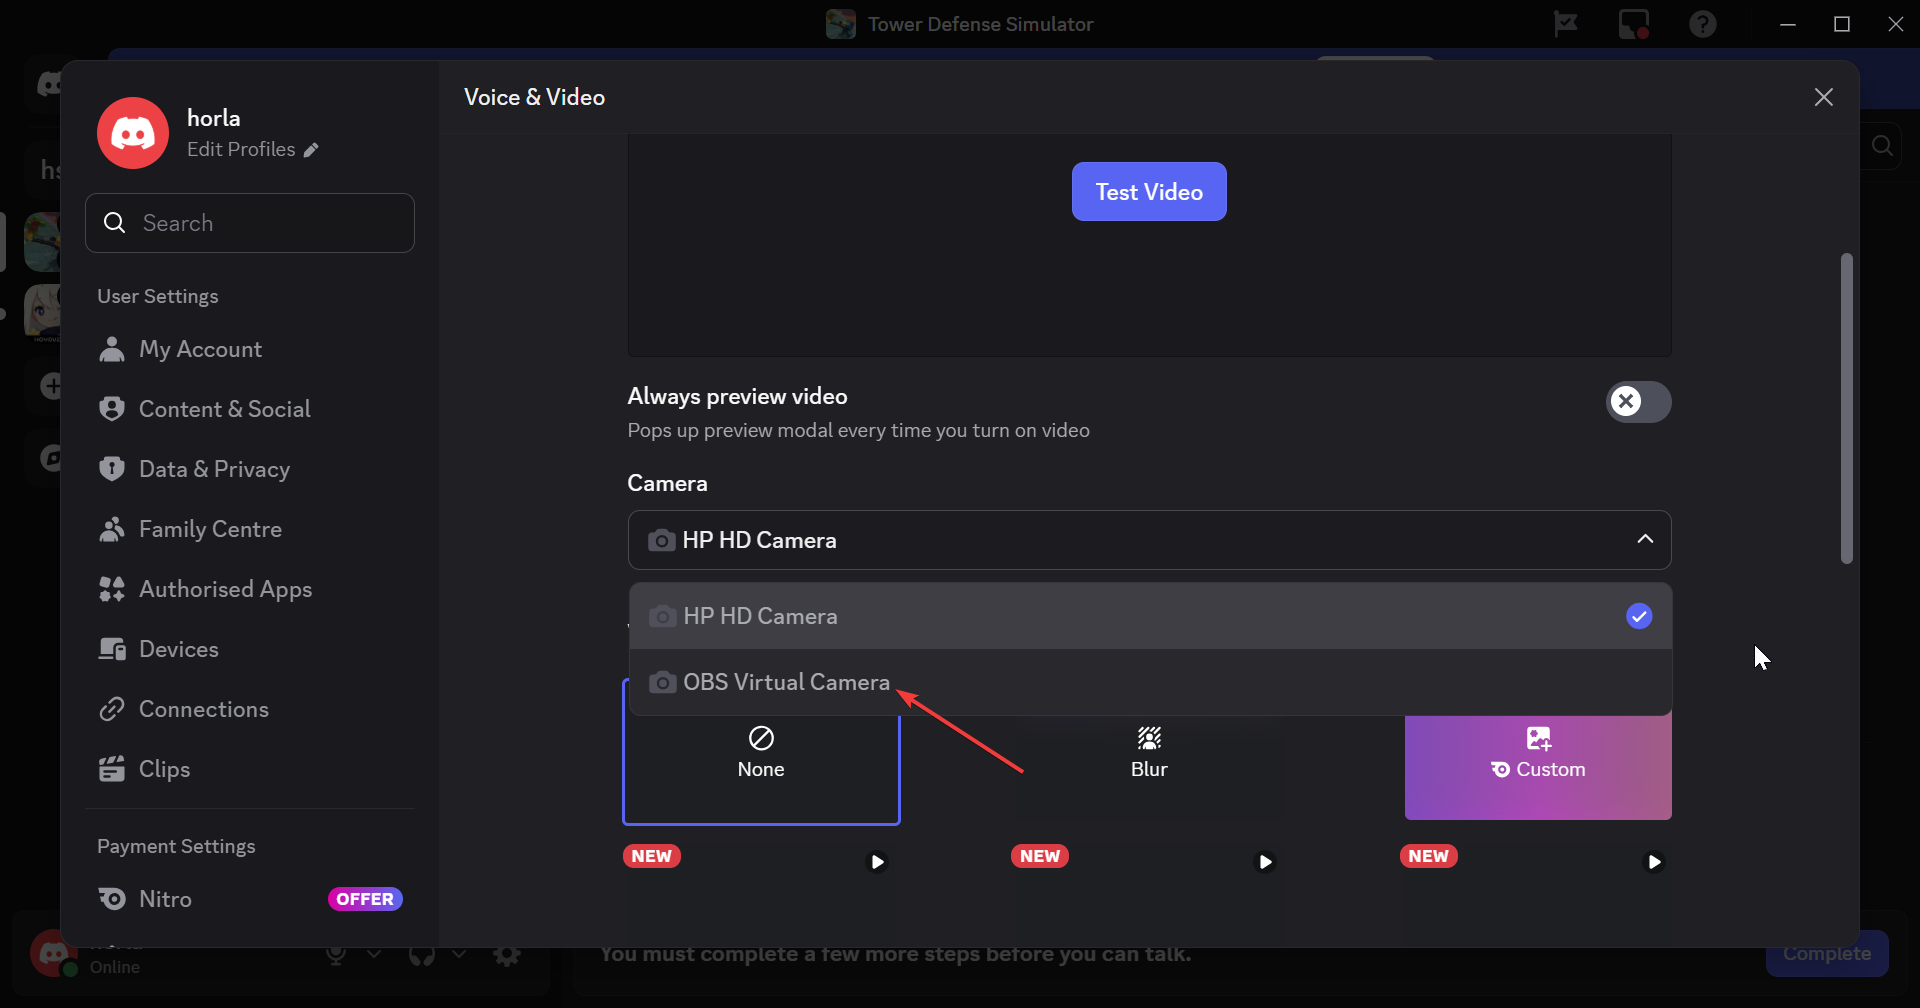
- Now, select the OBS Virtual Camera in the Camera section under the Video Settings.
Step 2: Create a Reactive Image with Fugi tool
- Open your browser and go to the Fugi Reactive website, then click Login and sign in with your Discord account.


- On the main settings page, click the No option chosen button under the Inactive heading and choose your first image.
- Click the No option chosen button under the Set Speaking Image, select your second image, and click Save.

- After making all the necessary changes, click Apply, then Save.
- Now, click the Copy icon next to Individual Browser Source under the Links section to copy the source link.
Step 3: Complete streaming setup with OBS
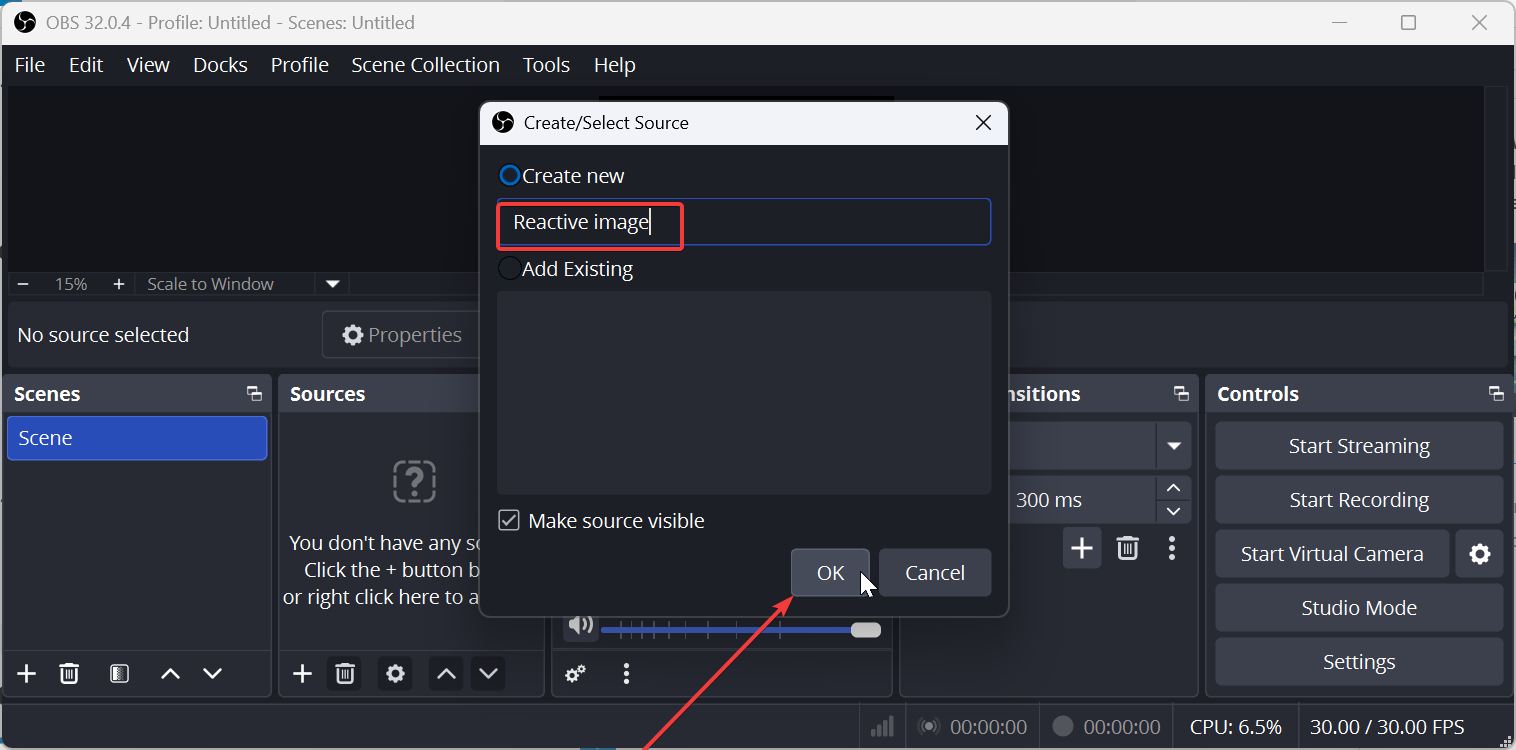
- Launch OBS Studio, click the plus icon under Sources, and click the Browser option.


- Now, give the source a name and click OK to confirm.
- Go to the Properties window, paste the link you copied from the Fugi website in the URL box, and click OK. This shows the reactive image on top.

- Finally, click Start Virtual Camera under the Control section on OBS to start the stream, then open the Discord app and connect to a voice channel.
Option 2: Use OBS for Discord reactive images (recommended for flexibility)
OBS offers more control and works well if you plan to stream later. Beginners can still use it if they follow the steps carefully.
Add reactive image sources in OBS
Add both idle and talking images as image sources. Place them in the same position on the canvas.
Use filters or plugins that react to microphone input. Keep only one audio source active to avoid conflicts.
Configure audio monitoring for voice activity
Select your microphone as the main audio input in OBS. Speak and confirm the audio meter moves consistently.
Disable unused audio devices. Clean audio improves reaction accuracy.
Show the reactive image in Discord or streams
Use OBS Virtual Camera if you want the image to appear as a webcam in Discord. You can also screen-share the OBS window.
Virtual Camera works best for clean integration. Restart Discord if the camera does not appear.
How to adjust sensitivity so images react naturally
Sensitivity controls how loud your voice must be to trigger the talking image. Too low causes constant movement, while too high causes delayed reactions.
Speak at your normal volume while adjusting the threshold. Stop adjusting once the image reacts smoothly without flickering.
Common problems and how to fix them
Reactive image does not move when speaking
Check that the correct microphone is selected in both Discord and the tool. Mute Discord noise suppression if detection fails.
Restart the tool after changing audio devices.
Image flickers or reacts randomly
Lower microphone sensitivity and reduce background noise. Turn off automatic gain control if the tool supports it.
Stable audio input prevents rapid image switching.
Discord voice activity not detected
Disable Discord features, like noise suppression and echo cancellation, temporarily. These features can block external audio detection.
Re-enable them after testing if needed.
Tips for better-looking Discord reactive images
- Use transparent PNG images for cleaner visuals
- Keep image sizes consistent
- Use neutral lighting in artwork to avoid harsh contrasts
- Test reactions in a quiet room
FAQs beginners usually ask
Does this work without streaming software?
Yes, beginner tools work without OBS or streaming knowledge.
Can I use reactive images on mobile Discord?
No, mobile Discord does not support external reactive image tools.
Do I need a camera for this setup?
No, reactive images replace the need for a webcam.
Summary
- Discord reactive images switch based on the microphone input.
- Beginners should start with no-code reactive image tools.
- Correct microphone selection matters more than image design.
- Sensitivity tuning prevents flickering and delays.
Reactive images give Discord conversations more personality without cameras or complex setups. Start with a beginner-friendly tool, confirm your microphone works correctly, and adjust sensitivity slowly.
Once the image reacts smoothly, you can stop tweaking and enjoy the setup. You can always upgrade to OBS later if you want more control or streaming features.


Discussion (0)
Be the first to comment.