

XPS files or XML Paper Specification files are Microsoft's direct competitor to Adobe's PDF format. XPS Viewer is a tool used to view XPS files, similar to Adobe Reader. While XPS might not be as popular as PDF, some Windows users still work with it. For those who use it or want to try it out, we’ll show you the main qualities of the XPS format, how to create XPS files, and how to work with the XPS Viewer, an optional feature tool available both in Windows 11 and Windows 10.
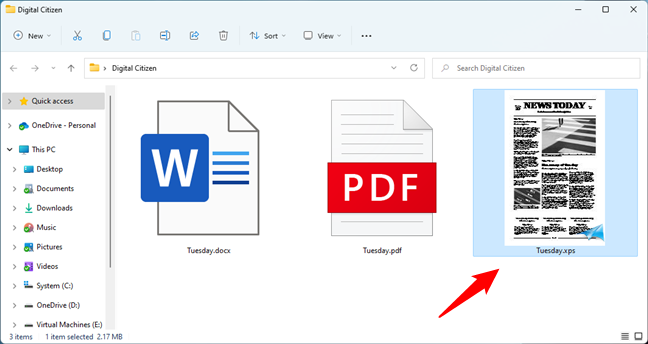
 An XPS file thumbnail viewed in File Explorer
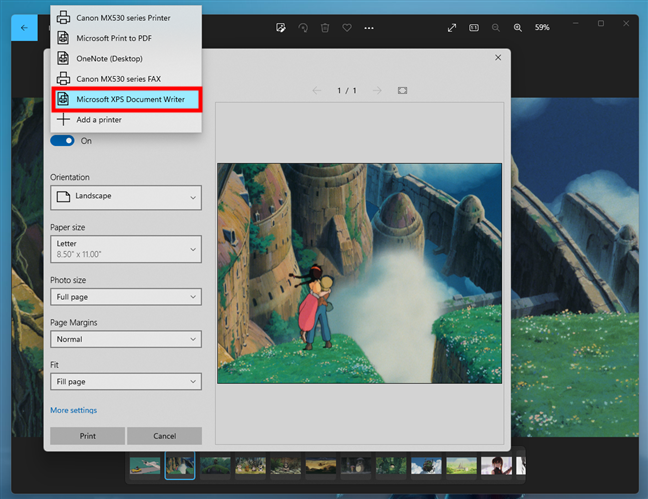
 The software printer called Microsoft XPS Document Writer
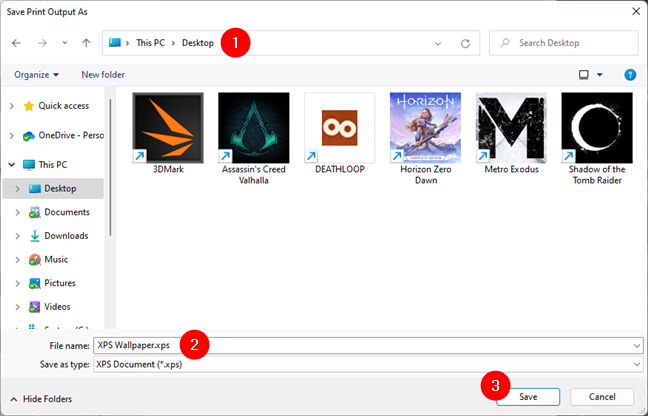
You’ll be asked where to save the new file under a name of your choosing. Make a choice, press Save, and you’re done.
The software printer called Microsoft XPS Document Writer
You’ll be asked where to save the new file under a name of your choosing. Make a choice, press Save, and you’re done.
 Save a file using the XPS format
Microsoft Office also includes the XPS Document option in its Save As menu. All you have to do is set the file’s location and name, choose XPS Document (*.xps) as the file type, and click or tap Save.
Save a file using the XPS format
Microsoft Office also includes the XPS Document option in its Save As menu. All you have to do is set the file’s location and name, choose XPS Document (*.xps) as the file type, and click or tap Save.
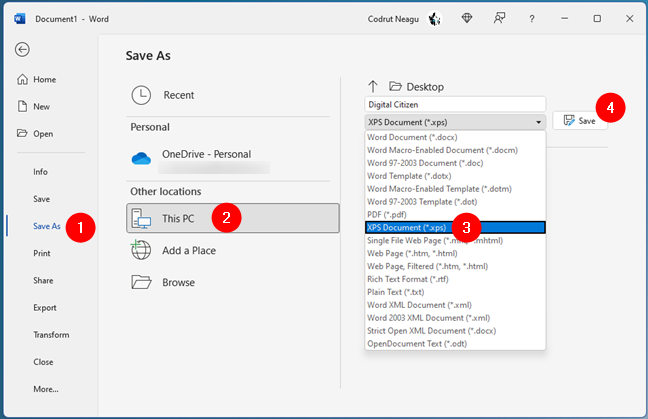
 How to save an XPS file with Microsoft Word
Then, the XPS file is instantly created and saved in your specified location.
How to save an XPS file with Microsoft Word
Then, the XPS file is instantly created and saved in your specified location.

 The Optional features page from Settings
Then, search for XPS, select the XPS Viewer optional feature, and press Next at the bottom of the window.
The Optional features page from Settings
Then, search for XPS, select the XPS Viewer optional feature, and press Next at the bottom of the window.
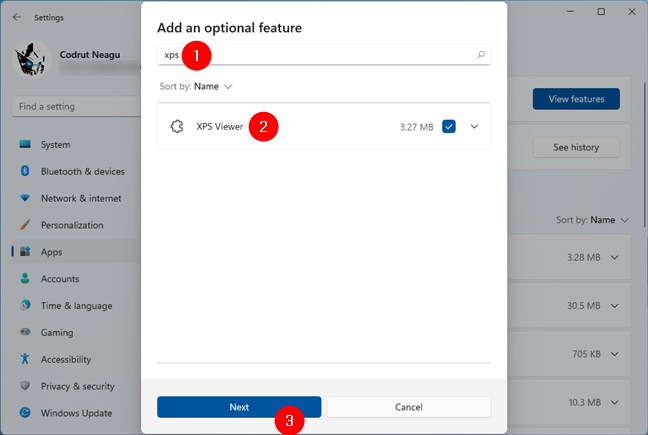 Searching for XPS in the list of Windows optional features
Click or tap on Install and wait for XPS Viewer to be added to your Windows 11 or Windows 10 PC.
Searching for XPS in the list of Windows optional features
Click or tap on Install and wait for XPS Viewer to be added to your Windows 11 or Windows 10 PC.
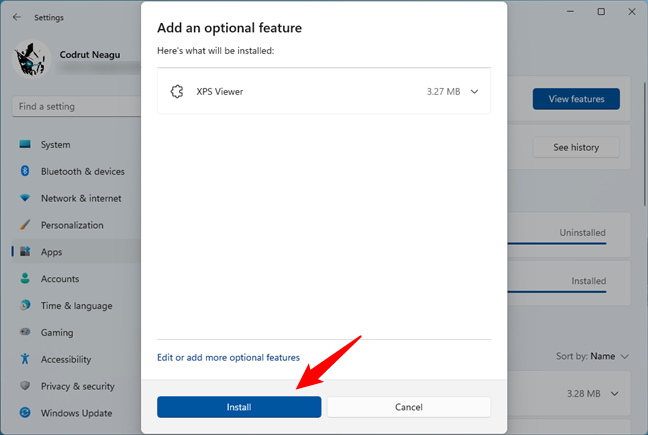 Installing XPS Viewer in Windows
NOTE: In Windows 10 things look a bit different but the steps involved are exactly the same. Don’t be intimidated by the fact that we didn’t provide screenshots for this operating system.
Installing XPS Viewer in Windows
NOTE: In Windows 10 things look a bit different but the steps involved are exactly the same. Don’t be intimidated by the fact that we didn’t provide screenshots for this operating system.
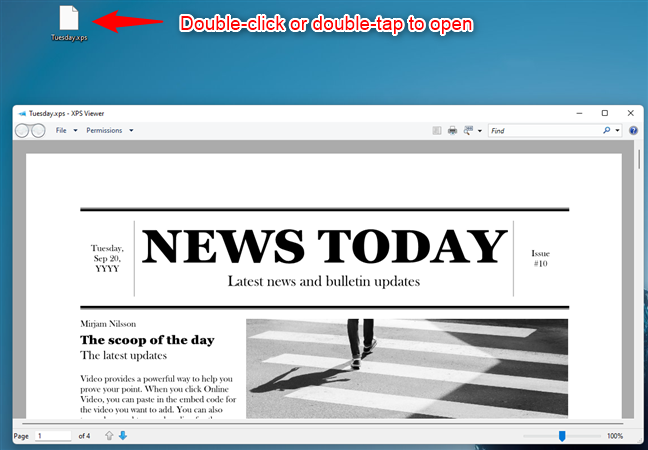
 Double-click to open an XPS file
Alternatively, you can launch the XPS Viewer first and open your XPS file from it. The fastest and easiest way to open XPS Viewer is to use the Windows search. In Windows 11, press the search button on the taskbar, type XPS, and click or tap on the XPS Viewer search result.
Double-click to open an XPS file
Alternatively, you can launch the XPS Viewer first and open your XPS file from it. The fastest and easiest way to open XPS Viewer is to use the Windows search. In Windows 11, press the search button on the taskbar, type XPS, and click or tap on the XPS Viewer search result.
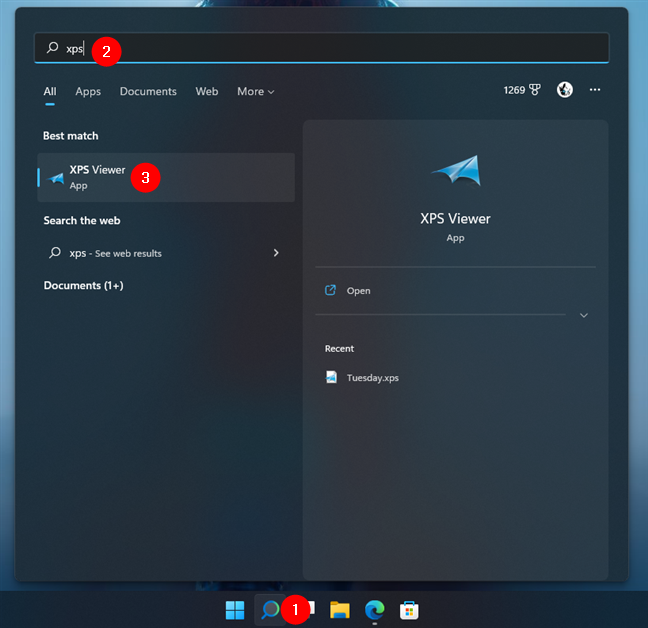
 Search and open XPS Viewer in Windows 11
If you’re using Windows 10, type XPS in the taskbar search field. Then, click or tap on the XPS Viewer search result.
Search and open XPS Viewer in Windows 11
If you’re using Windows 10, type XPS in the taskbar search field. Then, click or tap on the XPS Viewer search result.
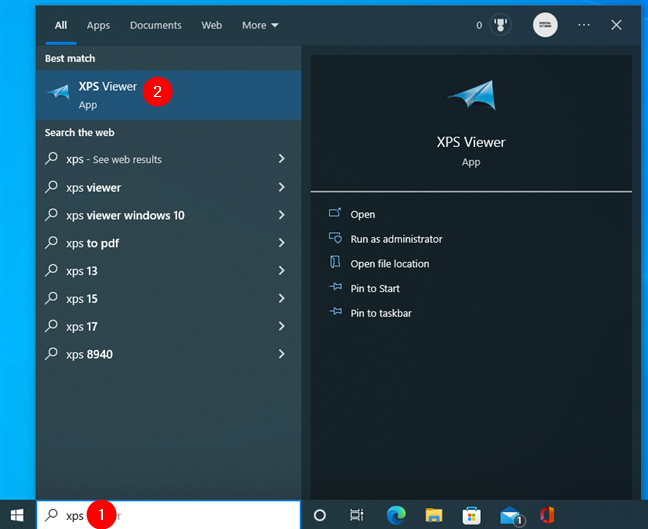
 Search and open XPS Viewer in Windows 10
To open files from the application’s interface, click or tap on File, select Open, and then browse to the document you need to access.
Search and open XPS Viewer in Windows 10
To open files from the application’s interface, click or tap on File, select Open, and then browse to the document you need to access.
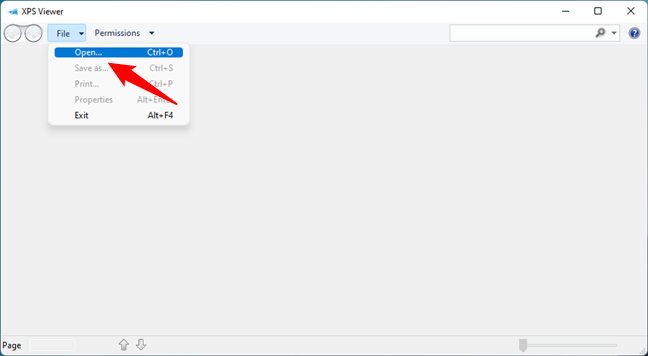
 Open an XPS file with XPS Viewer
XPS Viewer will instantly load the XPS document you’ve specified.
TIP: Do you need to open diverse files with unknown extensions? Read this guide for help: 3 ways to open files with unknown file extensions, in Windows.
Open an XPS file with XPS Viewer
XPS Viewer will instantly load the XPS document you’ve specified.
TIP: Do you need to open diverse files with unknown extensions? Read this guide for help: 3 ways to open files with unknown file extensions, in Windows.
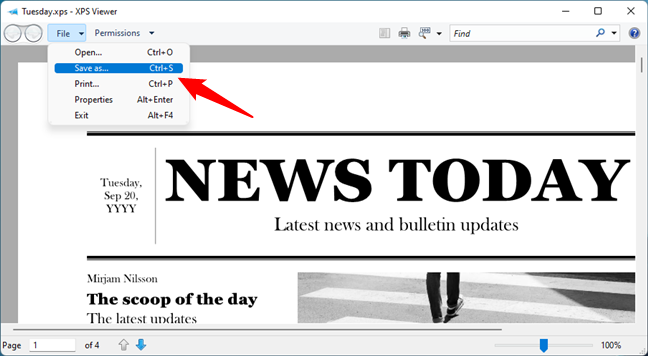 Save an XPS file with XPS Viewer
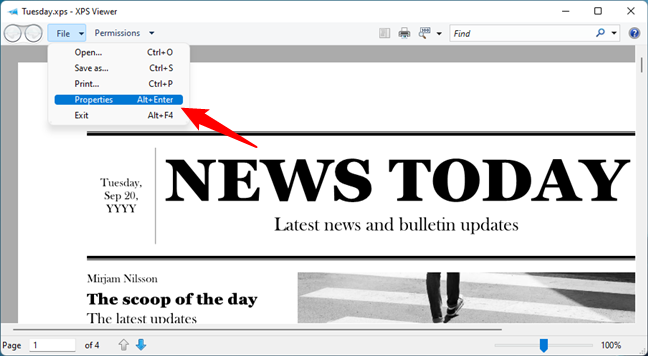 Check the properties of an XPS document
This opens the well-known Properties window, where you can find information about the file: title, subject, authors, creation date, etc.
Check the properties of an XPS document
This opens the well-known Properties window, where you can find information about the file: title, subject, authors, creation date, etc.
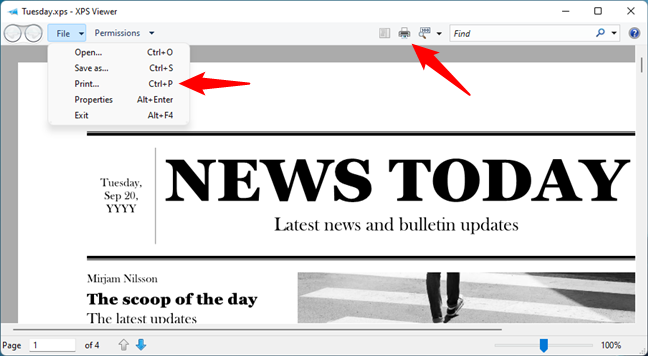 Use XPS Viewer to print an XPS file
For more information, here’s how to print on Windows.
Use XPS Viewer to print an XPS file
For more information, here’s how to print on Windows.
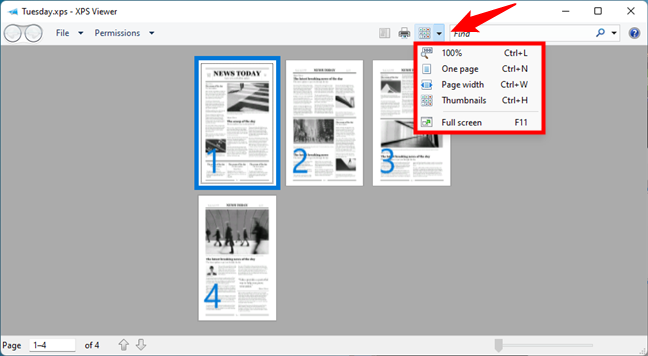 Viewing modes available in XPS Viewer
There’s also an outline view that shows the structure of your XPS file. If your XPS document has an outline, press the Outline button to display it.
Viewing modes available in XPS Viewer
There’s also an outline view that shows the structure of your XPS file. If your XPS document has an outline, press the Outline button to display it.
 See the outline of an XPS document
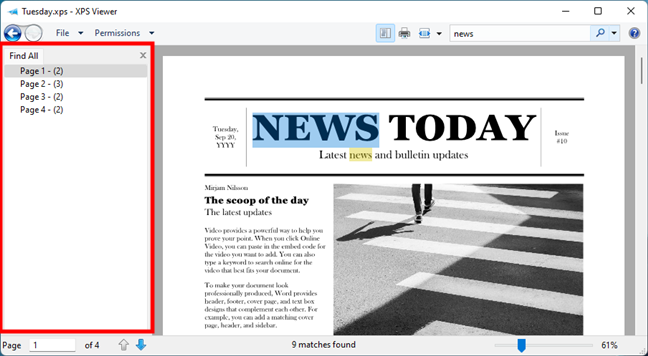
 Search for text within an XPS file
You can then navigate the pages of your XPS document to get to the search results, using the entries from the “Find all” list on the left sidebar of the XPS Viewer window.
Search for text within an XPS file
You can then navigate the pages of your XPS document to get to the search results, using the entries from the “Find all” list on the left sidebar of the XPS Viewer window.
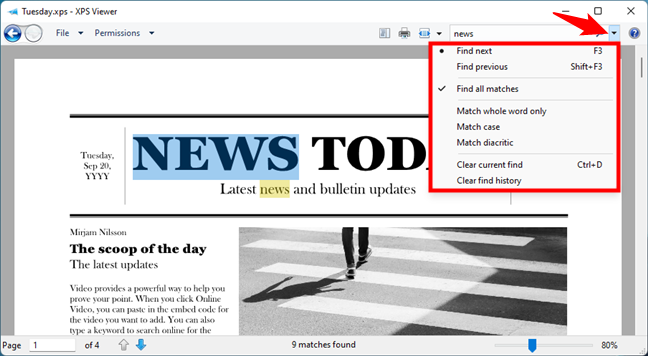
 Navigate the text search results in an XPS file
And, if you need to use detailed criteria for your search, you can click/tap the small arrow button on the right of the Find box. Then, you get access to a couple of common choices such as “Match whole word only,” “Match case,” or “Match diacritic,” as well as options to jump to the next or previous occurrence of the text you’ve entered, or clear current results and the entire history.
Navigate the text search results in an XPS file
And, if you need to use detailed criteria for your search, you can click/tap the small arrow button on the right of the Find box. Then, you get access to a couple of common choices such as “Match whole word only,” “Match case,” or “Match diacritic,” as well as options to jump to the next or previous occurrence of the text you’ve entered, or clear current results and the entire history.
 Search options in XPS Viewer
What is an XPS file?
XPS is a fixed-layout document format designed to preserve document fidelity. XPS holds several advantages, such as good cooperation with other technologies like Microsoft's digital rights management technology and its independence of software and hardware. Unfortunately, it never gained traction, as most people preferred Adobe’s PDF file format.How to create an XPS file
Creating XPS documents is easy, and you can do it from any type of file that can be printed since this functionality is integrated into all Windows applications. To create an XPS document, go to the Print menu of the app you’re using and select the “Microsoft XPS Document Writer” as the printing device.What is XPS Viewer? Where’s XPS Viewer in Windows 11 and Windows 10?
To open an XPS file, you can use XPS Viewer. It’s a tool created by Microsoft specially for this purpose, and in older versions of Windows 10, as well as in Windows 7 and Windows 8.1, it used to be installed by default. In Windows 11 and recent versions of Windows 10, it’s not, but it’s available as an optional feature that you can install on your own. We’ve covered the steps in detail here: How to add or remove optional features in Windows 11 and Windows 10. So no, you don’t have to download XPS Viewer in either Windows 10 or Windows 11. In short, what you’ll have to do is this: Regardless of whether you’re using Windows 11 or Windows 10, open the Settings app (Windows + I). In it, head to Apps > Optional features, and click or tap on View features next to “Add an optional feature.”How do I open an XPS file?
Once you’ve installed XPS Viewer on your computer, you can simply double-click or double-tap on any XPS file to open it.How to save an XPS file with XPS Viewer
You can save an XPS document under a new name by pressing Save As in XPS Viewer’s File menu or using the Ctrl + S keyboard shortcut.How to view information about an XPS file
To view more details about a file you have opened, go to File > Properties or simultaneously press Alt + Enter on your keyboard.How to print an XPS file
To print an XPS document, you have three options: go to File > Print, use the Print button on the top toolbar, or press Ctrl + P on your keyboard.How to choose a different viewing mode in XPS Viewer
The XPS Viewer application also offers different ways of viewing a document. Press the Zoom button repetitively or click/tap the arrow next to it to select one of the available ways for viewing an XPS document: 100%, One page, Page width, Thumbnails, or Full screen.How to search for text in an XPS file
Do you need to search for some word or phrase in particular? Type it in the Find box and press Enter.
Discussion (8)
Hello good day 🙂 , I read your article and I found it interesting and mindful please keep on posting different kinds of discussion.
gofastek.com
We have bulk of xps files, We want to find the file with the help of content in the file. Can you Pls help us out.
Hello,
my college Professor uses XPS format for all of her class presentations. She makes notes on them with a computer pad and then sends us the document so we can study. The problem is that the pages all appear sideways and theres no option to rotate them so I have to flip my computer on its side to read. This makes it very difficult to scroll down the page with a mouse. Is there anyway to rotate the document or convert it to a format that can be rotated? I’ve tried everything.
Thanks,
Angela
Try to open them with Microsoft Office 2010 and see if you can rotate them by using it. It might work.
You cannot rotate documents from the XPS viewer. But, you can rotate them from the Reader app in Windows 8, if you have Windows 8.
Well explained. I like it. Very good.
if i’m the one who need to sign the certificate how do i create the certificate how should i get them ?
Prior to reading this article, I had an idea of what XPS was, but did not know everything about it. I now have a much better understanding. I did not realize it had so many features.
It’s interesting how there are so many utilities (including XPS) that allow the creation of PDF or PDF like documents, but Adobe does not allow their free Reader application to create PDF files. Go figure.
Great article!