Is your Windows 10 or Windows 11 computer or device unable to load the operating system successfully? Is Windows reporting missing or damaged system files? If that's the case, you should try to boot from a recovery drive and use the Startup Repair tool. It’s a very helpful tool that can repair your system and save you from having to reset or reinstall the operating system. Here's how it works:
What is Startup Repair & What does it do on your computer?
Startup Repair is a tool designed to fix problems like missing or damaged system files used to load the Windows operating system. It can’t detect or fix hardware failures, nor does it help against virus attacks and the damage they do. Instead, it scans your computer or device for system issues (corrupt system files, invalid boot files) and then tries to fix the problem.
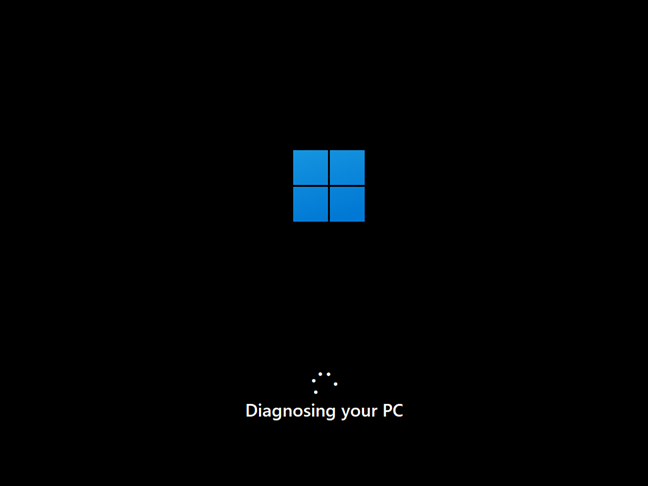
Startup Repair running on a Windows 11 computer
Obviously, this tool is safe, as it’s made by Microsoft itself, and it comes in handy when Windows fails to boot correctly.
How to launch Startup Repair
Obviously, your computer or laptop can’t boot Windows properly, which is why you’re trying to run Startup Repair. So, you can’t rely on your operating system to launch it. But, in order to use this tool, you can and should boot your Windows computer from a recovery drive, a System Repair disc, or a Windows installation drive.
Either one will work, and you can create any of them on a working Windows 10 or Windows 11 computer. If you don’t know how to do that, here are some tutorials that will guide you through the required steps:
- How do you create a USB Windows 10 recovery drive?
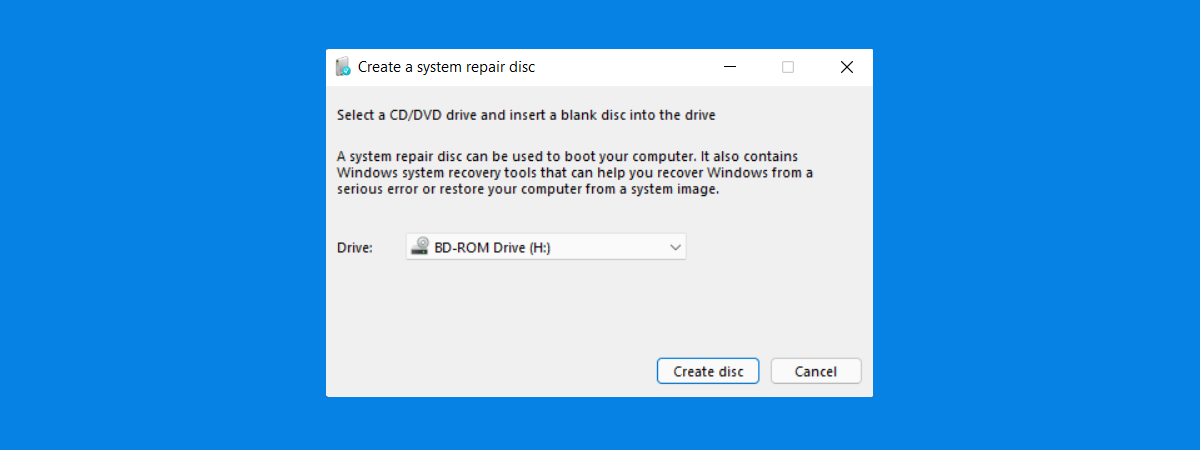
- How to create a System Repair disc in Windows 10 and Windows 11
- Windows 10 Media Creation Tool: Create a setup USB stick or ISO
- Windows 11 Media Creation Tool: Create a setup USB stick or ISO
Before we go any further, you should know that the steps you’ll have to follow and the options you’ll get are the same in both operating systems - Windows 10 and Windows 11 - so, to keep things simple, we’ll only use screenshots taken in Windows 11.
Once you have a recovery drive, a System Repair disc, or a Windows installation drive ready, boot from it. To do that, plug it in and start your computer or device. Immediately after your PC starts, press the boot device selection key from your keyboard. It’s usually the F12, F11, or the Escape key, but it could also be another one, depending on the manufacturer of your computer’s mainboard.
Doing that will make your computer display a boot priority selection menu. Use the arrow keys on your keyboard to select the USB recovery drive or the System Repair disc. Then, press Enter.
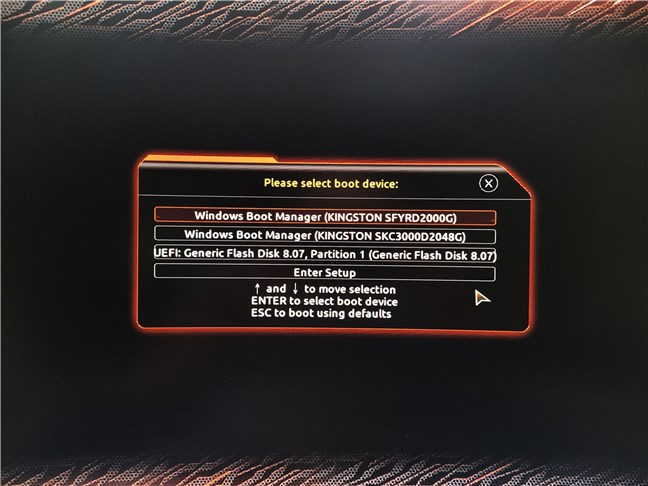
Boot your computer from a Recovery Drive, System Repair disc, or Windows installation media
TIP: Here’s how to boot from a USB drive on your PC.
How to launch Startup Repair from a USB recovery drive or a System Repair disc
Once your PC boots, you might be asked to choose the keyboard layout you want. If this happens, click or tap on the layout that matches your keyboard. To navigate between all the available keyboard layouts, press “See more keyboard layouts.”
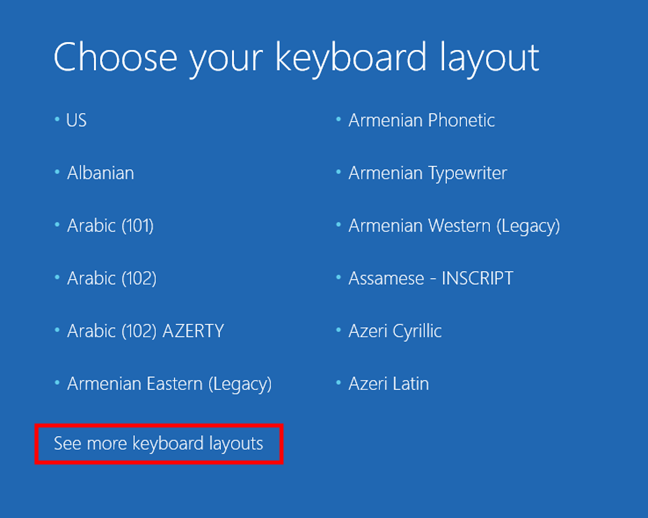
Choose your keyboard layout
The list of available keyboard languages is quite long, and you may have to scroll until you find the layout you want to use. Then, on the next screen, click or tap on Troubleshoot (Reset your PC or see advanced options).
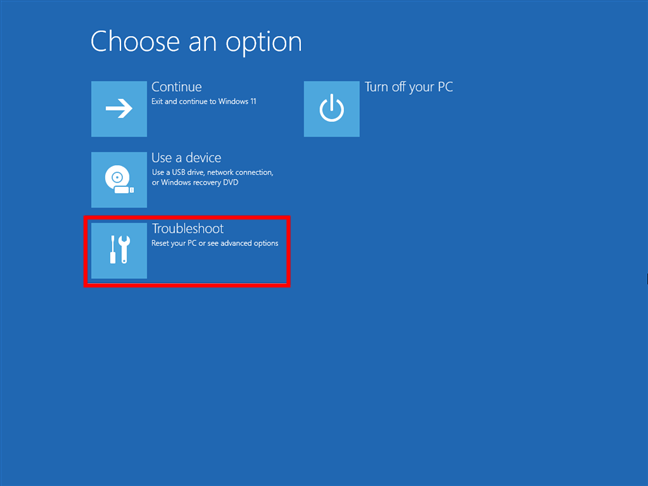
Select Troubleshoot
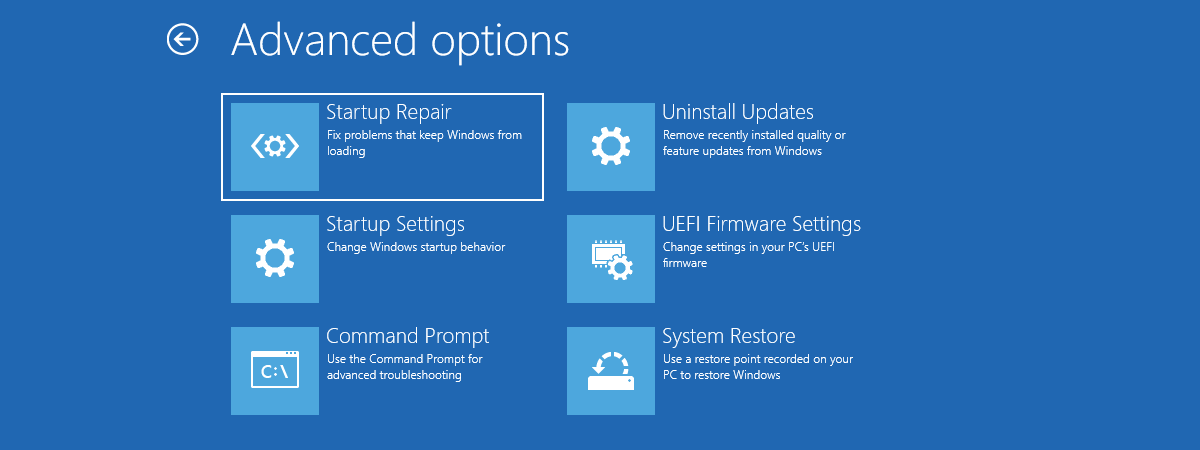
On the Advanced options screen, click or tap on Startup Repair (Fix problems that keep Windows from loading).
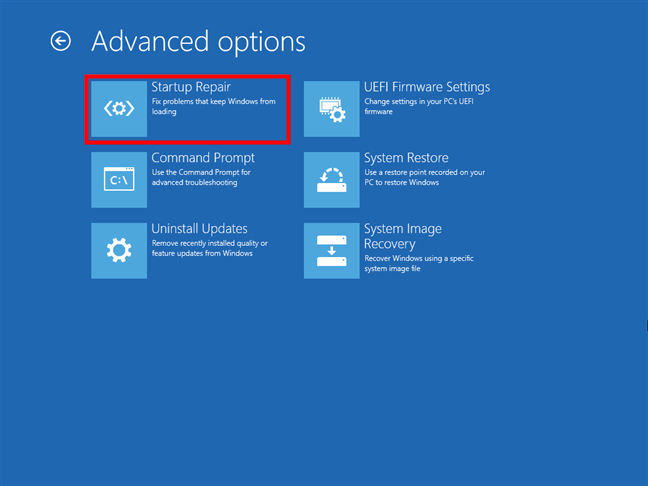
Launch Startup Repair
Now scroll to the “How to use Startup Repair in Windows 10 and Windows 11” section of this guide to see what happens next.
How to launch Startup Repair from a Windows installation drive
If you’ve chosen to boot your computer or laptop using a Windows installation drive, wait for the Windows Setup wizard to load. Select the language, time and currency format, and keyboard or input method you prefer, and press Next.
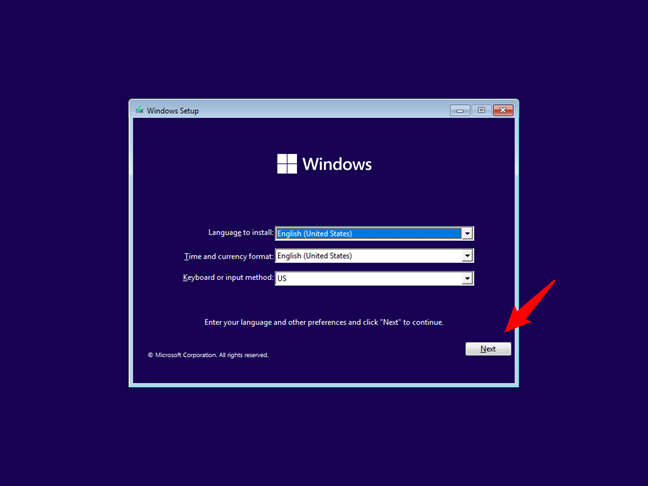
Complete the first step of the Windows Setup
On the second step, click or tap on Repair your computer at the bottom-left corner of the wizard. Alternatively, you can also press R on your keyboard.
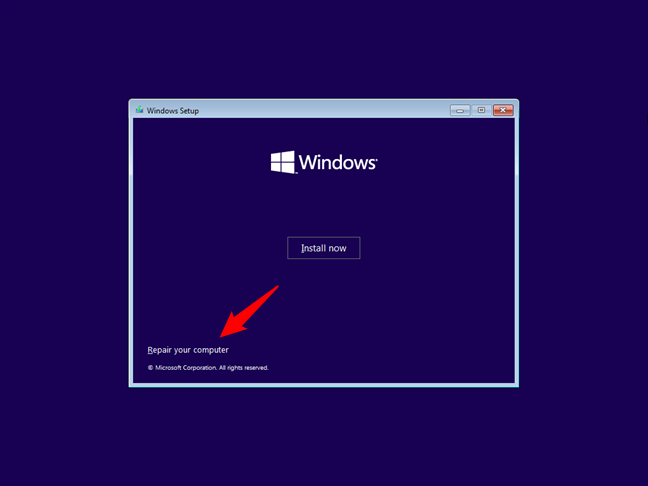
Repair your computer
On the Choose an option screen that shows up next, click or tap on Troubleshoot.
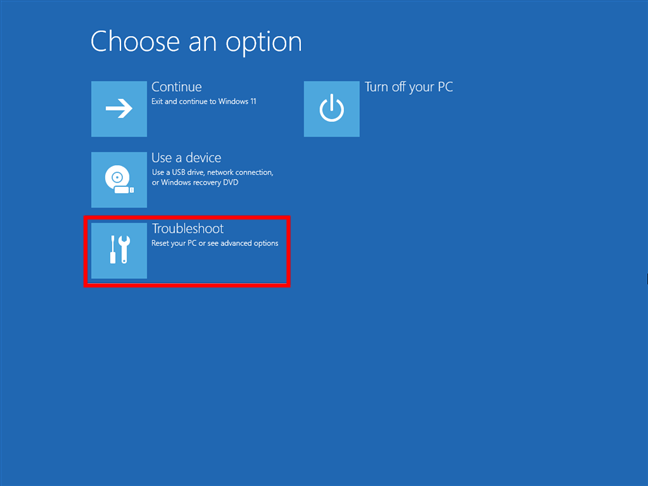
Choose Troubleshoot
This loads the Advanced options screen. On it, press the Startup Repair option to “Fix problems that keep Windows from loading.”
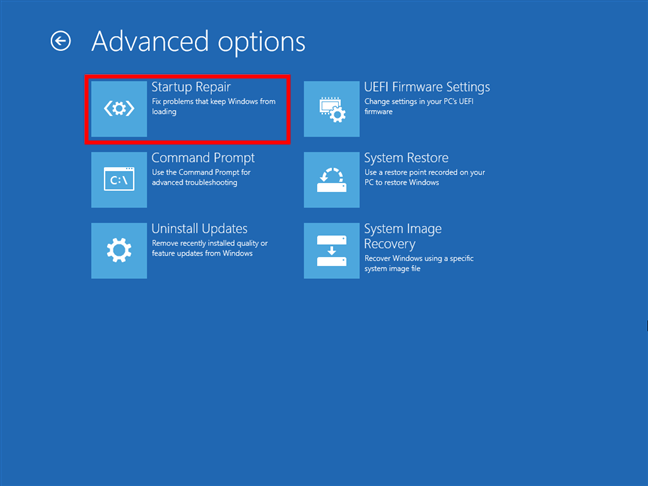
Initiate the Startup Repair
Next, here’s what the Startup Repair tool does:
How to use Startup Repair for Windows
Regardless of how you started Startup Repair, it will now automatically begin “Diagnosing your PC.”
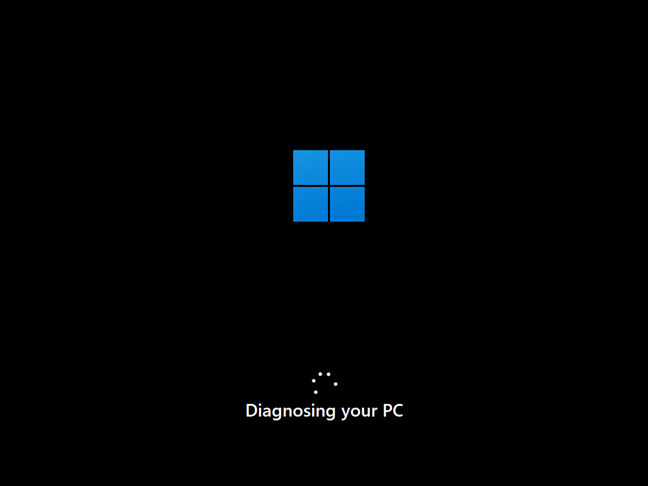
Startup Repair is Diagnosing your PC
After a while, if problems have been found, Startup Repair will attempt to repair them.
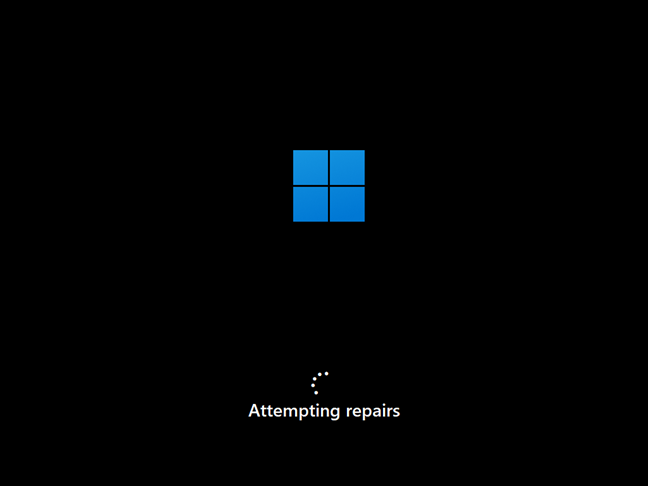
Startup Repair is Attempting repairs
If Startup Repair manages to repair your problems, you are informed, and you can restart your Windows computer or device and use it normally again.
On the other hand, if it can’t repair the problems, Startup Repair will tell you about it, and you’ll have the option to access the Advanced options screen again, where you can find other troubleshooting tools. Or... you can simply Shut down your computer.
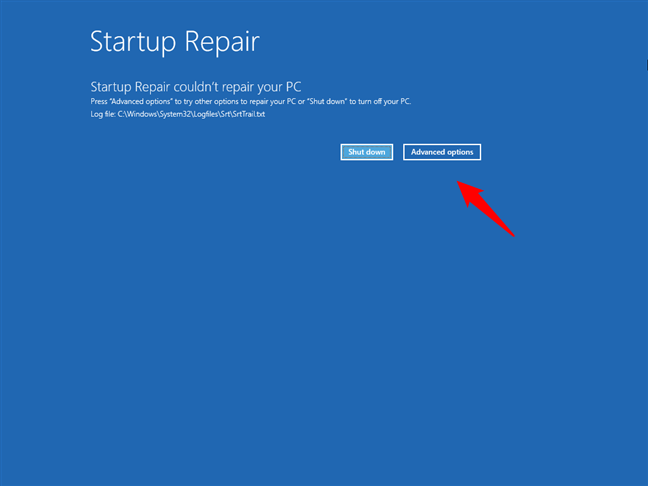
Startup Repair couldn't repair your PC
In case you’re wondering about “How long should a Startup Repair take?” we can tell you that it should all be over in a few minutes on a modern computer with a solid-state drive. However, on a slow PC that still uses a hard-disk drive and a lot of boot issues, the whole process will take longer than that.
TIP: If nothing seems to work to make your computer boot normally, your MBR or EFI Bootloader might be broken. In that case, you might want to try troubleshooting them using the bcdboot or bootrec tools. You’ll find instructions here: Repair the EFI Bootloader or the MBR (Master Boot Record) for Windows.
Did you fix your computer using Startup Repair?
As you can see from this guide, Startup Repair is very easy to use. The slightly more complicated part is booting from the recovery media and starting the tool. And that's why we have created this guide. Hopefully, many of you, our readers, will be able to solve your issues with Windows 10 or Windows 11 not loading correctly. Let us know in the comments section below if you have any other questions.


