29.11.2016
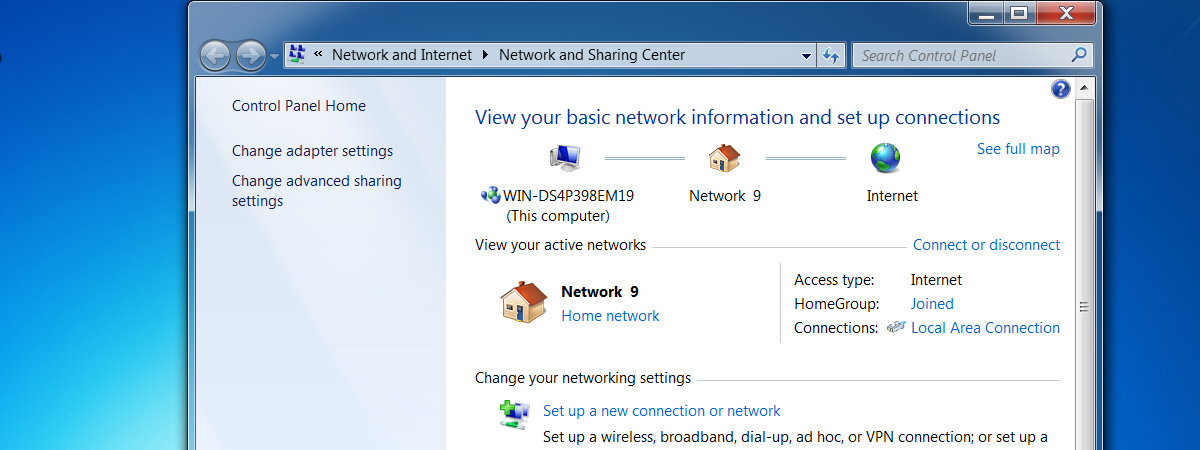
Very few people pay attention to how Windows is set when it comes to network sharing, what is shared with the network and how. Luckily, both Windows 10 and Windows 8.1 offer a panel that allows you to control every important setting, so that file network sharing is enabled only when you are connected to trusted private networks and sharing is done in a secure manner. Here's how to find every advanced network sharing setting in Windows and how to configure them:
NOTE: This guide applies to both Windows 10 and Windows 8.1. There are very few minor differences between the two operating systems and they are highlighted appropriately.
Step 1: Open the Network and Sharing Center
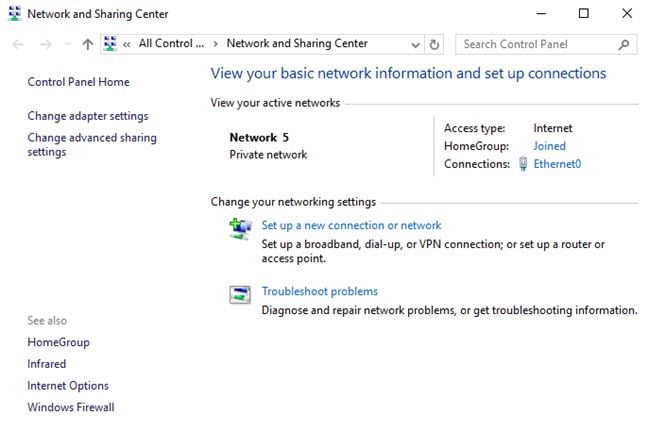
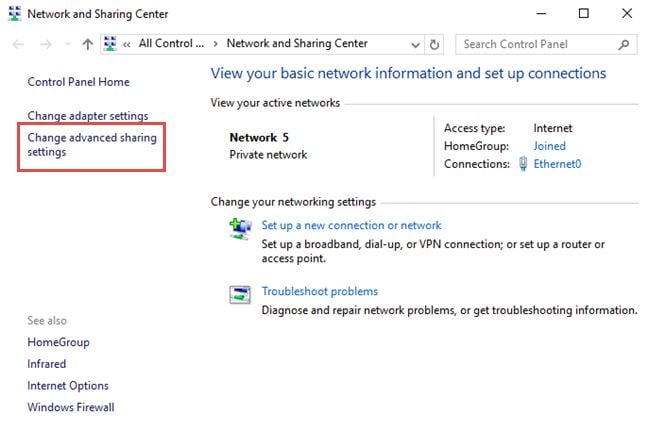
First, you have to open the Network and Sharing Center. One way is to start the Control Panel and go to "Network and Internet -> Network and Sharing Center". Other methods for opening it are described in this article: What is the Network and Sharing Center in Windows?.
Step 2: Access the advanced sharing settings
Windows 10 and Windows 8.1 have grouped all their advanced network sharing settings, in the "Advanced sharing" settings window. To open it, click or tap the "Change advanced sharing settings " link found on the left side of the Network and Sharing Center.
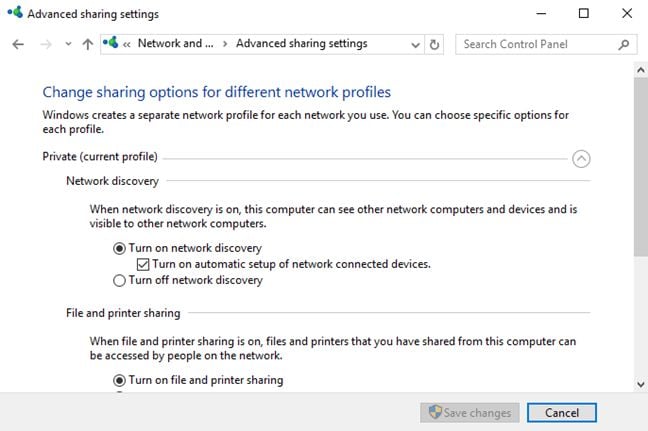
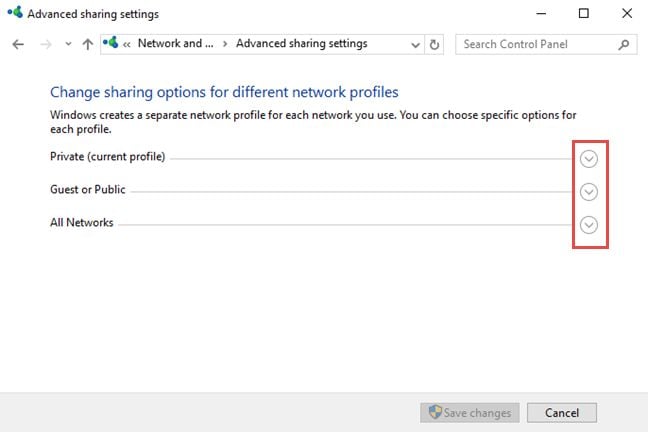
T he available settings are split into 3 sections, grouped by network profile: Private , Guest or Public and All Networks. Each network profile has different defaults which are applied when connecting to a network of that type. The profile assigned to your existing network connection is indicated by the statement " current profile" placed next to the name of one of the available profiles.
You can collapse or expand any category by clicking or tapping the arrow placed to its right.
The Private profile has the following settings: Network discovery , File and printer Sharing and HomeGroup connections. The Guest or Public profile has the same settings in Windows 10 and only Network discovery and File and printer Sharing in Windows 8.1.
There is also a third category of settings: All networks. It includes Public folder sharing , Media Streaming , File sharing connections and Password protected sharing. These settings and their defaults apply to all network connections. Let's learn how to configure all these settings one by one, in the next steps of this guide:
Step 3: Turn network discovery On or Off
When this setting is enabled, Windows searches for other devices on the network and it allows other computers and devices on the same network to find your Windows–based computer or device. In Network discovery you will also find a sub-setting that is not documented by Microsoft: "Turn on automatic setup of network connected devices". What does it do? Should you turn it On or Off and when? To find out please read this guide: What is the Automatic Setup of Network Connected Devices in Windows?.
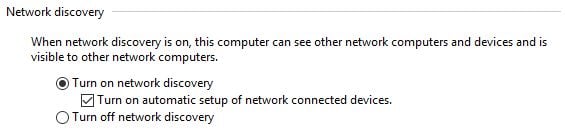
Recommendation: For Private network connections turn on network discovery and for Guest of Public network connections turn it off, so that your device won't be visible to other computers and others won't be able to access what you are sharing normally on the networks that are trusted.
Step 4: Turn file and printer s haring On or Off
Next, you can enable or disable File and printer sharing. When this setting is applied, you can share files and printers with other computers and devices on your network. When it is disabled, you won't be able to share anything. Even if your computer is visible to other devices on the network, no one will be able to view any shared folders and printers.
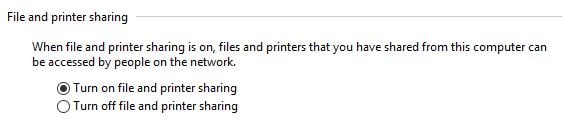
Recommendation: For Private network connections turn on File and printer sharing and for Guest of Public connections turn it off.
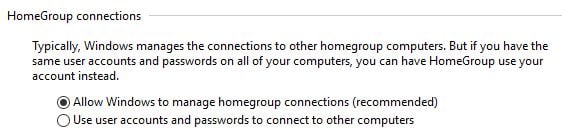
Step 5: Turn HomeGroup connections On or Off
The HomeGroup connections is for enabling or disabling the Homegroup sharing feature in Windows. This setting is available only for Private network connections. If you have multiple Windows devices, you should keep this feature turned on and use it for easy network sharing. To turn it on, check the box that says: "Allow Windows to manage Homegroup connections". If you choose "Use user accounts and passwords to connect to other computers" , you must manually type a username and password when you connect to other network computers and when they connect to your computer.
Next, we will focus on the settings that are found in the All Networks section. You must be careful with these settings because they apply to both types of network connections: public and private.
Step 6: Turn Public folder sharing On or Off
When this setting is turned on, people on the network, including Homegroup members can access the files from your Public folder which can be found at "C:UsersPublic". To learn more about this network sharing feature, read this guide: What is the Public Folder & How to Use it?.
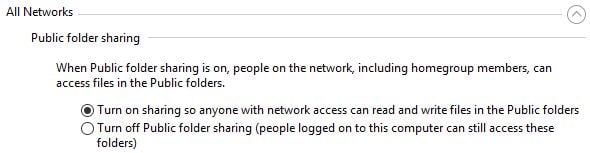
Recommendation: We recommend keeping this feature turned off, if you have only one user account on your computer. If you have multiple user accounts that need to share data between them, this feature may be useful. Also, this feature is best used when connected to private networks.
Step 7: Turn media streaming On or Off
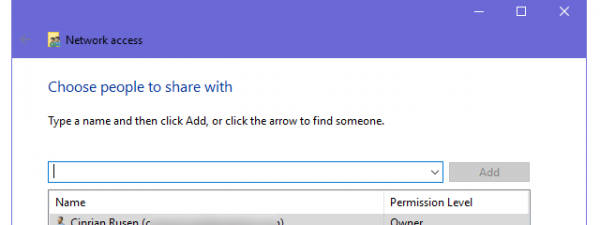
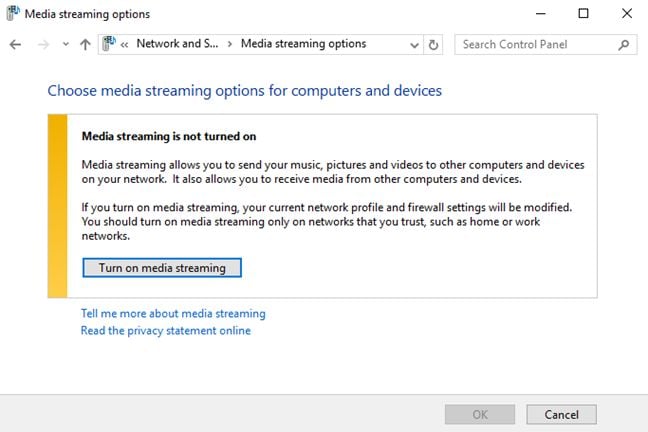
When media streaming is on, you can stream multimedia files (pictures, videos and music) using Windows Media Player and other programs. If you have an Xbox console in your network you can easily stream your libraries to it. If you want to change the current status, click or tap "Choose media streaming options".

If it is turned on, you will see a window listing your computer and others from your network which have media streaming enabled. If you don't need to use this feature, you can disable it by pressing the Block All button and then OK.
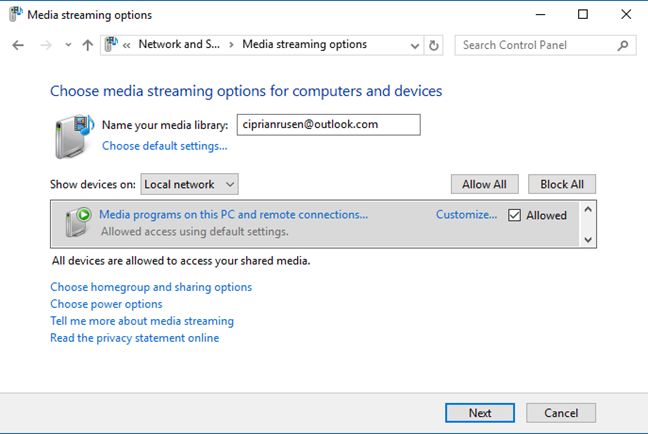
If media streaming is turned off, you will be asked to turn it on. Click or tap "Turn on media streaming" , if you want it enabled. Then, you will see a window similar to the one above, where you can edit your media streaming settings.
Recommendation: Turn on this feature only if you use media streaming and when you are connected to a private network.
Step 8: Set the encryption for file sharing connections
The next setting is about the type of encryption used for file sharing connections, when computers connect to each other and copy files and folders from one another. By default, this is set to 128-bit encryption, so your data transfer will be secure and harder to intercept.
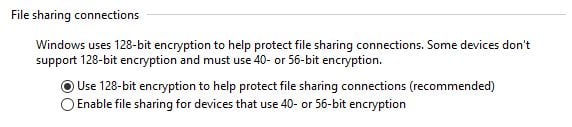
Recommendation: The 128-bit encryption works well with most operating systems, so there's no reason to change it, unless you have older devices or computers which cannot properly access your shared files and folders. In this case you can check the box that says "Enable file sharing for devices that use 40- or 56-bit encryption" and keep in mind that this is a less secure option.
Step 9: Turn password protected sharing On or Off
Password protected sharing allows people to access your shared files and folders only if they have a user account and password set on your computer. This feature is useful for computers which are not included in the Homegroup (in case you are using one). For example, Linux or Mac OS X computers in your network will not be able to use the Homegroup and the people that are using them will need to type a username and password that exists on your Windows computer, when accessing your shared folders.
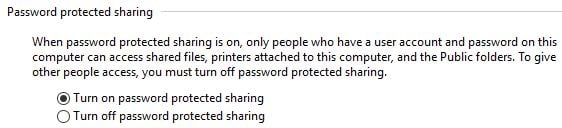
Recommendation: Keep this feature turned on at all times to prevent unwanted people from accessing your shared resources.
Step 10: Save your advanced network sharing settings
After fiddling with all the available settings, do not forget to click or tap Save changes.
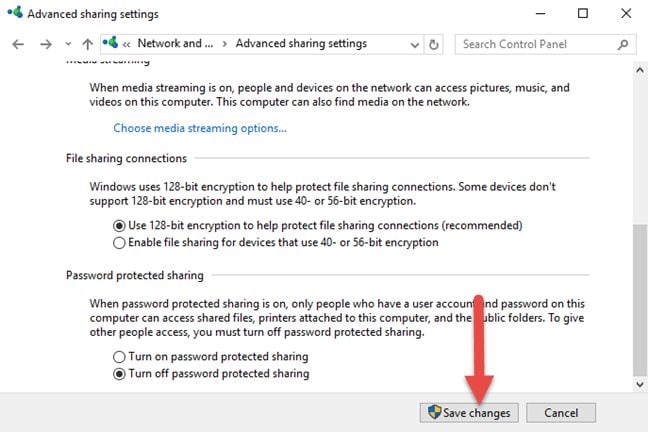
Otherwise, your settings will not be applied.
IMPORTANT : A common mistake that many people make!
If you have chosen the wrong network location do not try to change the network sharing settings for that location, because you will be exposed to all sorts of inconveniences and security issues when you connect to another network. Instead, try to re-assign the correct location for your network. If you don't how to do this please, read the following guides:
- Change your Windows 10 network location to Private or Public, in 3 steps
- Change the Location of a Network from Private to Public in Windows 8.1
Conclusion
We hope that you have found this guide useful and that now you know how to best set network sharing on your computers and devices with Windows 10 or Windows 8.1. If you have any questions or problems, do not hesitate to ask using the comments form below.