03.06.2020
If you're the proud owner of one or more Apple devices such as an iPhone, iPad, or a Mac, iCloud is something you probably rely upon. Do you also use a Windows 10 or Windows 7 PC? Would you like to get easy access to your iCloud files from it? Fortunately, Apple provides us with an app called iCloud for Windows, which we can use for just that. Here's where to download iCloud for Windows and how to install it on Windows 10 or Windows 7:
How to download and install iCloud for Windows 10
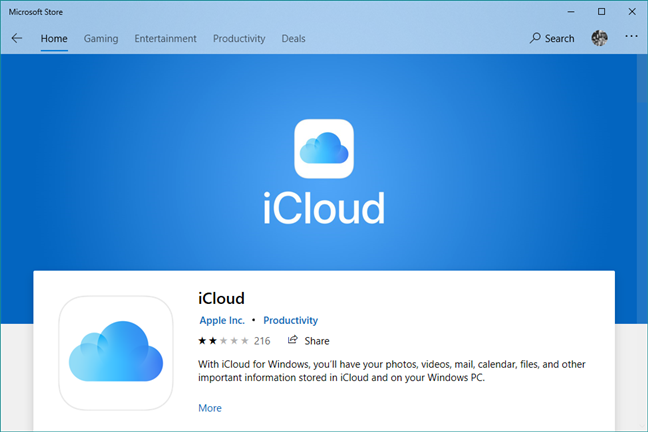
On your Windows 10 PC, open the Microsoft Store app and search for iCloud. Alternatively, you can also use this direct link.
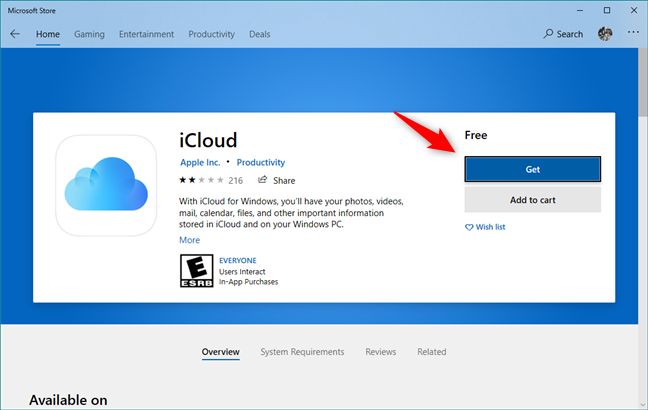
Click or tap on the Get or Install button.
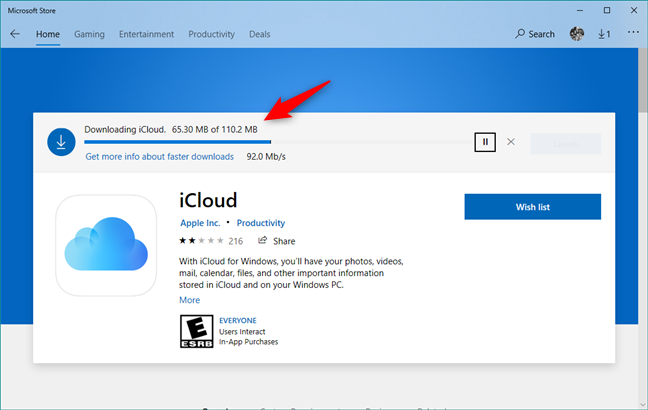
Wait for a couple of moments until Windows 10 downloads and installs the iCloud app on your PC.
Then, you can open the iCloud app by pressing the Launch button from the Microsoft Store, or by using its shortcut from the Start Menu.

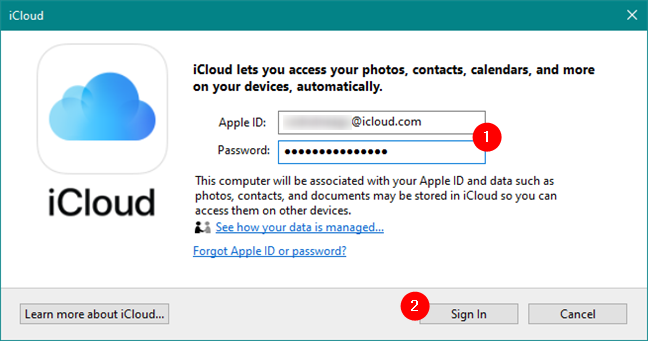
When you start iCloud for the first time, it asks you to enter your Apple ID and Password. Type your credentials in the appropriate fields, and then click or tap on Sign In.
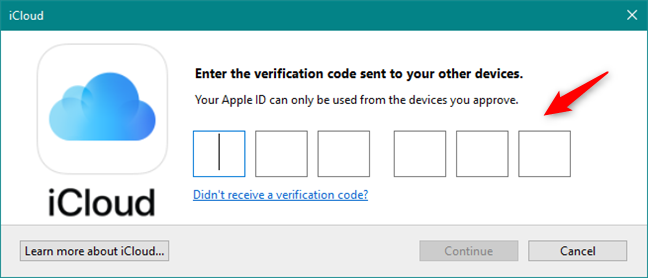
Next, Apple sends you a one-time security code on your iPhone (or iPad/Mac, depending on what Apple devices you own). Type the verification code in the iCloud app from your Windows 10 PC.
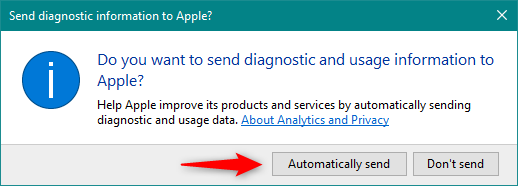
If everything's OK, now you are signed in. The iCloud app should ask you whether you want to "send diagnostic and usage information to Apple?".
Choose "Automatically send" if you want to "Help Apple improve its products and services [...]", or "Don't send" if you don't want to do that.
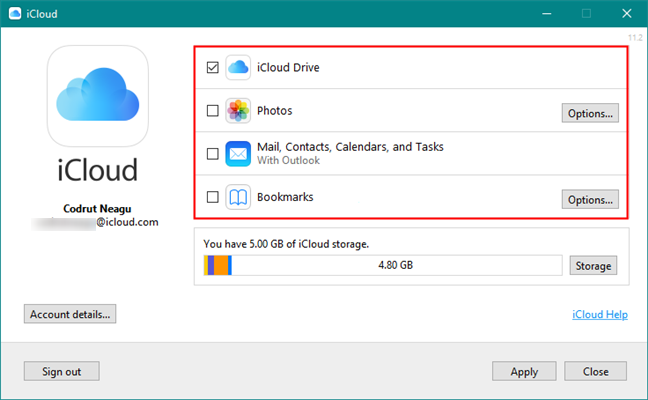
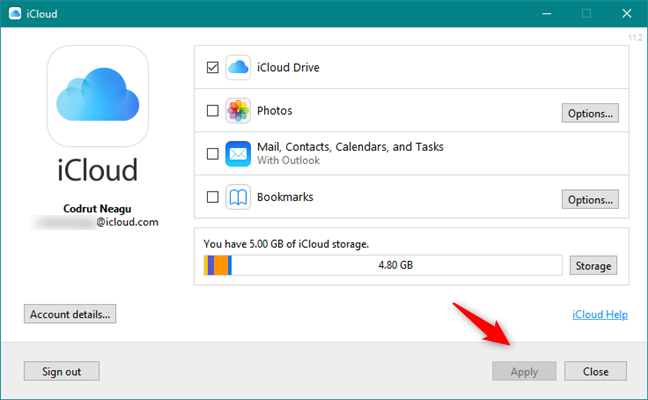
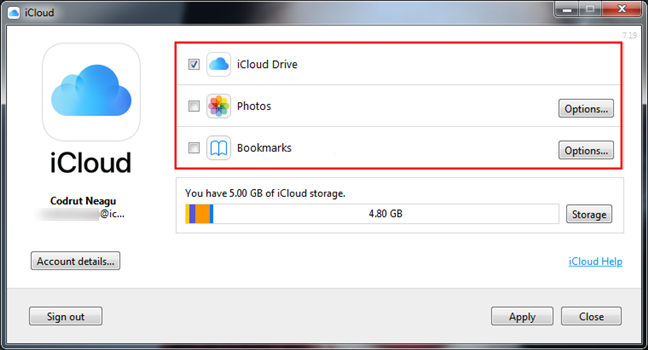
Next, the iCloud app shows you the list of services and features that you can sync on your Windows 10 PC:
- iCloud Drive creates an iCloud Drive folder in File Explorer. In it, it automatically syncs all the documents and files that you've uploaded in your iCloud from your Apple devices such as your iPhone, iPad, or Mac.
- Photos creates a folder called iCloud Photos in File Explorer, where you can see and organize all the photos you've taken with your iPhone.
- Mail, Contacts, Calendars, and Tasks are synced with Outlook, where iCloud adds a new iCloud Mail account. This feature only works with Microsoft Outlook 2007 and newer versions, up to Outlook 2016 (also available in Microsoft 365). If you don't have Outlook installed and set as your default mail app on your Windows 10 PC, this option is not shown.
- Bookmarks can be synced by iCloud to Internet Explorer, Mozilla Firefox, or Google Chrome. You can click or tap on the Options button to the right, to select the browser you prefer.
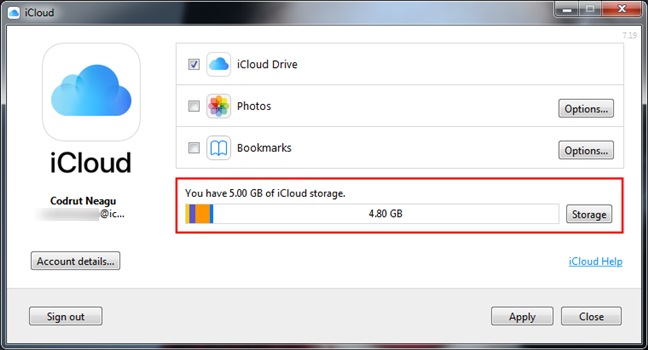
Select the ones you want to sync and uncheck the ones you don't. At the end of the list, you can see how much storage space you have available in your iCloud, and how much you've already used.
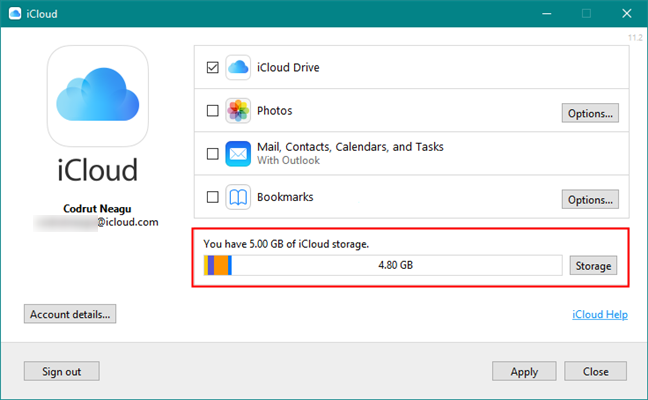
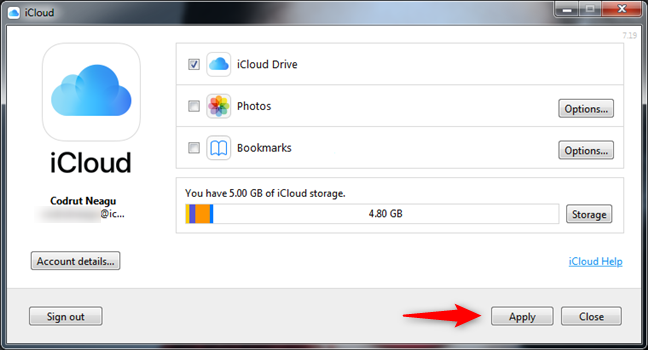
When you're done, click or tap on Apply and then Close, at the bottom-right corner of the window.
That's it! Now iCloud is installed on your Windows 10 PC, syncing all the things you've chosen.
How to download and install iCloud for Windows 7
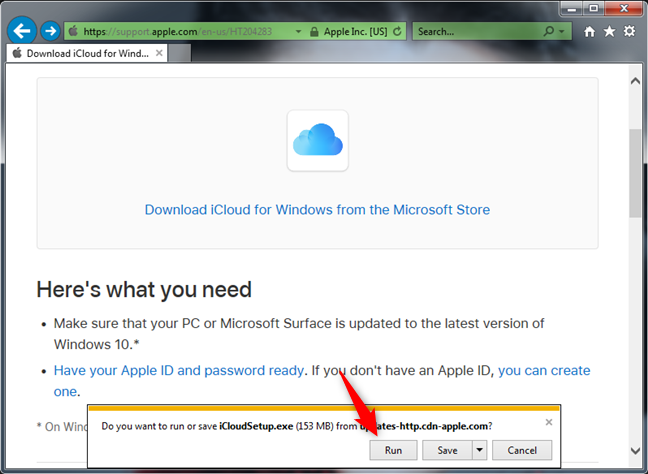
If you're using Windows 7, to get iCloud on your PC, open your favorite web browser and visit this webpage: Download iCloud for Windows. On the page, click on the "download iCloud for Windows on Apple's website" link from the "Here's what you need" section. Alternatively, if you prefer, follow this direct link.

If your browser asks you what you want to do, choose to Run the app. Or you can Save it somewhere on your PC and then run it from there by double-clicking on the iCloud executable once it is downloaded.
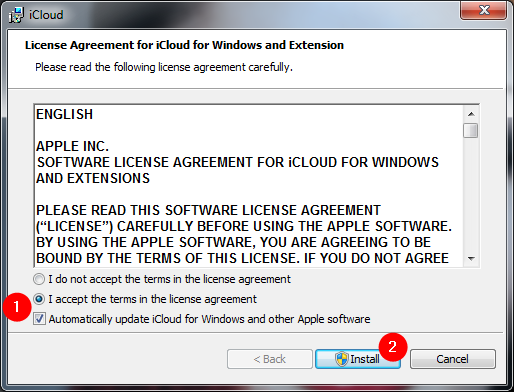
When you run the installer, the first thing you must do is "accept the terms in the license agreement" and choose if you want to "Automatically update iCloud for Windows and other Apple software."
We recommend you check this latter option, as updates can patch bugs and security holes. Then, click on the Install button.
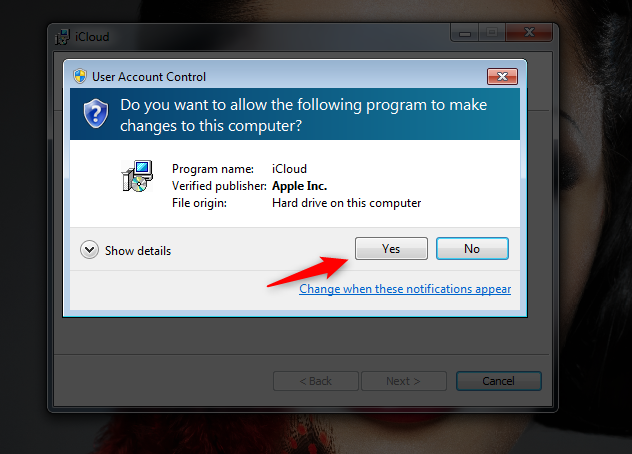
Windows then shows a UAC prompt asking you if you allow iCloud to make changes to your computer. To continue, you need to do that.
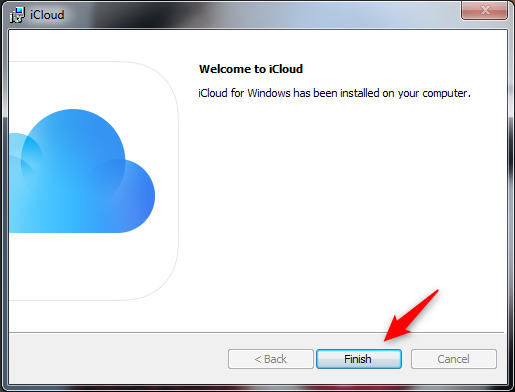
Wait for a few moments until iCloud for Windows is installed. Then, you should receive a "Welcome to iCloud" message like the one below. Click Finish.
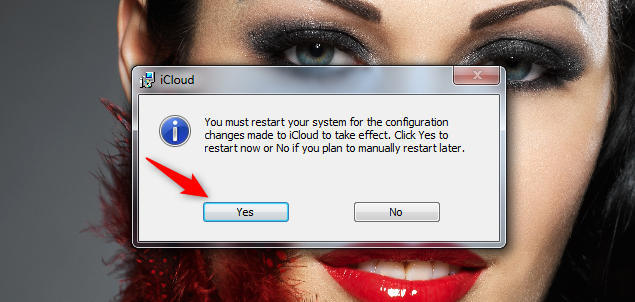
For the installation to finalize, iCloud asks you to reboot Windows 7. Choose Yes to do it right now, or No if you prefer to restart later.
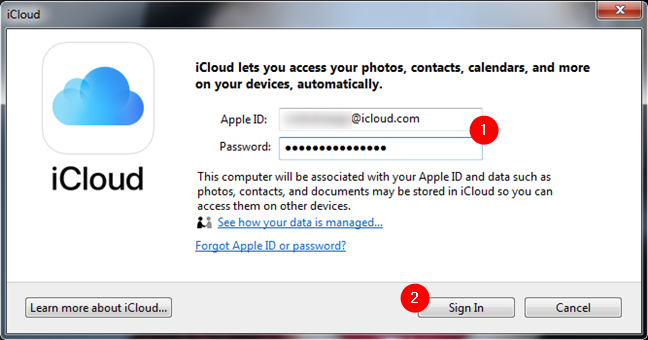
After you restart your Windows 7 PC, the iCloud program starts automatically. If it doesn't, you can start it manually using its shortcut from the Start Menu. First, it asks you to enter your Apple ID and Password. After you type them in their corresponding fields, click on Sign In.
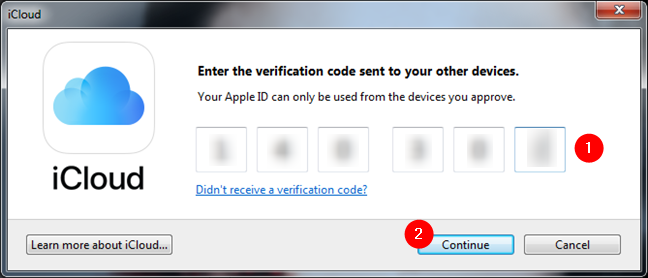
Then, Apple sends you a verification code on the Apple devices you own, such as on your iPhone, iPad, or Mac. Type the security code in the iCloud window on your Windows 7 PC, and then click Continue.
If all worked well, you are now signed in. iCloud asks if you want to "send diagnostic and usage information to Apple?". Click on "Automatically send" if you want to "Help Apple improve its products and services [...]". Otherwise, choose "Don't send."

Next, the iCloud app shows you what you can sync on your Windows 7 PC:
- iCloud Drive creates a folder bearing the same name in Windows Explorer. Inside the iCloud Drive folder, you should find all the documents and files from your iCloud storage, regardless of whether you've uploaded them from an iPhone, iPad, or Mac.
- Photos creates a folder that's named iCloud Photos in Windows Explorer. In it, you should find all the photos you've shot with your iPhone.
- Mail, Contacts, Calendars, and Tasks can be synchronized with Microsoft Outlook, as long as you're using Outlook 2007 or newer versions, including Outlook 2016 (also available in Microsoft 365). If you don't have Outlook installed and set as your default mail program on your Windows 7 PC, this feature doesn't appear on the list.
- Bookmarks can be synced with Internet Explorer, Mozilla Firefox, or Google Chrome. Select the browser(s) you use and prefer by clicking on the Options button to the right.
Select the features you want to enable and uncheck the others. After the list, iCloud also shows you details about your cloud storage space.
To finish the setup, click the Apply button and then Close.
That's it! Now you can start using the iCloud for Windows application on your Windows 7 computer.
Are you using iCloud for Windows?
As you've seen, it is easy to download and install iCloud for Windows, regardless of whether you're using Windows 10 or Windows 7. Did you encounter any issues with this process? How well does iCloud for Windows work for you? Let us know in the comments section below.