

Did you ever capture a perfect moment on your iPhone, only to later realize that the video would look better sideways or upside down? I’ve been there, and it can be annoying. But can you rotate a video on an iPhone using the built-in tools, without third-party apps? The answer is yes, and it’s easier than you might think. If you’re trying to change an iPhone video from portrait to landscape orientation, you can do it straight from the Photos app. Continue reading to learn how to rotate a video on an iPhone with just a few taps:
 Open Photos in iOS
 Open the video you want to rotate
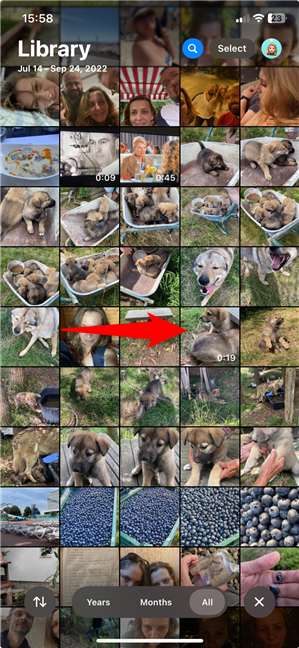
My video was pretty old, so finding it inside the Photos Library took a while. Remember that you can find your recordings more easily by scrolling down to Media Types and tapping Videos, as shown below.
Open the video you want to rotate
My video was pretty old, so finding it inside the Photos Library took a while. Remember that you can find your recordings more easily by scrolling down to Media Types and tapping Videos, as shown below.
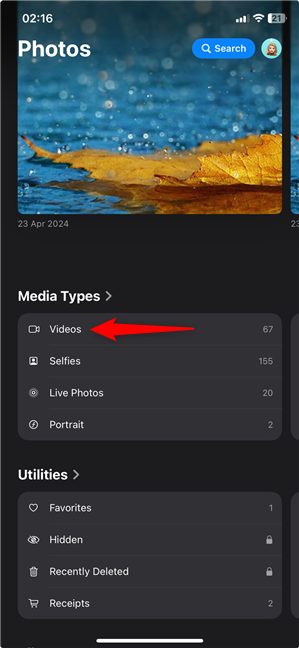 Access all your Videos
TIP: Did you know that your iPhone has a Recycle Bin? If you accidentally delete a video or another file, here’s a guide with more info on recovering photos, videos, files, and notes from the iPhone Recycle Bin.
Access all your Videos
TIP: Did you know that your iPhone has a Recycle Bin? If you accidentally delete a video or another file, here’s a guide with more info on recovering photos, videos, files, and notes from the iPhone Recycle Bin.
 Tap the three horizontal sliders to Edit your video
 Tap the Crop button
 How to rotate a video on an iPhone
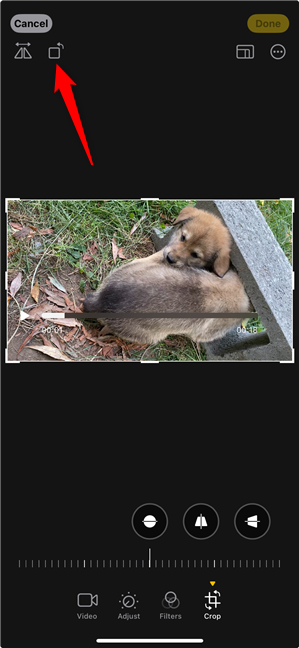
Each tap rotates the video 90 degrees counter-clockwise. This is perfect if you need to switch an iPhone video from vertical to horizontal. Keep tapping Rotate until your video is exactly how you want it.
How to rotate a video on an iPhone
Each tap rotates the video 90 degrees counter-clockwise. This is perfect if you need to switch an iPhone video from vertical to horizontal. Keep tapping Rotate until your video is exactly how you want it.
 Tap Done to save the rotated video
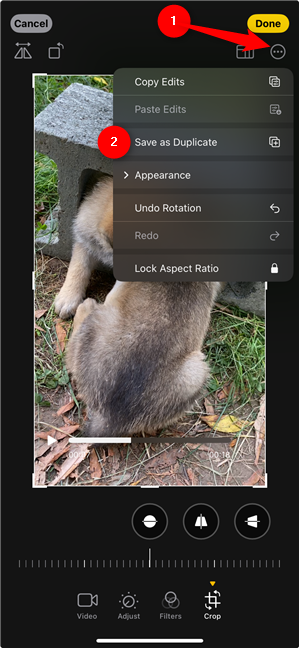
Alternatively, press the circle with three dots right under Done to open a menu. Then, choose Save as Duplicate to keep the original video while also saving the rotated one. I found this useful whenever I was undecided about the orientation.
Tap Done to save the rotated video
Alternatively, press the circle with three dots right under Done to open a menu. Then, choose Save as Duplicate to keep the original video while also saving the rotated one. I found this useful whenever I was undecided about the orientation.
 Save the new video as duplicate
After saving the changes, you get to a screen where you can play your video with the new orientation. Here’s the screen with my new video:
Save the new video as duplicate
After saving the changes, you get to a screen where you can play your video with the new orientation. Here’s the screen with my new video:
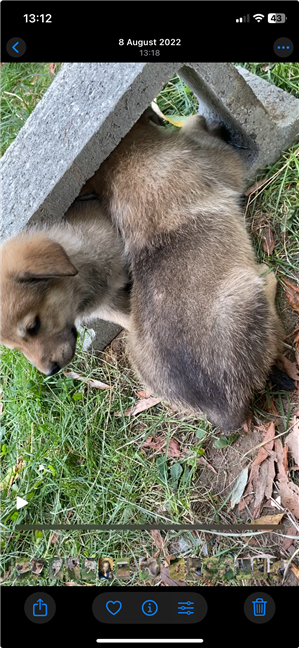 My puppy video with its new orientation
It looks much better this way, don’t you think? And for all the puppy lovers out there, here’s the full clip (it’s stored on our team’s OneDrive cloud storage).
My puppy video with its new orientation
It looks much better this way, don’t you think? And for all the puppy lovers out there, here’s the full clip (it’s stored on our team’s OneDrive cloud storage).
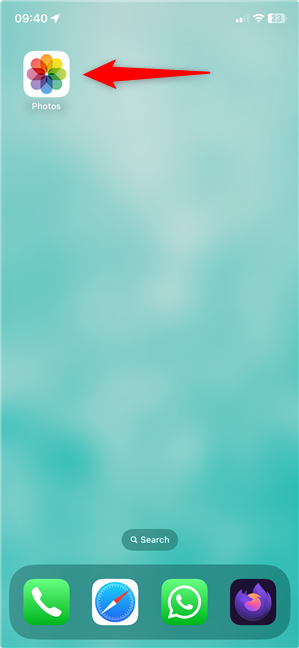
Step 1. Open the Photos app
The first thing you have to do is open Photos on your iPhone. This is where all your videos and pictures are stored by default. Its icon resembles a flower with rainbow-colored petals, so it shouldn’t be hard to find on your Home Screen. When you do, tap it to open the Photos app.Step 2. Find the video you want to rotate and open it
Next, find the video you want to rotate in the Photos app. One way to do that is by browsing through the Library. Tap the clip to open it. I chose an adorable recording with puppies comforting each other while hiding inside a brick.Step 3. Start editing the video
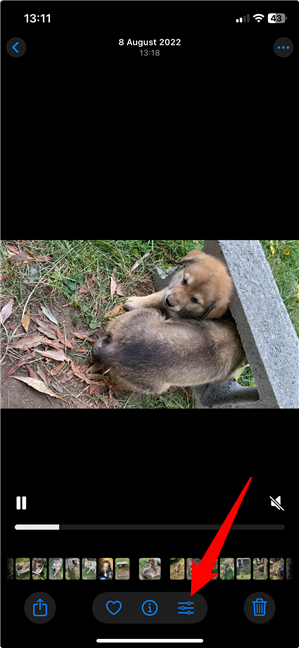
When you tap a video, it opens and begins playing on a loop. You can see the Edit button at the bottom of the screen - it looks like three horizontal sliders. If you want to rotate the iPhone video or make any changes to it, tap Edit.Step 4. Tap the Crop button
You then see a series of buttons at the bottom of the screen. Tap the last one, Crop.Step 5. Rotate the video on your iPhone
Finally, tap Rotate in the top-left corner of the screen - it looks like a square with a curved arrow.Step 6. Save your video
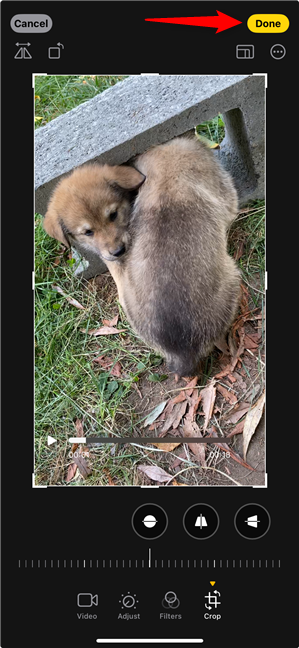
When your video has the correct orientation, tap Done in the top-right corner. Your edited video is saved over the original in your Photos Library.

Discussion (0)
Be the first to comment.