Windows Movie Maker makes it easy to create photo slideshows and home movies in seconds. Your OneDrive makes it easy to publish and share your movies. Friends, family and anyone else who has permission to view your OneDrive will be able to view, play and share your Windows Movie Maker movies directly from their web browsers. In this tutorial, I'll show how to upload a Windows Movie Maker video to OneDrive and share it with your contacts.
Uploading Movies to Your OneDrive
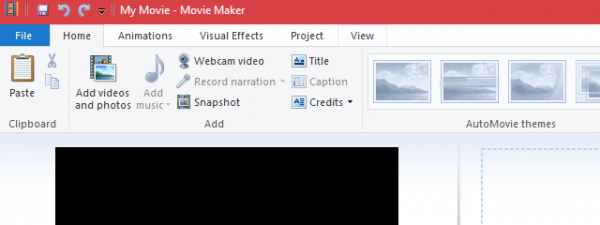
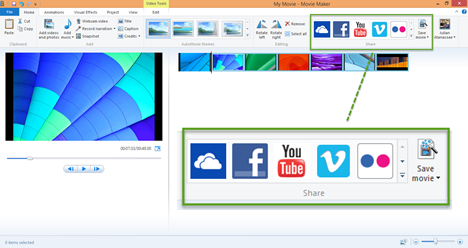
Open a Windows Movie Maker project or create a new one. Next, click the Home tab and locate the Share section. Click the OneDrive button found in this section.
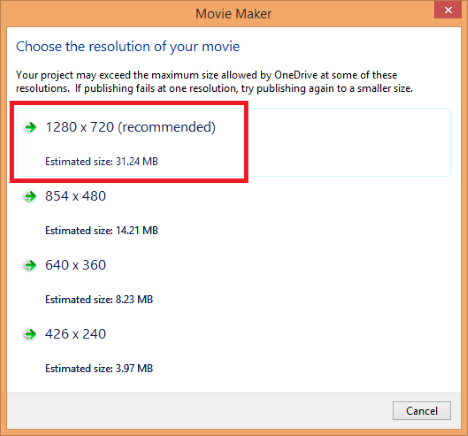
Next, you'll see a prompt asking you to choose a resolution for your movie. You can see the estimated file size below the resolutions. In this example, the recommended setting of 1280 x 720 HD video is the best.
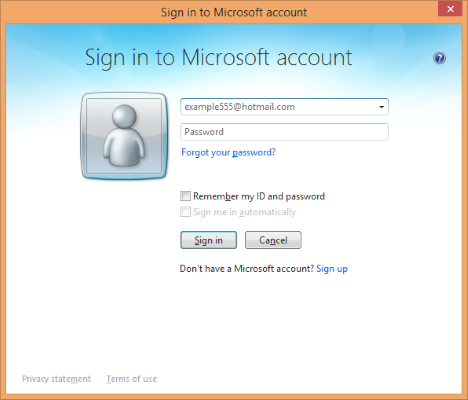
If you aren't signed in already, you'll be asked to sign in to your Microsoft account. If you don't have one, get one here.
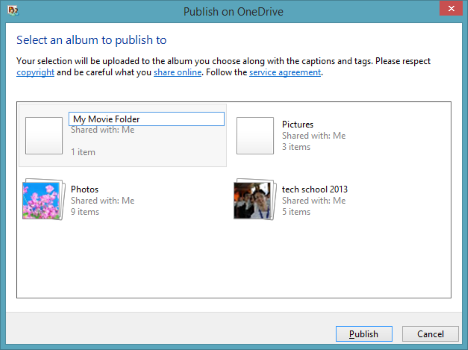
In the next window, you'll need to choose an album in your OneDrive where you'll upload your movie. You can choose an existing album, or upload the movie in a new one, by typing the name of the folder.
After you choose your album, click Publish. Windows Movie Maker will upload your file.
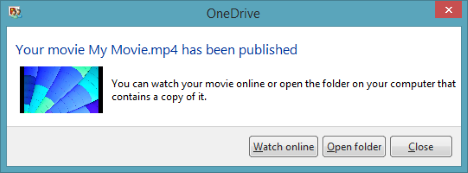
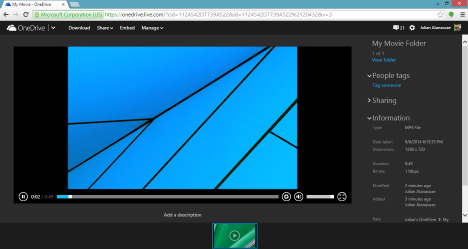
When it's done, you'll have the option to view it online. Click Watch online to open the video in your default web browser.
In this screen, you can see the contents of the folder we just created.
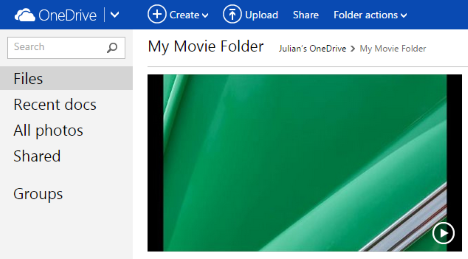
Click on your video's thumbnail to view it in an embedded player.
How Share Your Video With OneDrive
There are two ways to share a video from your OneDrive folder. You can invite specific people to view your movie, or you can create a public link to copy and paste in an email, blog, or web page.
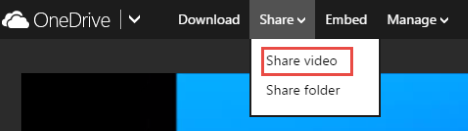
To share a video, go to the Share drop-down menu in the upper side of your window and select Share video.
To invite people, write their email addresses in the To box. Optionally, you can add a quick note.
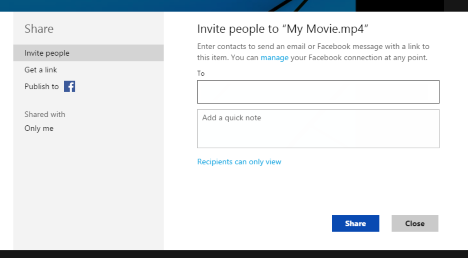
Then, click the Share button. You will see the movie being shared.
To create a public link for the movie, click on "Get a link" in the Share section.
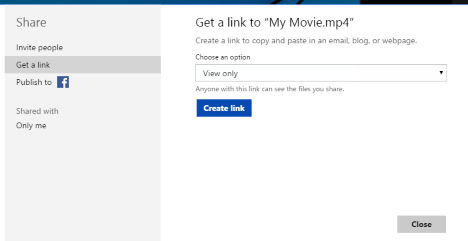
Here, you will see multiple options:
Let's see what every option does:
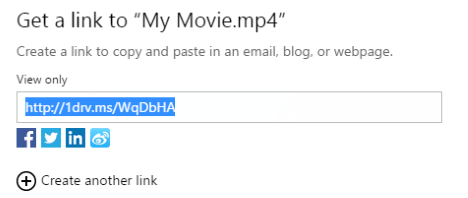
- View only - people with this link can only view the video.
- Edit - since this is a video, those who have the link cannot edit it. However, they can edit file attributes like the name of the movie.
- Public - if you set the video to Public, anyone can search for and view your public files, even if you don't share a link.
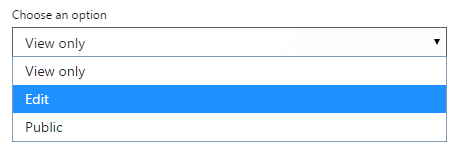
After creating a link, you will be able to post it on blogs, websites, or social media. However, you will notice that it's quite long. Normally, you would use services like bit.ly to shorten links, but thankfully, OneDrive provides a very easy way to do this. Just click the Shorten link option and you will get an address that starts with 1drv.ms, as shown in the screenshot below.
After shortening, the URL will look something like this:
Conclusion
OneDrive doubles as a place to store your Windows Movie Maker videos and a platform for sharing your work. You'll get the most mileage if you have a lot of contacts, but you can still use your OneDrive to share with those who don't have Microsoft accounts. For more information on Windows Movie Maker, check out some of our related articles below.