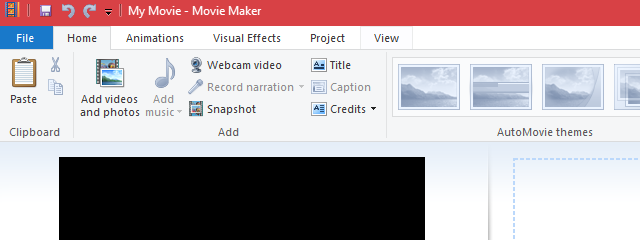
You need quite a bit of time to edit a movie or to create a new one using photos and clips that were captured with your digital camera or your smartphone. The Windows Movie Maker desktop application is one of the most simple products that you can use for these kinds of tasks and it is also free. In this article, we'll show you how to use its main movie editing features. Among others options, Windows Live Movie Maker lets you split and trim video clips and adjust their speeds. Let's stop "talking" and start editing videos:
NOTE: Before we begin, make sure that you have Windows Essentials installed. If you need instructions about how to set up this suite, read this tutorial: What are Windows Essentials & How to Install Them.
How To Arrange The Clips On The Timeline
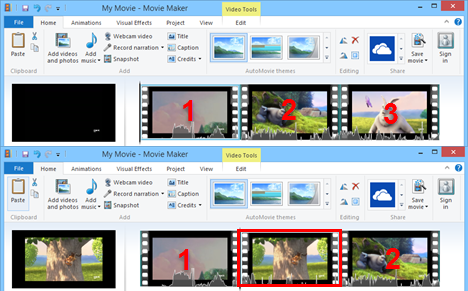
When you import video clips or photos, they are automatically inserted into the timeline after the clip that you selected on the timeline. As you can see in the picture below, if you select the first image the newly added video clip is inserted between the clip 1 and clip 2.
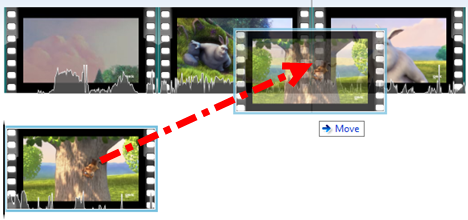
You can easily rearrange the order of the video clips by dragging and dropping them on the timeline.
Accordingly, the surrounding videos will be shifted on the timeline. Note that Windows Movie Maker doesn't allow any "blank space" on the timeline - every second of the timeline must be filled by a photo, video, transition or title card.
Likewise, when you remove a clip from the timeline, the surrounding clips shift to fill the gap left behind and shorten the overall length of your movie. You can remove clips by right clicking them and choosing Remove or by selecting them and pressing Delete on the keyboard.
You can also cut, copy and paste the clips using the corresponding commands in the contextual menu, or by selecting a clip and pressing CTRL+X, CTRL+C or CTRL+V, respectively.
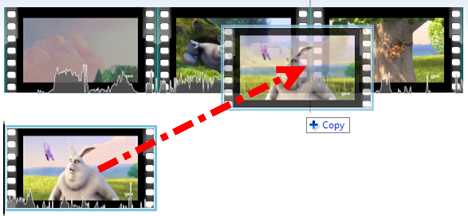
An even faster way to duplicate clips is to hold CTRL while dragging and dropping a clip. An exact copy of the clip will be placed where you release the mouse, and the original clip will remain in place.
How To Trim & Split Videos
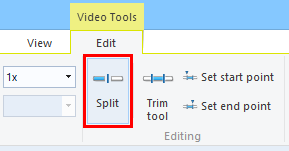
In addition to reordering clips on the timeline, you can also trim or split them into separate clips. Both of these tools are on the Edit tab on the ribbon.
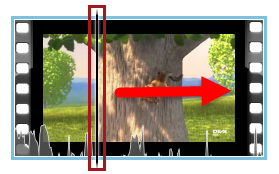
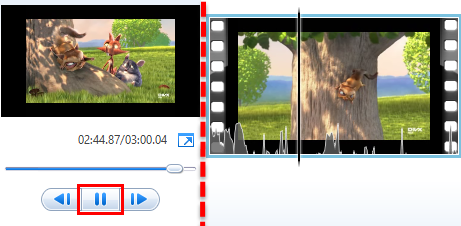
If you want to split a clip, you need to position the play cursor at the point where you'd like to split it. To do this, click the long black vertical cursor and drag it into the middle of a clip.
Or, you can click Play on the preview pane and hit Pause when you reach the point in the clip where you'd like to split it.
Once you have the cursor positioned correctly, click Split.
This creates two separate clips, which you can now rearrange, trim and apply effects to independently from one another.
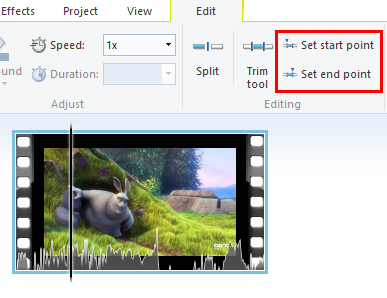
There are two ways to trim video clips. The easiest way is to set the start point and end point. When you set the start point, Windows Movie Maker deletes the clip footage that precedes the cursor. When you set the end point, the clip footage after the cursor is removed. To set the start and end points, position the cursor as you did above and click Set start point or Set end point.
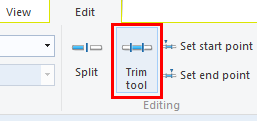
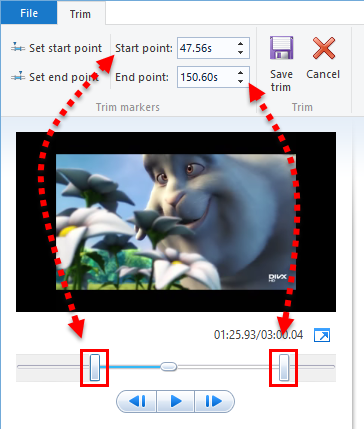
Alternately, you can use the Trim tool, from the Edit tab on the ribbon. It is found in the Editing section.
You can set the start point and end point either by dragging the sliders underneath the preview or by entering the times in manually. You can do multiple trims by clicking Set start point and Set end point. This updates the clip with the new start and end points, so you can trim it again. When you're finished, press Save trim.
If you make a mistake, you can press CTRL+Z to undo or delete the clip and re-import the original and start over.
Unfortunately, there is no easy way to join clips or combine clips in Windows Movie Maker. If you absolutely need this function, you can create a project with the clips you want to combine and export it as a .WMV and then import it back into your main project.
How To Speed Up & Slow Down Videos
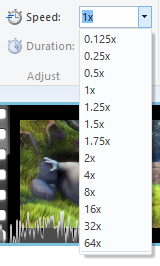
If you want to change the speed of a clip, select it and choose a speed from the drop-down menu next to Speed. This is found in the Edit tab on the ribbon, in the Adjust section.
Note that when you change the speed of a video clip, Windows Movie Maker removes the audio from it. This is because the audio's pitch will be affected by the change in speed. If you want to retain the audio, you can extract it using a program like Audacity or AoA Audio Extractor, but when you add it back in, it will be out of sync.
How To Change The Volume Of A Video
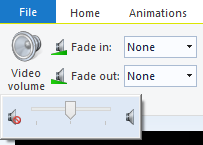
You can alter the volume of each video clip by selecting it and clicking Video volume button and dragging the slider. This button is found in the Edit tab on the ribbon, in the Audio section.
You can also have the audio fade in or fade out at three different speeds: slow, medium and fast. Simply choose your fade in/fade out speed from the drop-down menu in the Audio section from the Edit tab on the ribbon.
Conclusion
As you can see, editing videos in Windows Movie Maker isn't so difficult. These are just the main options that you can use in this application, but this video editor has a lot of other interesting features that aren't so difficult to use like animations, transitions, visual effects or audio effects. And you can even share your movie on social media. That's all for now, if you have any question about this topic don't hesitate to leave us a comment using the form below.


