Creating movies from pictures and videos is a breeze with Windows Movie Maker. Once you have your pictures and video clips imported into this application, you can get right down to applying AutoMovie Themes, creating title clips and credits, setting your project to music and adding animations and transitions. But before you can begin, you'll have to import your multimedia, so in this article we'll show you how to do that.
Before we begin, make sure you have Windows Essentials installed. If you need instructions about how to setup this suite, check out this tutorial: What are Windows Essentials & How to Install Them.
How To Import Photos & Videos
Windows Movie Maker lets you create movies using photos and videos imported from Photo Gallery, a DVD, a digital camcorder or a smartphone.
If you want to import photos and video from a device connected via USB, press the File button from the upper left corner, and then select Import from device.
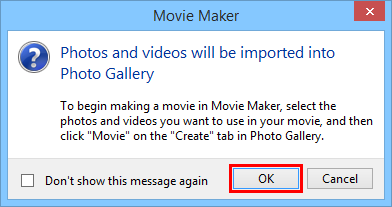
A message notifying you that the "Photos and videos will be imported into Photo Gallery" will appear. Click or tap OK to go further.
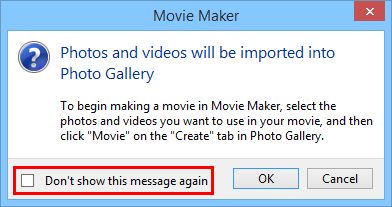
NOTE: If you no longer want to be notified, each time you import photos and videos from a device, check the box that says "Don't show this message again", before pressing OK.
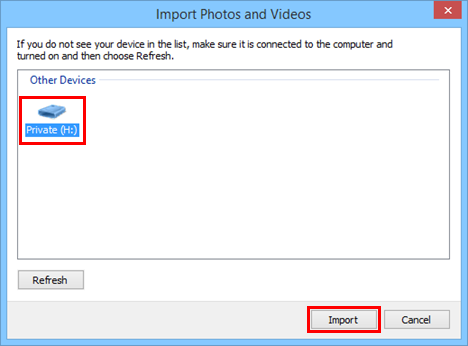
Select the device you'd like to import and click or tap Import. In this case, we'll import some photos from a USB stick.
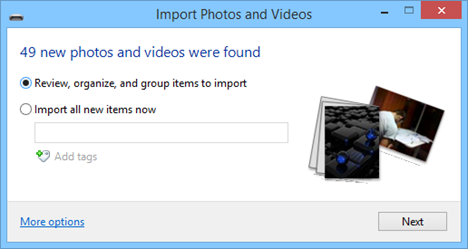
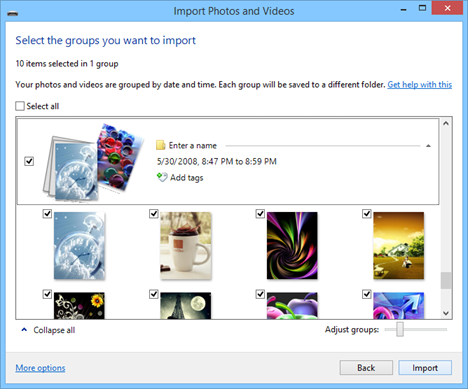
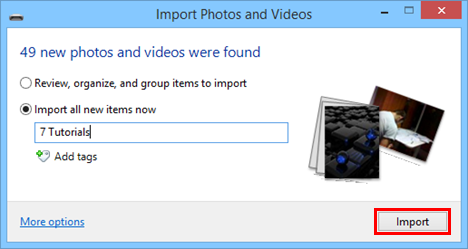
Next, you'll see the "Import Photos and Videos" dialog. Here, you have two options.
The first option gives you the opportunity to meticulously sort through and tag your photos before importing them.
If you want all photos to be imported, choose the second option, give this set of photos and videos a name to help keep them organized, and then press Import.
NOTE: For more information on importing photos and videos, read this article: Importing Pictures from a Camera or Mobile Device into Windows.
How To Import Photos & Videos From Photo Gallery To Movie Maker
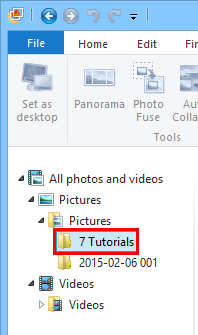
After importing your photos and videos, they'll appear in Photo Gallery. You can find the photos and videos you just imported by selecting their folder in the Navigation Pane on the left.
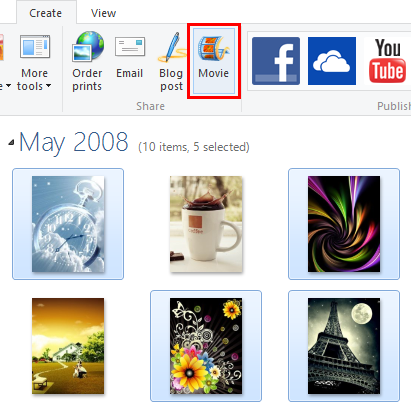
Select which videos and photos you'd like to send to Windows Movie Maker. Next, click or tap the Create tab and choose Movie.
Your videos and photos will now be opened in a new project in Windows Movie Maker. Now you're ready to begin creating and editing your movie.
How To Add Photos & Videos To Windows Movie Maker
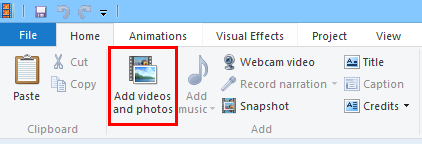
If you want to add additional photos and videos to Windows Movie Maker that are on your hard drive, but aren't in your Photo Gallery, you can click or tap the "Add videos and photos" button in the Home tab on the ribbon of Windows Movie Maker. From there, you can browse to the media files you'd like to add.
Supported file types in Windows Movie Maker include:
- Windows Media Video files:.wmv,.asf and.wm;
- AVCHD files (from digital camcorders):.m2ts,.m2t and.mts;
- Apple QuickTime files:.qt and.mov;
- MPEG (1, 2 and 4) files:.mp4,.mov,.m4v,.mpeg,.mpg,.mpe,.m1v,.mp2,.mpv2,.mod, vob and.m1v;
- .AVI files;
- Recorded TV shows (Microsoft):.wtv and.dvr-ms;
- Photos and images:.jpg,.jpeg,.tiff,.tif,.gif,.bmp,.png, and.wdp;
- Audio files:.wma,.asf,.wm,.aif,.aiff,.wav,.m4a and.mp3.
Conclusion
As you can see, it's incredibly easy to import photos and videos into Windows Movie Maker. It's even easier if you have Photo Gallery installed, which you should, since it comes bundled with Windows Essentials and is free. If you have any problems or questions about this topic, don't hesitate to leave a comment below.


