


Running macOS on Windows is possible using a virtual machine, allowing you to test apps, explore macOS features, or work across platforms without buying Apple hardware. This guide explains how to install macOS on Windows using VMware, the most reliable option for this setup.
You will create a macOS virtual machine, configure Windows for virtualization, and install macOS safely without affecting your primary operating system.
What Is A Virtual Machine
A virtual machine is software that lets one operating system run inside another. In this case, Windows acts as the host system while macOS runs as a guest OS inside VMware.
This setup is commonly used for software testing, development, and learning macOS without replacing Windows.
Requirements Before You Start
Before installing macOS on Windows, confirm your PC meets the minimum requirements for virtualization.
- 64-bit Windows 10 or Windows 11
- At least 8 GB of RAM, with 16 GB recommended
- At least 80 GB of free storage space
- Virtualization enabled in BIOS or UEFI
- Administrator access on Windows
Enable Virtualization In Windows
Virtualization must be enabled at the hardware level for VMware to function correctly.
- Open Task Manager

- Switch to the Performance tab
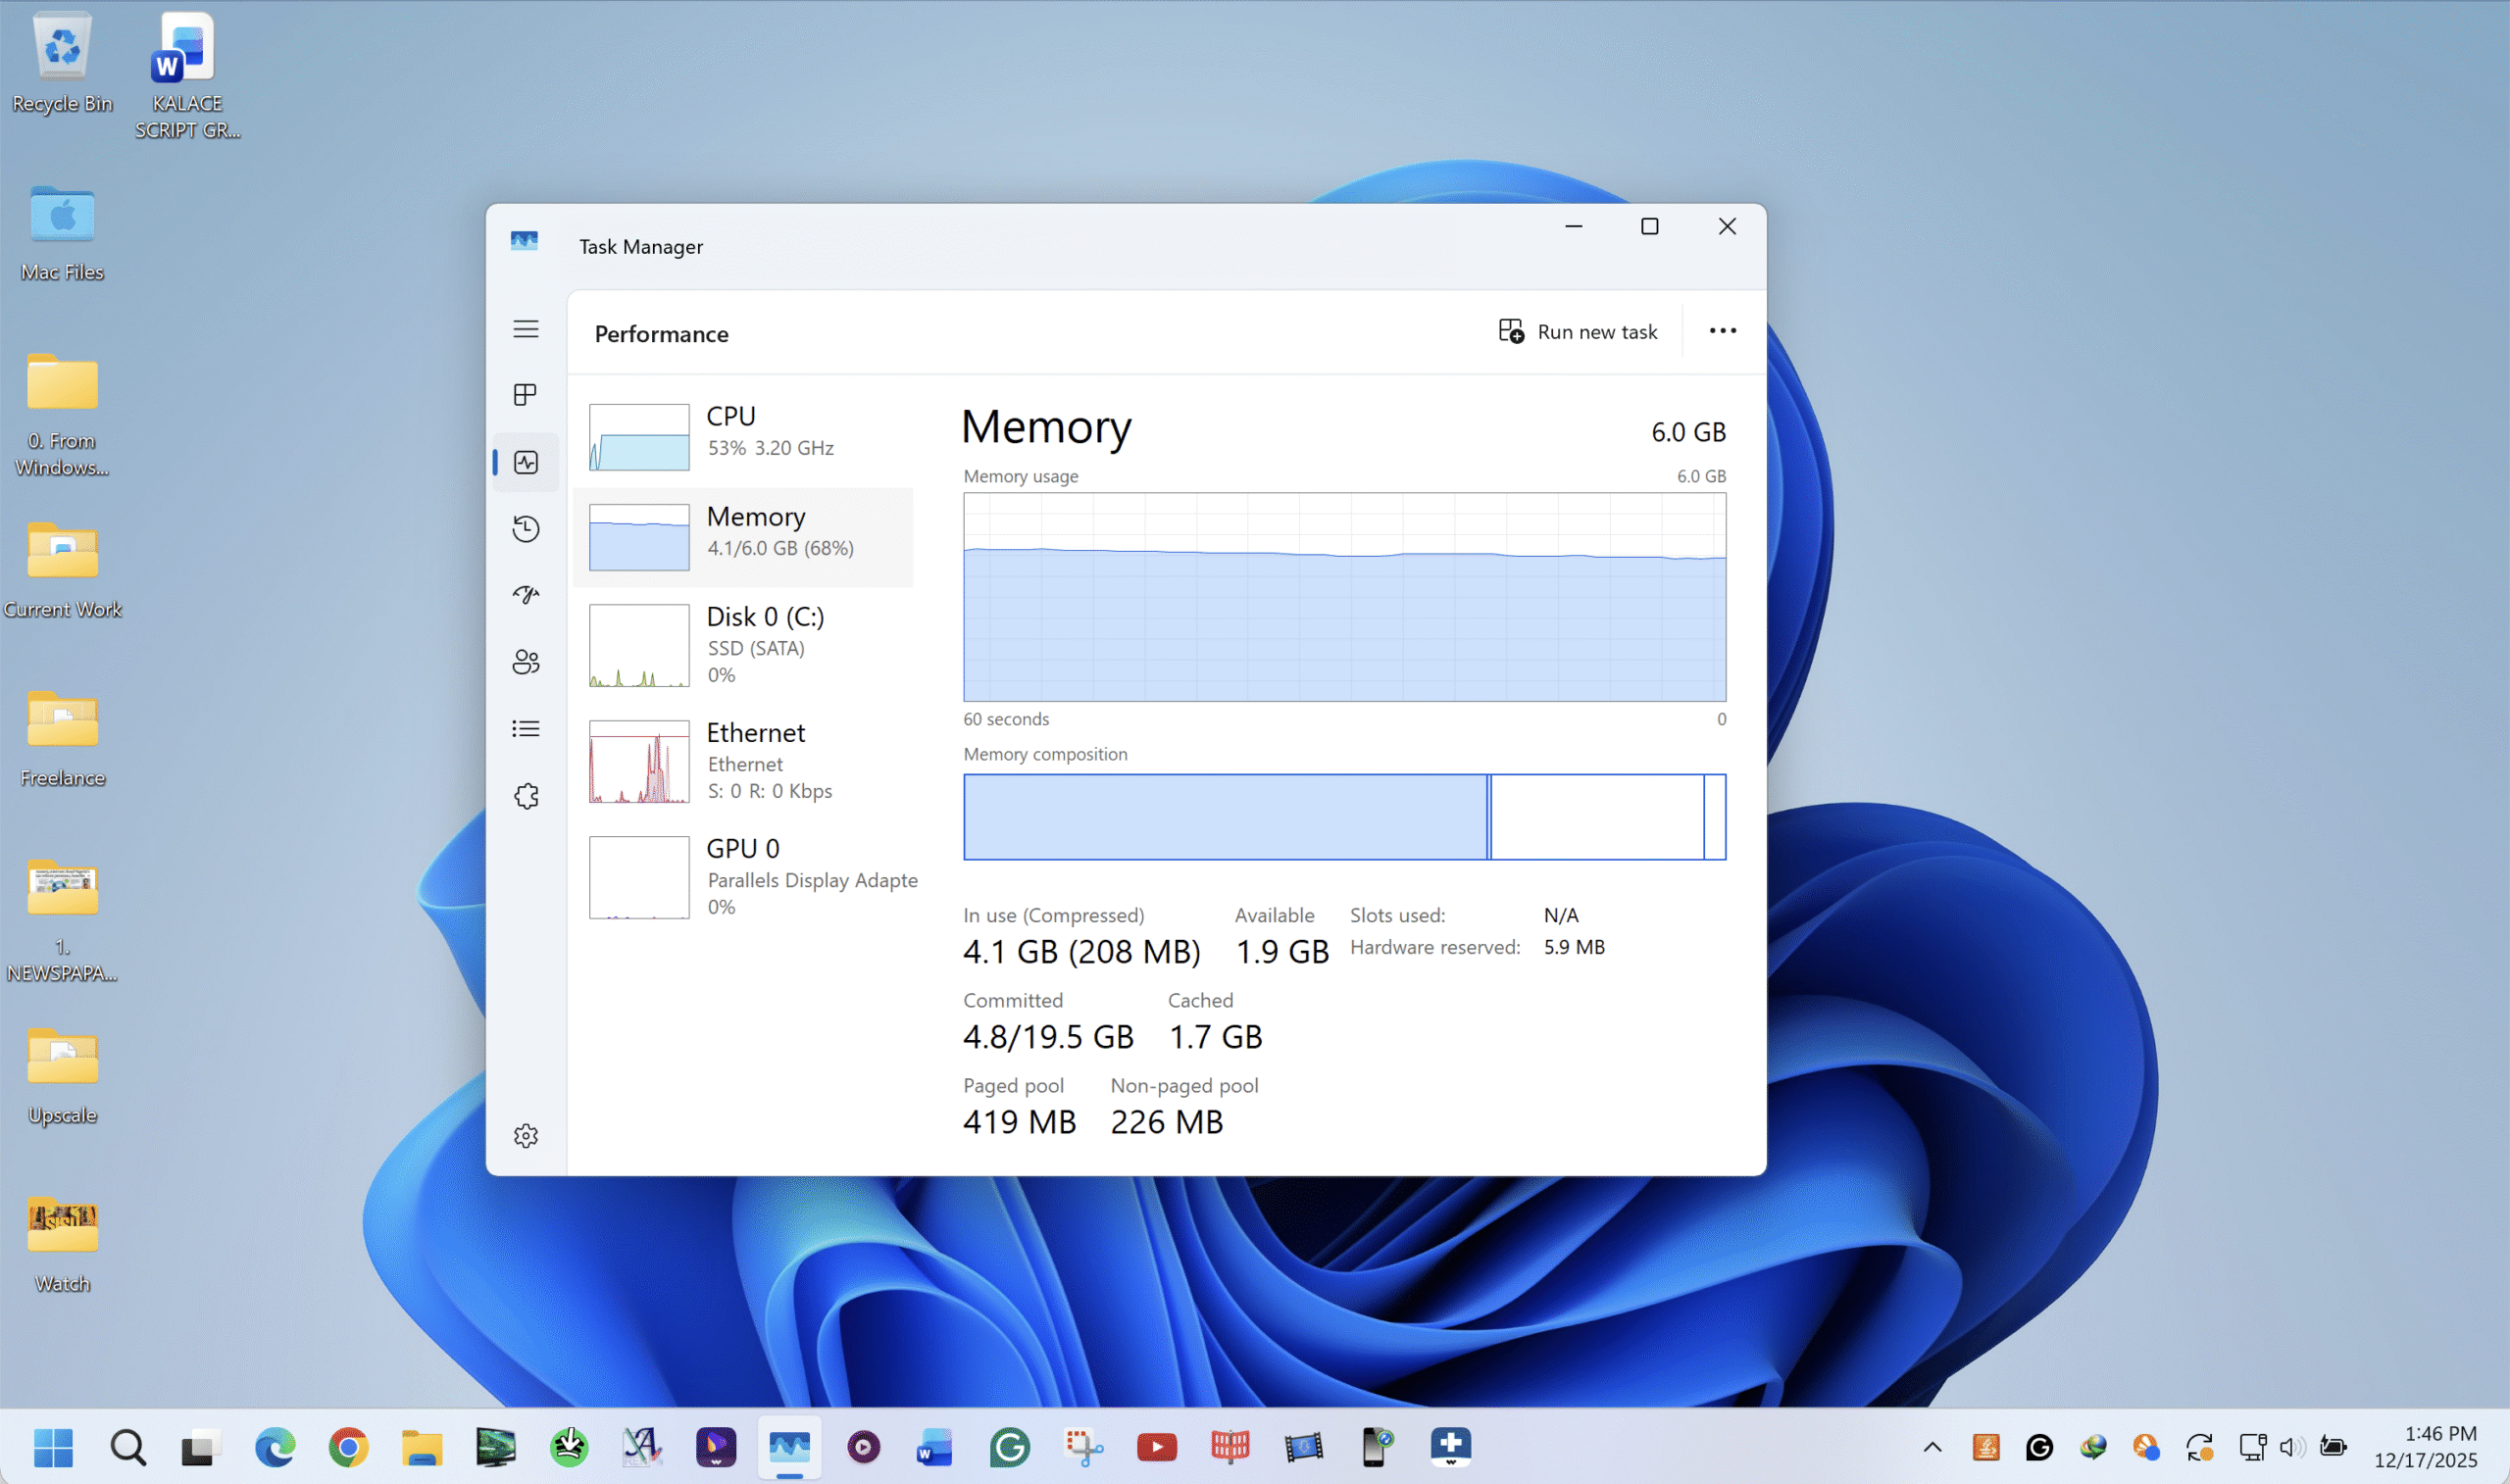
- Select CPU and check that Virtualization shows as enabled
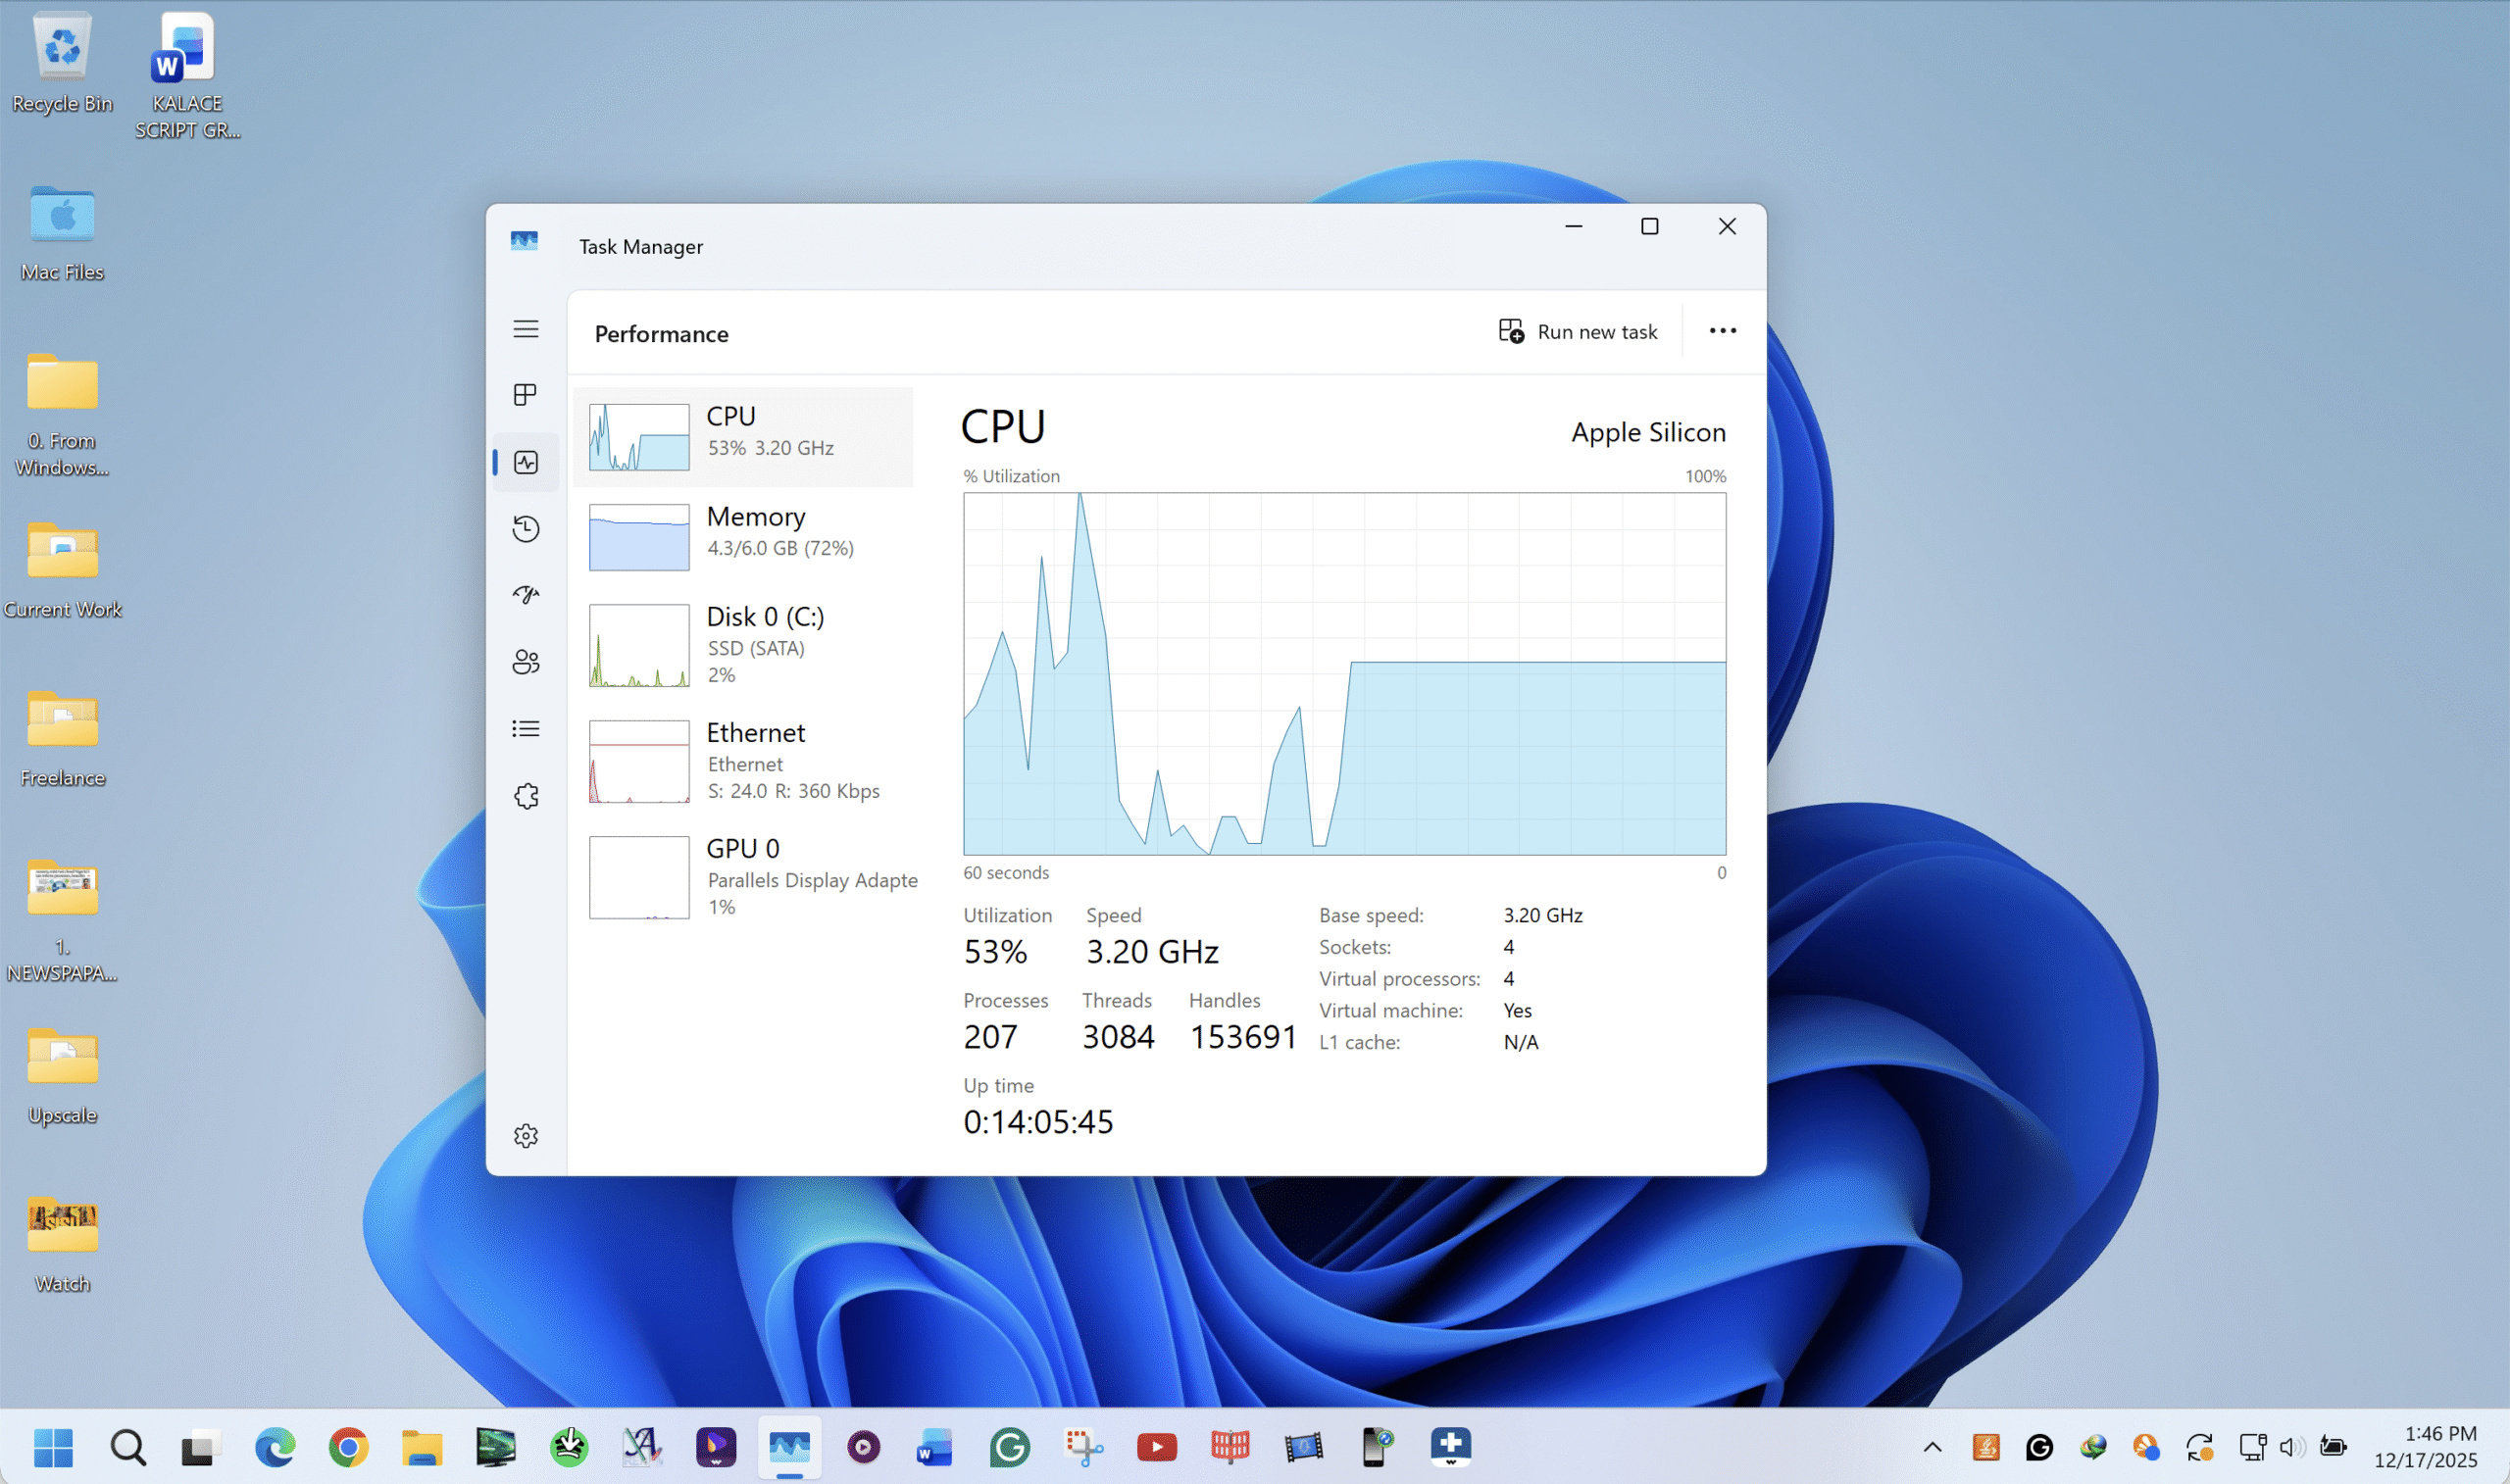
- If disabled, restart your PC and enable Intel VT-x or AMD-V in BIOS
Install VMware And Enable macOS Support
VMware does not support macOS guests by default on Windows. You must install VMware and apply a macOS unlocker to enable this option.
Install VMware Workstation
- Download VMware Workstation Pro or VMware Workstation Player for Windows
- Run the installer and complete setup using default settings
- Restart your PC if prompted
Apply The macOS Unlocker
The unlocker modifies VMware so macOS appears as a supported guest operating system.
- Close VMware completely
- Open Task Manager and end all VMware-related processes
- Extract the macOS unlocker archive
- Right-click the installer script and run it as administrator
- Wait until the script completes and closes automatically
Prepare Disk Space For The Virtual Machine
macOS virtual machines increase in size over time, so allocating dedicated storage improves stability.
- Open Disk Management in Windows
- Shrink an existing partition to create unallocated space
- Create a new partition using the unallocated space
- Use this partition exclusively for virtual machines
Get A macOS Installation Image
You need a macOS installation image in ISO or CDR format. If you do not own a Mac, downloading a compatible image is the simplest option.
If creating the image manually on macOS, convert it carefully. Improperly converted images may fail to boot in VMware.
Create The macOS Virtual Machine In VMware
With VMware unlocked and your macOS image ready, you can create the virtual machine.
- Open VMware Workstation and select Create A New Virtual Machine
- Choose Installer Disc Image File and select the macOS image
- Set the guest OS type to Apple Mac OS X
- Name the virtual machine and choose a storage location
- Allocate at least 80 GB of disk space
Configure Virtual Machine Hardware
Proper hardware allocation ensures stable macOS performance.
- Assign no more than 50 percent of your system RAM
- Allocate at least 2 CPU cores
- Enable EFI if available
Install macOS Inside VMware
After configuration, start the virtual machine to begin macOS installation.
- Select your preferred language in the macOS installer
- Open Disk Utility and format the virtual disk as APFS
- Close Disk Utility and select Install macOS
- Choose the formatted virtual disk and begin installation
The installation may take some time and the virtual machine may restart several times.
Install VMware Tools For Better Performance
VMware Tools improves graphics performance, screen resolution, and system responsiveness.
- Eject the macOS installer image after installation
- Select Install VMware Tools from the VMware menu
- Run the installer inside macOS
- Restart the virtual machine when prompted
Troubleshooting Common Problems
If macOS does not appear as an option, the unlocker was not applied correctly. Re-run it with administrator privileges.
If the virtual machine crashes or runs slowly, reduce allocated resources or confirm virtualization is enabled.
Tips
- Do not allocate more than half of your system RAM
- Use SSD storage for better macOS performance
- Install updates only after confirming compatibility
FAQ
Can macOS fully replace Windows in a virtual machine? No, virtual machines are best for testing and development, not daily replacement.
Is this method safe for my Windows installation? Yes, virtual machines run independently and do not modify your main system.
Can I sign in with an Apple ID? It may work, but some Apple services can be unreliable in virtual environments.
Summary
- macOS can run on Windows using VMware and virtualization
- Unlocker support is required to enable macOS installation
- Proper hardware allocation improves stability
Conclusion
Running macOS on Windows through a virtual machine offers flexibility without hardware changes. When configured correctly, VMware provides a stable way to explore macOS while keeping your Windows system intact.


Discussion (0)
Be the first to comment.