




Setting up the Amazon Eero Mesh Wi-Fi System creates stronger home coverage, removes dead zones, and delivers stable speeds for streaming, gaming, and smart home devices. This guide shows you how to install, expand, and customize your Eero mesh network at the time of writing, using simple steps that work with the latest Eero models and the Eero app.
What You Need Before You Start
You only need a few things to set up the Amazon Eero Mesh Wi-Fi System: your Eero router, any additional Eero nodes, the Eero app on your phone, a working modem, and a stable internet connection. Having this ready ensures a smooth setup from the start.
Step 1: Unbox Your Amazon Eero Mesh Wi-Fi System
Start by opening the box and checking that all components are included. You should see the main Eero router, power adapters, and any extra Eero nodes depending on your kit.
- Remove the primary Eero router and place it near your modem.
- Confirm each device has its power adapter.
- Check the quick-start guide inside the box for safety notes.
The Eero units use a clean, modern design that blends easily into most homes, and all of them work together to build your mesh Wi-Fi network.
Step 2: Connect The Eero Router To Your Modem
The main router becomes the core of your Eero Mesh Wi-Fi network. A good central location improves Wi-Fi strength across your home.
- Plug the Eero router into a power outlet.
- Use the included Ethernet cable to connect the Eero router to your modem.
- Wait for the status light to begin pulsing, indicating it is ready for setup.
Once powered on, the router prepares itself for pairing with the Eero app, which handles the rest of the installation process.
Step 3: Install The Eero App And Create Your Network
The Eero app (available on Android and iOS) controls your entire Amazon Eero Mesh Wi-Fi System. It allows you to name your network, set a password, and add more nodes.
- Download the Eero app from the App Store or Google Play.
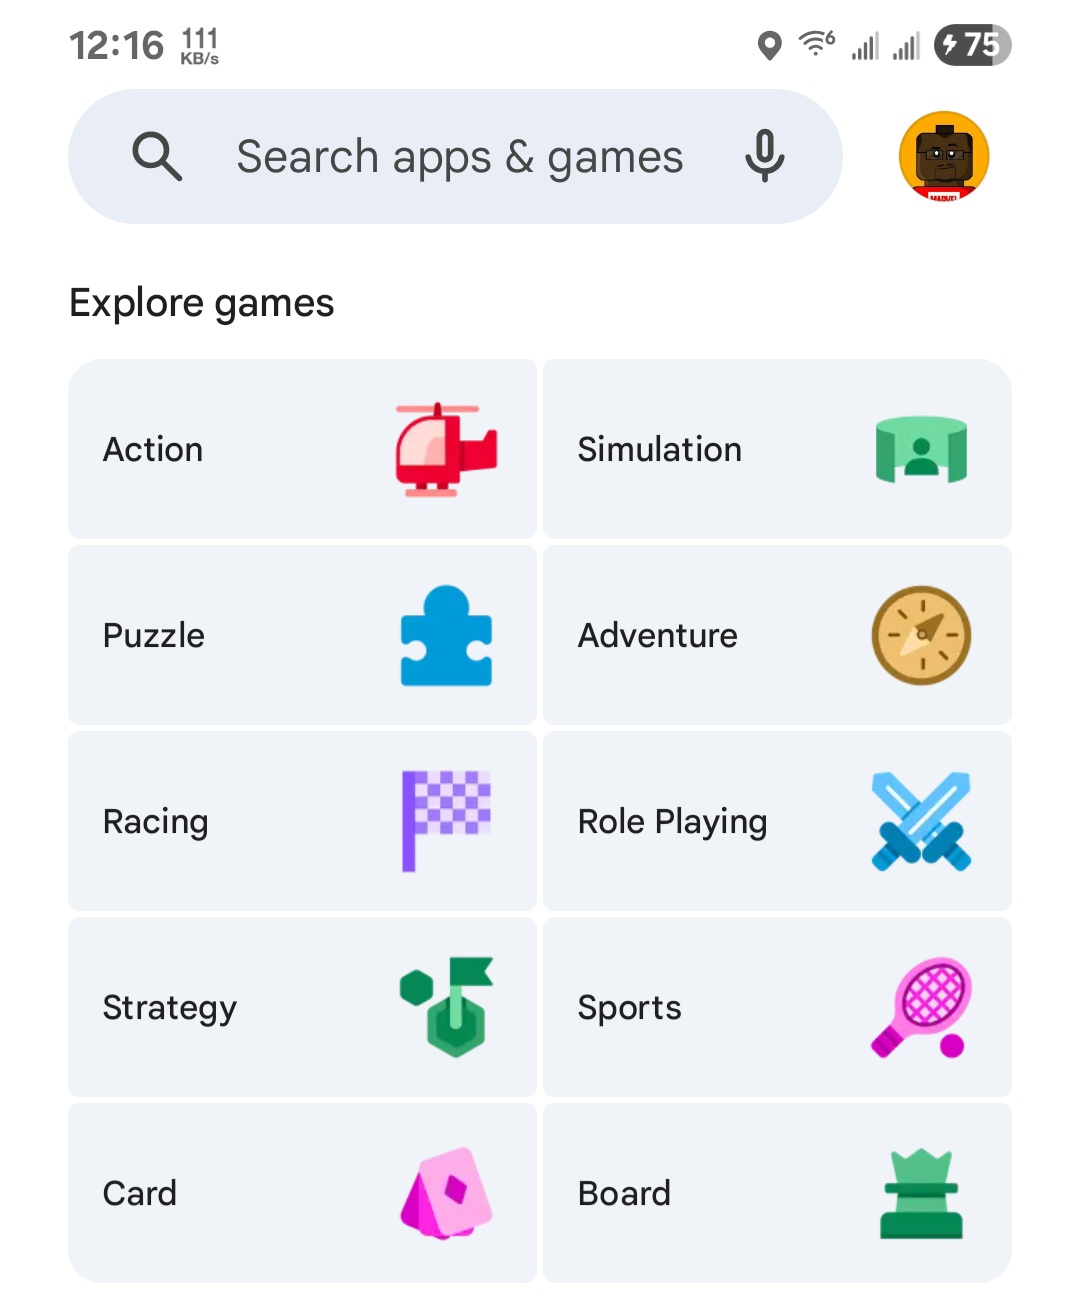
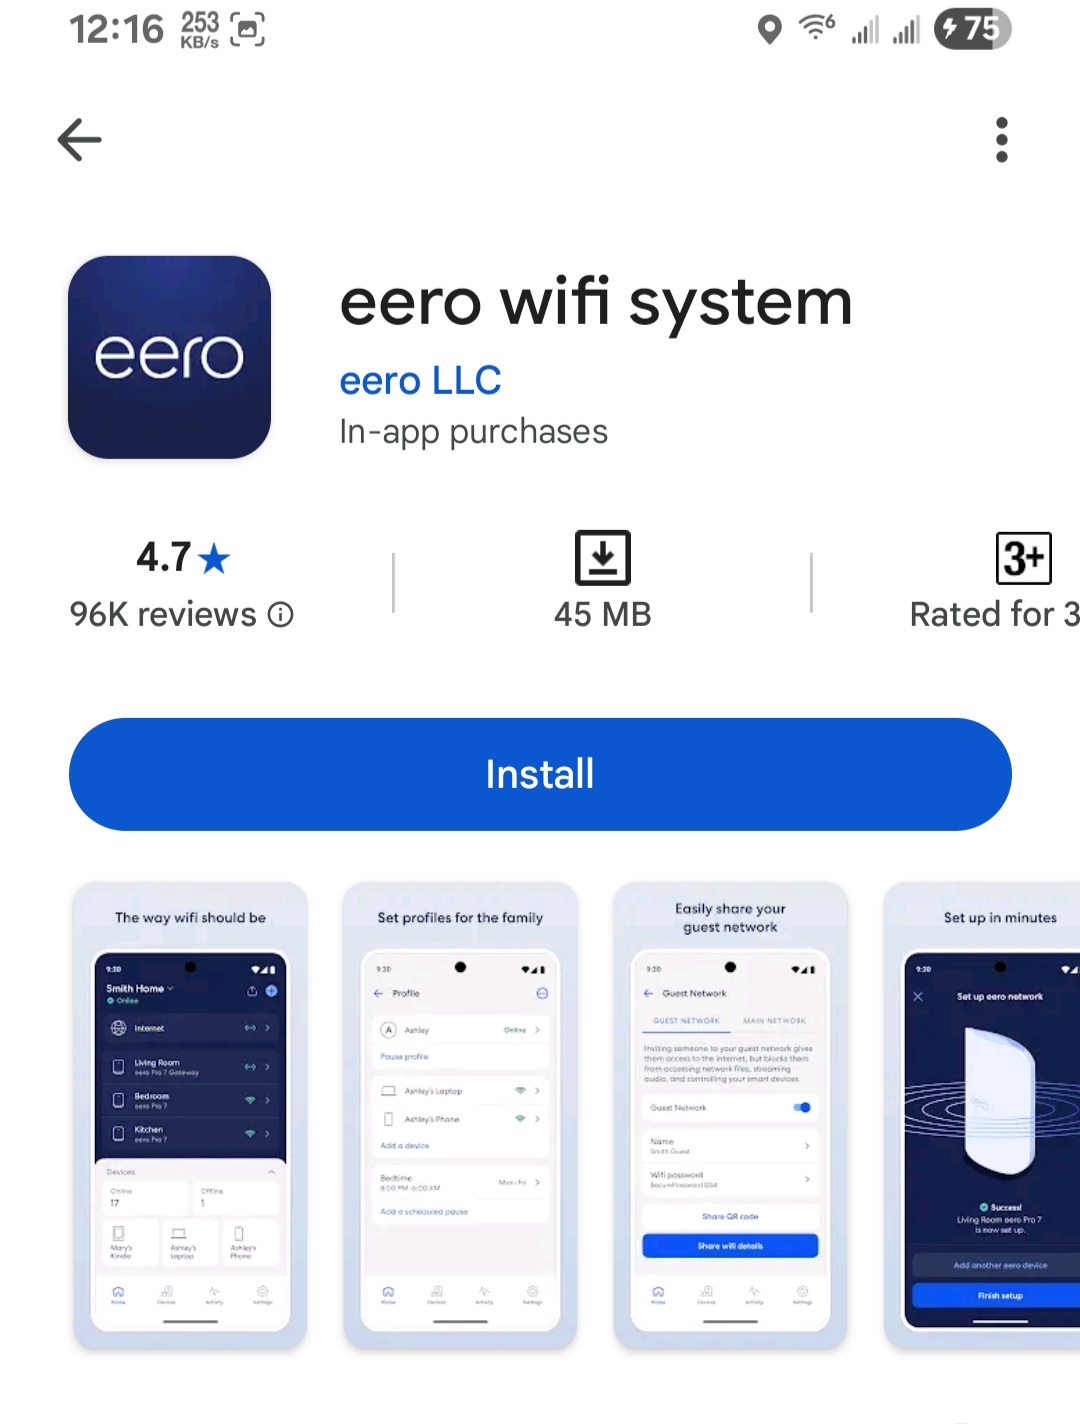
- Install the app.
- Sign in with your Amazon account.
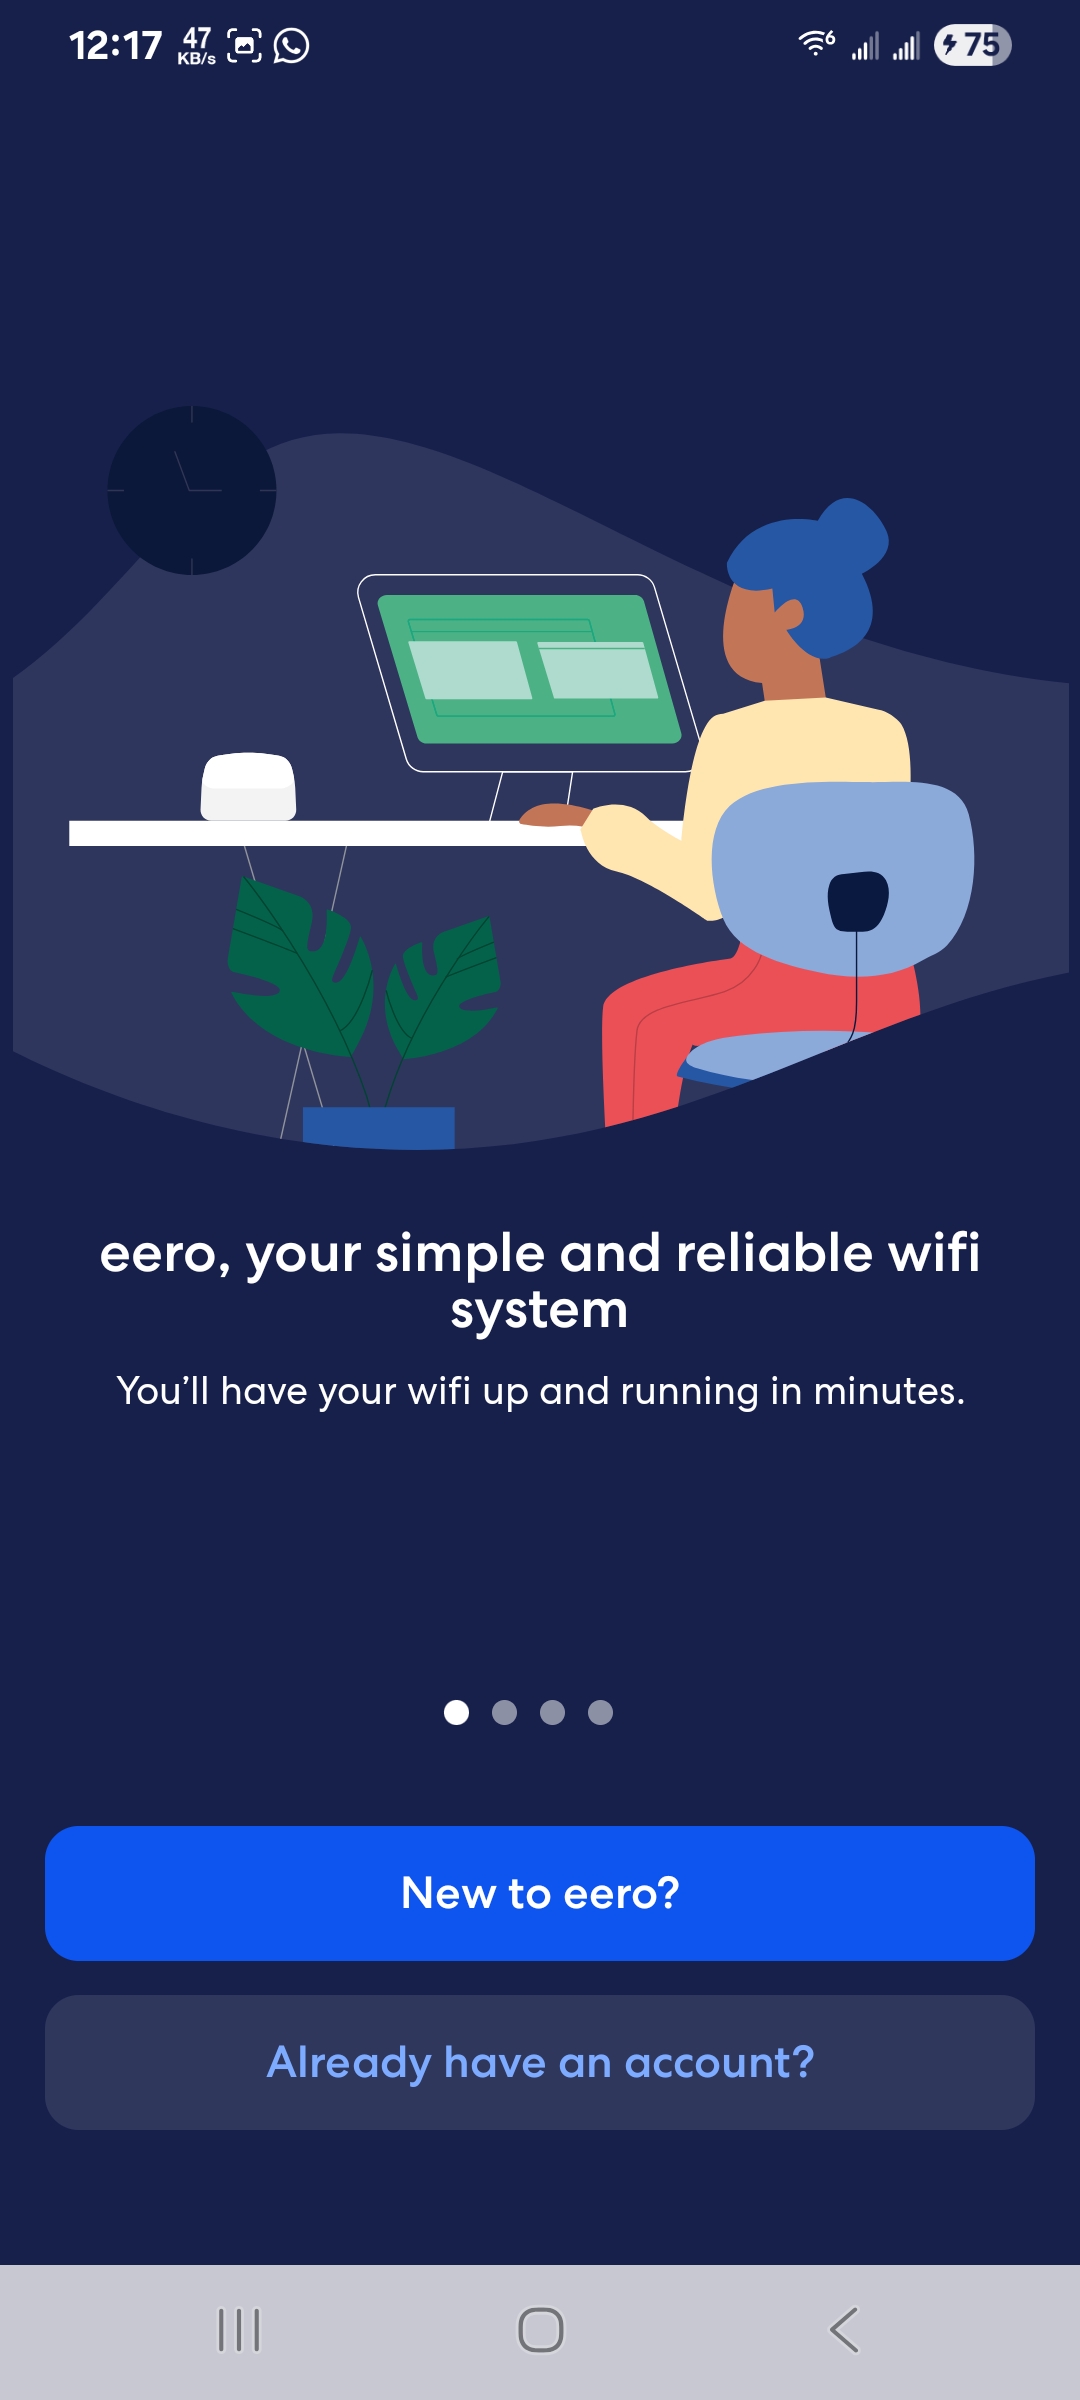
- Follow the on-screen prompts to detect your Eero router.
- Create your Wi-Fi network name and password.
Once the app confirms the router is online, you can begin adding the mesh nodes.
Step 4: Add Additional Eero Nodes
Eero nodes extend your Amazon Eero Mesh Wi-Fi System and improve coverage in larger homes or areas with signal drop-off.
- Place each Eero node halfway between the previous node and areas with weaker signal.
- Plug each node into a power outlet.
- Use the Eero app to add and register the new node.
- Let the app optimize placement and confirm connection quality.
Once your nodes are online, they automatically build a unified mesh network, allowing devices to roam without losing connection.
Step 5: Customize Your Eero Network Settings
The Amazon Eero Mesh Wi-Fi System includes advanced options to tailor your home network for security, speed, or family control.
- Set device priorities for streaming or gaming.
- Enable parental controls for safer browsing.
- Create a guest Wi-Fi network for visitors.
- Connect and manage smart home devices through the app.
- Check real-time usage, speed, and network health.
The Eero app also provides updates automatically, keeping your network secure and performing at peak levels.
Step 6: Test Your Amazon Eero Mesh Wi-Fi System
After setup, test coverage to ensure your Amazon Eero Mesh Wi-Fi System performs as expected across your home.
- Walk around your home and check Wi-Fi strength in each room.
- Run a speed test in different areas to compare results.
- Stream video or play online games to verify smooth performance.
- Move through the house to test seamless handoff between nodes.
If you find a weak area, adjust node placement until coverage improves.
Conclusion
Setting up the Amazon Eero Mesh Wi-Fi System gives your home stronger Wi-Fi coverage, fewer dead zones, and smoother performance for every device. With the Eero app guiding each step, the entire setup stays simple and beginner-friendly, while advanced tools let you fine-tune your network anytime.

Discussion (0)
Be the first to comment.