




If you search for how to set up Google Wi-Fi, you usually want one thing: strong Wi-Fi in every room without constant dropouts. Google Wifi offers a simple mesh system, and the current setup process runs through the Google Home app rather than the old Google Wi-Fi app.
This guide walks you through Google Wi-Fi setup from unboxing to running mesh tests, using clear steps that match Google's recommendations at the time of writing. You will see how to connect the first Google Wi-Fi router, add extra points, tune placement, and handle a quick Google Wi-Fi reset if something breaks.
What You Need Before You Start
Before you plug anything in, gather a few basics so you can complete the setup in one pass.
- Your internet provider’s modem or ONT, powered on and working.
- At least one Google Wifi point and its power adapter.
- The Ethernet cable that ships with your Google Wifi kit.
- A phone or tablet with the latest Google Home app installed.
- A Google account you can use as the owner for the network.
- Your current Wi-Fi name and password, if you plan to reuse them.
If someone has already set up an older mesh, you may need to migrate it to the Google Home app or factory reset the hardware first, as this guide covers later.
Step 1: Connect Your First Google Wifi Router
Start by turning on your first point, which is the primary Google Wi-Fi router that sits between your modem and the rest of your devices.
- Unplug your old router, but leave the modem or ONT powered on.
- Place the first Google Wifi point near the modem in an open spot, not buried in a cabinet.
- Plug the Ethernet cable into the modem and the WAN port on the Google Wifi point.
- Connect the power adapter to the Google Wifi point and plug it into the wall.
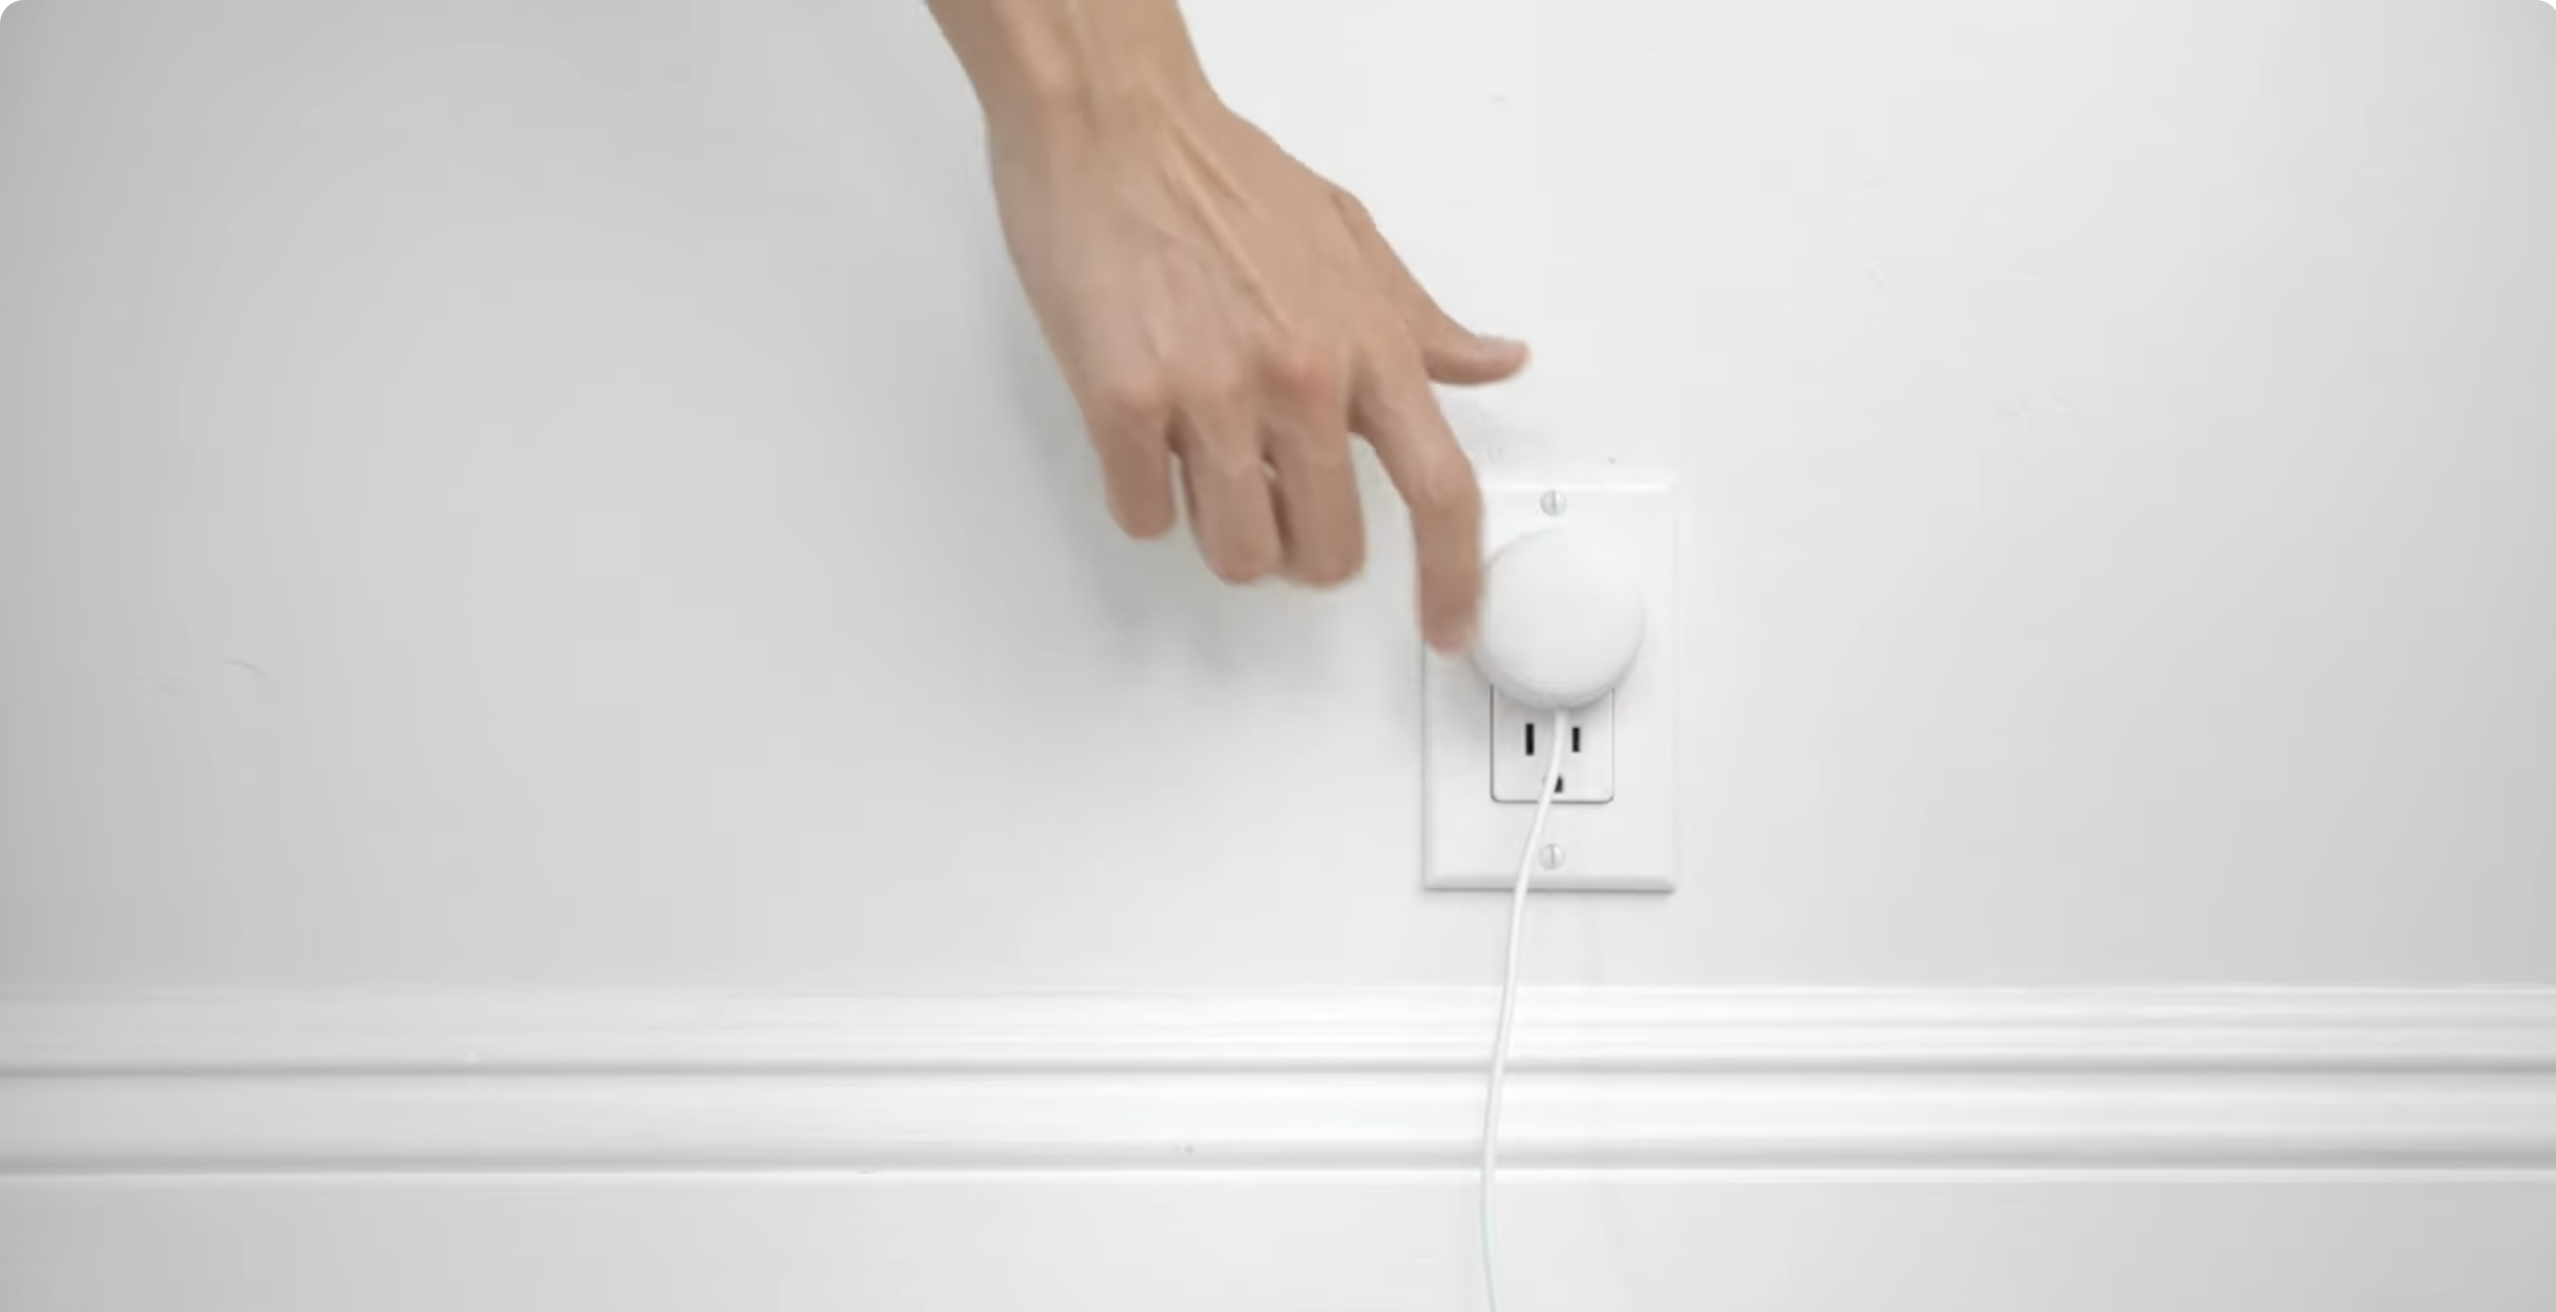
- Wait until the light pulses white or blue, which means the device is ready for setup.
Keep this primary point off the floor and away from thick walls or metal objects so it can talk clearly to any extra points you add later.
Step 2: Install And Open The Google Home App
The Google Wi-Fi app no longer supports adding new networks, so you must use the Google Home app to install and manage Google Wi-Fi.
- Open the app store on your Android or iOS device.
- Search for the Google Home app and install it.
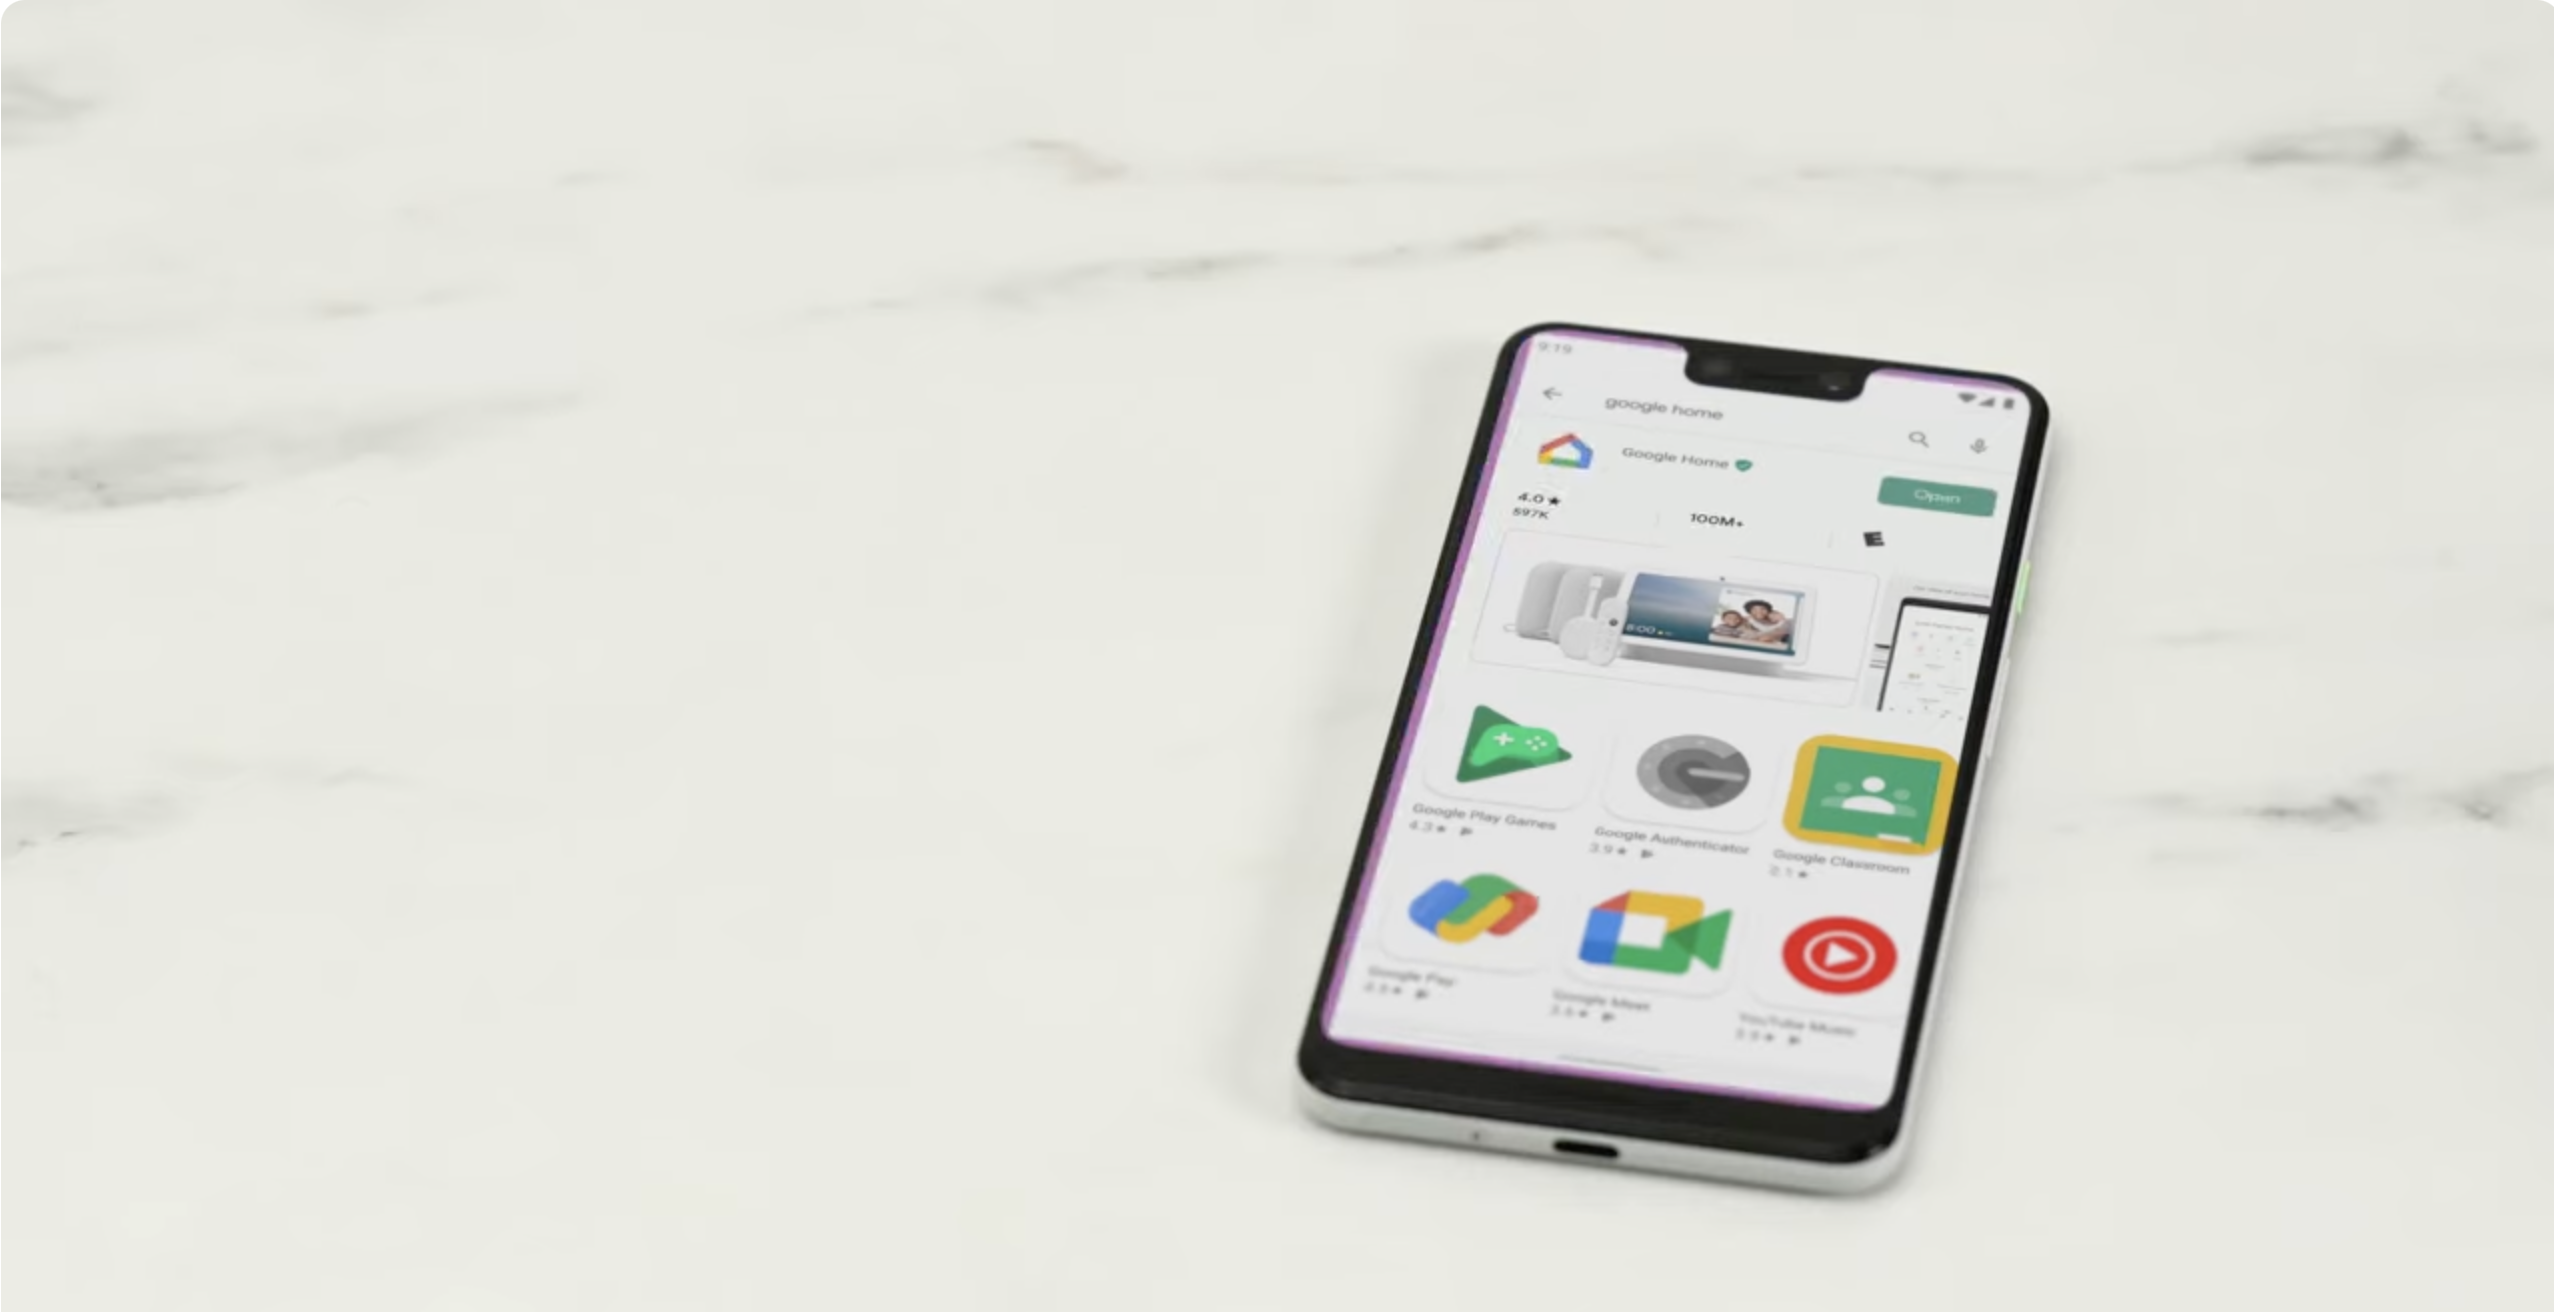
- Open the app and sign in with the Google Account you want as the network owner.
- Create a Home if the app asks, or choose an existing Home where you want Wi-Fi to live.
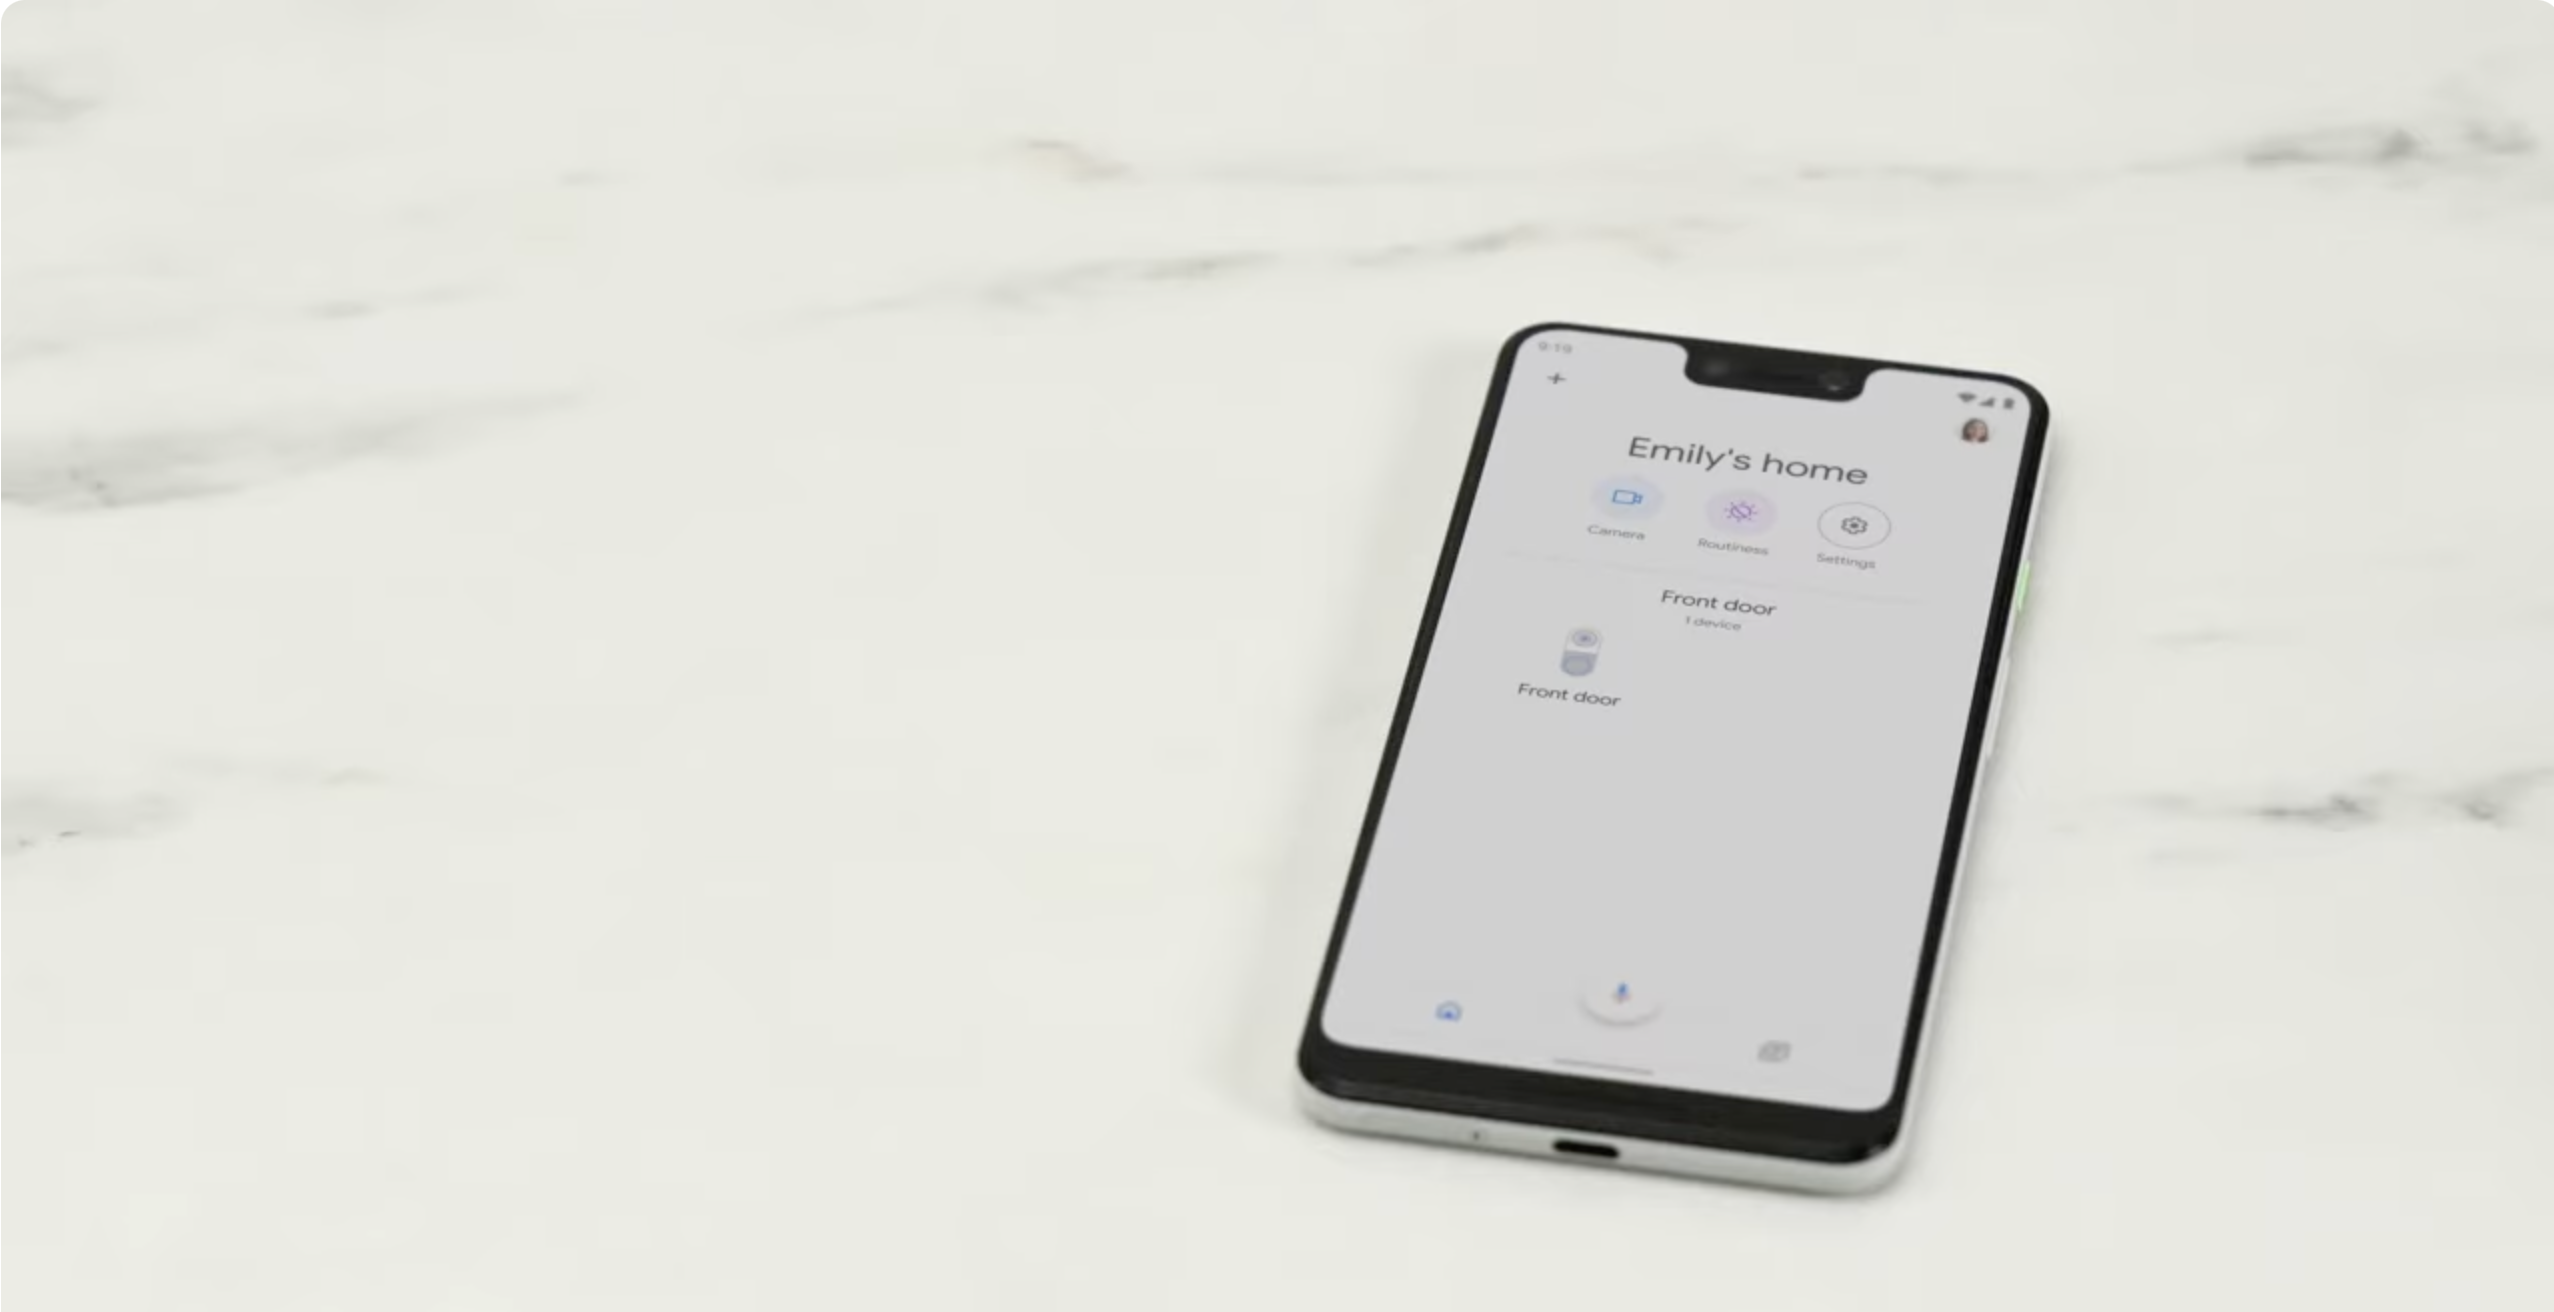
- Allow the requested permissions, such as Bluetooth and location, so the app can find nearby hardware.
Once you land on the Home tab, you are ready to add your first point and start the Google wifi point setup.
Step 3: Start Google Wifi Setup In The App
Now you connect the phone to the primary point, scan its QR code, and finish the core Google wifi setup flow.
- In the Google Home app, tap the “+” button on the Home screen.
- Choose “Set Up Device”, then pick the option to set up a new device in your home.
- Select “Google Wifi” or the closest Wi-Fi option when the app asks what you are setting up.
- Let the app search; when it finds your point, tap to continue.
- Scan the QR code on the bottom of the Google Wifi point with your phone’s camera.
- Follow the prompts to confirm the room name, then create a Wi-Fi name and password.
You can reuse the same network name and password from your old router if you want devices to reconnect automatically, but make sure no one else is still broadcasting those details while you switch.
Step 4: Add Extra Points For Whole-Home Coverage
Once the first point works, you can extend coverage by placing extra Google Wifi points around your home. Treat each one like a smart extender that automatically joins the mesh.
- Place the second point halfway between the primary router and an area with weak Wi-Fi.
- Keep every point in the open, away from thick walls, large appliances, and closed cabinets.
- Plug each point into power and wait for the pulsing light that signals setup mode.
- In the Google Home app, tap the “+” button again and choose to set up another device.
- Let the app find the new point, scan its QR code, and assign it to a room.
- Repeat for any extra points until your whole space has overlapping coverage.
After you place all points, run the built-in mesh test in the app to confirm strong links between nodes, and move any weak ones closer until the test shows a good or great signal.
Step 5: Connect Your Devices To Google Wifi
When the network comes online, you can move phones, laptops, TVs, and consoles over to the new mesh. The process feels like joining any normal Wi-Fi network.
- Open Wi-Fi settings on your device.
- Select the new network name you created during setup.
- Enter the password and connect.
- Repeat on all your devices, including smart TVs, consoles, and streaming sticks.
- Forget your old router’s network so devices do not accidentally bounce back to it.
As you walk around, your devices should roam between points without manual switching, which is the main advantage of a mesh system like Google wifi.
Step 6: Use Key Features In The Google Home App
Once the basics work, take a few minutes inside the Google Home app to fine-tune your network. You control almost everything from the Wi-Fi section.
- Open the Google Home app and tap “Wi-Fi” on the main screen.
- Run an internet speed test to confirm you're receiving the bandwidth you pay for.
- Use “Devices” to see what is online and how much data each device uses.
- Turn on a guest network so visitors can get online without seeing your main devices.
- Use priority device controls to give extra bandwidth to one device for working from home or streaming.
- Explore family controls to pause Wi-Fi on certain devices during homework or bedtime.
These tools turn a simple Google wifi router into a network you can actually manage, not just hope will behave.
Step 7: Add More Points For Google Wifi Extender Setup
If you still see a weak signal in far rooms or on another floor, you can expand coverage later by adding more points. This works as a Google wifi extender setup inside the same mesh.
- Buy extra Google Wifi points that match your existing model or are listed as compatible.
- Plug the new point into the power in the area where you want better coverage.
- Open the Google Home app, tap “+”, and choose to set up a new device.
- Scan the QR code, assign a room, and wait while the app links it to the mesh.
- Run the mesh test again and adjust placement if the connection shows as weak.
You can repeat this process in large homes or offices until the entire area shows strong coverage across all points.
How To Do A Google Wifi Reset Safely
Sometimes you must perform a Google wifi reset to fix stubborn problems or move the hardware to a new home. You can try a soft reboot first, then a full factory reset if nothing else works.
- Soft Reboot: In the Google Home app, open “Wi-Fi”, tap “Settings”, and choose the option to restart the network so all points reboot cleanly.
- Hardware Restart: Unplug power from each point, wait a few seconds, then plug them back in and let the lights return to normal.
- Factory Reset From Hardware: Press and hold the reset button on the bottom of the point until the light flashes, then keep holding until it changes color, which wipes settings.
- Factory Reset From Apps: If available, use the reset option in the Google Home app to clear your network and start over.
After a full reset, you must repeat the setup for Google Wi-Fi from the beginning, so only factory reset when you really need a clean slate.
Troubleshooting Common Google Wifi Setup Problems
Most setup issues come from QR scans failing, points not showing in the app, or the internet not reaching the first router. You can usually fix these problems with a few quick checks.
- Point Not Detected: Make sure Bluetooth and location services are enabled on your phone, move closer to the point, and confirm the light still pulses in setup mode.
- QR Code Will Not Scan: Clean the label, brighten the room, or choose the manual code entry option in the app if it appears.
- No Internet After Setup: Confirm the modem has internet by plugging a laptop directly into it, then double-check that the Ethernet cable runs from the modem to the correct port.
- Weak Signal In One Room: Move the nearest point a bit closer, avoid thick walls, and run the mesh test again until it shows good or great strength.
- Old Router Still Broadcasting: Turn off or unplug your old router entirely so devices do not try to cling to the wrong network.
If problems continue, you can search for "Google Wi-Fi point setup" in the Help section of the Google Home app, which links to current official guides and contact options.
Conclusion
Once you know how to set up Google wifi with the Google Home app, the process feels quick and repeatable. You plug in the primary point, walk through a few screens, add extra points, and let the mesh handle roaming for you.
Use the app’s network tests, family tools, and priority settings to keep your connection stable during work, streaming, and gaming. With proper placement and occasional mesh checks, your Google Wifi network should stay fast and reliable in every room.

Discussion (0)
Be the first to comment.