Knowing how to connect your Mac to a wireless network can come in handy in a variety of situations. Maybe you just got a new device running on macOS, or you want to connect your MacBook to the Wi-Fi in your favorite coffee shop. Either way, this guide aims to give you all the information you need to connect your Mac to any wireless network. It is easier than you think, so let's get started:
NOTE: This guide covers macOS Mojave or newer. The features shared in our guide may not work on older versions of macOS. To check your macOS version, read What version of macOS do I have?
Method 1: Connect to a Wi-Fi network using the networks list from the menu bar
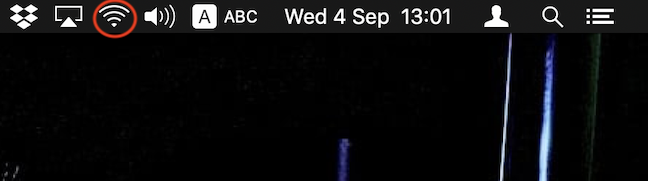
The menu bar offers the easiest and fastest way to control your Wi-Fi connections. It allows you to turn Wi-Fi on or off and to switch the network to which you are connected with just two clicks or taps. The Wi-Fi icon should be present on the menu bar, in the upper-right section of your screen. If you can't find this icon in your menu bar, read Where is the Wi-Fi icon on a Mac? How to enable it or hide it.
The Wi-Fi icon in the menu bar
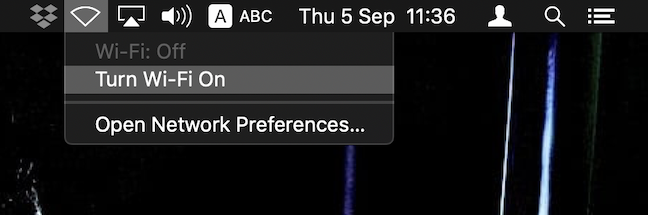
If your Wi-Fi is turned off, the Wi-Fi icon looks slightly different, so you have to click or tap on it and then press "Turn Wi-Fi On."
Turn Wi-Fi On to see available networks
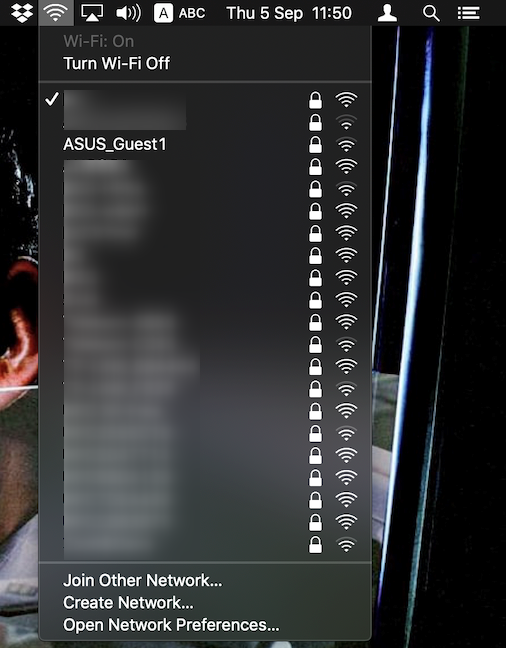
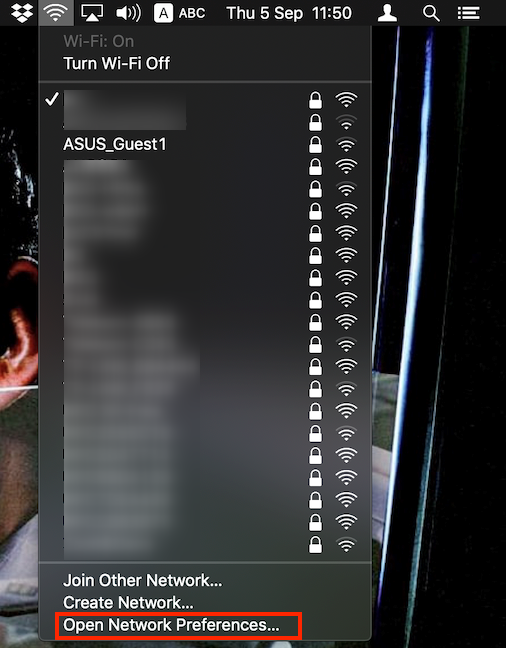
Clicking on the Wi-Fi icon opens a menu that lists the networks available in your area. A check sign indicates the network that you are currently connected to. If a network is password-protected, a lock is displayed next to it. The signal strength for each network is indicated by how many white arcs are shown next to the Wi-Fi names - the more white arcs, the better the signal for that Wi-Fi. Click or tap on the Wi-Fi network to which you want to connect.
Choose your preferred network from the list
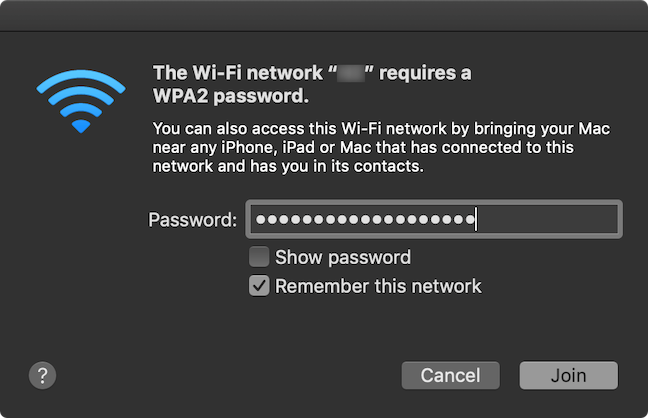
Most Wi-Fi networks today are password-protected, so odds are you need to enter a password. If you are in a public place, the password should be displayed somewhere, or the staff there should be able to provide it to you. Enter the network's password and click or tap Join.
Insert the password and press Join to connect to the chosen Wi-Fi network
If this is a network that you use often, you should choose to "Remember this network" to avoid having to enter the password each time you connect to it.
Method 2: Connect to a Wi-Fi network using the Network pane in System Preferences
If the Wi-Fi icon is displayed in your menu bar, click or tap on it and then press on "Open Network Preferences" at the bottom. Alternatively, go to System Preferences from the Apple menu and then click or tap on Network.
Open Network Preferences takes you directly to the Network pane
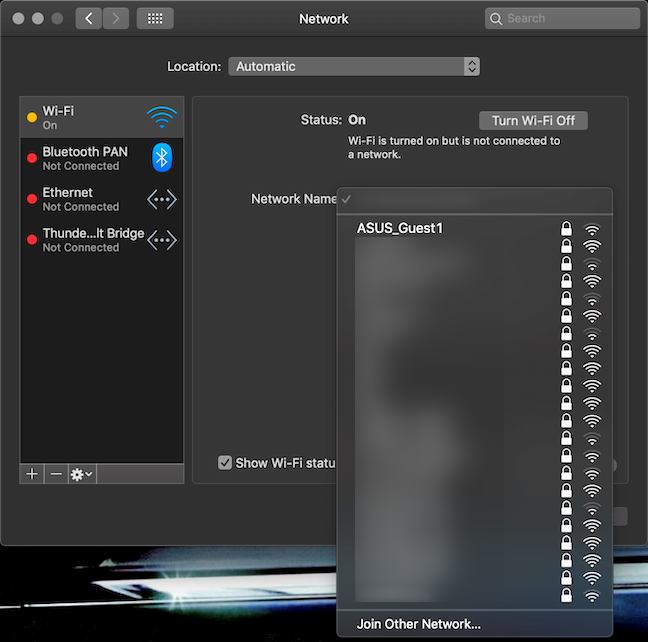
If your device is not currently connected to a network, you should see the image below. Click or tap the arrows next to the Network Name field.
Click the arrows to select a Wi-Fi network
A list of available Wi-Fi networks is displayed, and you can select the one that you want to use by clicking or tapping on its name.
Choose the desired Wi-Fi network
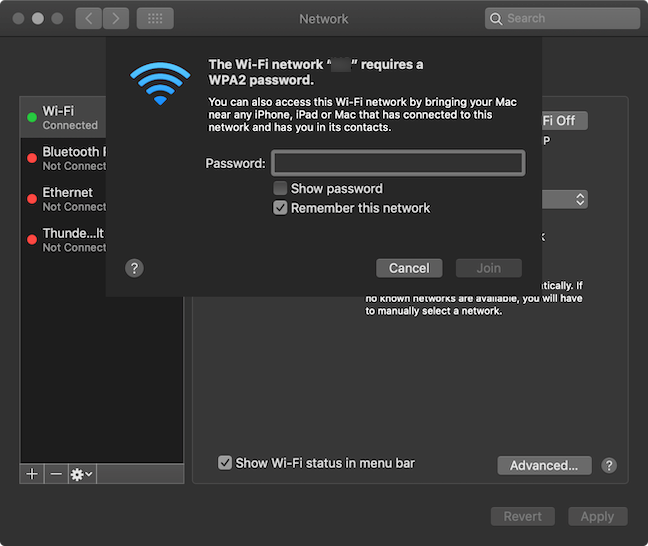
If the network is password-protected, a lock is displayed next to it, and you have to enter the password before being able to join it. Make sure the "Remember this network" option is checked, to avoid having to enter the password every time.
Enter the password to join the selected network
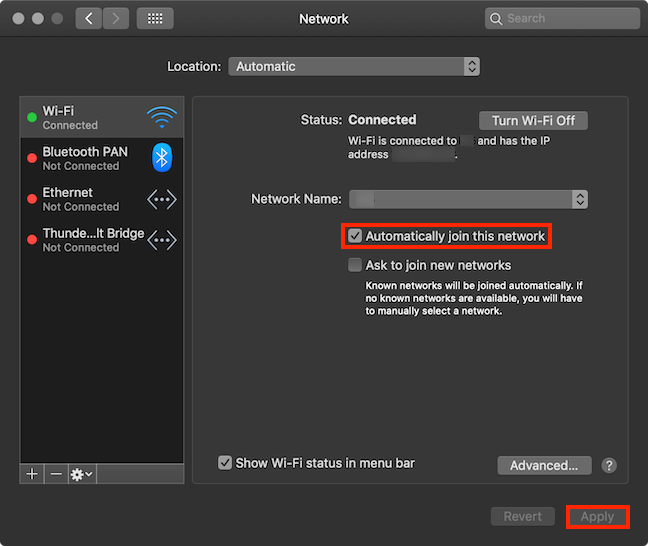
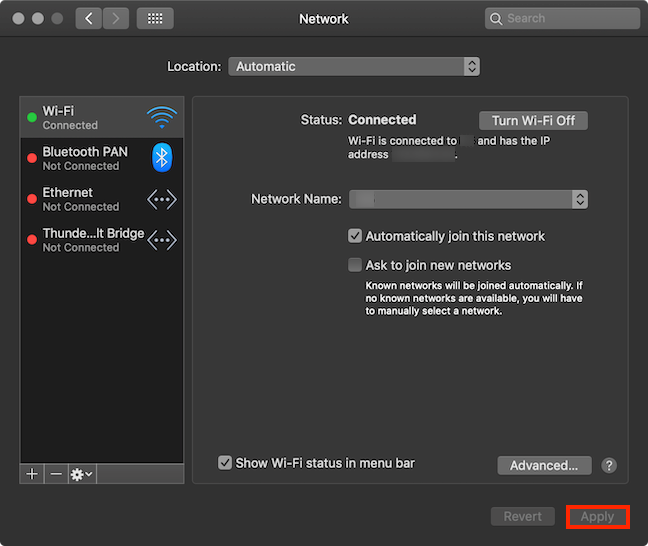
You should also enable the option to "Automatically join this network" if this is a network you use often. Then, click or tap Apply.
Choose to automatically join often used networks
Method 3: Connect to a Wi-Fi network using the Advanced options for Wi-Fi in the Network pane
Either press on the Wi-Fi icon in the menu bar and then on "Open Network Preferences" at the bottom, or go to System Preferences from the Apple menu and then click or tap on Network.
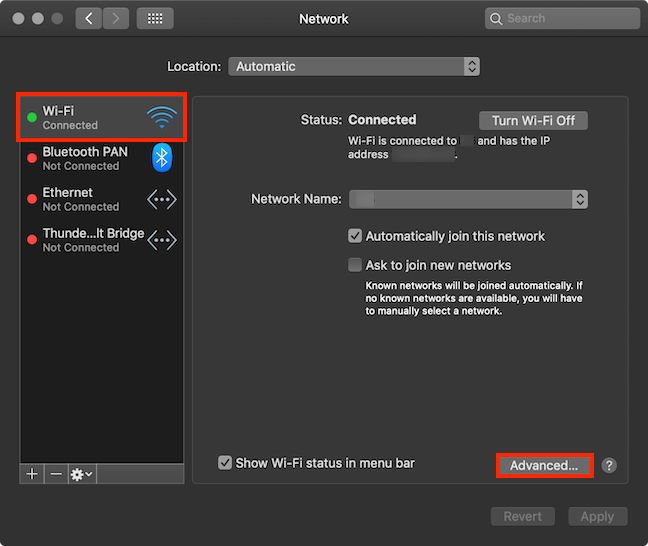
Then, make sure Wi-Fi is selected from the list on the left-hand side, and click or tap Advanced.
Open Advanced options for Wi-Fi
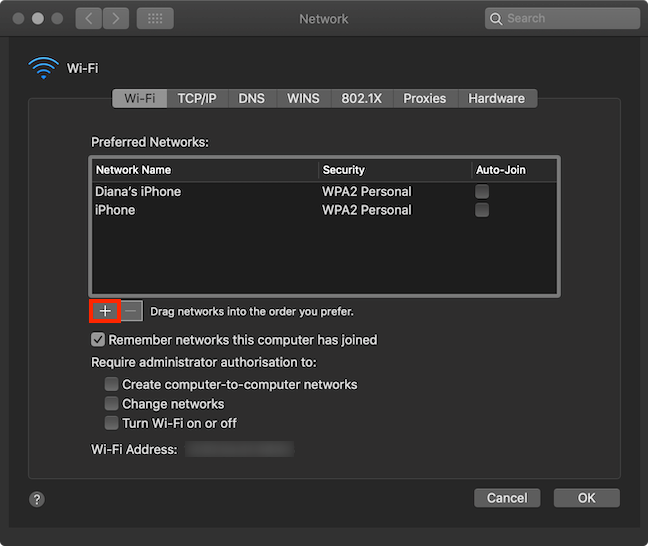
The Wi-Fi tab of the Advanced options opens, displaying your Preferred Networks. Press the + (plus sign) button under the list.
Press + to start adding a new Wi-Fi network
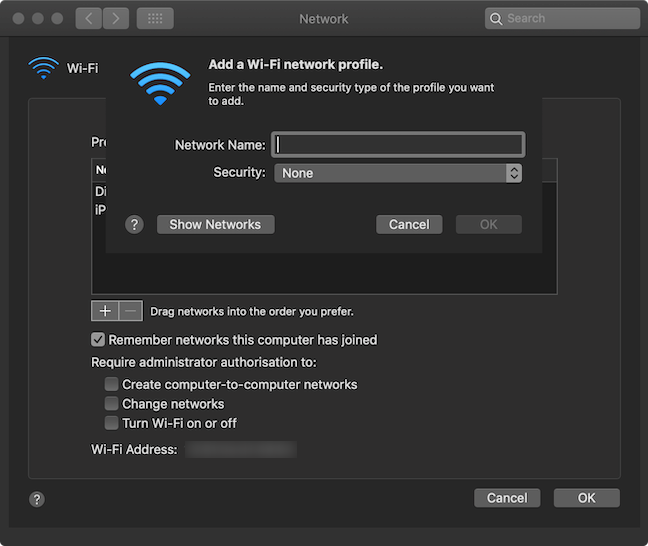
A new window pops up, asking you to enter the details needed to Add a Wi-Fi network profile.
Fill in the fields in the Add a Wi-Fi network profile window
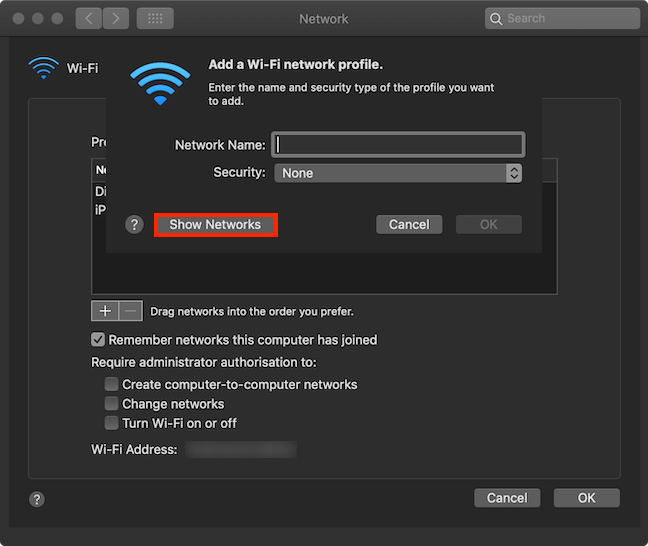
You now have two options. The more comfortable option is to click or tap the Show Networks button.
Press Show Networks to see all available Wi-Fi networks
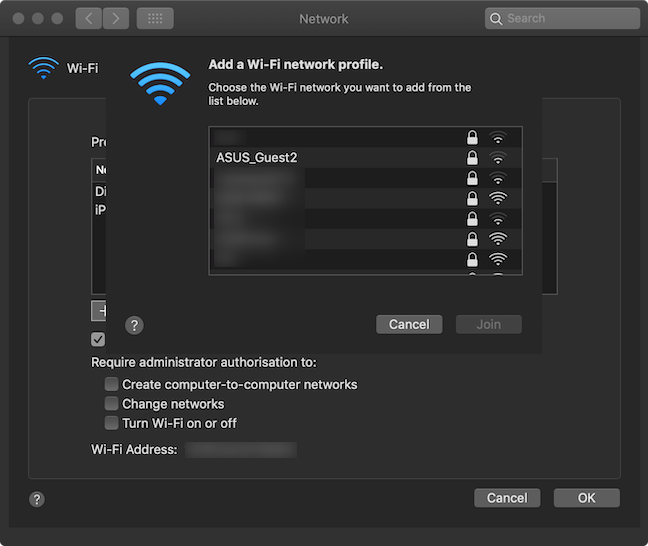
This opens a list of available networks. Select the one you want to use and then click or tap Join.
Select the network of your choice and then press Join
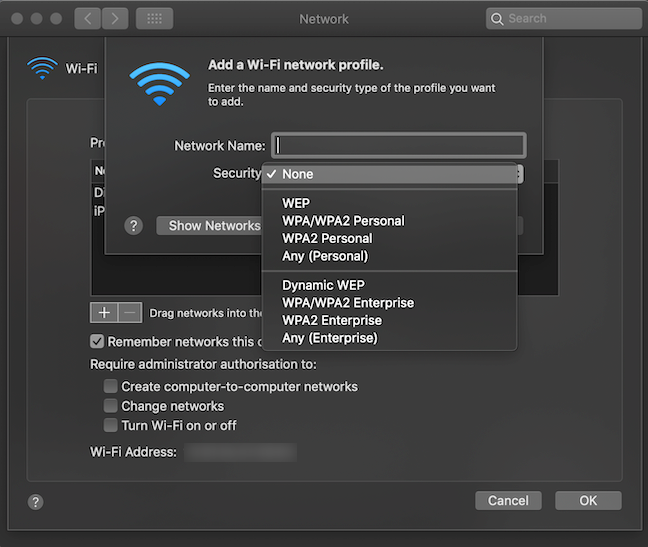
The other option is to type in the Network Name and then select the corresponding Security type from a drop-down list.
Choose the Security type for the network you want to use
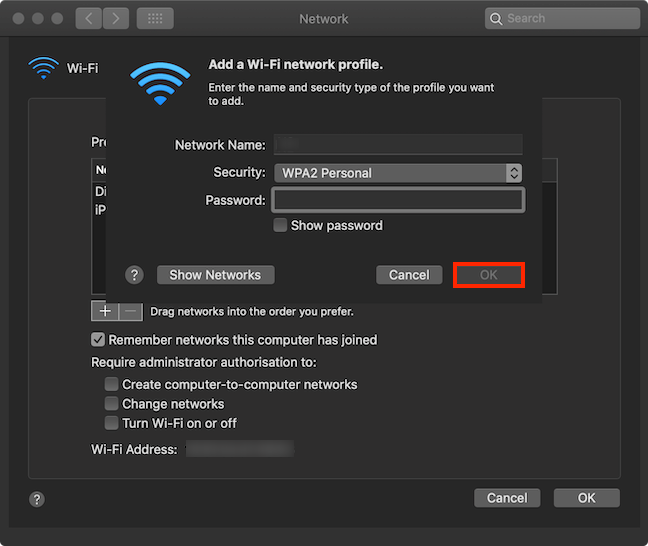
Regardless of the chosen option, the next step is the same. With both fields completed, you just enter the Password for the network and then click or tap the OK button.
Enter your password and then press OK
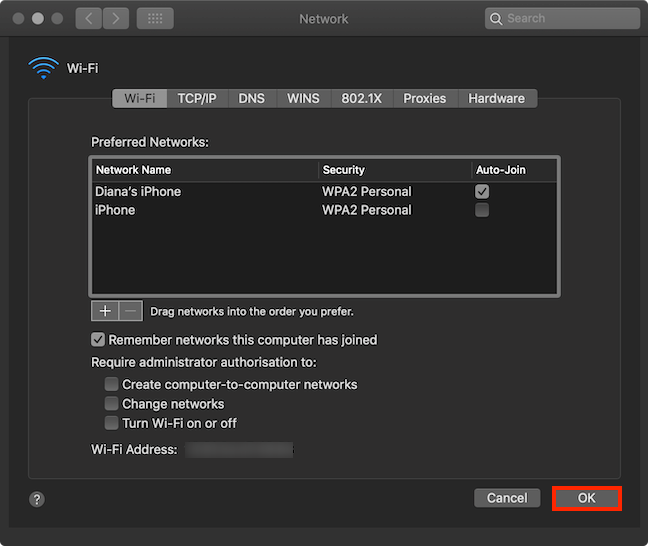
Hit OK again to save your changes. If your Mac is not online already, this connects it to your chosen Wi-Fi network, which is now added to the Preferred Networks list.
Click or tap OK to save your changes
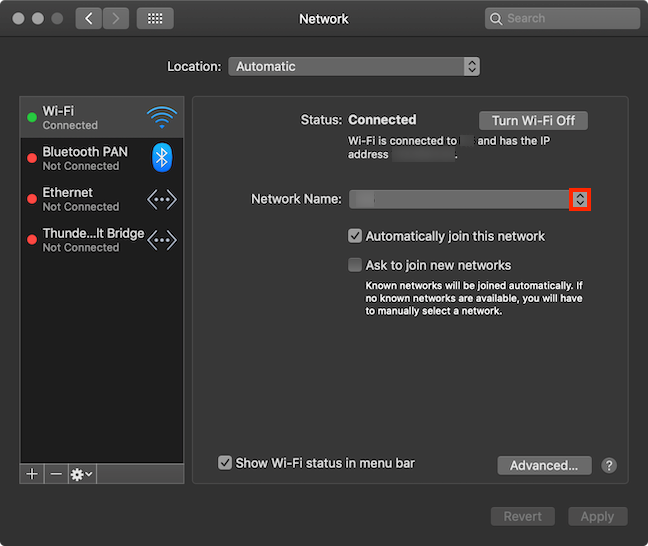
If you are already connected to a network, and you want to switch to the new network you just added, click or tap on the arrows next to the Network Name field.
Press the arrows to select a Wi-Fi network
Choose the network you just added from the drop-down list, and your Mac connects to it without the need for a password.
To switch to the newly added network, select it from the list
Confirm your choice once more before closing the Network pane, by clicking or tapping Apply.
Press Apply before closing the pane
TIP: As a rule, we advise you not to connect to unknown Wi-Fi networks. Doing so poses security risks, as you make it easier for potential hackers to access your macOS device and personal data.
What are the funniest Wi-Fi names you have encountered?
Our old Wi-Fi was called FBI Surveillance Van, and we moved around a lot, so we encountered a lot of funny names for wireless networks: PrettyFly4WiFi, WhoIsYourDaddy, WiFi4Beer, MyWiFiKnowsBest, and others. Before you close this tutorial, tell us the funniest Wi-Fi names you've come across. Comment below and let's share fun network names.


Discussion (0)
Be the first to comment.