


Port forwarding is required when you want players outside your home network to join your Minecraft server. Without an open port, traffic cannot reach the device running your server. This updated guide explains how to port forward a Minecraft server at the time of writing, how to set your server port, how to allow the port through your firewall, and how to configure your router for stable multiplayer gameplay.
The primary keyword how to port forward a Minecraft server appears naturally throughout this guide, with secondary phrases such as Minecraft port forwarding, open Minecraft server port, and enable Minecraft multiplayer added where appropriate for search relevance.
Default Minecraft Server Ports
Minecraft requires specific ports depending on the edition you are running. These must match your server configuration before you port forward.
- 25565 for Minecraft Java Edition.
- 19132 and 19133 for Minecraft Bedrock Edition using both TCP and UDP.
You can change the port in the server settings, but sticking to the defaults keeps setup simple.
Step 1: Set The Port In Your Server Configuration
Your Minecraft server will only listen on the port defined in the server.properties file. Confirm or modify this setting before adjusting your router.
- Open your Minecraft server folder.
- Locate the file named server.properties.

- Right-click and open it with Notepad or any text editor.
- Find the line named server-port.
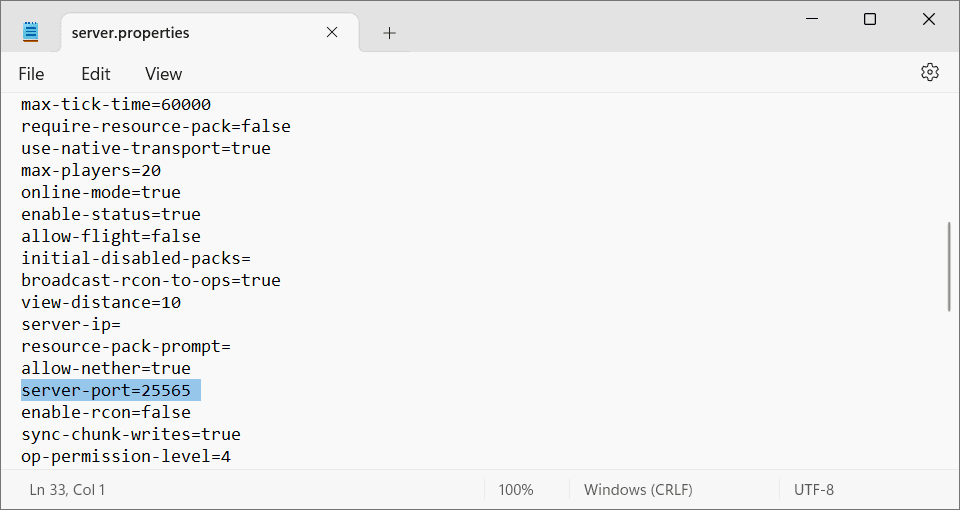
- Enter your preferred port, such as 25565 for Java Edition.
- Save your changes.
- Restart your Minecraft server to apply the new configuration.
Bedrock Edition uses the ports listed above and stores them inside the bedrock_server.properties file if you need to adjust them.
Step 2: Allow The Minecraft Port Through Your Firewall
If your system firewall blocks incoming connections, port forwarding will not work even if your router is configured correctly. Allow the Minecraft port in your operating system firewall to avoid connection errors.
Windows Firewall
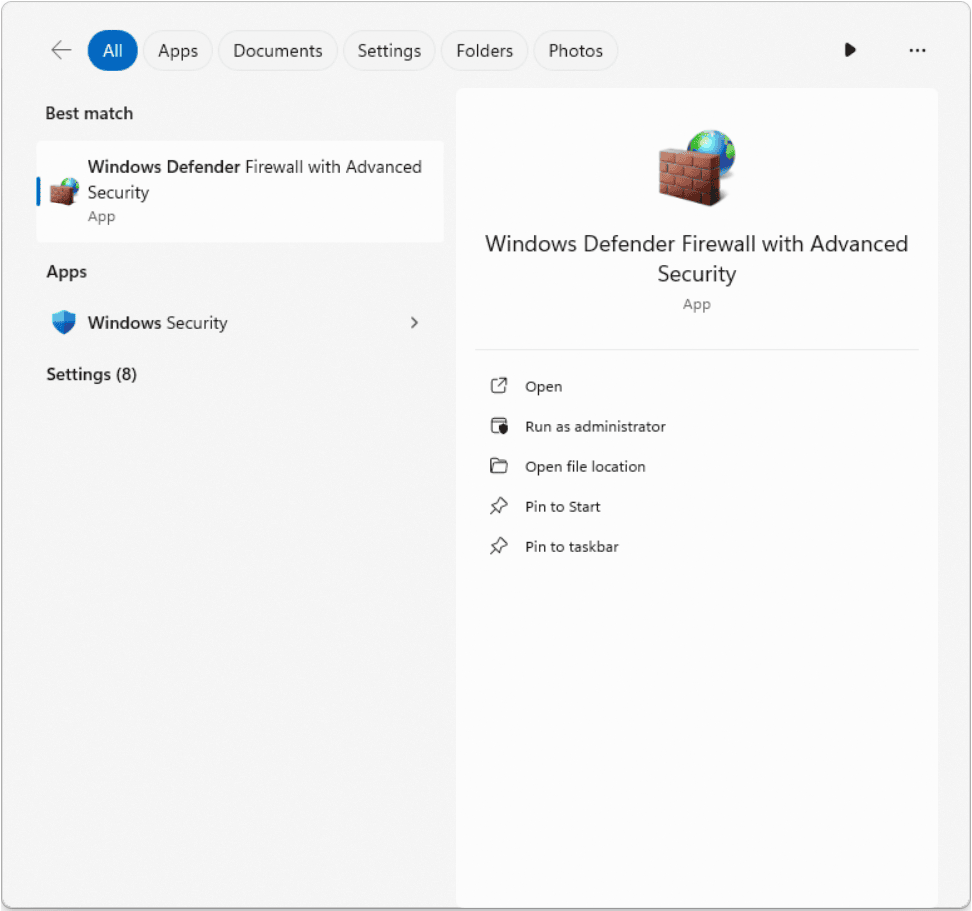
- Open the Start menu and search for Windows Defender Firewall.
- Select Advanced Settings.
- Click Inbound Rules on the left.
- Select New Rule.
- Choose Port.
- Select TCP and enter port 25565 or the port you configured earlier.
- Click Allow Connection.
- Give the rule a name and click Finish.
- Create a second inbound rule for UDP using the same port if needed for Bedrock.
macOS Firewall
- Open System Settings.
- Select Network.
- Scroll to Firewall and enable it if needed.
- Add Java or the Minecraft server application to the list of allowed apps.
Linux Firewall
The command varies by distribution, but common examples include:
- sudo ufw allow 25565 for Java Edition.
- sudo ufw allow 19132 and sudo ufw allow 19133 for Bedrock Edition.
After adjusting these rules, restart the server to confirm that the firewall no longer blocks incoming connections.
Step 3: Find Your Computer Local IP Address
Your router needs to know which device should receive Minecraft traffic. This address is different from your public IP.
- Open Command Prompt on Windows and type ipconfig.
- Find the IPv4 Address, which typically starts with 192.168 or 10.0.
- On Mac, open System Settings, select Network, and view the Local IP under your active connection.
Write this address down. You will enter it into your router during port forwarding.
Step 4: Access Your Router Admin Panel
- Open your browser.
- Enter your router gateway address. Most routers use 192.168.1.1 or 192.168.0.1.
- Log in using your administrator username and password.
- Check the label on your router if you do not know the login credentials.
Once logged in, you can access all NAT and firewall settings.
Step 5: Locate The Port Forwarding Menu
Different router brands place this feature under different labels. Look for options such as:
- Port Forwarding
- NAT Forwarding
- Virtual Server
- Applications and Gaming
- Advanced NAT
Any menu that allows custom port rules will work.
Step 6: Create A New Port Forward Rule
- Add a new entry inside the Port Forwarding or Virtual Server menu.
- Enter your Minecraft port such as 25565 for Java or 19132 and 19133 for Bedrock.
- Enter your computer Local IP address from Step 3.
- Select TCP for Java Edition and both TCP and UDP for Bedrock.
- Enable the rule and save your settings.
This tells your router exactly where to send external Minecraft traffic.
Step 7: Restart Your Router
- Use the reboot option inside your router interface if available.
- Unplug and reconnect the router if there is no reboot button.
- Wait for all lights to stabilize before continuing.
Rebooting activates the new port forwarding rule.
Step 8: Test Your Minecraft Server Port
- Search online for a port checking tool.
- Start your Minecraft server on your computer.
- Enter your port number to confirm it is open.
- If the port shows as open, multiplayer connections should work normally.
If the port remains closed, confirm that your server is running, your firewall rules are correct, and the router rule points to the right device.
Step 9: Share Your Server IP With Players
- Search for your public IP address using a browser.
- Share it in the format publicIP:25565 for Java Edition.
- For Bedrock Edition, give players the correct port number listed in your bedrock_server.properties file.
Players outside your network will now be able to connect directly to your server.
Extra Tips For Reliable Minecraft Port Forwarding
- Assign a static local IP to prevent your device from changing addresses.
- Use a wired Ethernet connection for stable hosting.
- Make sure Java or the Bedrock executable is allowed through your system firewall.
- Consider a dynamic DNS service if your public IP changes frequently.
Conclusion
Learning how to port forward a Minecraft server helps you host worlds that friends can join from anywhere. By configuring your server port, adjusting your firewall, opening the correct ports on your router, and testing the connection, you create a smooth and reliable multiplayer experience. Follow the steps in this guide to enable Minecraft multiplayer safely and enjoy a stable server environment at the time of writing.


Discussion (0)
Be the first to comment.