


Crafting a dispenser gives you a powerful utility block you can use for traps, farms, and automation. The process only requires basic resources, and you can build one early in the game if you gather the right materials.
This guide walks you through every step so you understand how it works, how to place it correctly, and how to fix common issues.
1) Materials you need to craft a dispenser
You need seven cobblestone blocks, one bow, and one piece of redstone dust. These items appear early in the game, so most players can access them within minutes.
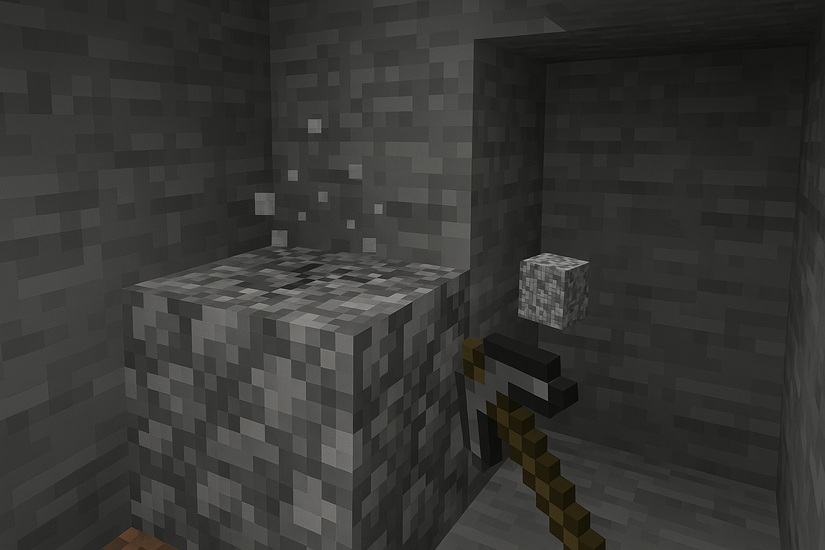
Where to find cobblestone fast
Mine stone with any pickaxe to gather cobblestone quickly. You can find it almost everywhere underground or along cliff walls, so you never run out of it.
How to craft or repair a bow
Combine three sticks and three strings in the crafting table to make a bow. You can also repair a damaged bow on the crafting table if you have a second bow with low durability.
String usually comes from spiders or cobwebs, so you can collect it while exploring caves or abandoned mineshafts.
How to get redstone dust
Mine redstone ore with an iron pickaxe or stronger. You typically locate redstone in lower underground levels, especially near lava pools.
Bring water buckets for safety while you mine around lava, and you gather enough redstone for multiple builds.
2) Crafting a dispenser on Java and Bedrock
Just like making an Observer in Minecraft, the crafting recipe uses a 3x3 grid and works on both Java and Bedrock editions. You only need the correct layout and the materials listed earlier.
Step-by-step grid placement
Place three cobblestone blocks across the top row. Put two cobblestone blocks on the bottom corners, then add the bow in the center and the redstone dust in the bottom middle slot.

Double-check the bow and redstone positions before you try to craft, because a mistake in the center column prevents the dispenser from appearing in the result box.
Moving the dispenser into your inventory
Drag the completed dispenser from the result box into your inventory. Put it in your hotbar so you can place it right away in your world.
If you plan to build several redstone farms, craft multiple dispensers at once to save time later.
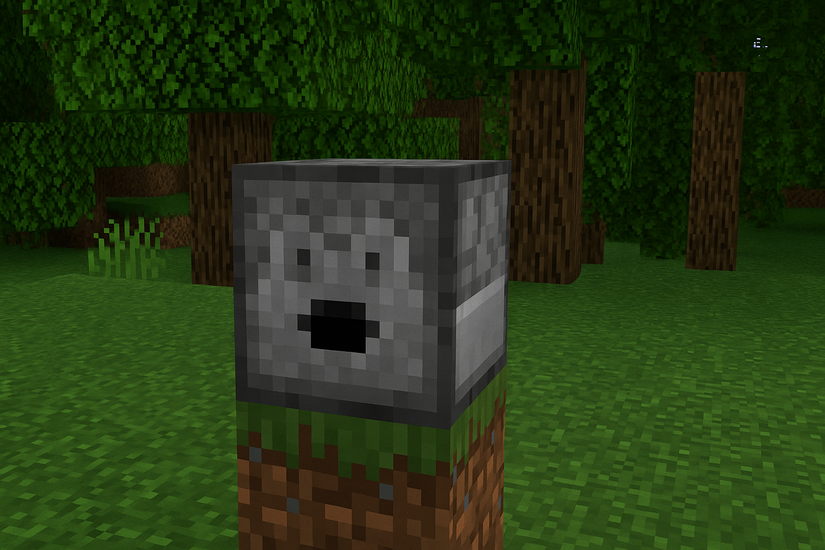
3) How to place and activate the dispenser
Placement direction matters because the dispenser fires items from its face. Redstone power triggers the firing action, so you need both correct orientation and a signal.
Correct facing direction
Aim at the block face where you want the dispenser to point and place it. If it faces the wrong direction, break it with a pickaxe and reposition it while you stand in front of the desired direction.
Powering the dispenser with redstone
Use a button, lever, pressure plate, or redstone trail to activate the dispenser. Each redstone signal triggers one use, so repeated signals let it fire multiple times.
Place the power source directly next to the dispenser or connect it with redstone dust and repeaters if you need distance.
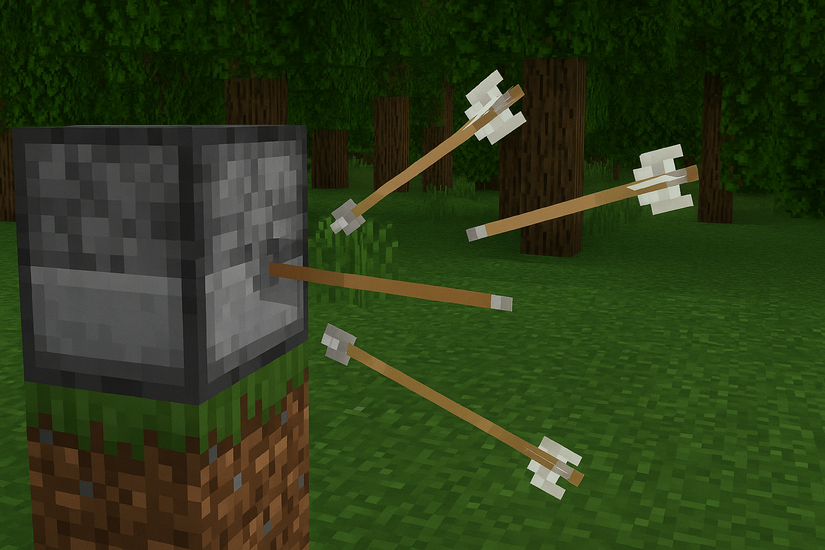
4) What a dispenser can shoot or deploy
A dispenser handles many items, and each one triggers a specific behavior. This flexibility makes it ideal for farms, traps, and decorative effects.
Combat items
The block fires arrows, fire charges, and tipped arrows when you power it. These items help you build defensive setups around your base and create simple mob traps.
Utility items
Water buckets, lava buckets, and potions activate when fired from the dispenser. You can also deploy spawn eggs or shears for automated tasks, such as shearing sheep in a small farm.
Experiment with different items to learn which ones activate and which ones only drop.
5) Advanced redstone uses with dispensers
More advanced builds help you automate farms, defense systems, and resource handling. Once you understand the basics, you can chain multiple dispensers together.
Redstone clock automation
Attach a simple repeater clock or observer clock to trigger continuous firing. This design automates rapid-fire setups for farms, defense, or decorative firework shows.
Mob grinder integration
Use dispensers for water control or projectile firing inside mob grinders. This keeps the system efficient, collects drops, and reduces manual handling of hostile mobs.
6) Common dispenser mistakes and fixes
- Items dropping instead of firing: Some items only drop, even in a dispenser. If you expect activation but see simple drops, switch to a supported item like arrows, fire charges, or water buckets.
- Redstone signal not reaching: Check that your redstone dust or repeaters connect directly to the dispenser. Repair gaps, adjust repeater directions, or move the power source closer if the block never activates.
- Dispenser not rotating or facing properly: Break and replace the dispenser while facing the desired direction. Rotation stays fixed after placement, so you must reposition it any time you misalign the face.
Useful dispenser builds for beginners
- Arrow defense turret: Place arrows in the dispenser and connect it to a button, lever, or tripwire. This setup protects entry points from mobs and gives you simple base defense without constant manual firing.
- Automatic crop farm: Use water buckets inside a dispenser to hydrate or flush crops when you power it. This method speeds up harvesting and clears fields without manual digging or water placement.
- Firework launcher: Load fireworks into the dispenser and connect it to a lever or redstone clock. This design creates great visuals for events or celebrations in your world.
FAQs
How many materials do I need to make a dispenser? You need seven cobblestone blocks, one bow, and one redstone dust. These materials work on both Java and Bedrock editions.
Why does my dispenser only drop items instead of firing them? Some items don’t activate when placed in a dispenser. Switch to supported items like arrows, fire charges, or water buckets if you want an actual firing or activation effect.
Why won’t my dispenser activate with redstone? The dispenser may not connect directly to your redstone line. Check for gaps, misaligned repeaters, or weak signals and adjust the wiring so power reaches the block.
Summary
- Gather cobblestone, a bow, and redstone dust.
- Place items in the correct 3x3 grid layout.
- Move the crafted dispenser to your inventory.
- Place it facing the correct direction.
- Connect redstone to trigger it.
- Use it for farming, defense, or automation builds.
Conclusion
A dispenser gives you automation, defense, and creative build options early in Minecraft. You only need a few basic resources to craft one, and correct placement ensures items fire or activate properly.
Once you connect redstone, you unlock far more advanced designs and can expand into automated farms, traps, and decorative builds. If you understand its behaviors and limits, the dispenser becomes one of the most versatile blocks in your world.


Discussion (0)
Be the first to comment.