




Connecting a smart TV to WiFi lets you stream apps, update software, and access online features without extra hardware. Most modern TVs from Samsung, LG, Sony, Hisense, TCL, and Vizio support wireless connectivity, but the exact menu layout varies by brand. This guide explains every step clearly so you can connect to your home network even if you’re setting up a smart TV for the first time.
We also cover common WiFi connection issues, how to fix them, and what to check if your TV won’t join your network. These steps work on nearly all smart TVs sold in the U.S., including models that support both 2.4 GHz and 5 GHz networks.
How To Connect A Smart TV To WiFi
Follow these steps to quickly join your home network. Your TV might use slightly different wording, but the process remains the same across major brands.
Step 1: Open The Network Or WiFi Menu
Start by accessing the area of your TV’s settings that manages wireless connections.
- Press the Menu or Settings button on your remote.
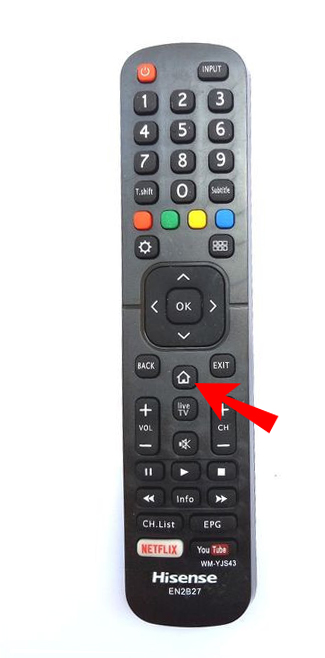
- Open Network, Connections, or WiFi.
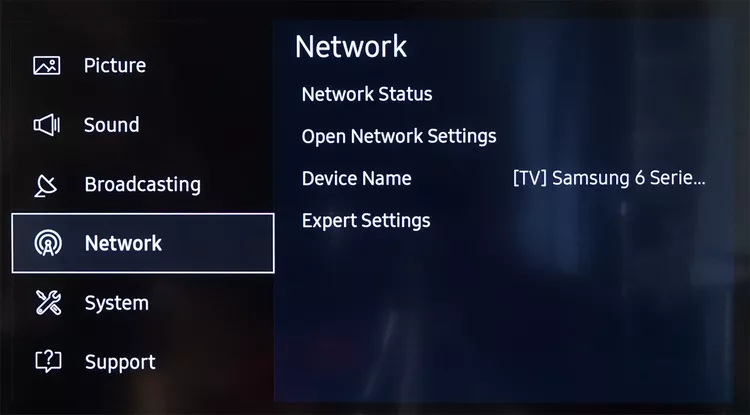
- Select Wireless or WiFi Setup to view available networks.
Step 2: Select Your WiFi Network
Your smart TV will scan and show nearby wireless networks. Choose your home WiFi name (SSID) from the list.
- Wait for the list of networks to appear.
- Highlight your home WiFi name.
- Select it to begin the connection process.
Step 3: Enter Your WiFi Password
Most smart TVs only join secure networks after you enter the correct password. Entering it exactly is important because passwords are case-sensitive.
- Type your WiFi password using the on-screen keyboard.

- Check capitalization and special characters.
- Select Connect to confirm.
Step 4: Wait For The TV To Connect
Your TV will attempt to join your network. This usually takes a few seconds, depending on signal strength.
- Look for a confirmation message such as “Connected” or “Successful.”
- Open an app like YouTube or Netflix to verify internet access.
Step 5: Test The Connection
Most TVs include a built-in network test. Running it helps ensure your WiFi connection is stable.
- Open Network Status or Test Connection.
- Confirm that the TV reaches your router and the internet.
Troubleshooting Common Problems
If your smart TV won’t connect, one of these quick fixes usually solves the issue.
- Wrong WiFi password: Retype it carefully.
- Weak signal: Move the router closer or remove obstacles.
- Router freeze: Restart the router and wait 1–2 minutes.
- Outdated TV firmware: Update software using a USB drive if WiFi won’t work.
- 5 GHz issues: Some older TVs only support 2.4 GHz networks.
Tips
- Use a dual-band router to improve streaming stability.
- Rename your WiFi network to avoid confusion during setup.
- Keep your TV’s software updated for the best wireless performance.
- If your TV supports Ethernet, wired connections are always more stable.
FAQ
Why won’t my smart TV find my WiFi network?
Your router may be broadcasting on a band your TV doesn’t support. Try enabling 2.4 GHz or restarting the router.
Do I need a password to connect?
Nearly all home networks require one for security. Without the correct password, the TV cannot join the WiFi network.
Can I connect using Ethernet instead?
Yes. A wired connection avoids WiFi interference and improves streaming stability.
Summary
- Open your TV’s WiFi or Network settings.
- Select your home WiFi name.
- Enter the correct password.
- Wait for confirmation and test the connection.
Conclusion
Connecting a smart TV to WiFi only takes a few steps, and once completed, you unlock streaming apps, software updates, and voice-assistant features. With the troubleshooting tips included here, you can quickly resolve most connection failures and keep your TV online without frustration.


Discussion (0)
Be the first to comment.