Windows 10 aims to be the most secure operating system ever created. One of the ways it does that is by letting you use a Microsoft account to authenticate to your computer or device. Unfortunately, passwords for such accounts tend to be long and hard to remember. That's why Windows 10 also offers other means of authentication, including using a PIN code, a fingerprint, facial recognition, physical security keys, and also picture passwords. The latter is the one that we're going to talk about in this tutorial. If you want to know the correct order of the steps necessary for creating a Windows 10 picture password, read on:
NOTE: We created this guide using Windows 10 with May 2020 Update. In older versions of Windows 10, things might look different, and some of the features and options we're going to show you might have different names or might not be available. Before going any further, check your version of Windows 10 and update it if necessary.
What is a Windows 10 picture password?
A picture password is a way of logging into Windows 10 that involves using a picture of your choosing and gestures drawn on that picture, instead of a password. These gestures can be a combination of circles, straight lines, and clicks or taps. The picture password is the combination of three gestures that you perform in a specific order on the picture that you chose for this task.
The picture password is associated with your user account, and you can use it as a replacement for your password. However, you cannot have a user account that logs in to Windows 10 with a picture password and has no password associated with it.
How to enable Windows 10 picture passwords
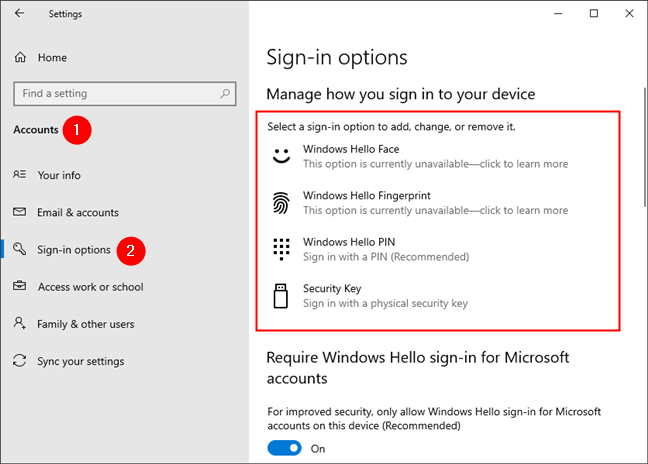
To create a picture password for your user account in Windows 10, you must first enable this option. Open the Settings app, go to Accounts, and select Sign-in options on the left side of the window. Then, on the right side of the Settings app, you should see several settings and buttons that are related to signing into Windows 10.
The Sign-in options from Windows 10 Settings
As you might have noticed from the previous screenshot, by default, Windows 10 lets you choose between using Windows Hello Face, Windows Hello Fingerprint, Windows Hello PIN, and Security Key. The Windows 10 picture password option is not showing up on that list. That's because the latest versions of the operating system don't consider picture passwords to be very secure, so it disables this option. However, if you want to use a picture password, here's how to enable it:
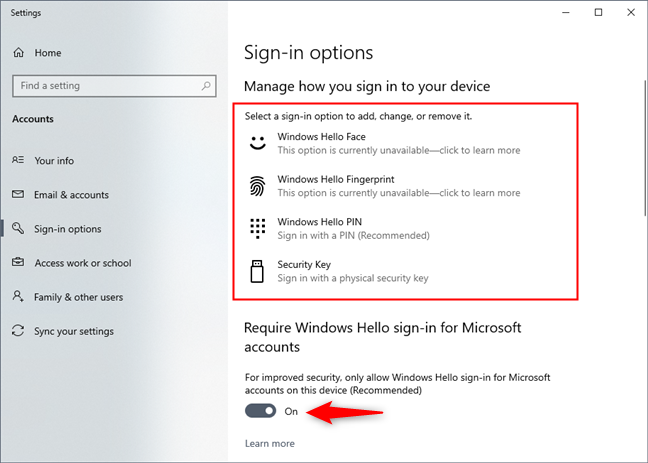
Scroll down on the Sign-in options page until you reach the area called "Require Windows Hello sign-in for Microsoft accounts." There, you're going to find a switch that's On by default, which says that "For improved security, only allow Windows Hello sign-in for Microsoft accounts on this device (Recommended)." Turn this switch Off.
Require Windows Hello sign-in for Microsoft accounts
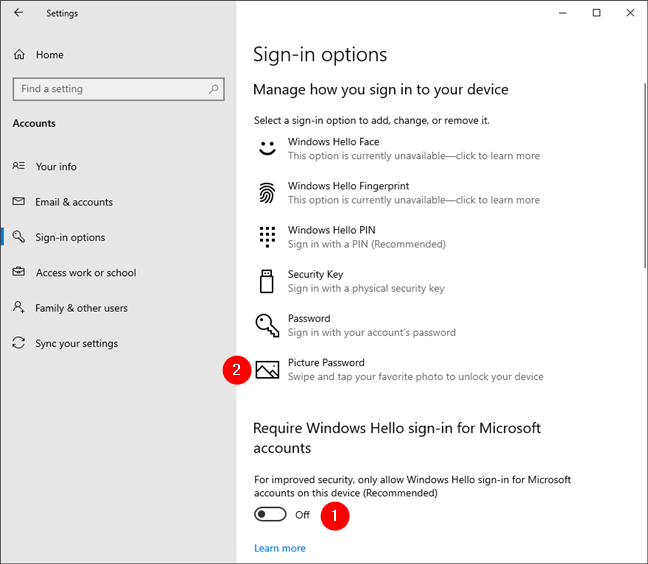
Then, restart the Settings app and go back to the Sign-in options page from the Accounts section. This time, you should see the Picture Password listed as an option.
Turning off the Windows Hello sign-in enables Picture Password
How to create a Windows 10 picture password
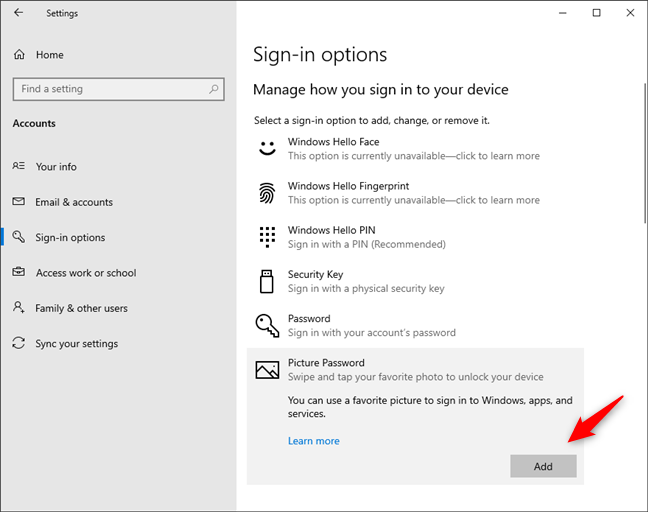
The next step is to create your Windows 10 picture password. On the Sign-in options page, scroll down to the Picture Password option, click or tap on it, and then push the Add button.
Choosing to Add a Windows 10 picture password
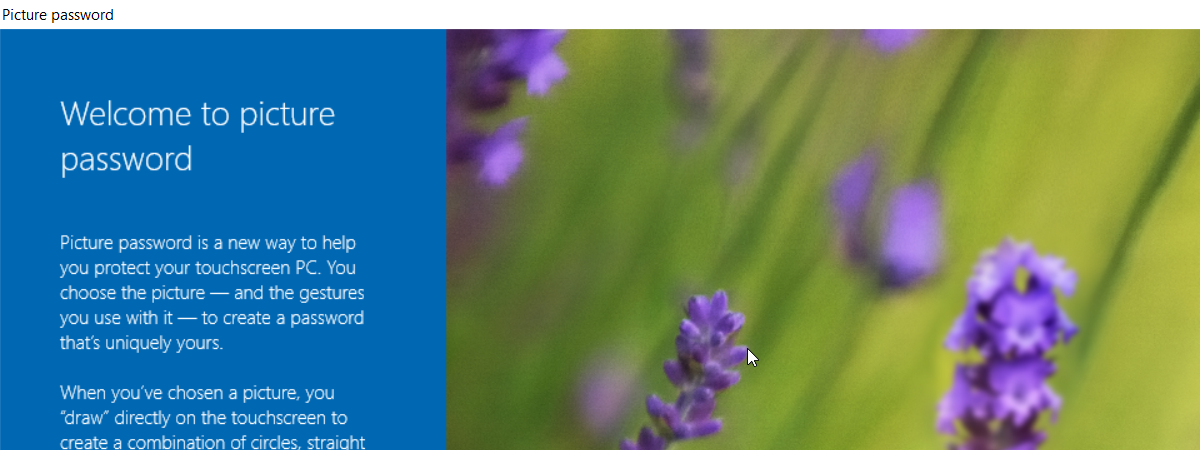
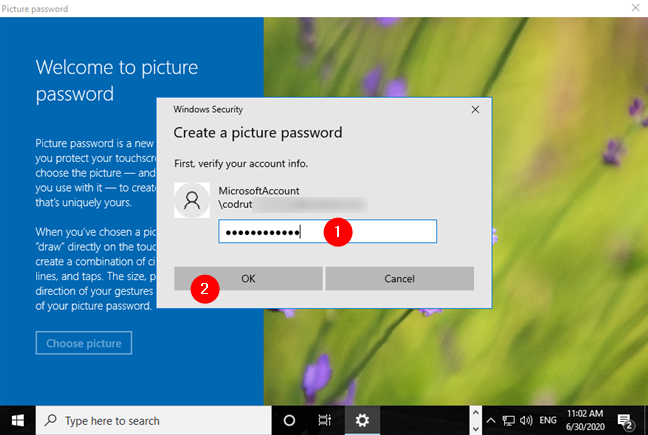
Windows 10 now launches the "Welcome to picture password" wizard. First, you are asked to enter your user account password. Type your password and press OK. If you don't do this, you cannot create a picture password for your account.
Entering the password of the user account
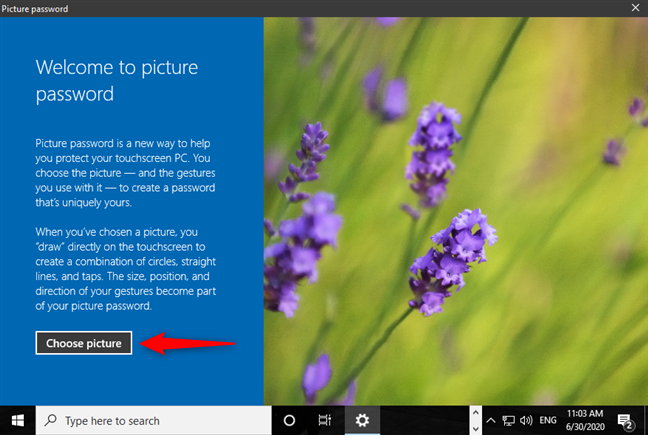
On the left side of the screen, click or tap the Choose picture button.
Choose picture to use for signing in to Windows 10
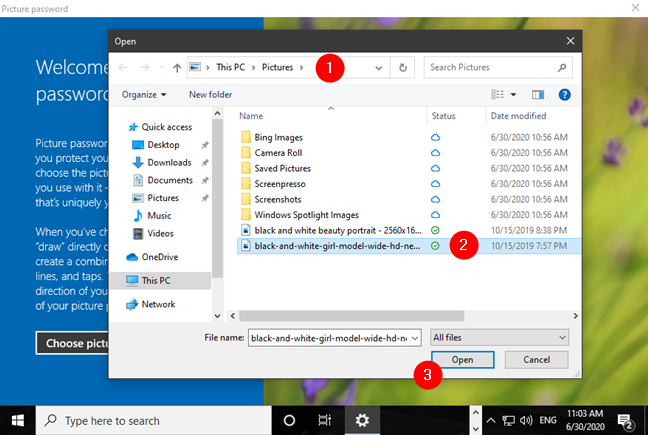
Browse through your Windows 10 computer or device to find the picture that you want to use. Select it and click or tap on Open.
Browsing and selecting the image to use for the Windows 10 picture password
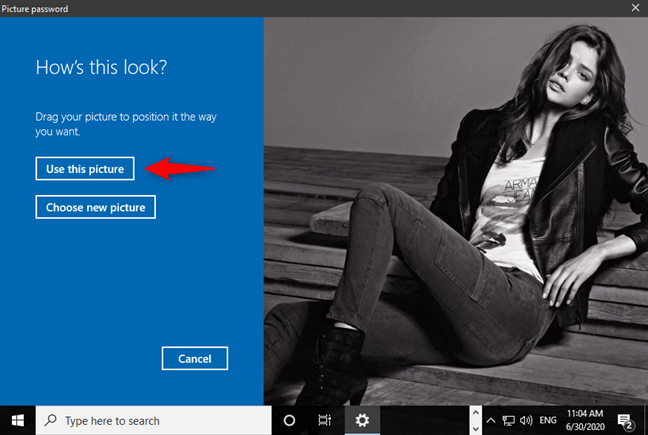
Once the picture is loaded in the wizard, you can move the picture to the position you want by dragging it with your mouse or finger (if you are using a touchscreen). When done, click or tap on "Use this picture."
Use this picture
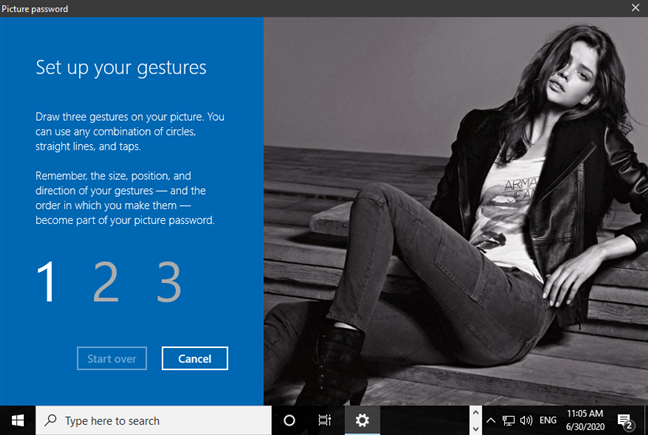
Next, you have to "set up your gestures," which means that you need to draw three gestures on the picture. They can be lines, taps/clicks, and circles.
Set up your gestures
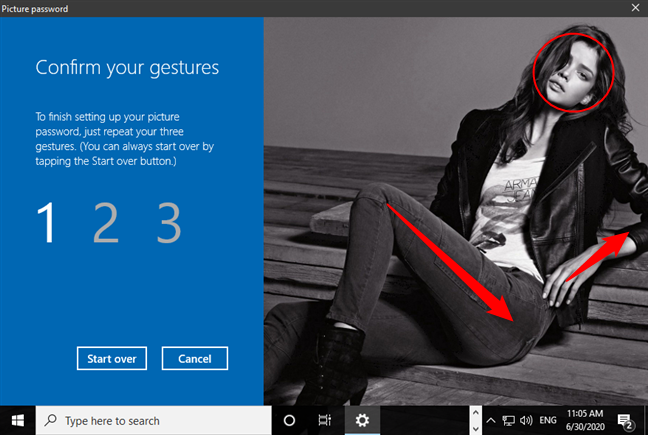
Draw the gestures that you want to use and then confirm them. For example, we have drawn a circle and two lines on our sample picture. You can draw any combination of three gestures you prefer.
Confirm your gestures
After drawing the three gestures on the picture, confirm them by redrawing them in the same order as you did the first time.
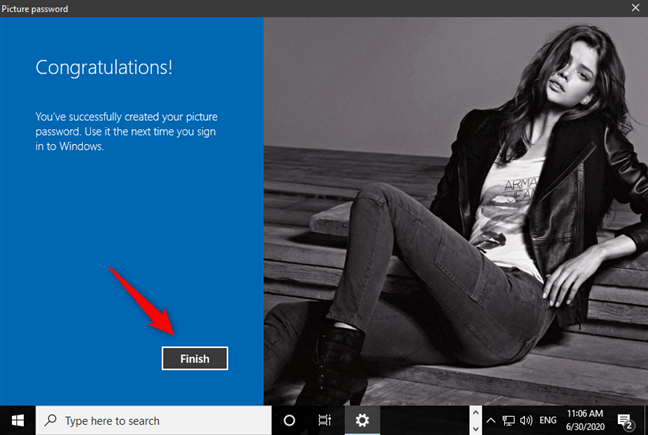
When you're done, Windows 10 tells you that you've successfully created your picture password. Press Finish.
Finishing the picture password creation process
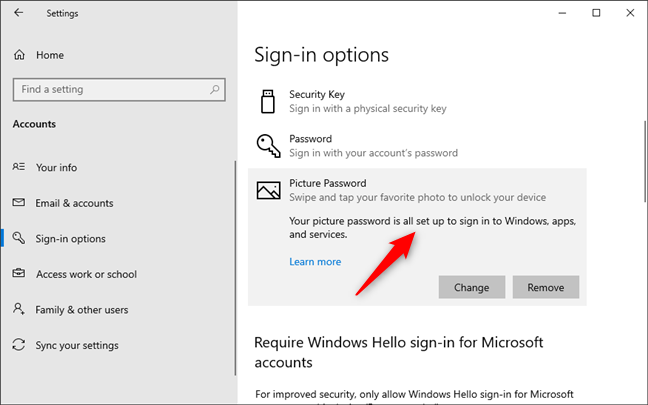
Back in the Settings app, Windows 10 now tells you also that your picture password was created, and you can use it to "[...] sign in to Windows, apps, and services".
The picture password has been created
You can close the Settings window. Read the next section of this tutorial to see how to sign in to Windows 10 using a picture password.
How to sign in to Windows 10 using a picture password
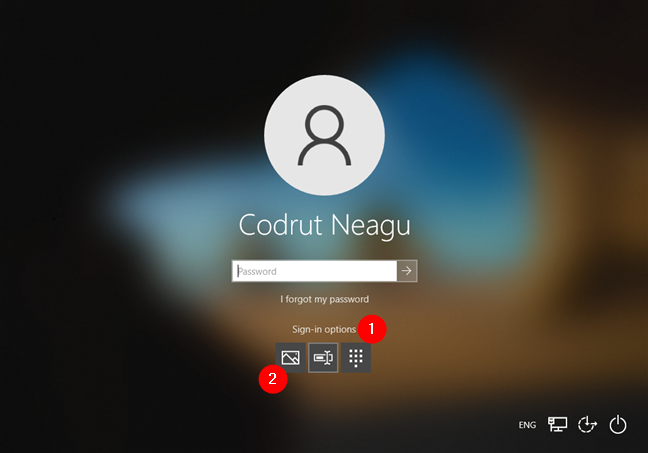
When the sign-in or the lock screen is shown, Windows 10 automatically selects the last used account and the last used login method. If you've created a picture password and you never used it to log in, Windows 10 asks you to enter your password. To enter the picture password instead, click or tap on Sign-in options, and then press the picture symbol highlighted below.
Choosing to sign in to Windows 10 using a picture password
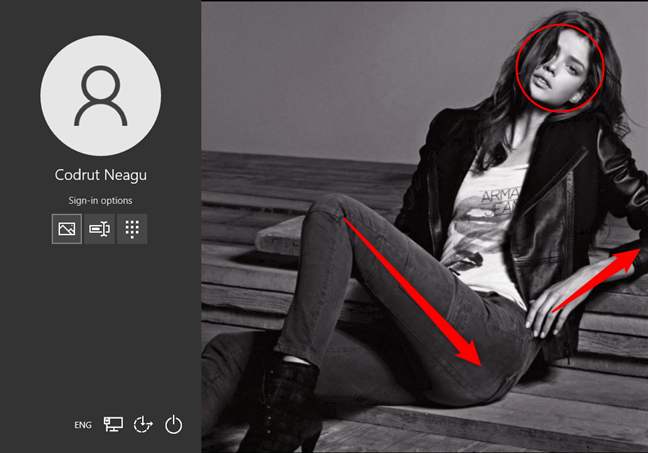
Windows 10 then shows you the picture you chose to use for your picture password. Use your mouse or finger to draw the gestures you've set, and you are logged into Windows 10.
Drawing the Windows 10 picture password gestures
The next time you're going to log in to Windows 10, the operating system will ask you for the picture password instead of your user account's regular password.
Are you using a picture password to sign in to Windows 10?
Now you know how to create a Windows 10 picture password. You also know why the Windows 10 picture password is not showing as an option in the Settings app by default. The question is: are you using a picture password to sign in to your Windows 10 computer or device? Did you have any problems creating one? Get in touch with us by leaving a comment below.


Discussion (0)
Be the first to comment.