One of the essential things about formatting text in any word processor is the ability to align text. Fortunately, whether you need to align pieces of text to the left, to the right, or center it on the page, Microsoft Word lets you do that easily. To make things even simpler for you, we've created this guide which illustrates four different ways of aligning text in Word, both horizontally and vertically:
NOTE: To create this guide, we used Word version 2019 from Microsoft Office 365. However, even if you have a different version of Office, things should work the same, with some minor visual differences.
1. Align text left or right in Microsoft Word
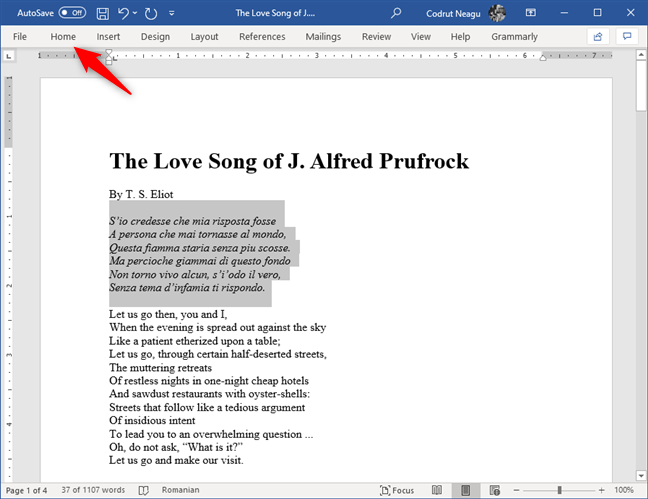
In Word, if you want to align some text, first select it. Then, click or tap on the Home tab at the top of the window.
Selecting text and opening the Home tab from Microsoft Word
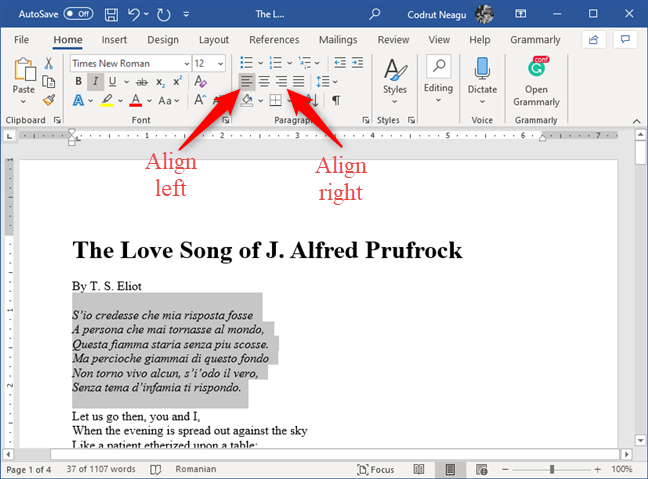
In the Paragraph section, click or tap on Align Left or Align Right, depending on what you want.
The Align Left and Align Right buttons from Microsoft Word
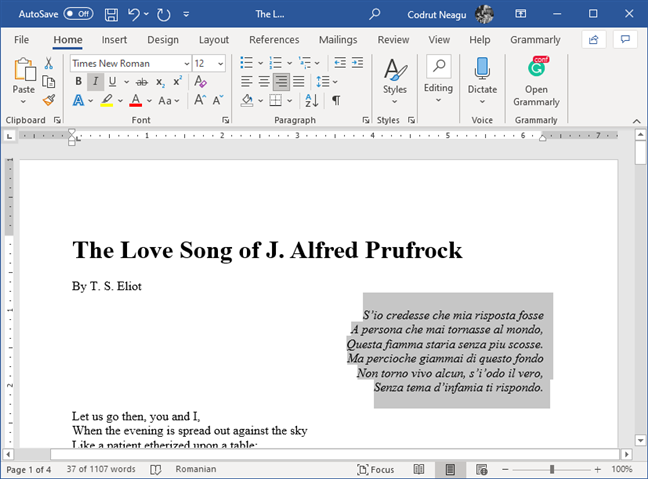
Here's how text aligned to the right looks:
Text that has been aligned to the right in Microsoft Word
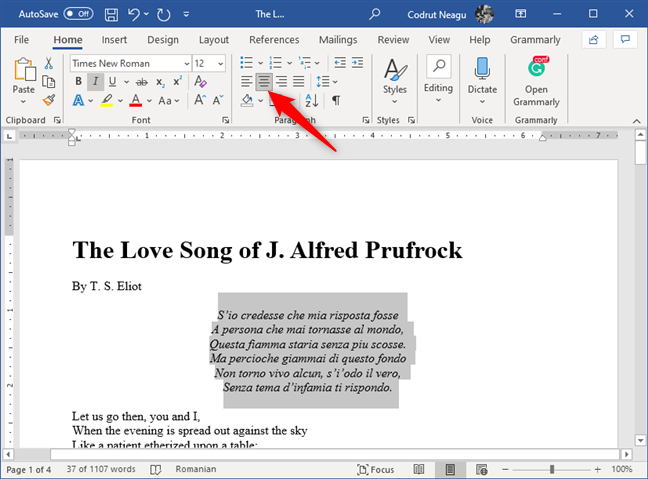
TIP: You can also align text to the left or the right faster by selecting the text and then pressing the CTRL + L or CTRL + R keys on your keyboard.
2. Center text horizontally in Microsoft Word
To center text horizontally, first select it. Then, click or tap on the same Home tab from the top of the window.
Selecting text and opening the Home tab from Microsoft Word
In the Paragraph section, click or tap on Center, and the selected text is instantly moved to the middle of the side margins of the page.
The Center button from the Paragraph section in Microsoft Word
TIP: You can also center text by selecting the text and then pressing the CTRL + E keys on your keyboard.
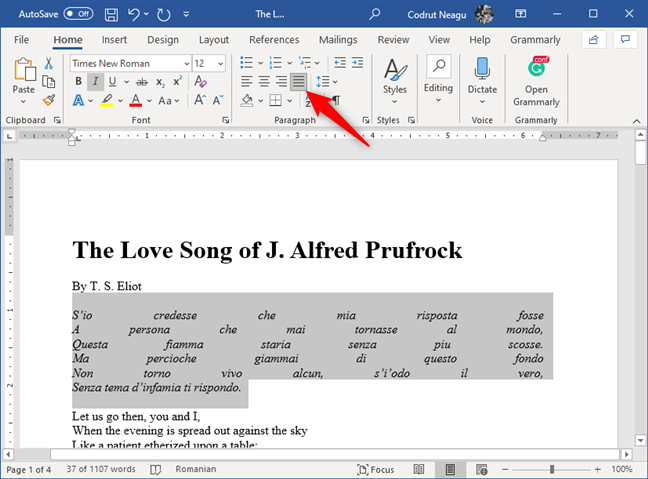
3. Justify text in Microsoft Word
Justified text has straight edges on both sides of the page. To achieve this effect, Word can add more or less space between words so that each line fills from one end to the other. However, the last line of text can be shorter if it has too few words in it.
To justify text in Word, first, select the text, then click or tap on the Home tab at the top of the window.
Selecting text and opening the Home tab from Microsoft Word
In the Paragraph section, click or tap on Justify. Your text should look something like this:
The Justify button from the Paragraph section in Microsoft Word
TIP: You can justify text faster by selecting the text and then pressing the CTRL + J keys on your keyboard.
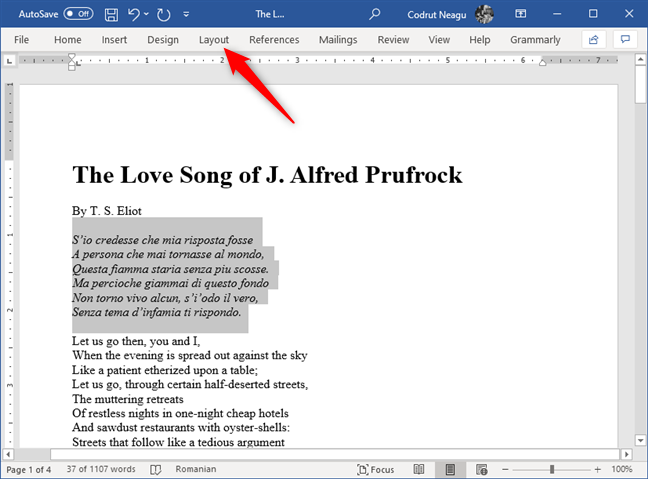
4. Align text vertically (top, center, justify, bottom) on the pages of a Microsoft Word document
As with any other text-alignment task, first select the text. Then, click or tap on the Layout tab from the top of the window.
Selecting text and opening the Layout tab from Microsoft Word
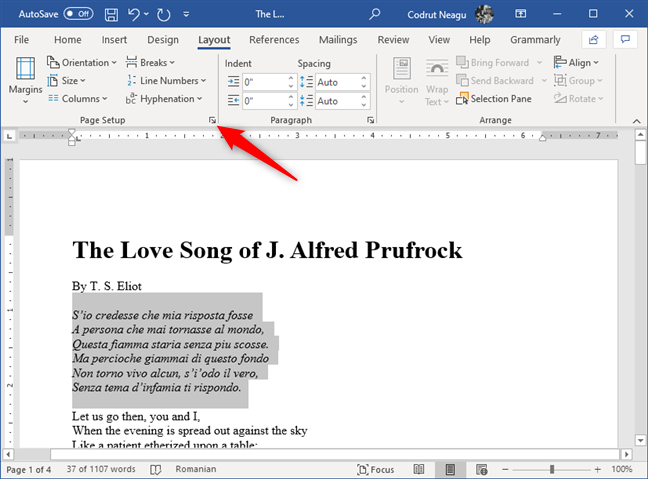
Then, click or tap on the Dialog Box Launcher button from the Page Setup section. It is a small button that depicts an arrow, found at the bottom-right corner of the Page Setup section.
The Dialog Box Launcher button from the Page Setup section in Word
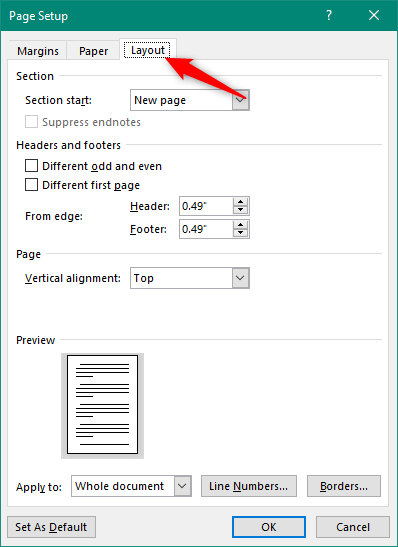
Now the Page Setup window opens. In it, select the Layout tab from the top.
The Layout tab from the Page Setup window in Microsoft Word
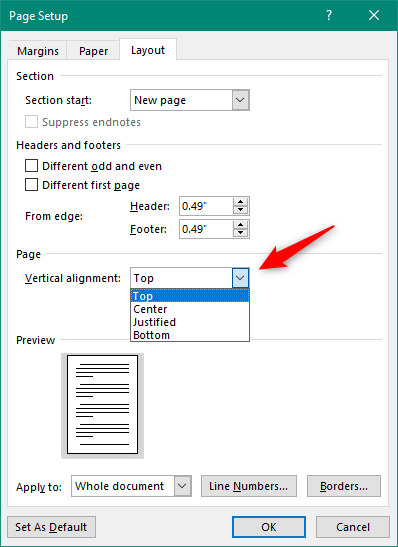
Look for the setting called Vertical alignment in the Page section. By default, it should be set to Top, which means that the text is vertically aligned to the top of the page. However, you can set the text to vertically align to the center, bottom, or even justify. Click or tap on Vertical alignment and select what you prefer.
The options for Vertical Alignment on the Page
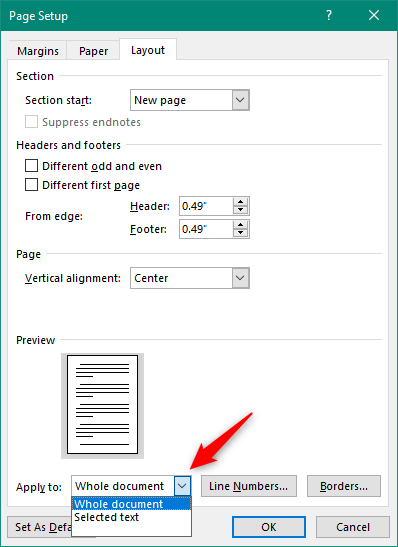
Then, make sure to choose Selected text in the Apply to box at the bottom of the window. This applies the alignment only to the text you selected. However, you can also apply the vertical alignment to all the text from the entire document if you prefer: for that, leave the Apply to setting to the Whole document.
Choosing to apply the alignment to the Whole document or only to the Selected text
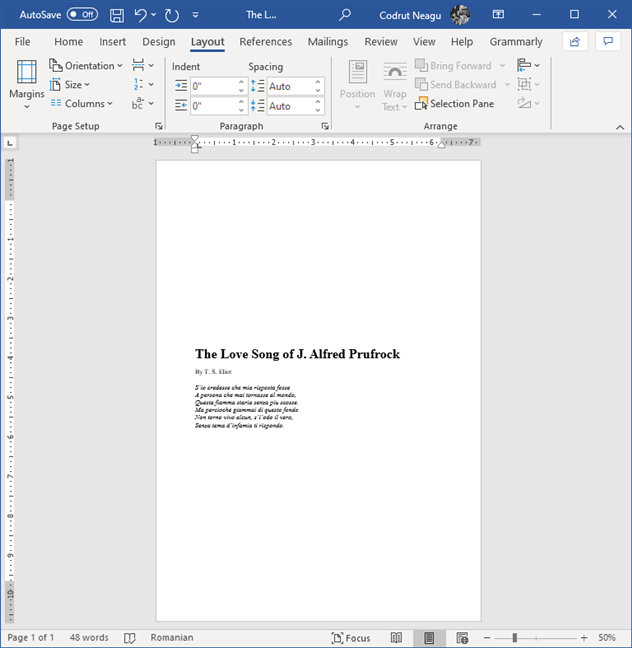
Here's an example of what a text centered vertically looks like:
Text that has been vertically centered on the page in Microsoft Word
Easy, right? All that remains for you to do now is to experiment with the different alignment options so that your text looks just the way you want it. You might also want to change the orientation of all or just some of the pages in your Word document.
Did you manage to align your text as you wanted?
Aligning text in Microsoft Word is not complicated. All it takes is a few clicks or taps here and there and the text jumps wherever you want it to be on your pages. Did you manage to align the text in your Word documents like you intended? Did you encounter any problems? Leave a comment below and share more details.
This was a very, very incomplete and inaccurate and unhelpful article.
Ciprian Adrian Rusen ·
What exactly didn’t work for you, so that we can improve our article?
Alma ·
CRLT+J does not work on my computer. Justify has been working until today. It is now grayed out. Irritating!
Honna12 ·
The newest version of MS Word (at least for Macs) has a very different way of justifying from top to bottom… you have to select the text and open the “Page Setup” pane (File > Page Setup…) and then click “Microsoft Word” from the drop down that says “Page Attributes.” Then, you have to click Margins > Layout, and under the “Page” heading you can do vertical alignment, but you have to make sure you apply it to Selected Text before you click OK or you’ll have to undo it and go through all that torture again. It only took me a lot of web searching before I finally found these instructions in an obscure, hidden comment on MS Office’s Word Help platform.
I'm not sure I agree with the way you count alignment option ·
I would have titled this article “8 Ways to Align …” . There are 4 margin alignment buttons on the tab for horizontal alignment. Plus the 4 vertical alignment options.
.
But, my main point: You have missed 7 more obscure horizontal alignment options!
.
I did a version of this article a while back that captured those extra options. Here is a link to it: https://1drv.ms/w/s!Am8lVyUzjKfphXAxm56R5_uCjZzj
.
Wink: after reading this article I decided to follow your example and added the vertical alignment options.
Ron ·
Actually, I just realized there are “4 ways to align text in Word”, you just didn’t identify these categories:
. * Ribbon buttons
. * Keyboard Shortcuts
. * Dialog boxes (actually 2: Paragraph dialog and Page Setup dialog)
. * Hidden command buttons added to the QAT
Anonymous ·
The idea is that you have four ways to align text: left or right, center, justify, and vertically.


Discussion (7)
This was a very, very incomplete and inaccurate and unhelpful article.
What exactly didn’t work for you, so that we can improve our article?
CRLT+J does not work on my computer. Justify has been working until today. It is now grayed out. Irritating!
The newest version of MS Word (at least for Macs) has a very different way of justifying from top to bottom… you have to select the text and open the “Page Setup” pane (File > Page Setup…) and then click “Microsoft Word” from the drop down that says “Page Attributes.” Then, you have to click Margins > Layout, and under the “Page” heading you can do vertical alignment, but you have to make sure you apply it to Selected Text before you click OK or you’ll have to undo it and go through all that torture again. It only took me a lot of web searching before I finally found these instructions in an obscure, hidden comment on MS Office’s Word Help platform.
I would have titled this article “8 Ways to Align …” . There are 4 margin alignment buttons on the tab for horizontal alignment. Plus the 4 vertical alignment options.
.
But, my main point: You have missed 7 more obscure horizontal alignment options!
.
I did a version of this article a while back that captured those extra options. Here is a link to it: https://1drv.ms/w/s!Am8lVyUzjKfphXAxm56R5_uCjZzj
.
Wink: after reading this article I decided to follow your example and added the vertical alignment options.
Actually, I just realized there are “4 ways to align text in Word”, you just didn’t identify these categories:
. * Ribbon buttons
. * Keyboard Shortcuts
. * Dialog boxes (actually 2: Paragraph dialog and Page Setup dialog)
. * Hidden command buttons added to the QAT
The idea is that you have four ways to align text: left or right, center, justify, and vertically.