




Many viral videos claim your iPhone flashlight can act as a real projector. Let’s set the record straight: while it’s possible to create a fun DIY light illusion, no iPhone flashlight projector app or iPhone setting can actually project images or videos onto a wall. Most of the videos you see on YouTube talking about Android and iOS apps that can do this are just clickbait and often lead to surveys that ultimately yield nothing. Here’s the real way to get an iPhone flashlight projector to work and how to experiment safely for fun results.
Materials You’ll Need
- Shoe box (or any cardboard box)
- Magnifying glass (or an old camera lens)
- Scissors or box cutter
- Tape or glue
- Black paint or black paper (optional, but helps improve the projection)
- Smartphone (in this case, an iPhone)
- A clean, white wall or a flat, light-colored surface
- Dark room (for better visibility)
Step 1: Cut a Hole in a Box
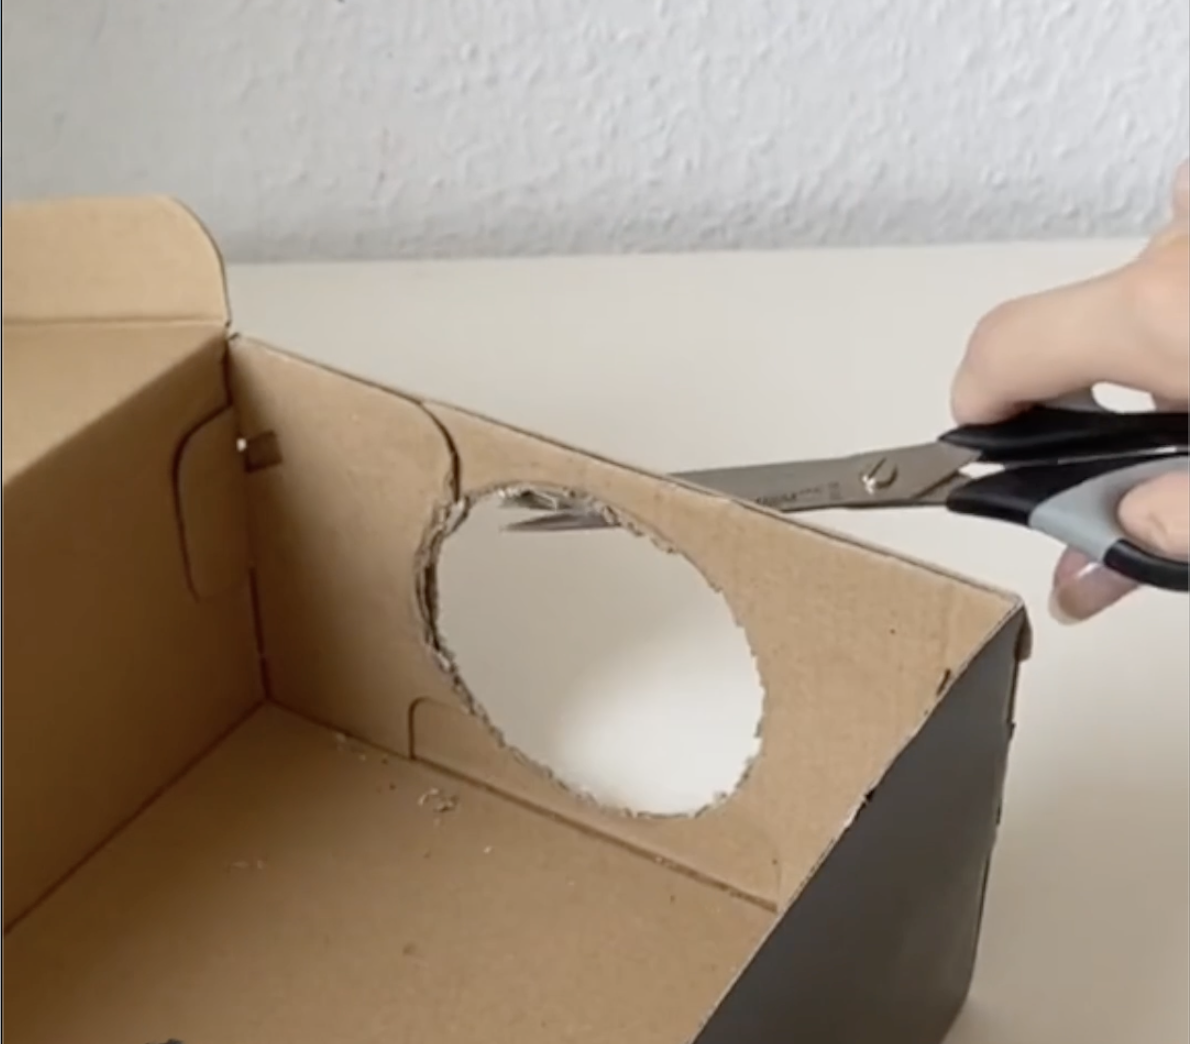
Cut a round hole in the side of the shoe box. The hole should be large enough to fit the magnifying glass snugly. The hole should be positioned towards the end of the box (not in the middle), as the light source will come from your iPhone, which you’ll place on the opposite side.
Step 2: Prepare the Shoe Box
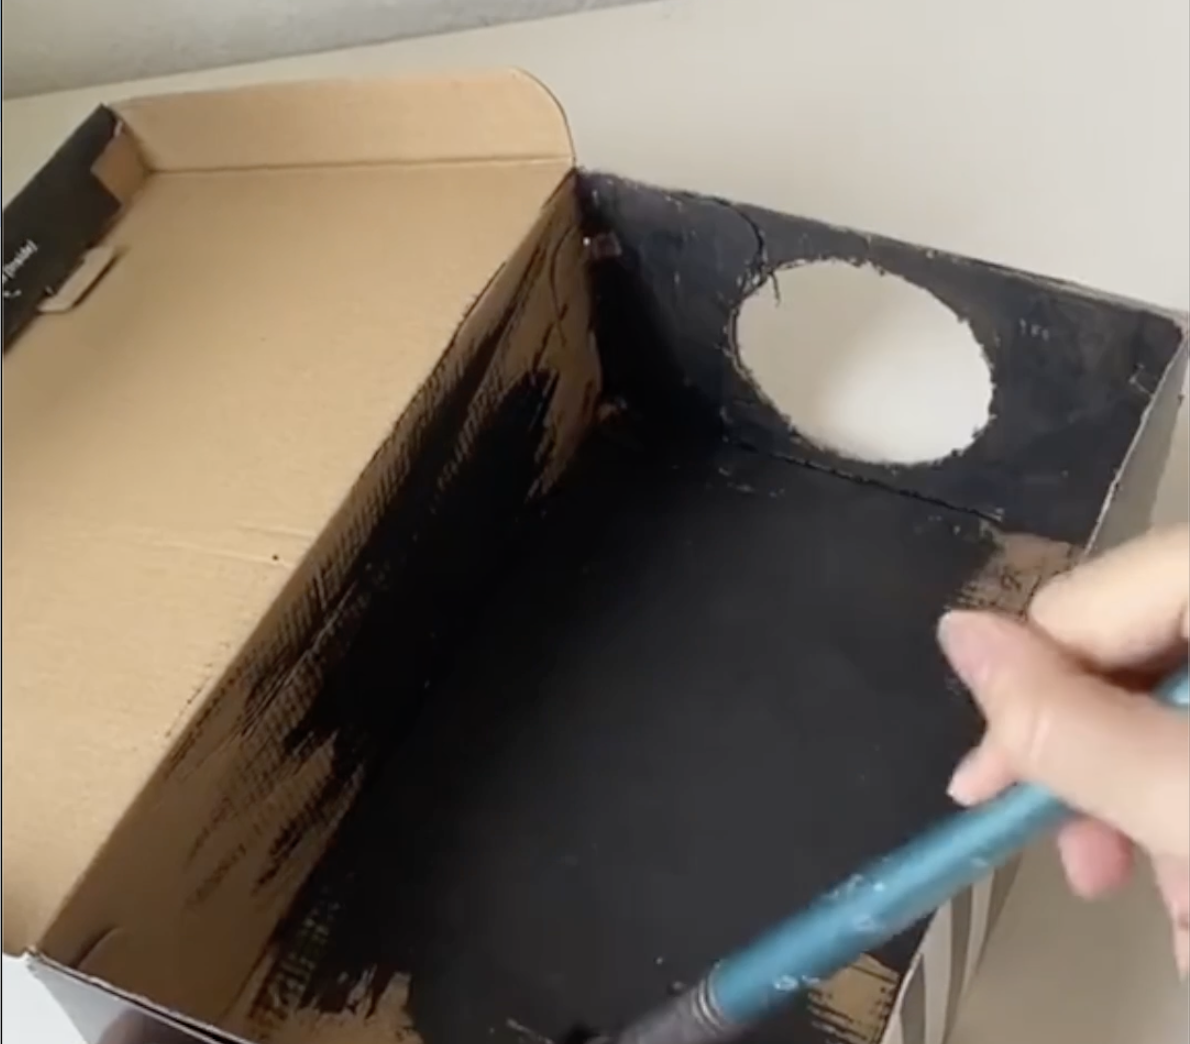
Paint the inside of the box black, or cover it with black paper, to prevent light from reflecting off its surface. This step is not necessary, but it helps make the image clearer.
Step 3: Attach the Magnifying Glass
Place the magnifying glass into the hole you just cut. Secure it in place using tape or glue. Make sure the magnifying glass is properly aligned so it focuses the light from the iPhone flashlight onto the wall.

Step 4: Position the iPhone
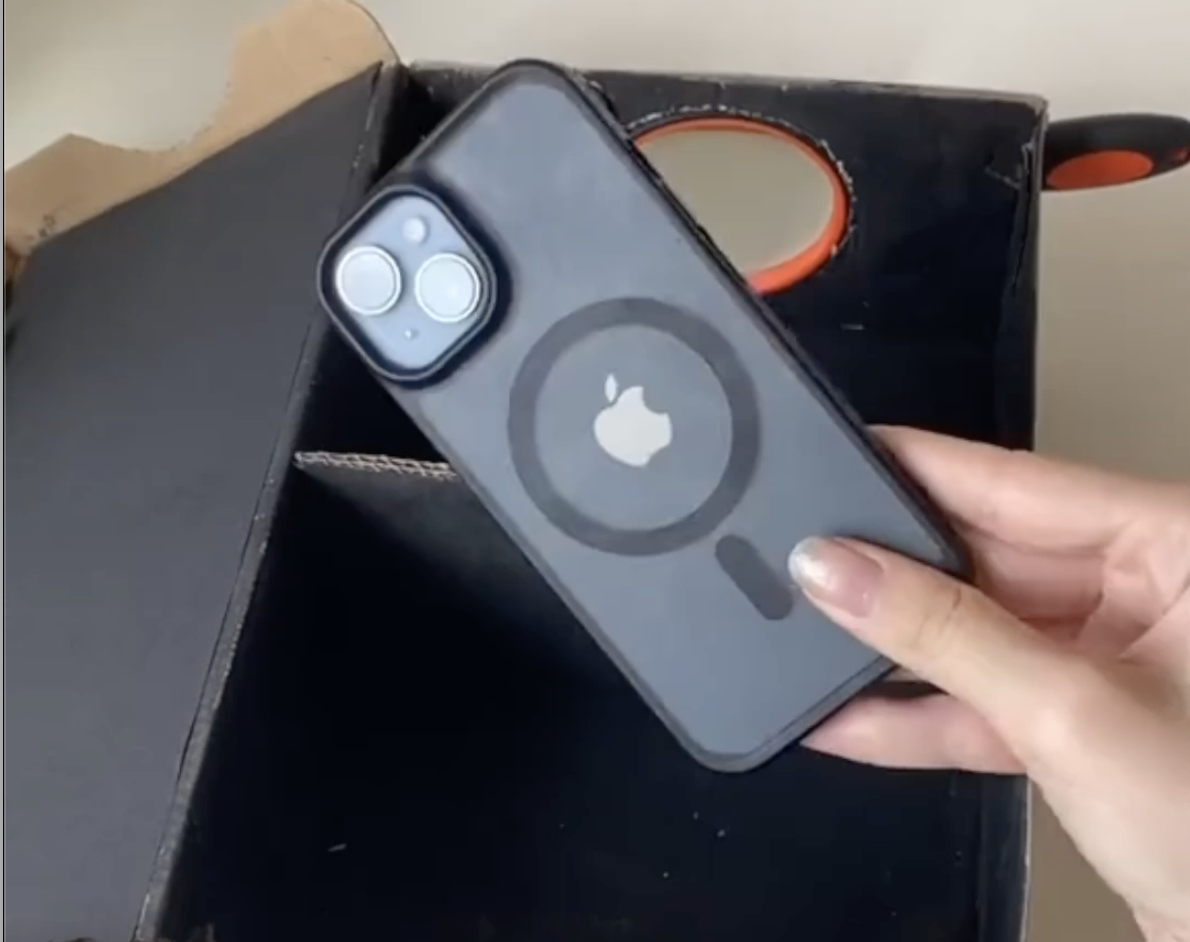
Turn on your iPhone’s flashlight by swiping down from the top-right corner to open the Control Center and tapping the flashlight icon. Place your iPhone with the screen facing the opposite end of the shoe box, where the magnifying glass is located. Ensure the iPhone is positioned so that the flashlight beam (from the Control Center) is directed toward the magnifying glass.
Step 5: Focus the Projection
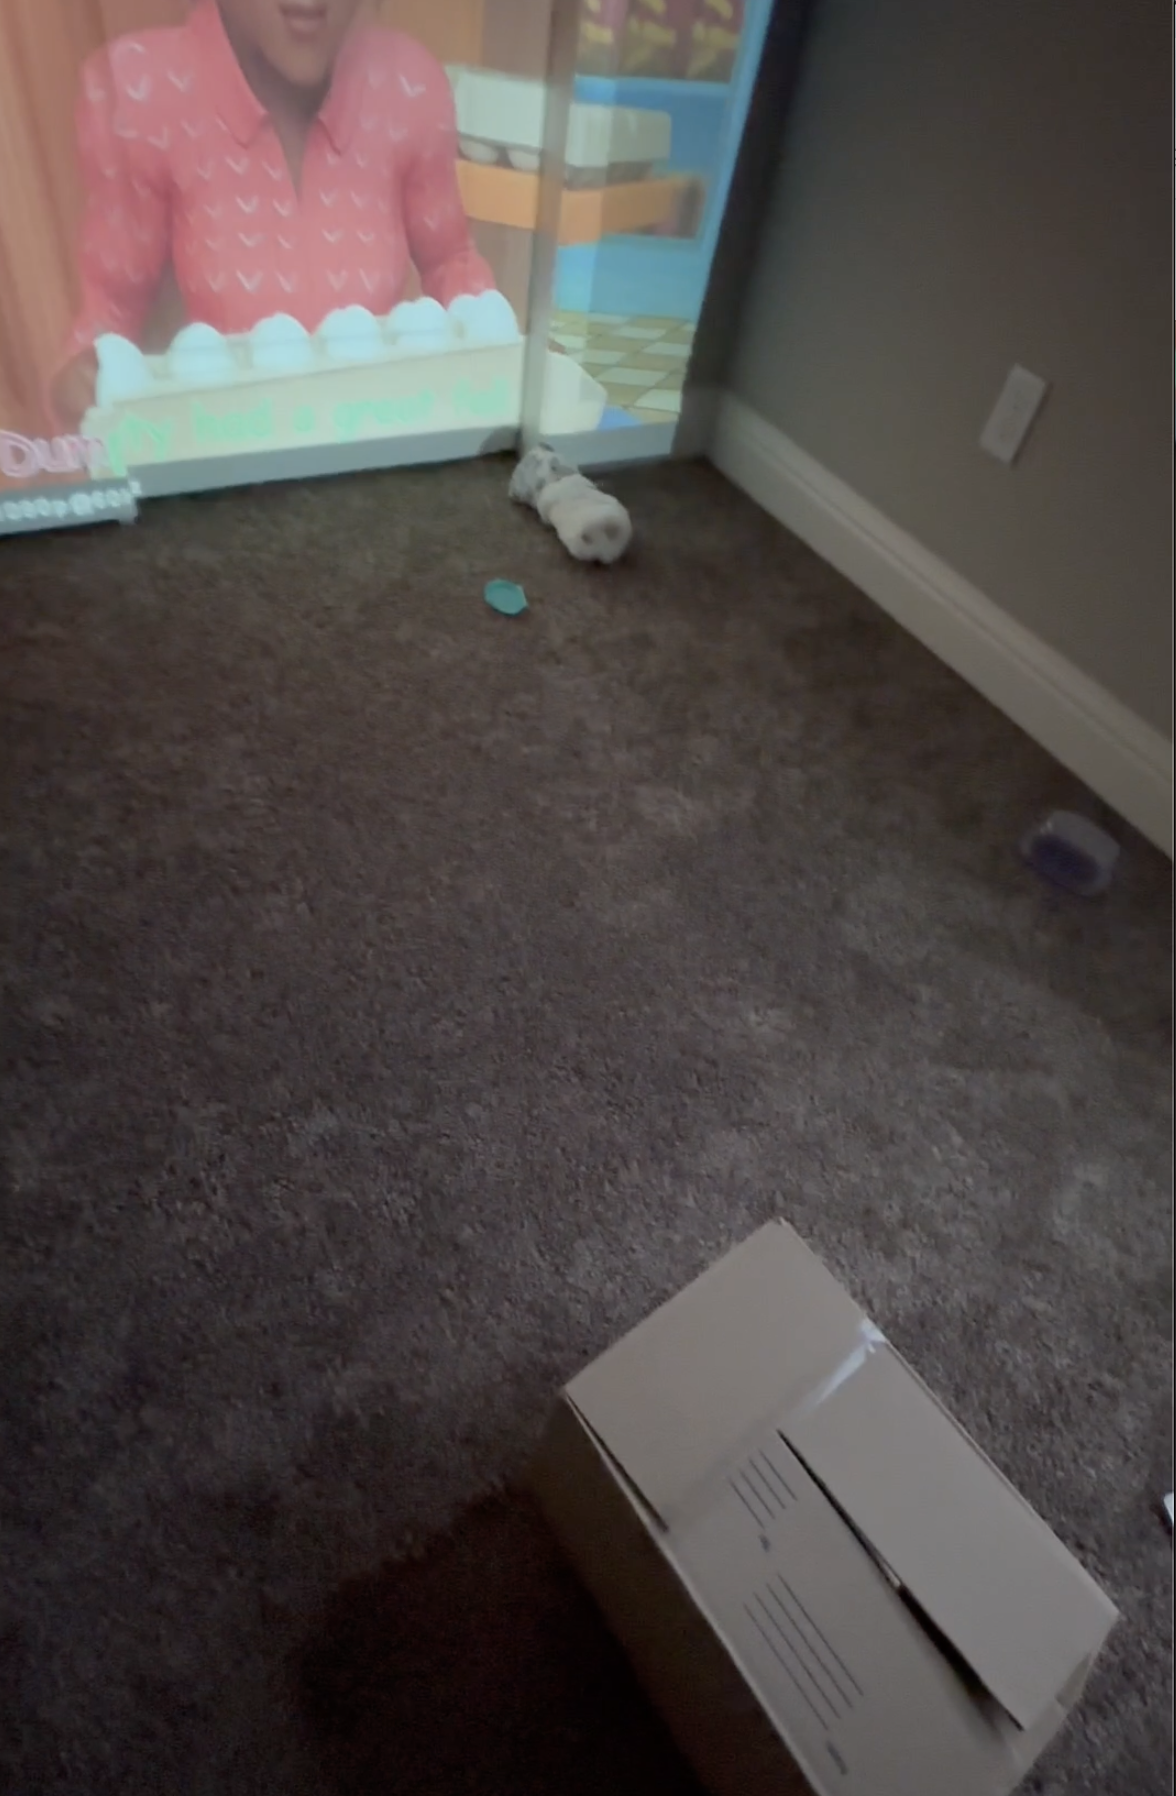
Close the shoe box and place it in a dark room with a clean, white wall or a light-colored surface. Adjust the distance between the box and the wall to find the right focus.
Once the setup is complete, you should see a projected light spot on the wall. While it won’t be as sharp or detailed as using a real projector, it mimics the effect of projection, especially if you adjust the lens distance and the angle of the box.
Tips for Using a Phone Flashlight Projector
- Use a darker room for better contrast.
- Try adjusting the lens distance for sharper edges.
- Don’t stare directly into the flashlight beam.
FAQs
Why do I need a magnifying glass?
The magnifying glass focuses the light from your iPhone's flashlight and creates a larger, more defined light spot on the wall. Without it, the light would be too scattered and would not form a visible projection.
Is there a real app that turns your phone into a projector?
No. Any iPhone app claiming to turn your flashlight into a projector is a fake or scam. Real projection requires hardware optics and a powerful light engine.
Do I need to use a dark room?
Yes, the darker the room, the better the effect. The projection will be much more visible in low light, so make sure to reduce the ambient light in the room for clearer visibility.

Discussion (0)
Be the first to comment.