
 09.08.2019
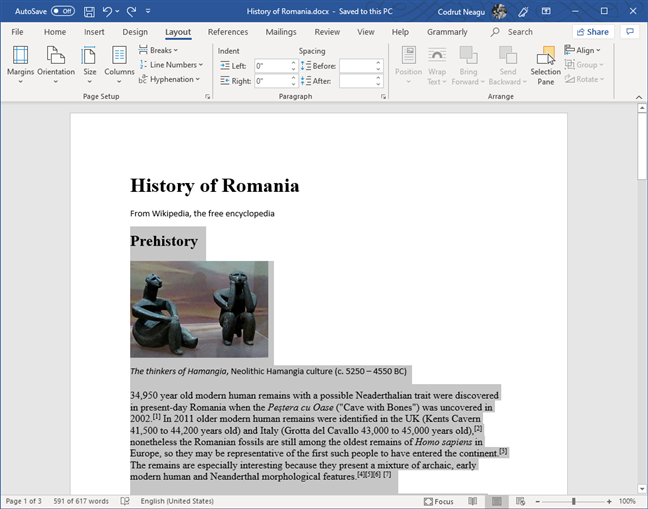
Do you need to write documents in Microsoft Word and want to split all or just some of your text into separate columns? You do not know how to write text in two columns? Or maybe you'd like to have three or even more columns in your Word document? What if you want to choose where a column begins, and the other ones end so that the text doesn't just flow from one column to another? If these are your questions, read this guide. We have the answers.
NOTE: We wrote this article using the Word app from Microsoft Office 365, version 1907. However, the instructions apply to Word from Microsoft Office Professional too. If you want to know which version you are using, read: 5 ways to find the exact version of Microsoft Office that you are using.
How do I write in two columns at the same time in Word?
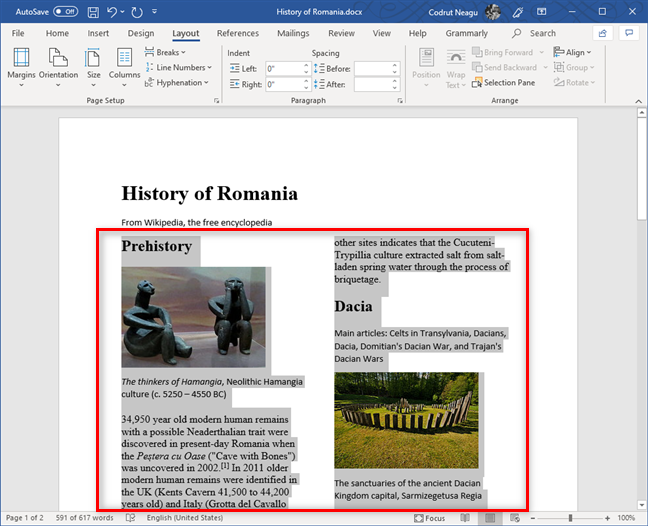
To split your text content into two columns, you must first open your Word document or create a new one and add some text to it. Only then can you create the columns. How do you do that? It is simpler than you might think: select the text that you have typed in your Word document.
TIP: If you want to select all the text in your Word document, press the Ctrl + A keys on your keyboard.
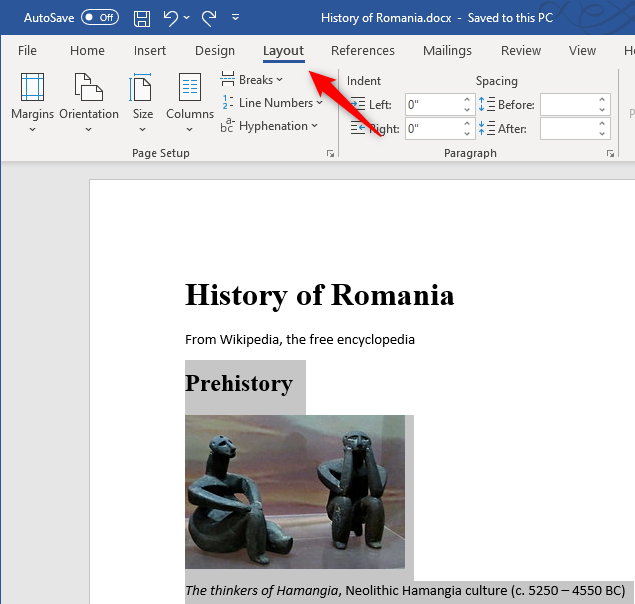
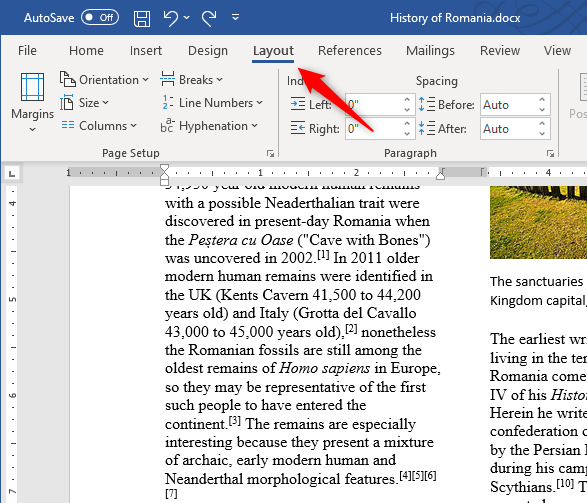
Once you have selected the text that you want to split into columns, click or tap the Layout tab from the ribbon interface in Microsoft Word.
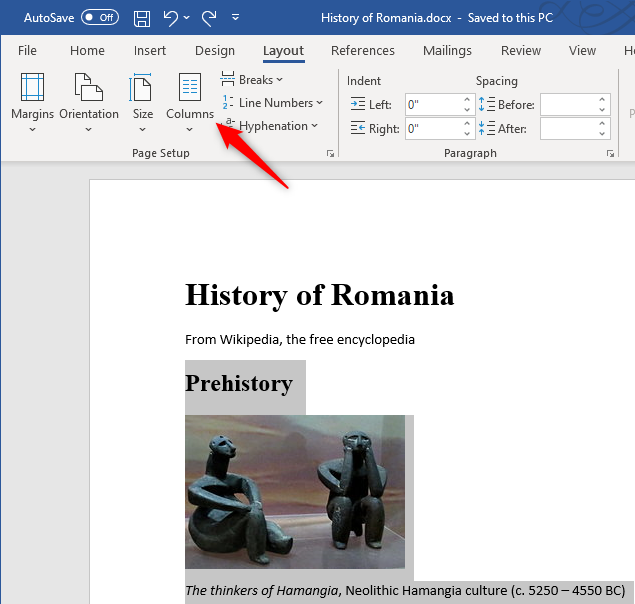
Then click or tap on the Columns button from the Page Setup section of the Layout tab.
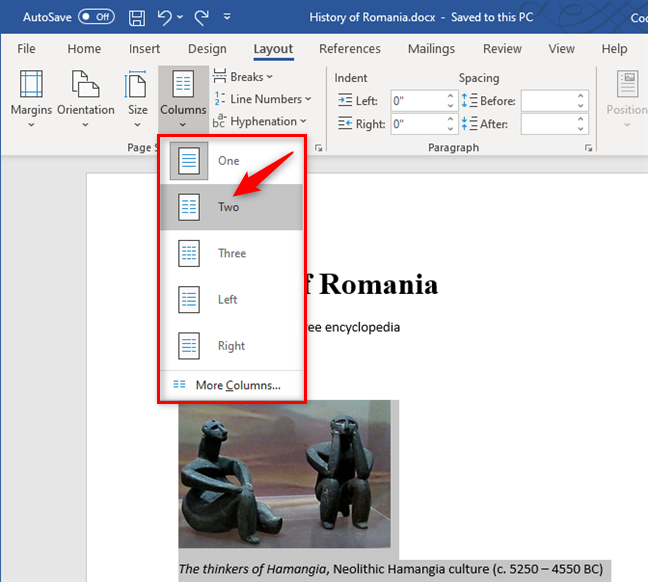
This opens a list of options from which you can choose into how many columns you want to split your text. Click or tap on Two.
Word immediately creates the two columns and makes your text flow from one to the other, as you can see in the screenshot below.
Next, you can write new text anywhere in the document's columns: the text is going to flow from one column to the other. However, you might not like this flow. If you want to specify exactly when a new column starts, check the last section of this tutorial, where we'll show you how to add column breaks.
How do you make 3 columns (or more) in Microsoft Word?
If two columns are not enough, you can also create three or even more columns in your Word document. Write your text, select it, and go to the Layout tab. Click Columns, and choose Three or click or tap More Columns if you need even more.

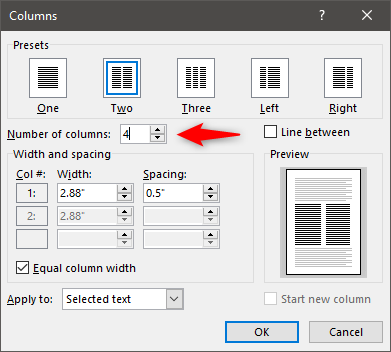
If you choose Three, the text you have selected is immediately split into three columns. If you need even more columns and you chose to click or tap the More Columns option, then Word opens a new window with additional settings, called Columns. In it, look for the setting called "Number of columns." Type the number of columns that you want, and press OK.
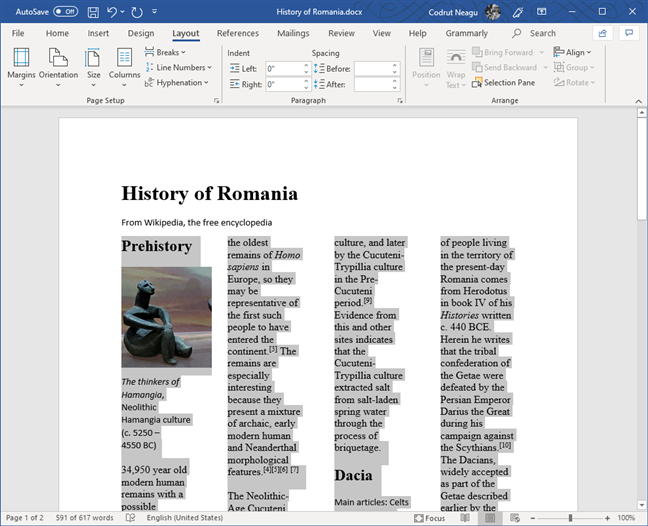
Word immediately splits the selected text into as many columns as you specified. For example, this is what we got when we chose to split the text into four columns:
How do you choose where a column begins?
If you want to control exactly where a column begins and another one ends, you can. Word has something called column breaks, which does exactly that.
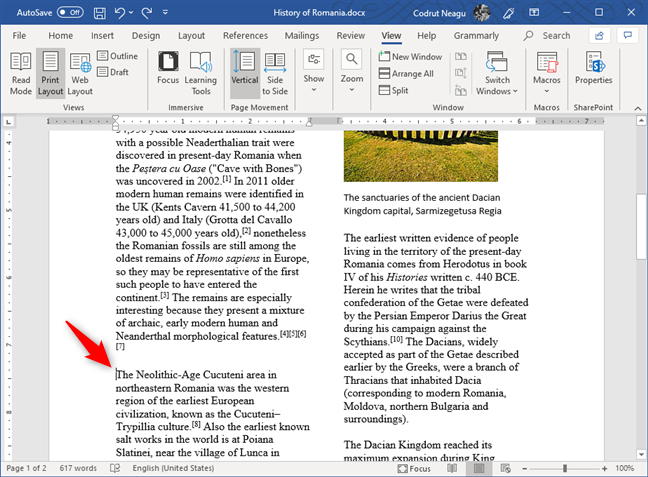
To add a column break, first, click or tap at the beginning of the text that you want to start on the next column.
Then, click or tap on the Layout tab from the ribbon interface in Microsoft Word.
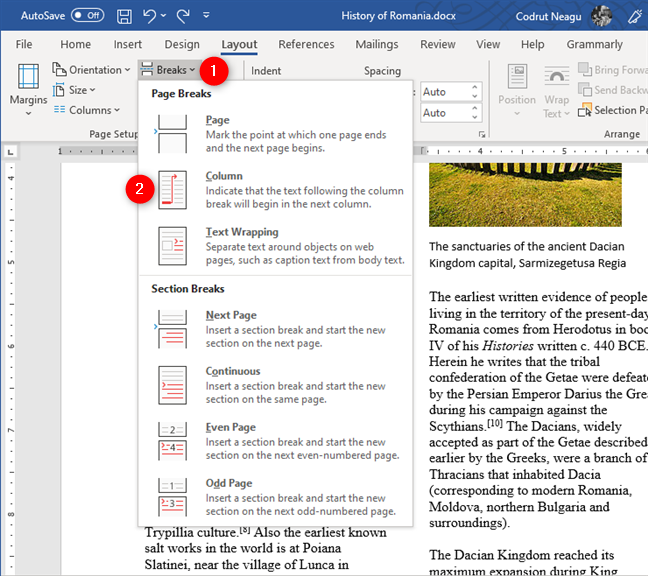
In the Page Setup section from the Layout tab, click or tap on Breaks. This action shows a list of layout options for Page Breaks and Section Breaks. In it, click or tap Column.
As you can see in our example, once you do the above, Word immediately makes the next column start where you chose.

You can repeat this process as many times as you want, to choose where each of your existing columns starts.
Did you find it easy to create columns in your Word documents?
Now you know how to split your Word documents into columns of two, three or more. You also know how to make them start exactly where you want them to. Did you find it easy to do all that, or did you encounter problems? You can ask for help or leave us a reply, using the comments section below.
