
It’s important to learn how to change the screen timeout on iPhone. Maybe your hands are full while following instructions on your device’s display, so it would be helpful to know how to keep your iPhone screen on. Or perhaps you want to learn how to change Auto-Lock on iPhone to protect your data from unauthorized access or to save battery. Regardless of your reasons, read this guide to find out how to change the screen timeout on iPhone:
What is Auto-Lock on iPhone?
The iPhone screen timeout feature is called Auto-Lock. You probably noticed that if you don’t pay attention to it, your iPhone turns its screen off and automatically locks after 30 seconds - the default value for Auto-Lock.
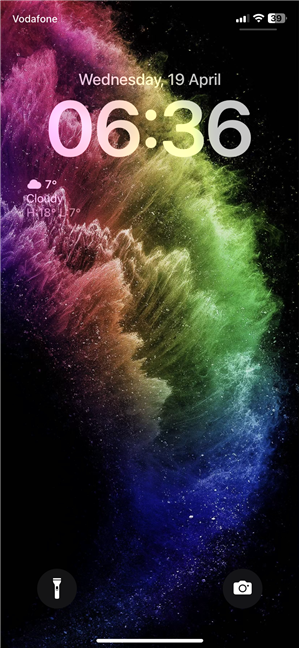
The iPhone Auto-Lock feature turns off your screen and locks your device
The Auto-Lock on iPhone is meant to save battery, since your screen drains a lot of it. It’s also supposed to help with security, because you can get distracted, and someone else can access your data when your device is unlocked. However, the screen timeout on iPhone can quickly become annoying if you’re cooking and need to check your recipe again or when you pass your phone to a friend. You can luckily modify this default behavior with a few taps, so keep reading to find out how to change the iPhone screen lock time.
How to change the screen timeout on iPhone
If you’re wondering how to change Auto-Lock on iPhone, the first step is opening the Settings app.
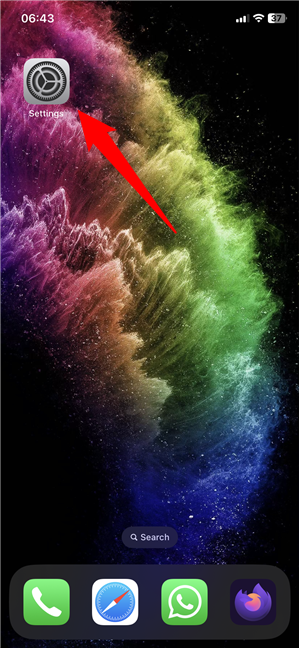
Open Settings to modify the iPhone screen timeout
Then, tap on the Display & Brightness section.
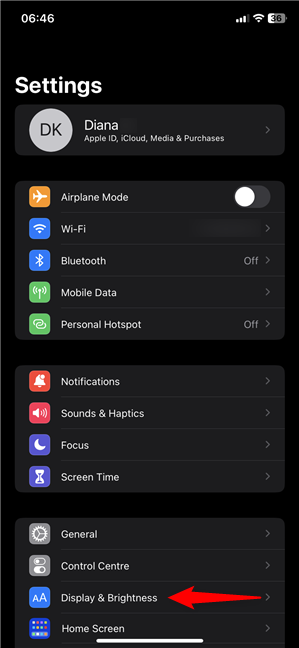
Go to Display & Brightness to change the iPhone screen lock time
The iPhone Auto-Lock entry is displayed in the lower part of the screen, with its current value (the default 30 seconds) shown next to it. Tap on Auto-Lock to change the screen timeout on iPhone.
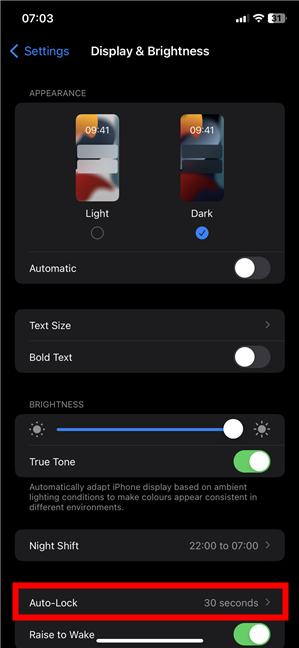
Tap on Auto-Lock to adjust the iPhone screen timeout
TIPS: If the iPhone Auto-Lock is disabled, and you can’t access it, go to the Battery section in Settings and turn off Low Power Mode first. And by the way, did you know that you can also use the Display & Brightness screen to enable Dark Mode on your iPhone?
In the iPhone Auto-Lock settings, you can change the iPhone screen lock time, as shown in the next section of this guide. If you want to learn how to turn off Auto-Lock on iPhone, scroll down to the last chapter.
How to change Auto-Lock on iPhone
On the iPhone Auto-Lock settings screen, you get to see the list of screen timeout options. They range from 30 seconds (the default value) to 5 minutes. To change the screen lock time on iPhone, tap the option that suits your needs best.
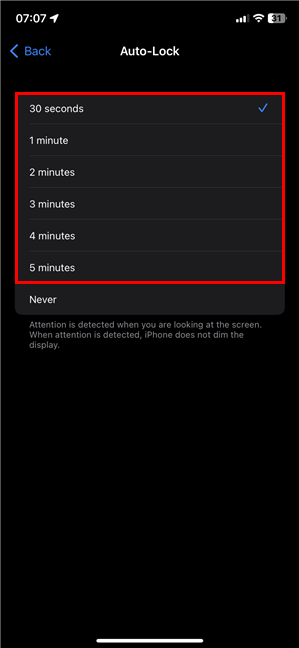
How to change Auto-Lock on iPhone
Remember that the shorter the screen timeout, the more battery you save.
How to keep your iPhone screen on (turn off Auto-Lock on iPhone)
If you’re wondering how to turn off Auto-Lock on iPhone, the answer is pretty obvious, but I figured it’s best to make things crystal clear: tap Never in the iPhone Auto-Lock settings.
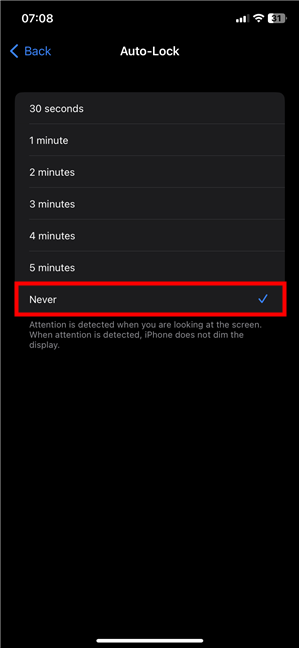
How to keep your iPhone screen on indefinitely
The option you select is applied immediately, as confirmed by the check mark next to it. You can then close the Settings app and get back to whatever you were doing.
Why did you change the iPhone screen timeout?
If you hate unlocking your device and are not worried about security or battery life, increasing the screen lock time on iPhone may be best for you. However, I prefer the default setting. I turn off Auto-Lock on iPhone only if I have to follow complex cooking instructions, when unlocking the device can quickly become messy. 🙂 What about you? Why did you need to change the screen lock time on iPhone? Let me know your story in the comments below.


