




Starting with robotics for beginners is easiest when you build a simple wheeled robot using an Arduino-class board, a motor driver, and one distance sensor. This hands-on project also fits robotics programming for beginners with a short, readable sketch.
What You’ll Build
A two-wheel differential-drive robot that rolls forward and turns when it detects an obstacle. It uses common parts available in any robotics kit.
Parts and Tools
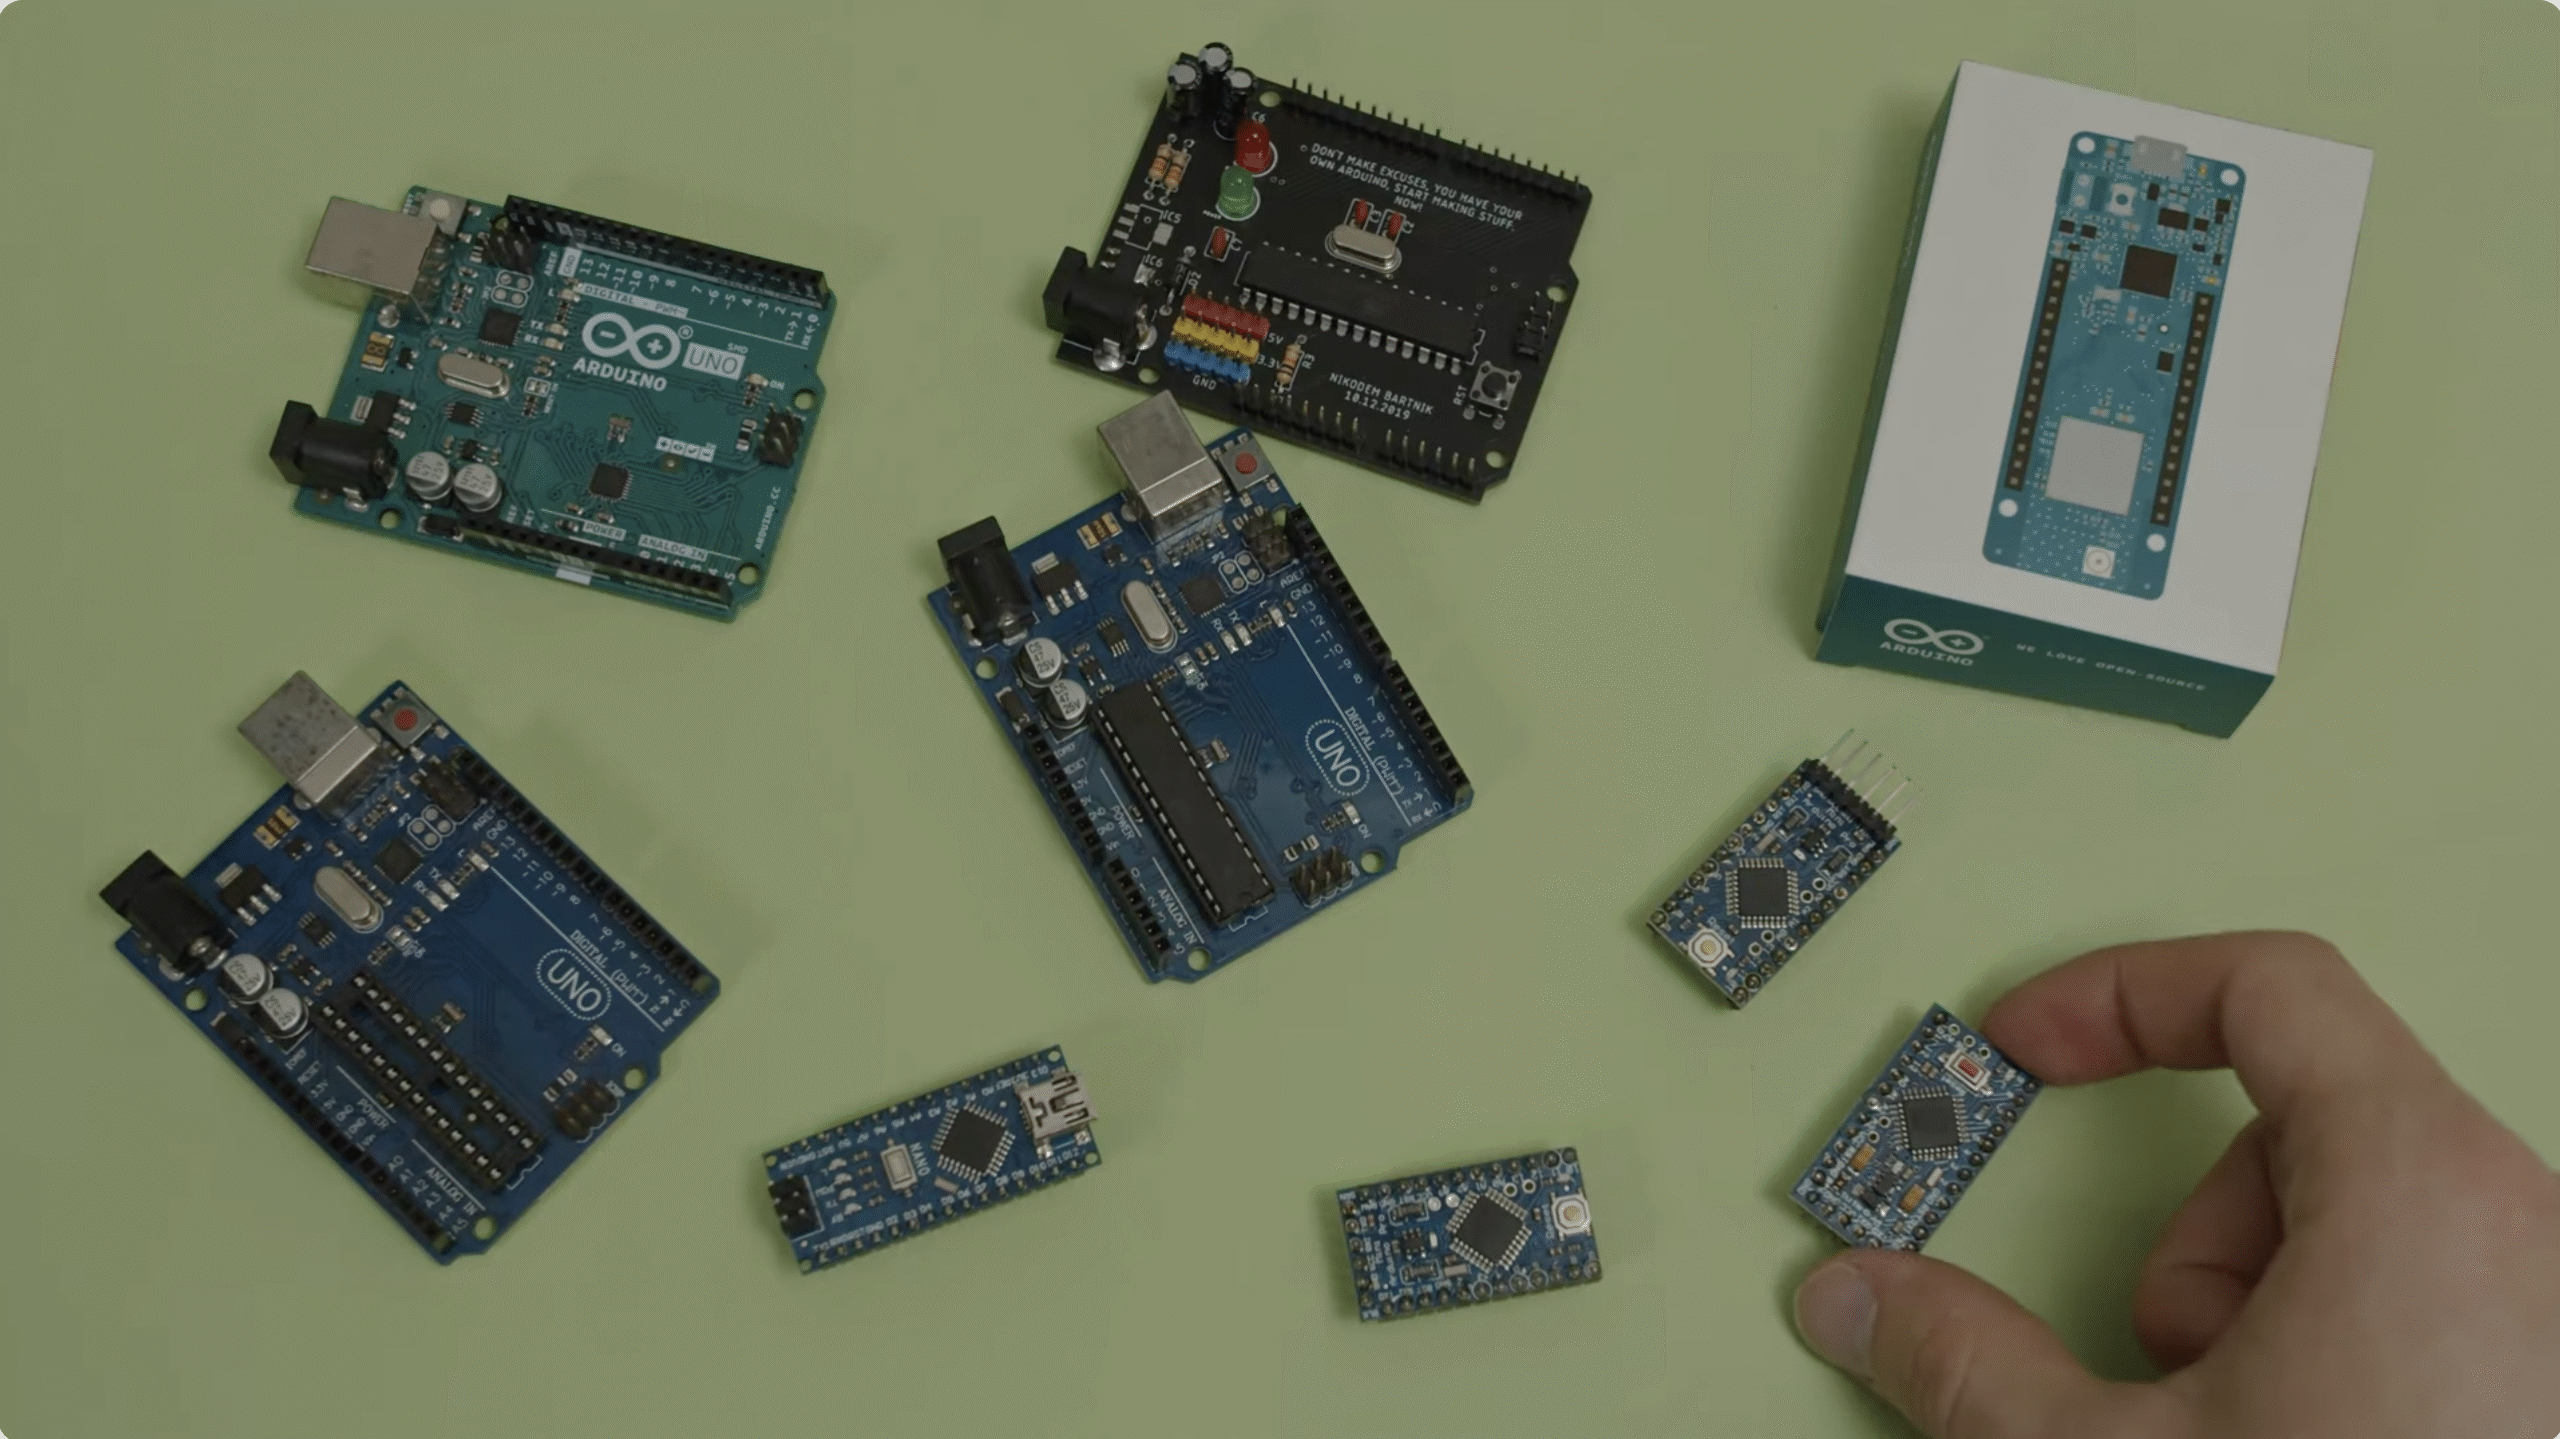
- Controller: Arduino UNO (or Elegoo UNO R3), or Seeed Romeo BLE if you prefer built-in motor headers.
- Motor driver: L298N or TB6612FNG dual DC driver.
- Drive: 2 geared DC motors with wheels, plus a rear caster.
- Sensor: HC-SR04 ultrasonic (or IR distance module).
- Power: 4–6x AA holder or 2S Li-ion with switch and 1–2 A fuse.
- Chassis: Acrylic/aluminum plate with standoffs (Elegoo Smart Robot Kit chassis works well).
- Wiring: Assorted male–female jumpers, decent gauge battery leads.
- Tools: Small screwdrivers, wire stripper, side cutters, optional soldering iron.
Before You Start
- Charge or install fresh batteries; verify polarity with a multimeter.
- Keep the controller on a separate standoff layer to avoid shorts.
- Print a one-page robotics for beginners PDF checklist so you can mark each step as done.
Build Steps (Numbered)
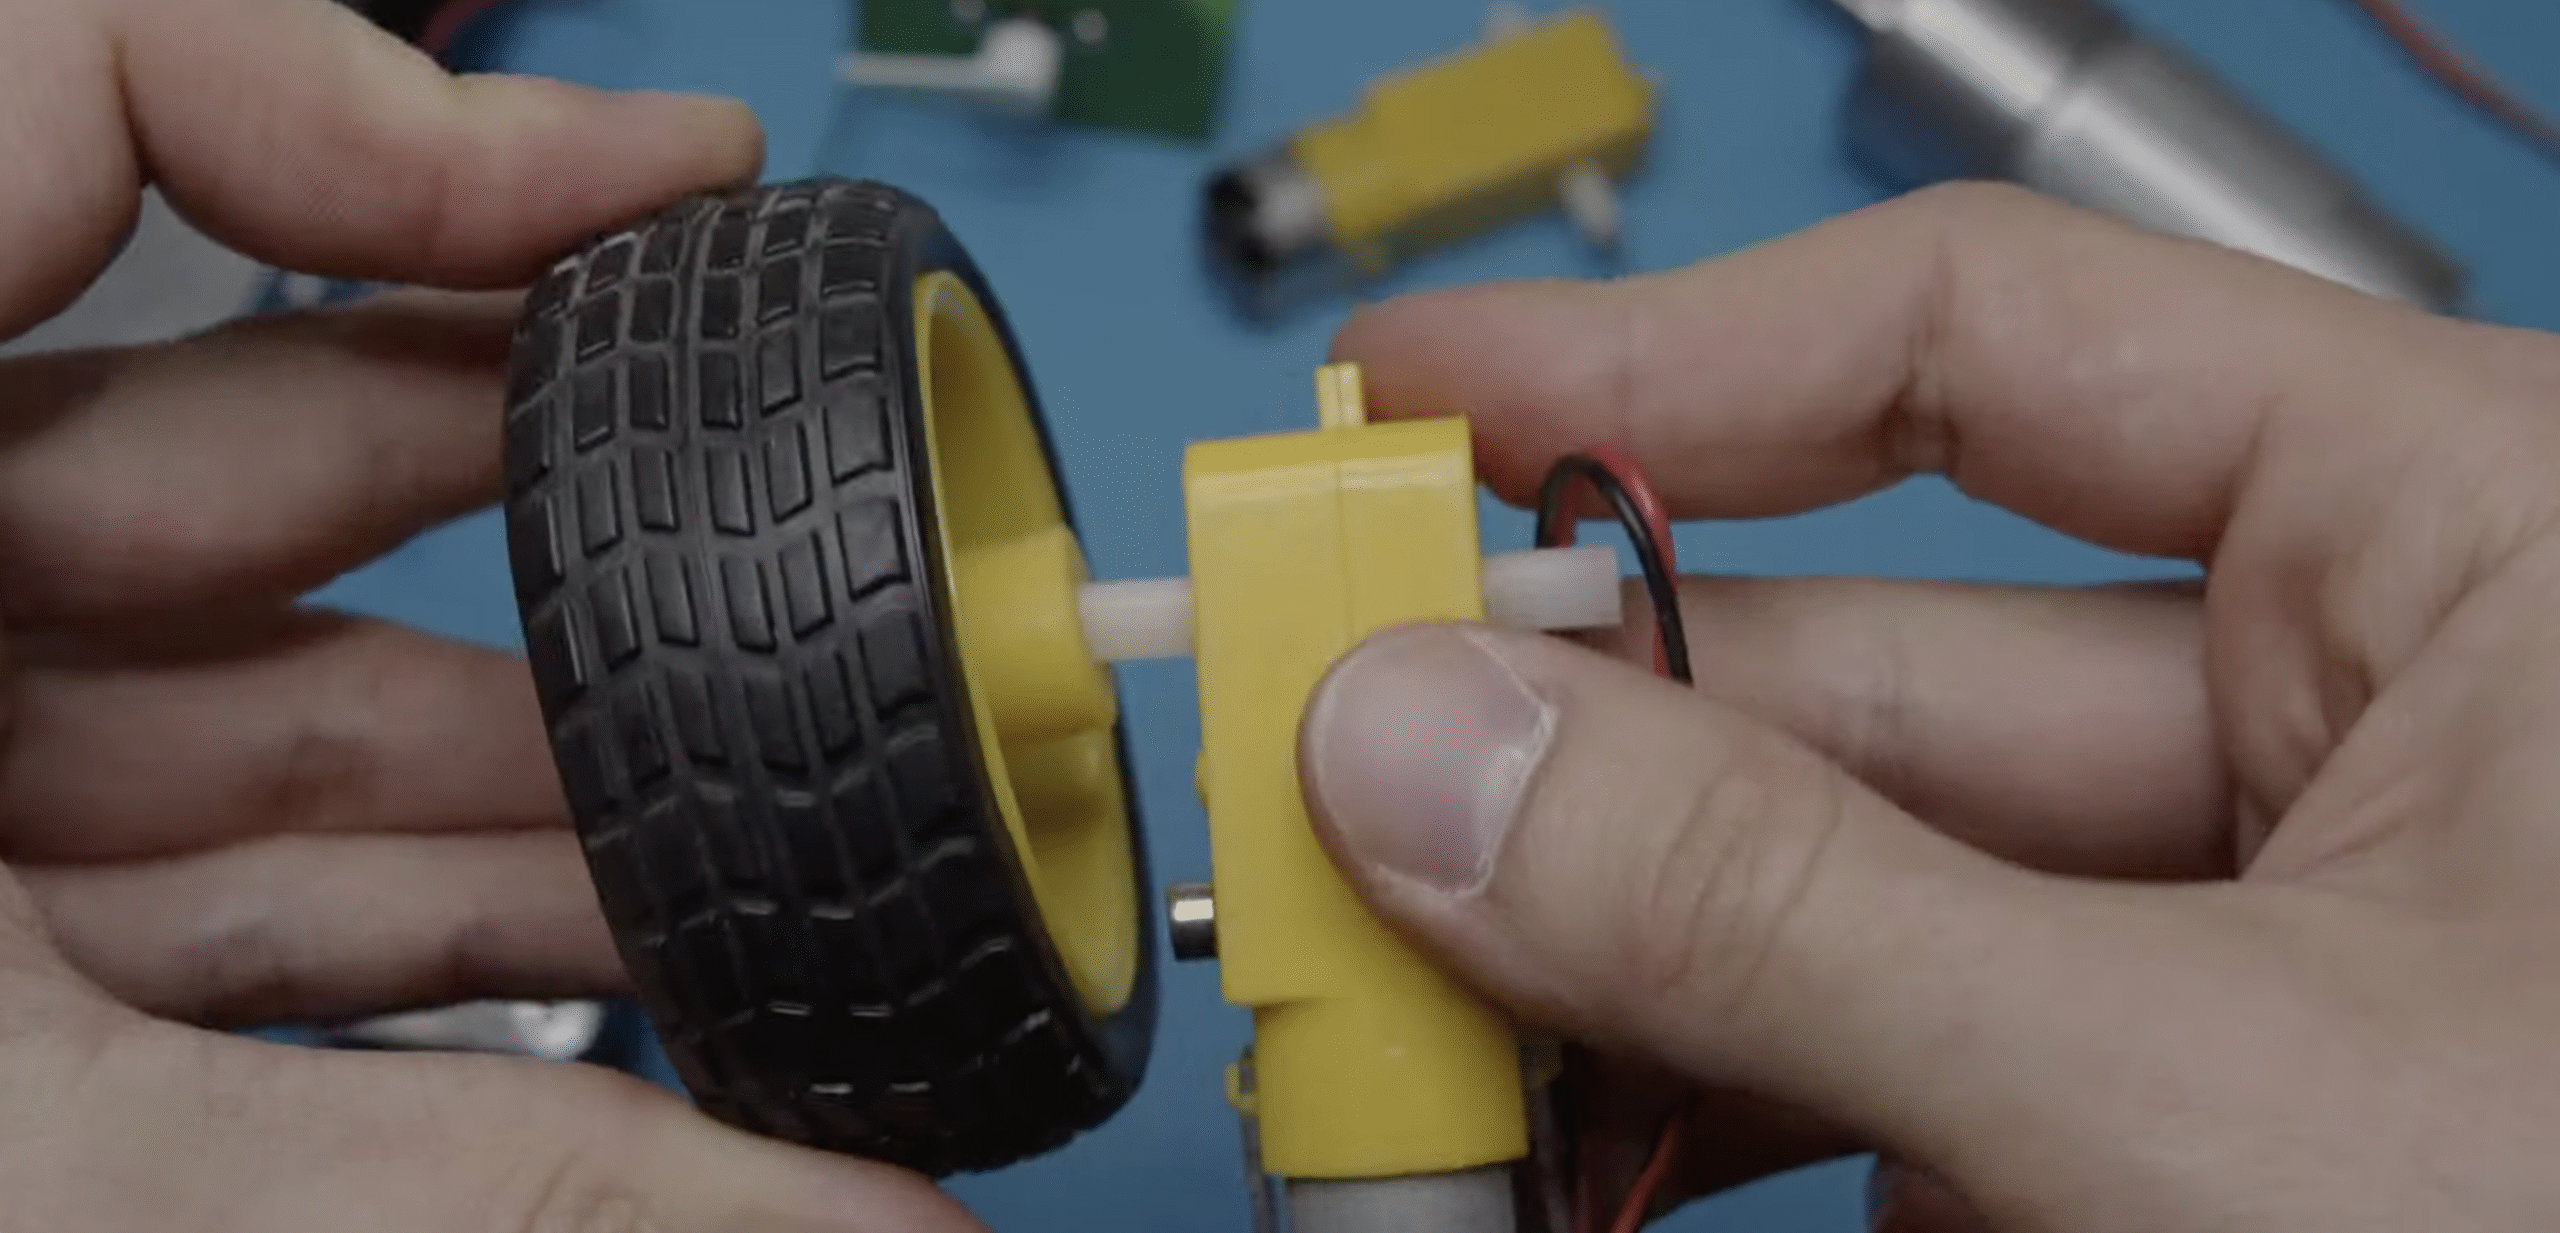
- Mount motors and wheels: Fix both DC motors to the chassis. Press-fit wheels and add the rear caster so the bot sits level.
- Install the motor driver: Secure the L298N/TB6612FNG on standoffs. Note inputs (IN1–IN4) and outputs (MA/MB).
- Wire power and switch: Route battery + through the toggle switch and fuse to driver VIN; route battery – to driver GND.
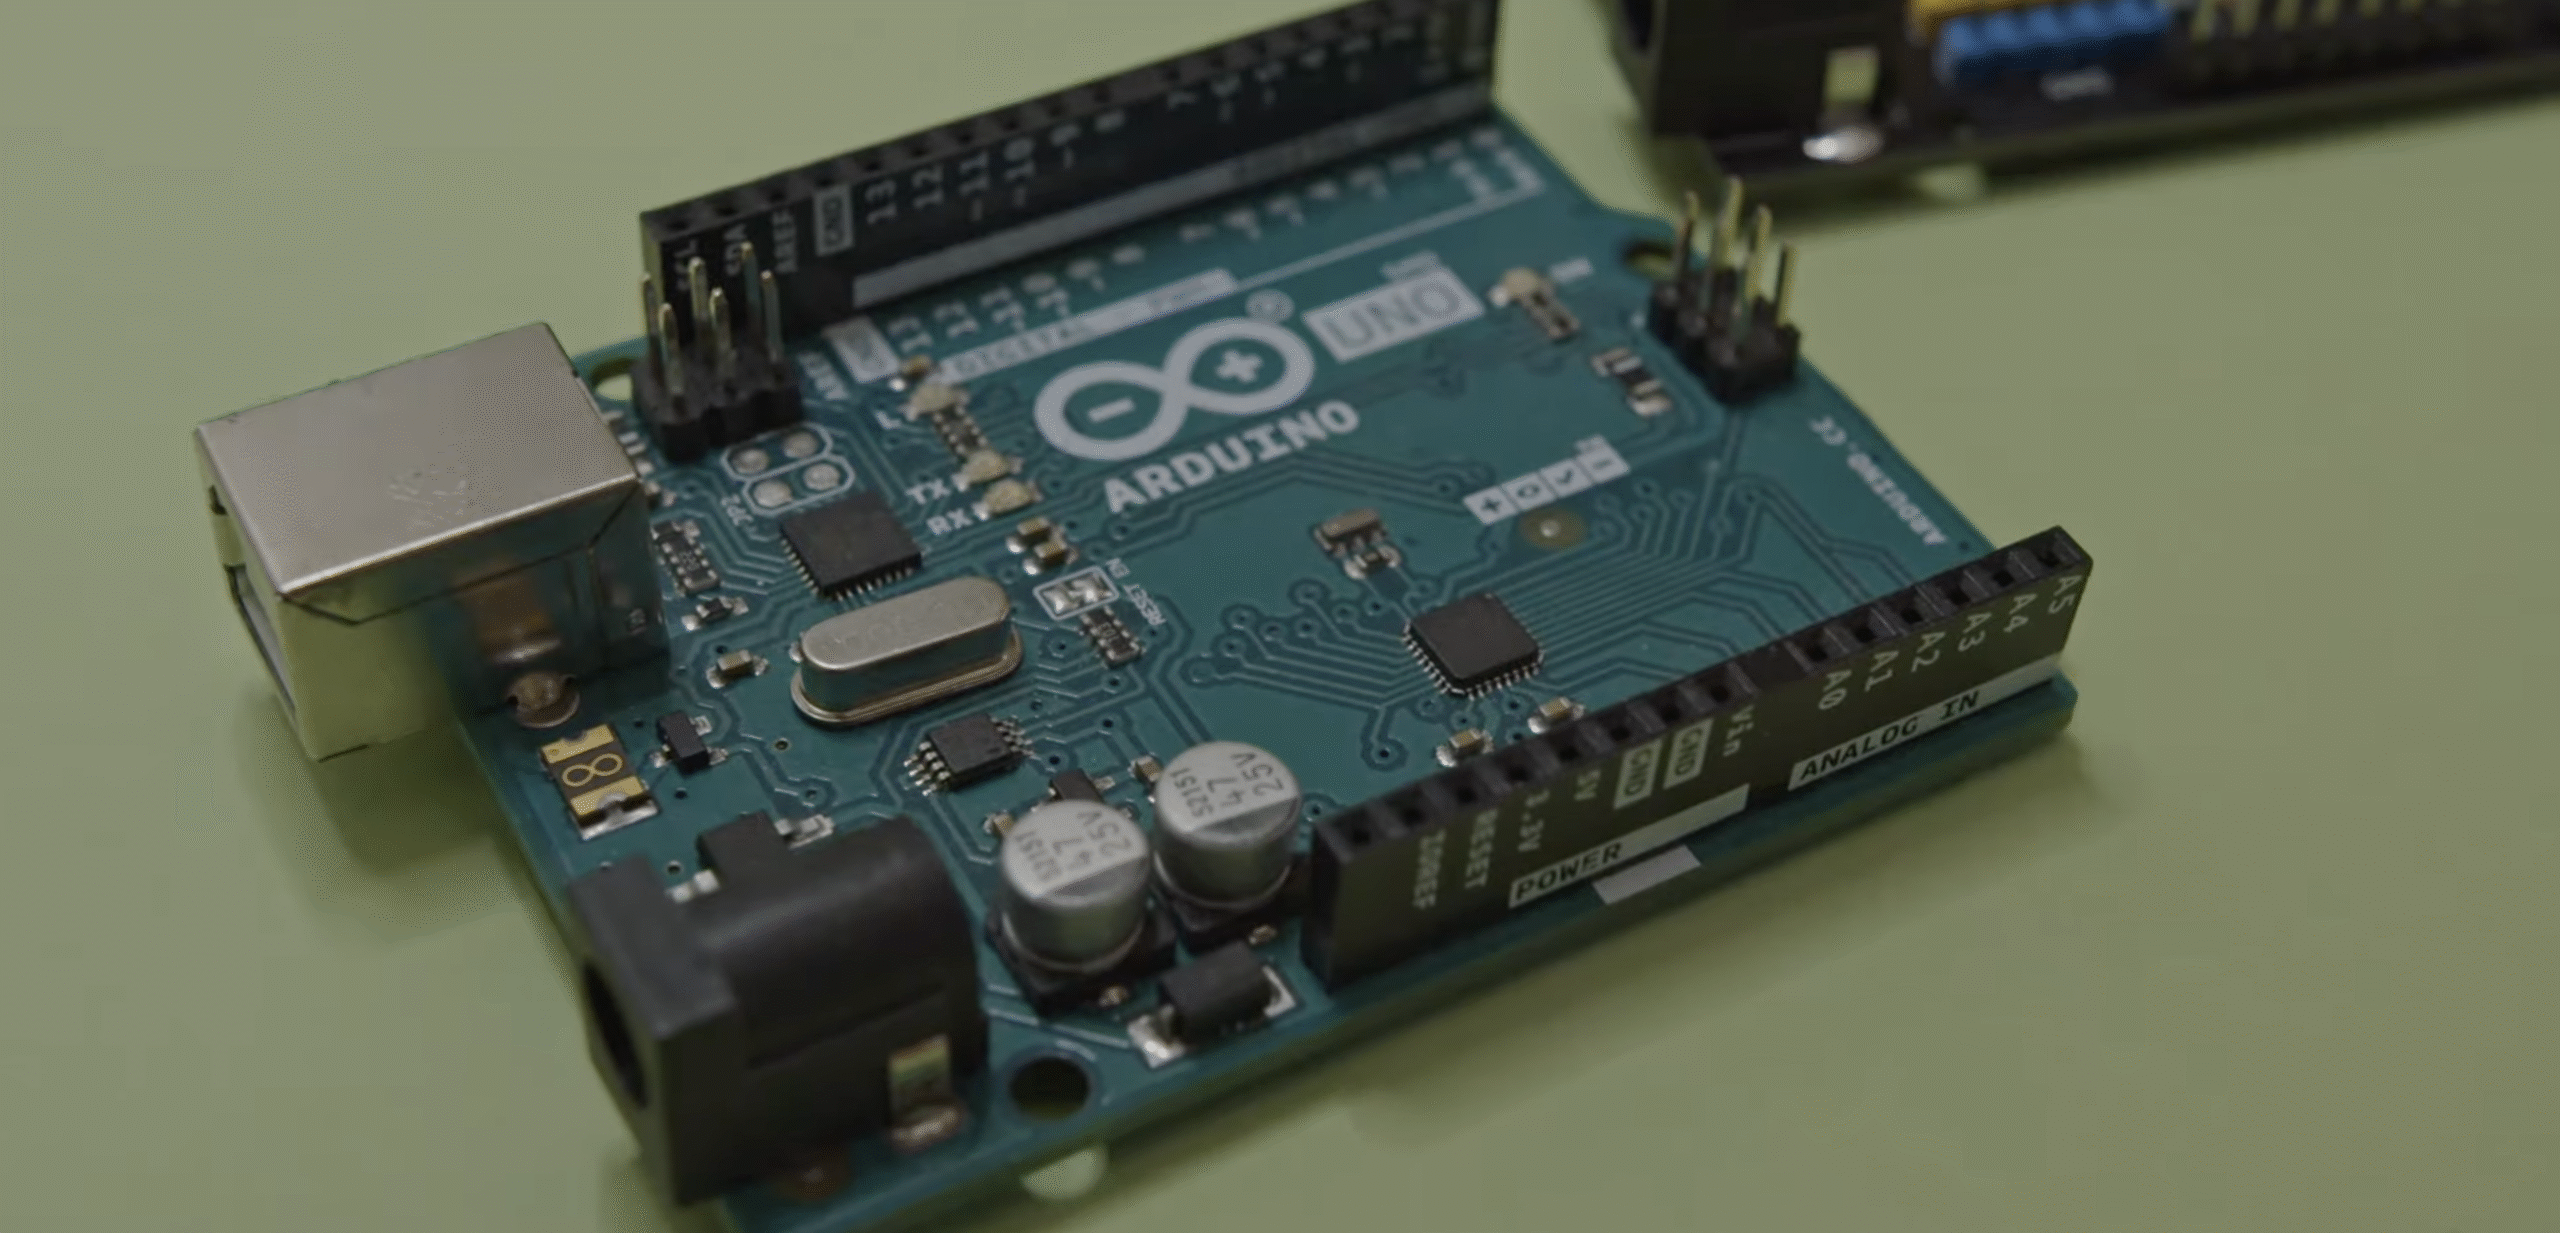
- Seat the Arduino: Place the UNO or Romeo. Connect driver inputs to PWM-capable pins (for UNO, e.g., D5, D6, D9, D10).
- Add the sensor: Mount the HC-SR04 up front. Wire VCC, GND, TRIG, and ECHO to labeled Arduino pins.
- Ground check: Ensure all modules share GND. Tug each jumper lightly to confirm a solid connection.
- Power test: With wheels off the table, flip the switch. No smoke, no heat, LEDs normal.
Program the Robot
Open your IDE and paste this minimal sketch. It drives forward until an obstacle is close, then pivots. This fits robotics programming for beginners.
// Minimal obstacle-avoid bot (Arduino-style)
const int in1=5, in2=6, in3=9, in4=10;     // motor pins (PWM capable)
const int trig=2, echo=3;                  // ultrasonic
long distCM(){
  digitalWrite(trig,LOW); delayMicroseconds(2);
  digitalWrite(trig,HIGH); delayMicroseconds(10);
  digitalWrite(trig,LOW);
  long d=pulseIn(echo,HIGH,25000);         // timeout ~25 ms
  return d*0.034/2;
}
void motor(int L,int R){                    // -255..255
  analogWrite(in1, L>0?L:0); analogWrite(in2, L<0?-L:0);
  analogWrite(in3, R>0?R:0); analogWrite(in4, R<0?-R:0);
}
void setup(){ pinMode(trig,OUTPUT); pinMode(echo,INPUT); }
void loop(){
  if(distCM()>25) motor(140,140);
  else { motor(150,-150); delay(350); }
}
Upload, place the robot on the floor, and test in an open area. Keep a hand near the switch.
Tune and Extend
- Trim straight-line motion by slightly reducing PWM on the faster wheel.
- Swap to a line sensor and write a simple P-controller for tracking.
- Add Bluetooth control from your phone using an HC-05 and a serial app.
Troubleshooting
Motors don’t spin
- Battery sags under load. Try fresh cells or a higher current pack.
- Pins mismatch. Confirm code pins match driver inputs.
- No common ground. Tie Arduino GND to driver GND.
Robot veers left/right
- Wheels or gearboxes differ. Balance with small PWM changes per side.
- Chassis flex. Re-seat standoffs so shafts are parallel.
Sensor reads zero or max
- Miswired TRIG/ECHO. Swap if necessary.
- Echo timeout too long; reduce
pulseIntimeout for stability. - Mount the sensor away from the wheels to reduce vibration.
Learn More (Fast Paths)
- Print a one-page checklist as a robotics for beginners PDF.
- Skim a well-rated robotics book for concepts you’ll reuse.
- Try free robotics courses for beginners to practice code structure.
Summary
- Gather parts from a reliable robotics kit.
- Assemble chassis, driver, power, and sensor with shared ground.
- Upload the minimal avoidance sketch and test.
- Tune PWM, add features, and iterate with small changes.
- Keep learning with courses, a quick PDF, and a solid beginner book.



Discussion (0)
Be the first to comment.