




Building a robot sounds complicated, but it’s easier than you might think. Thanks to affordable kits, cardboard builds, and basic electronics, anyone can learn how to make a robot at home, even without coding experience or advanced tools.
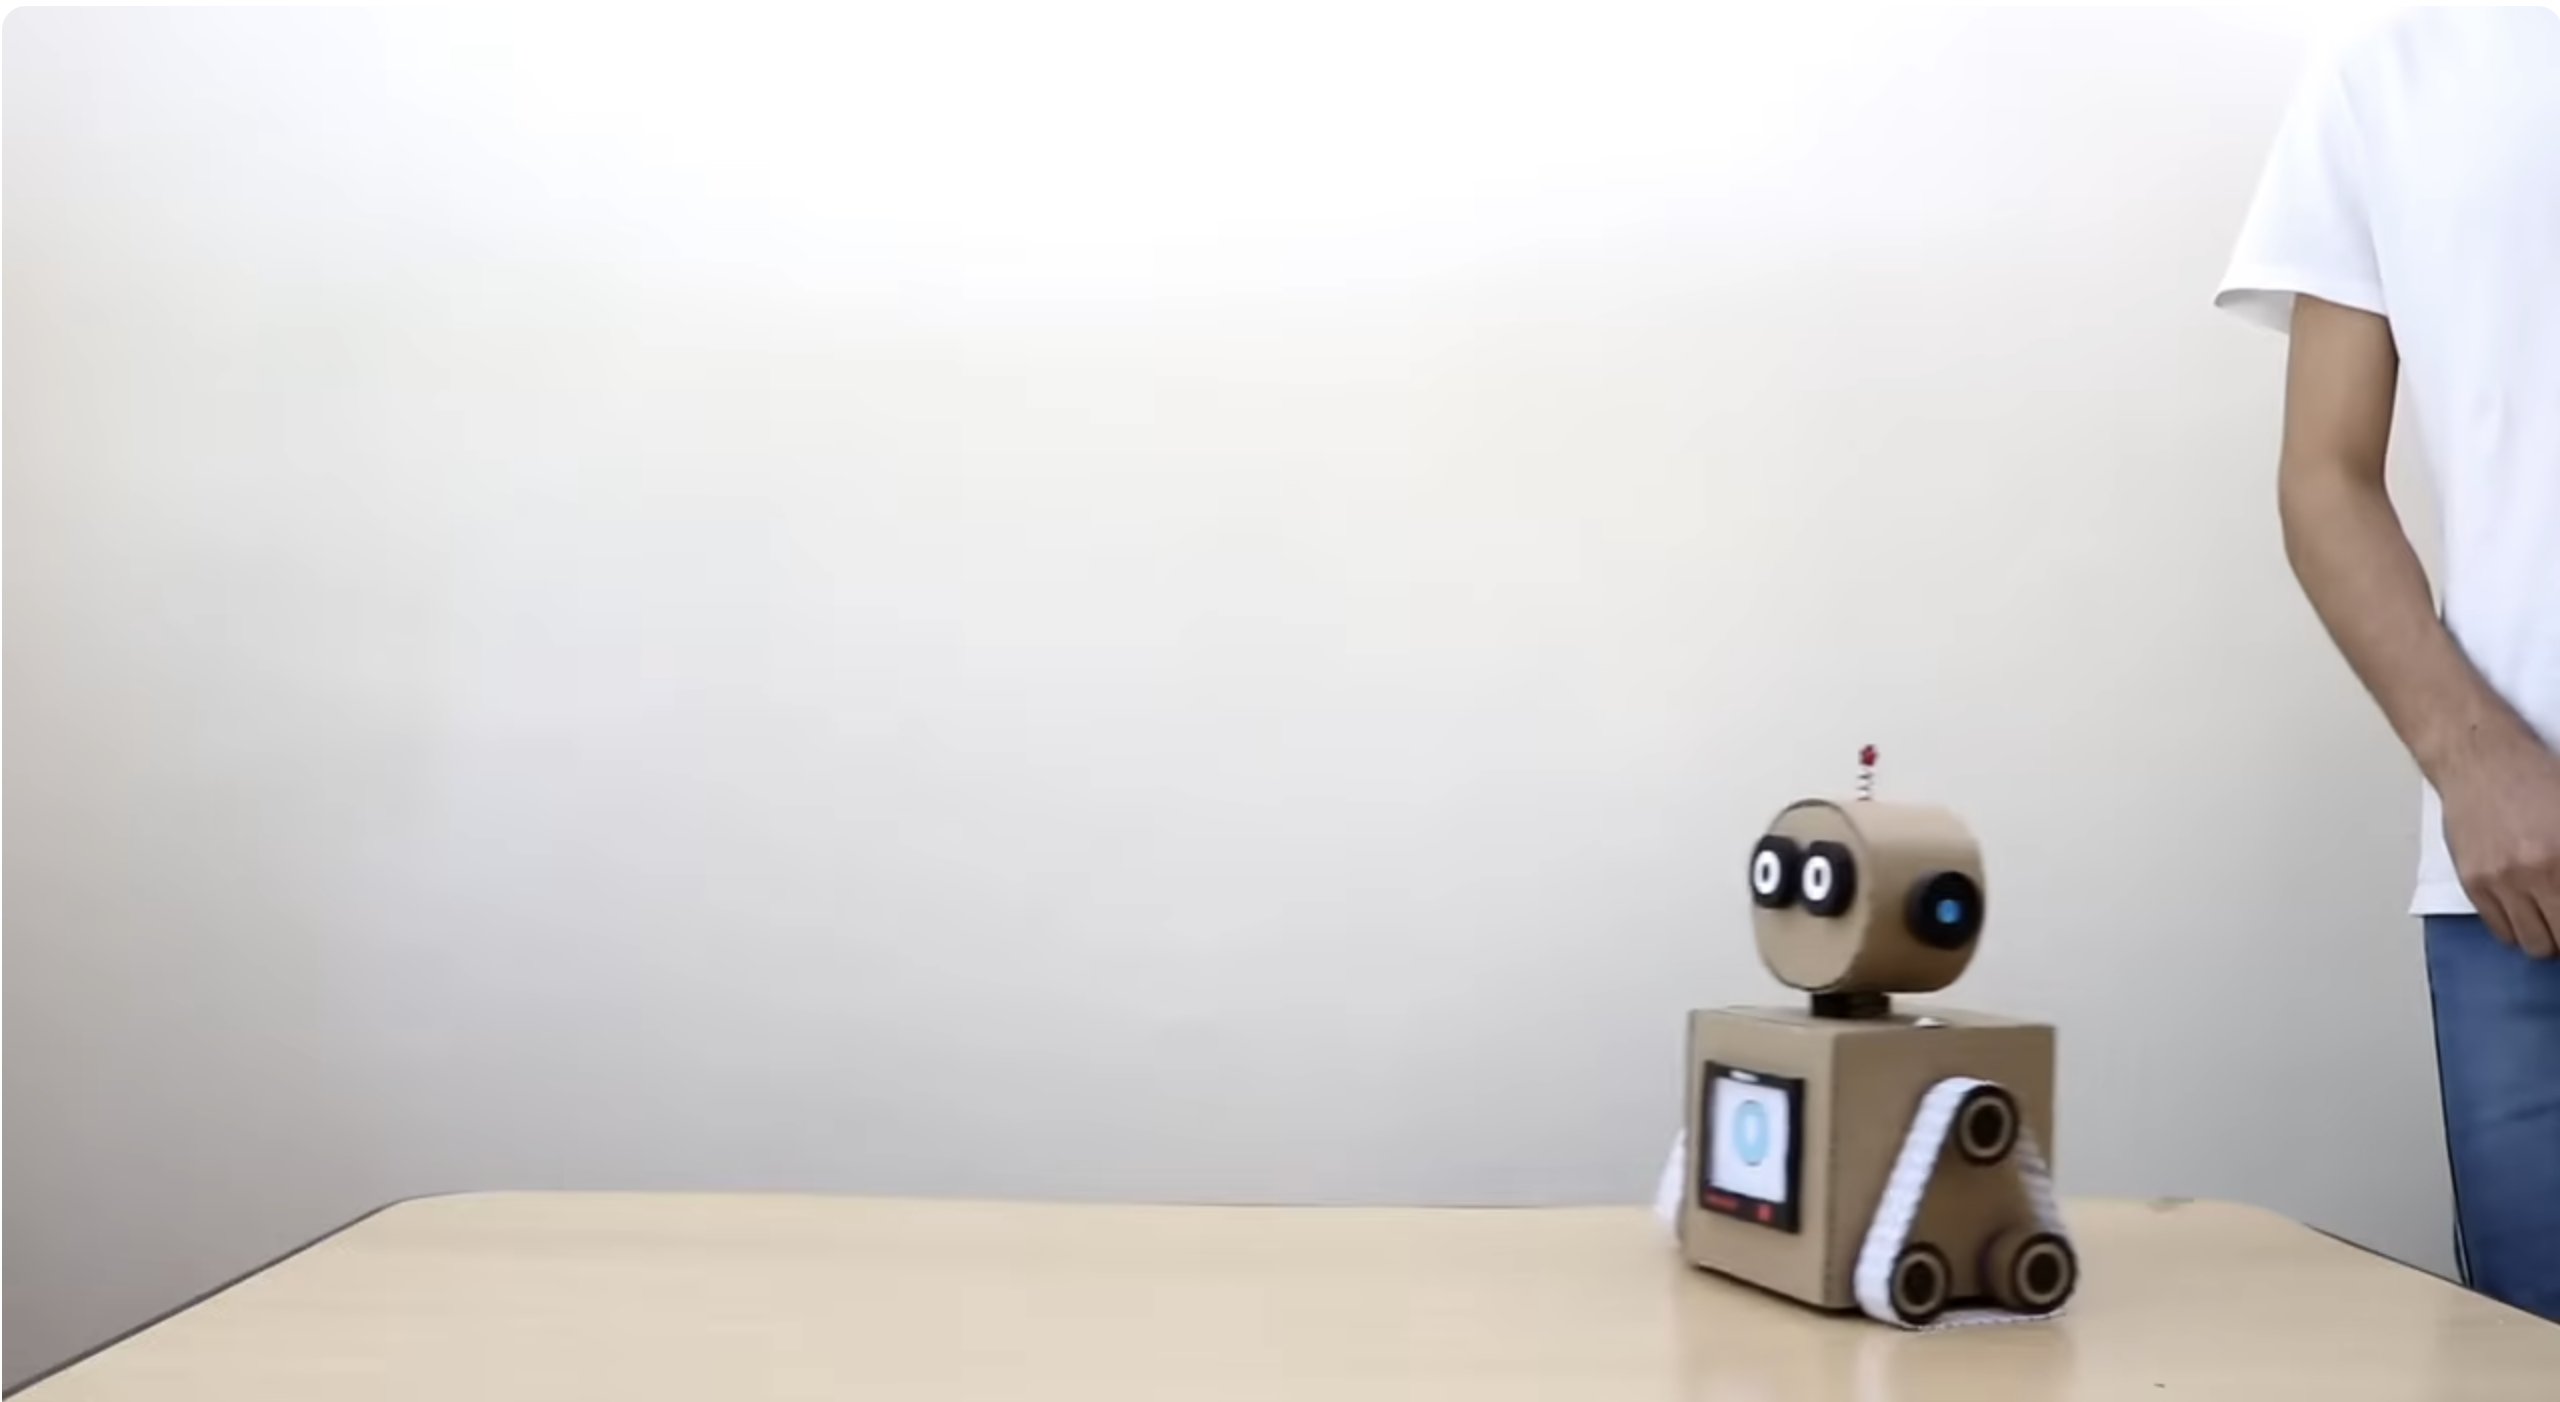
Cardboard robots are a fun and beginner-friendly. You can use old boxes to build the frame and a low-voltage motor kit for motion. Many YouTube channels like Awesome Builds and Java Creativity show how to create moving cardboard robots using just tape, glue, and creativity.
Whether you’re assembling a moving robot from scratch or creating a simple DIY model for a school project, this guide walks you through every step, from design to motion.
What Is a Robot?
A robot is any machine that can perform a series of actions automatically. From vacuum cleaners to factory arms, robots combine power, movement, and sensors to complete tasks without constant human input.
In fact, even simple devices like automatic doors or electric toothbrushes qualify as basic robots because they sense input and respond with a programmed action.
Why Build Your Own Robot?
Building a robot teaches the fundamentals of electronics, engineering, and creative problem-solving. It’s also one of the most engaging ways to introduce kids to STEM (science, technology, engineering, and math).
You’ll learn how circuits work, how motors control movement, and how sensors make decisions; skills you can later apply to more advanced projects like line-following or voice-activated robots.
Materials You’ll Need
- Chassis: The body or frame that holds everything together
- Wheels: Four small wheels (or two with balance balls)
- Motors: Two DC motors for movement
- Switches or sensors: To detect obstacles
- Battery pack: To power your robot
- Wires and paperclips: For simple electrical connections
- Cardboard or plastic sheet: For lightweight design
Tip: Many hobbyists use cardboard because it’s cheap, easy to cut, and ideal for experimenting before upgrading to metal or plastic builds.
Step 1: Design Your Robot
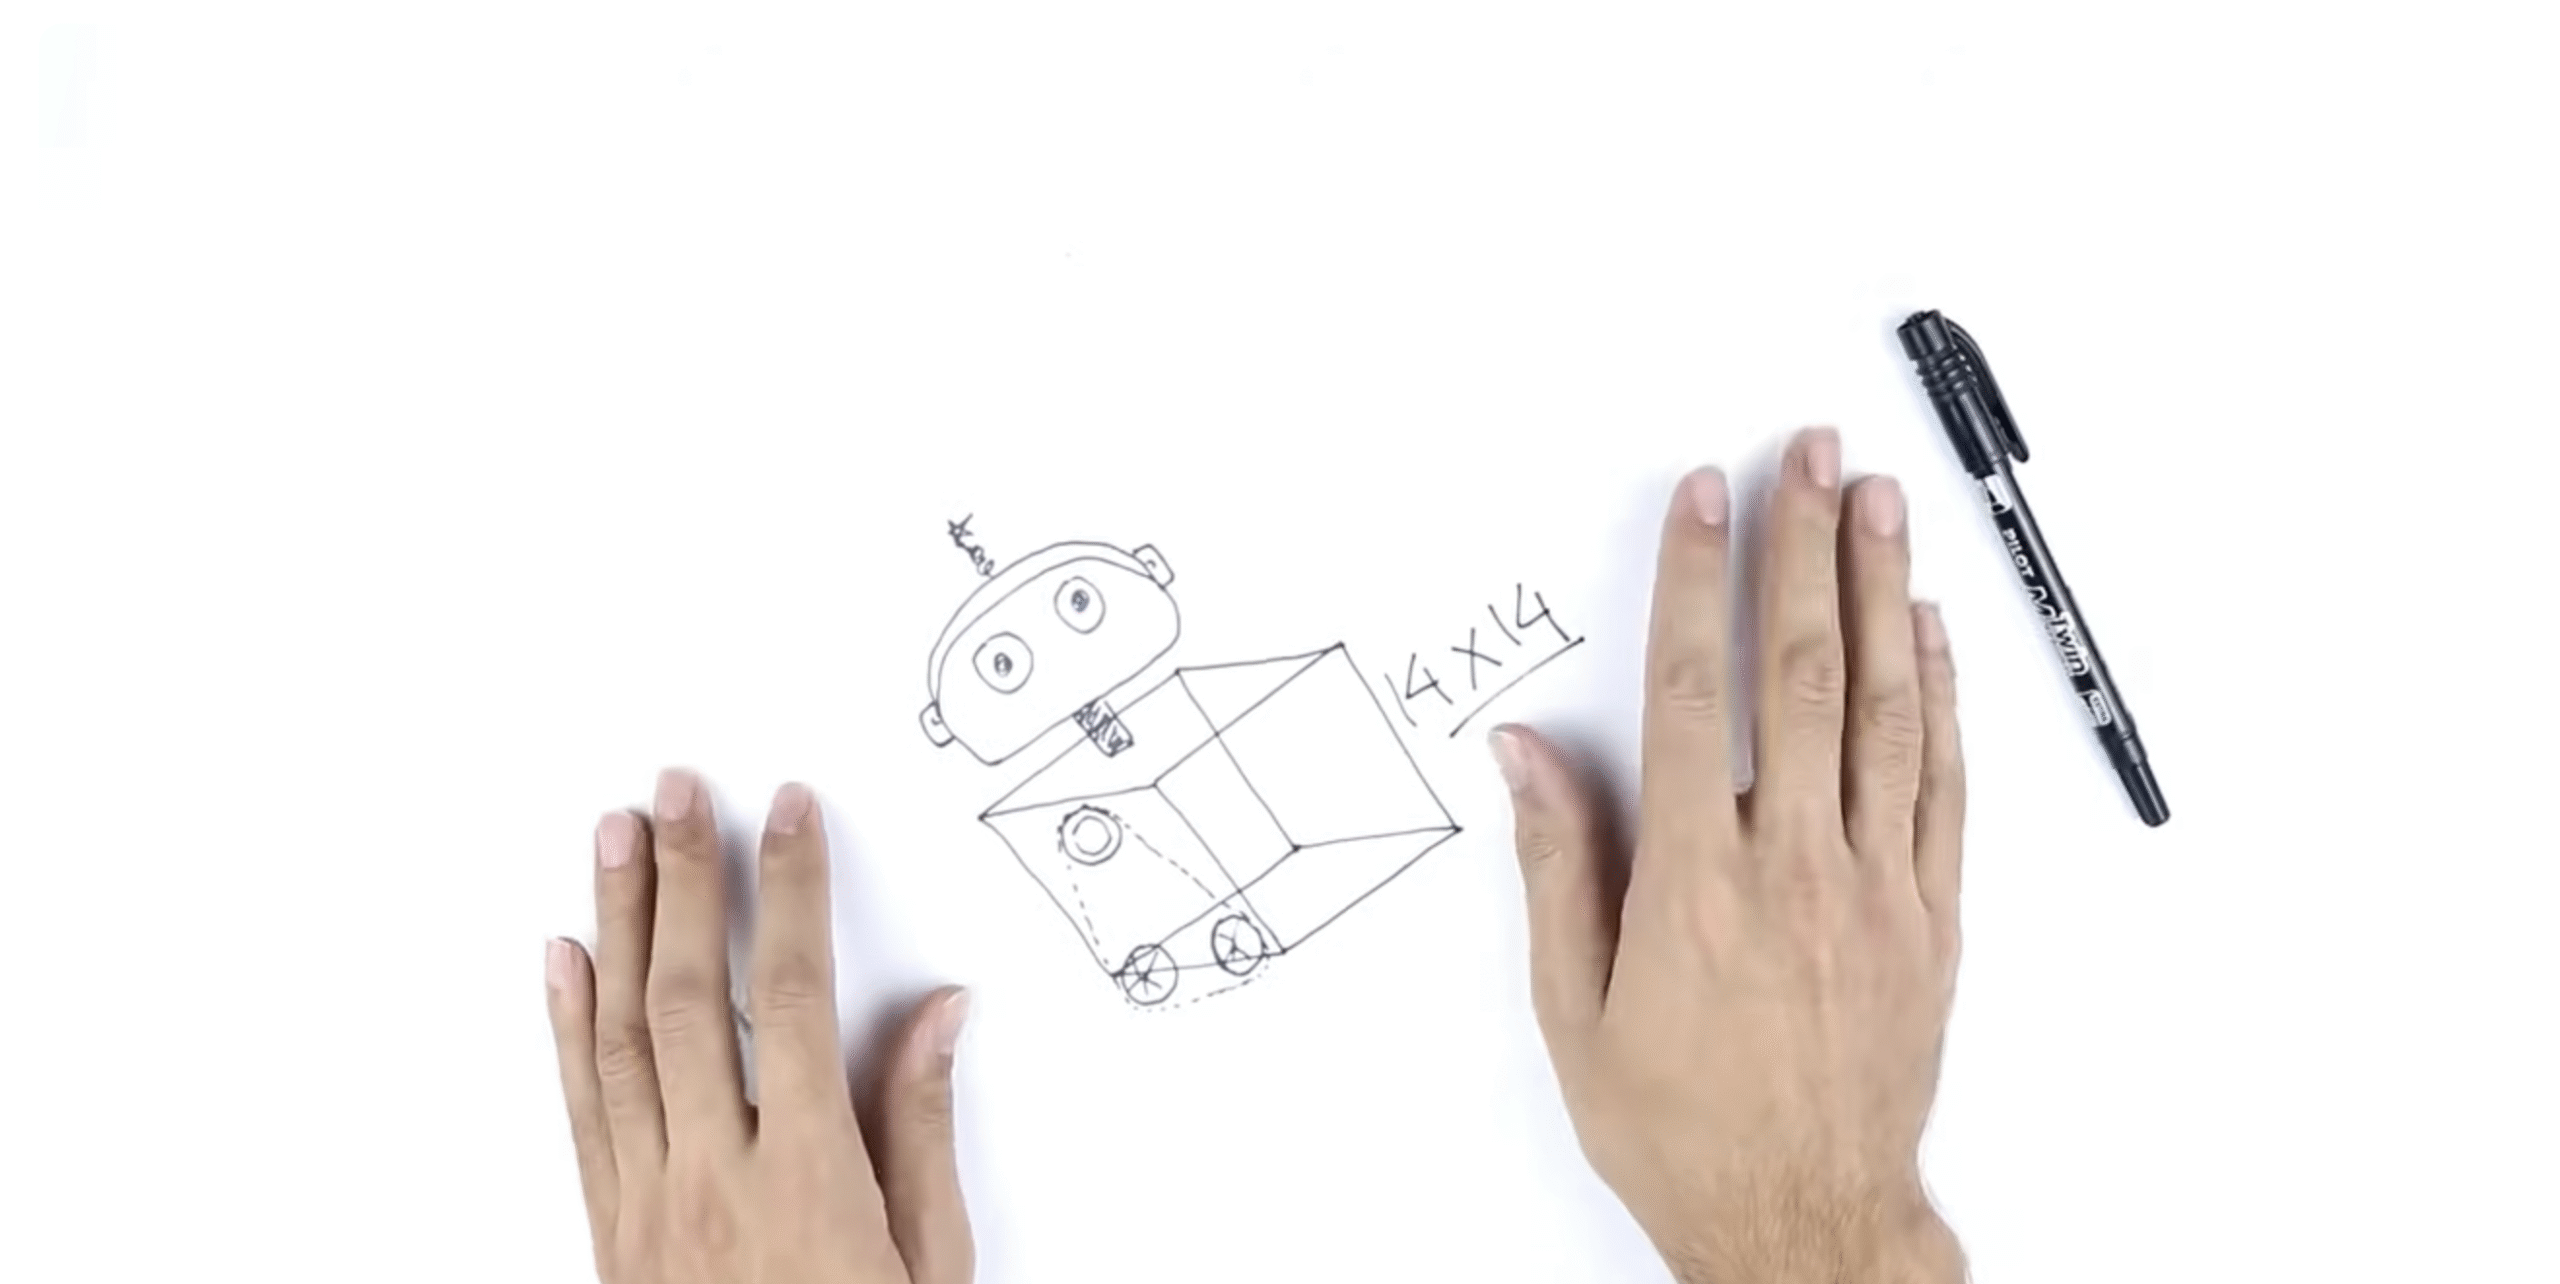
Start by sketching your robot’s design on paper. Decide whether it will move on wheels, use legs, or remain stationary. If you’re building a cardboard robot, measure and cut panels for the body, base, and front bumper.
Think of the layout where the motors, sensors, and battery will fit. Keep it balanced so the robot moves evenly and doesn’t tilt.
Step 2: Assemble the Chassis
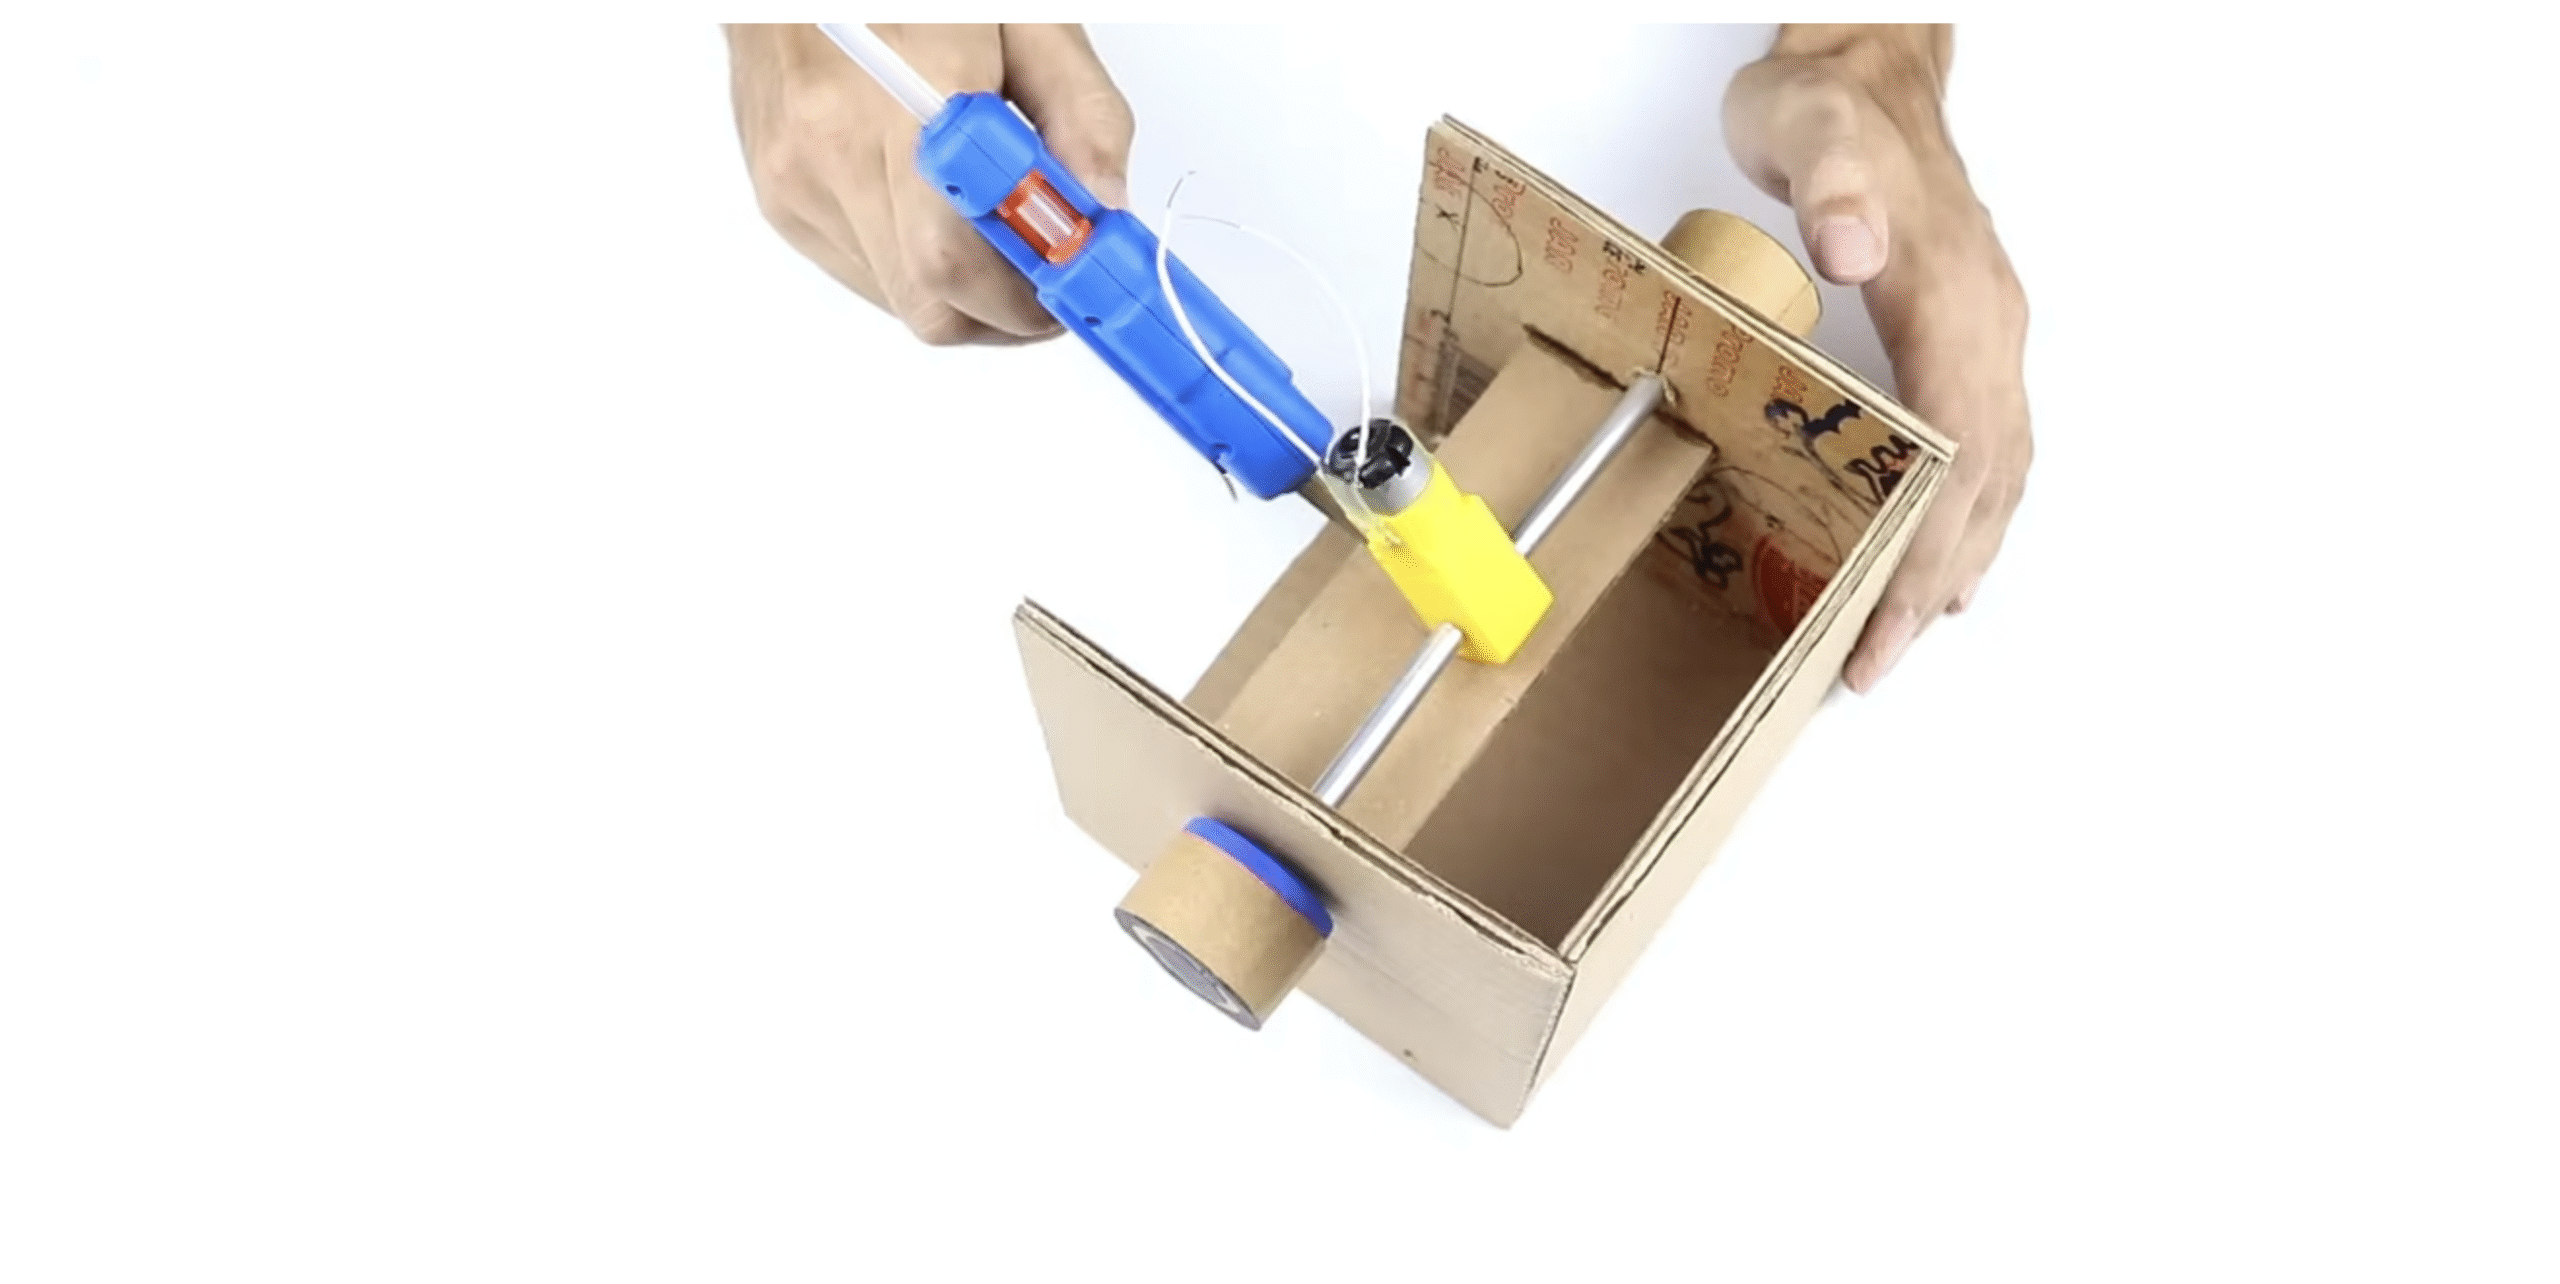
Use glue or small screws to attach the wheels and motors to your robot’s chassis. Two motors should control opposite sides so the robot can turn by running one motor faster than the other.
If you’re using cardboard, reinforce the base with extra layers or tape to hold the weight of the motors and batteries.
Step 3: Add Power and Movement
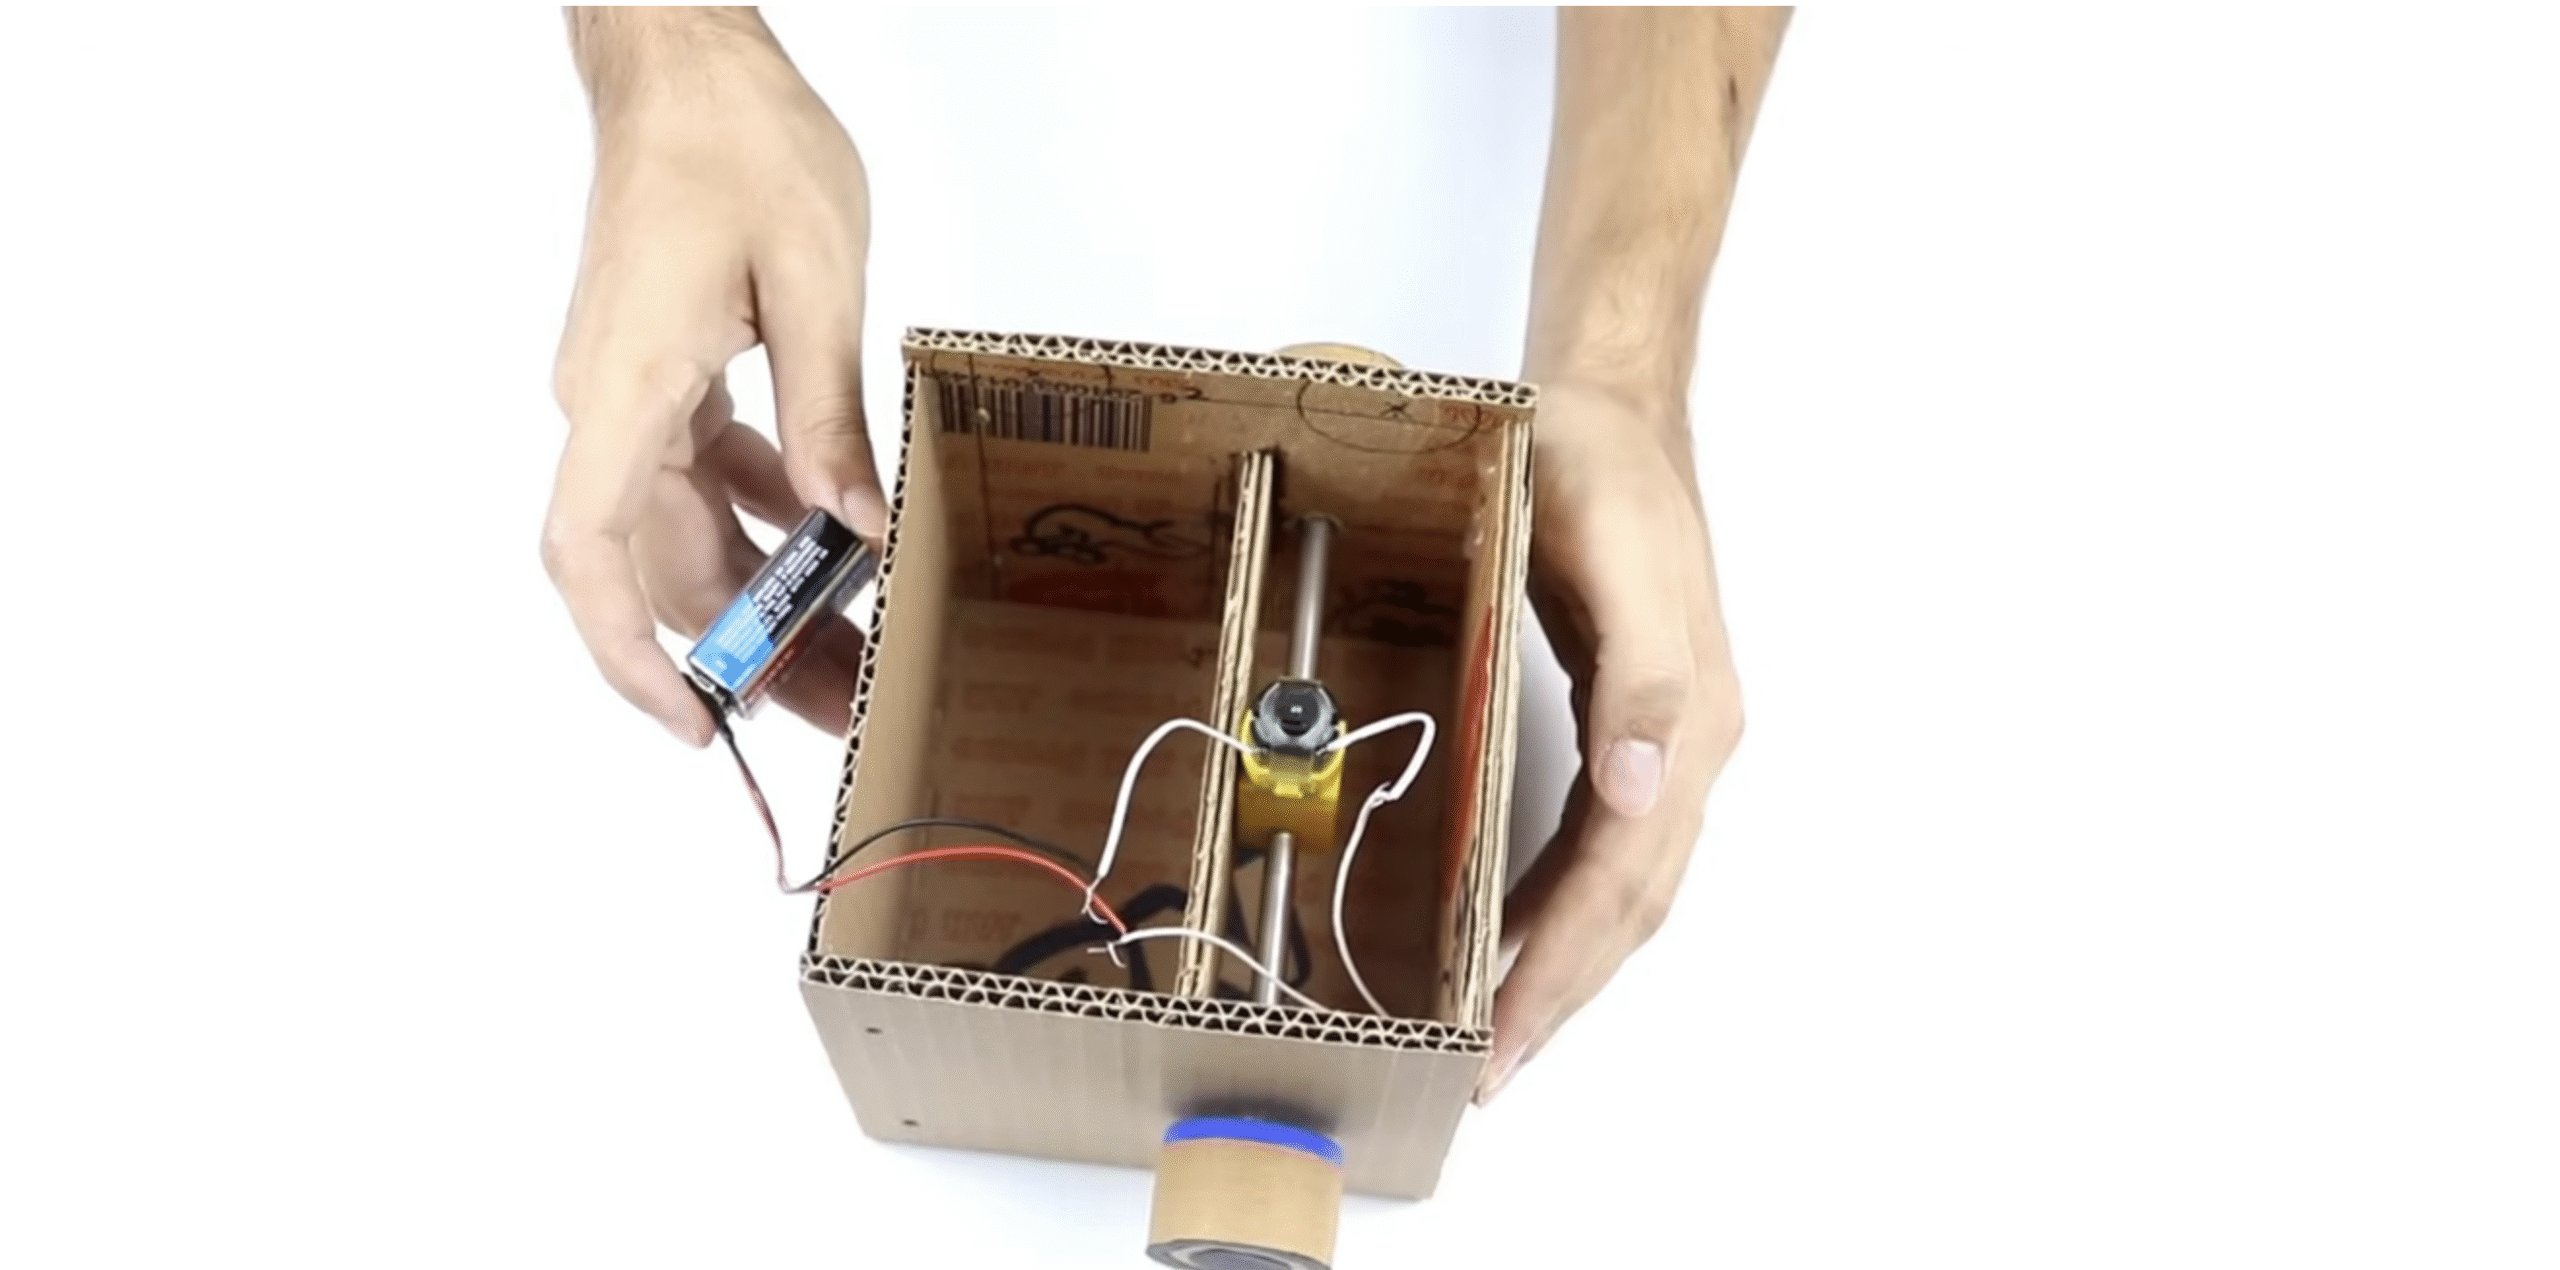
Connect your motors to the battery pack using wires. When power flows, your wheels should spin. You can reverse polarity (swap wire positions) to change direction.
Step 4: Glue and Attach All the Parts
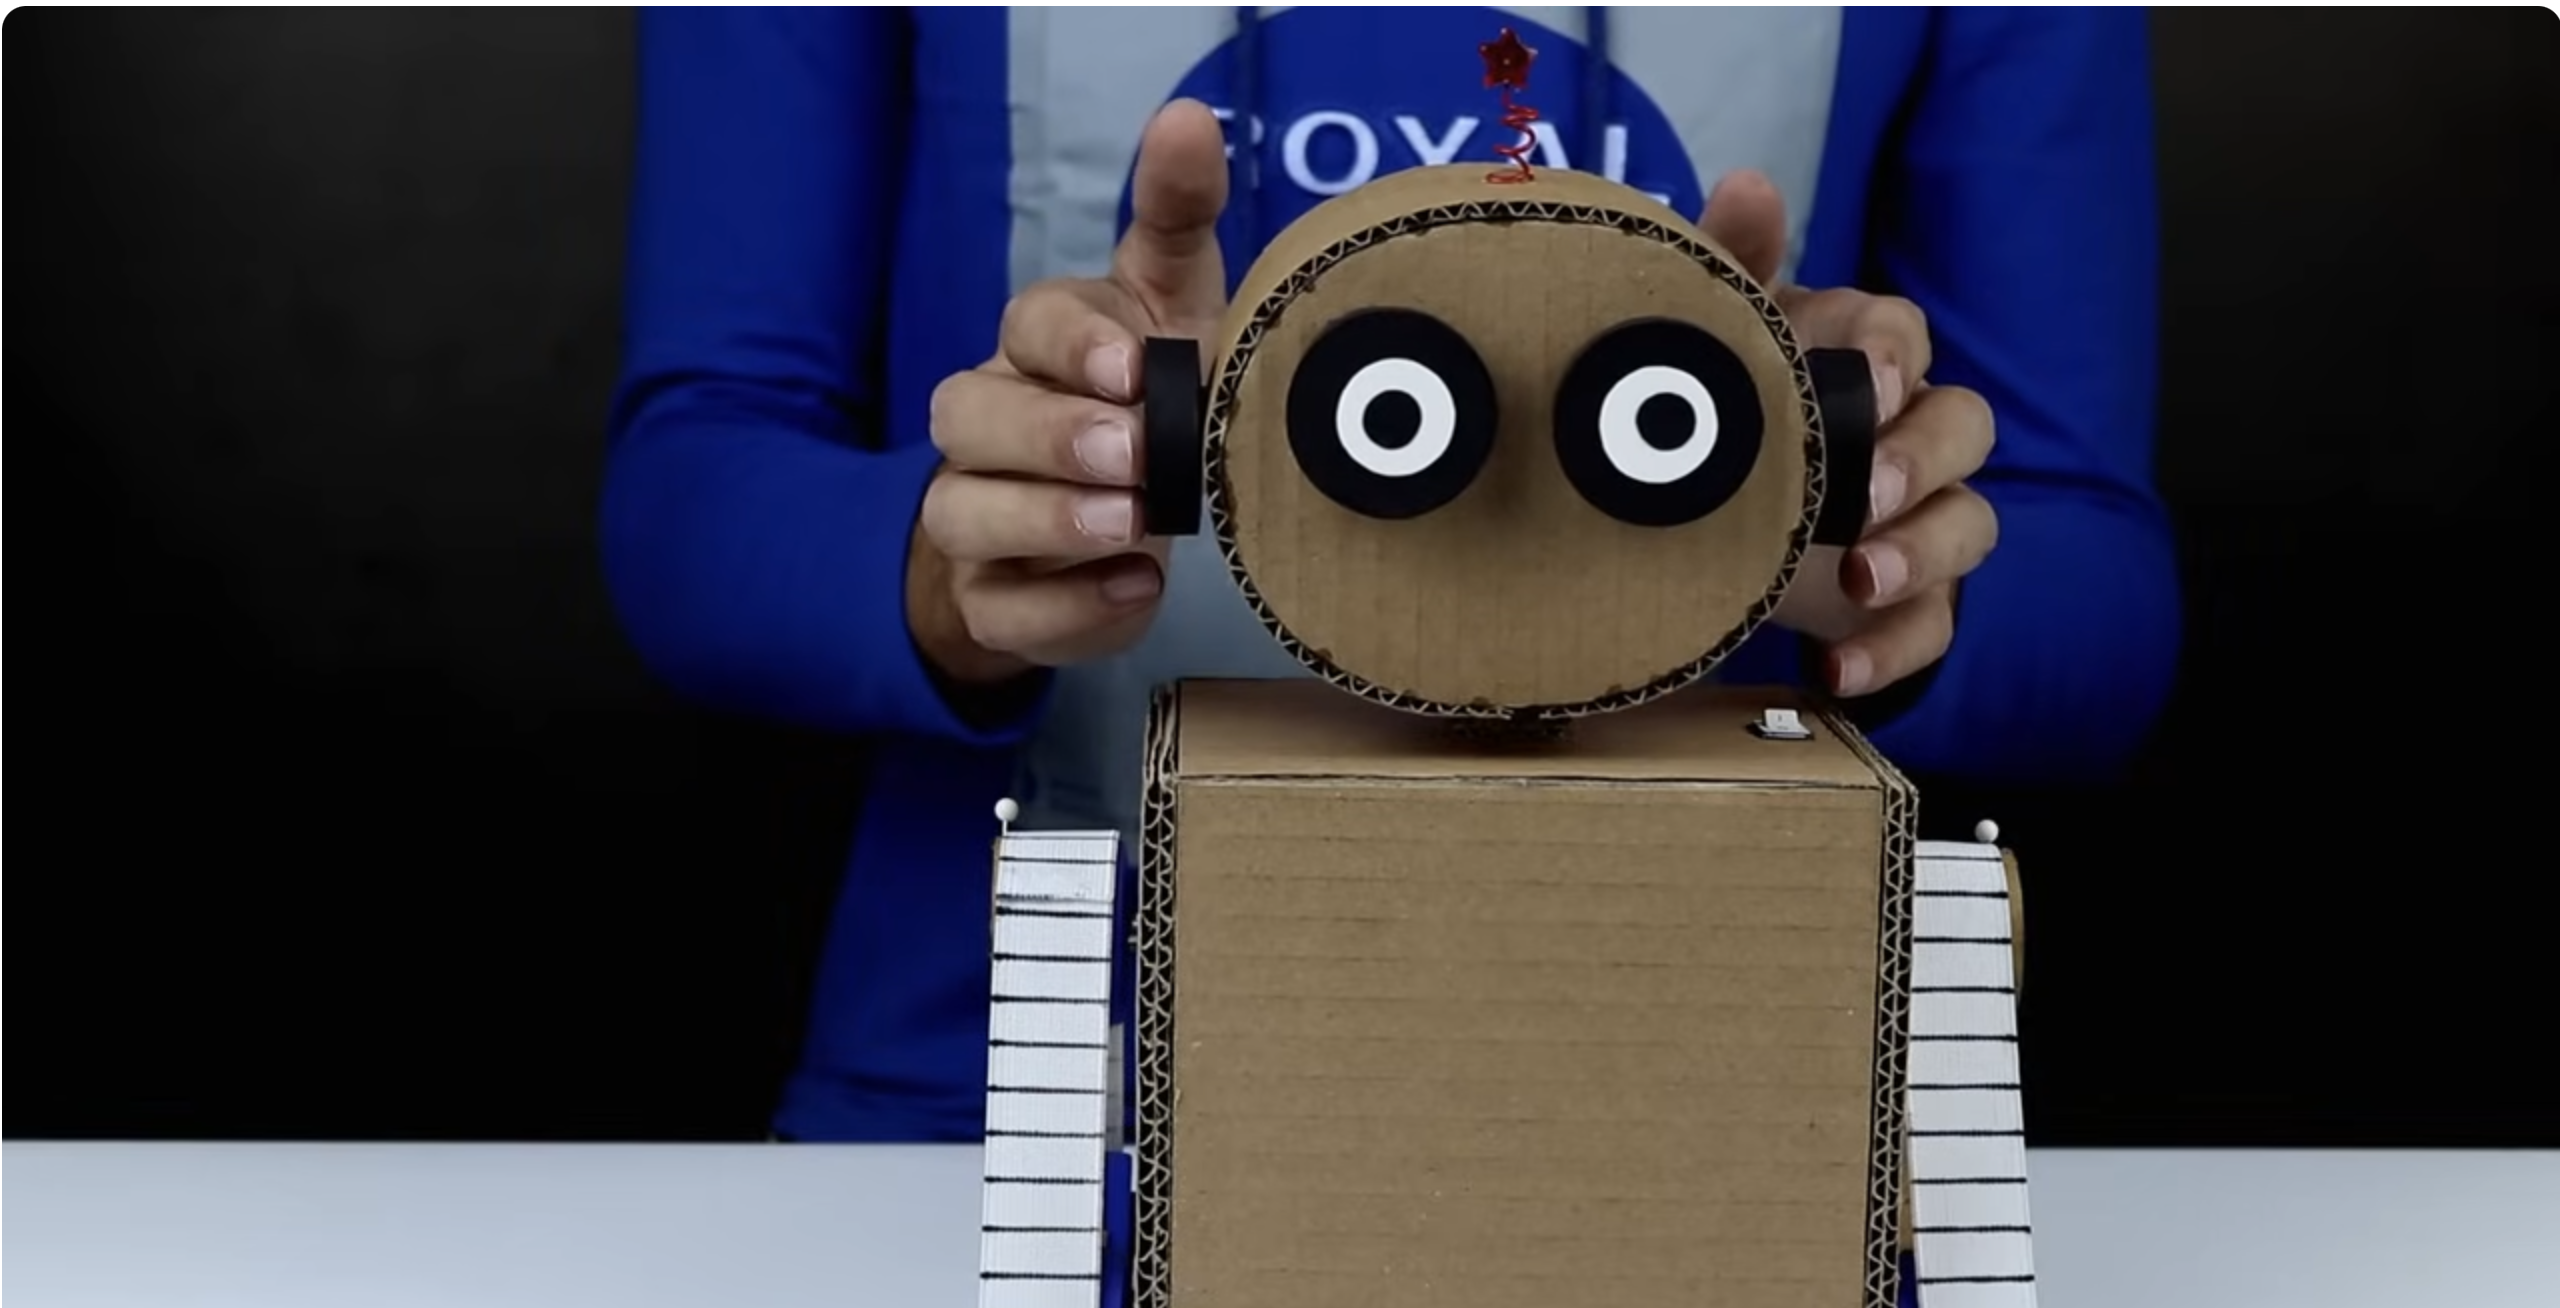
Use glue, tape or any other strong adhesive to fix the numerous robot parts together (head, torso, etc). You can even decorate your robot with paint, stickers, or LED eyes for a personalized finish.
Step 4: Test and Adjust
Place your robot on the floor and power it up. Watch how it moves. If it spins in circles or doesn’t move straight, adjust wheel placement or check your wiring. Make sure your battery is secure and not overheating. Experiment with different surfaces and light weights to improve stability and responsiveness.
Educational & STEM Uses
Homemade robots are popular in classrooms and robotics clubs. They teach design thinking, teamwork, and problem-solving while making abstract STEM principles tangible.
Projects like Sphero Edu and Instructables’ Simple Robot Guide help students learn physics and electronics while having fun building something real.
Common Mistakes to Avoid
- Overloading your robot with too many components
- Using batteries with mismatched voltages
- Forgetting to balance the chassis
- Ignoring safety; exposed wires can short-circuit easily
Start small, and once your basic robot moves correctly, expand its capabilities step by step.
Conclusion
Learning how to make a robot doesn’t require a lab or expensive tools, just creativity, curiosity, and a few spare parts. From simple cardboard builds to programmable kits, robotics is now accessible to everyone.
Begin with a simple design, understand how each part works, and soon you’ll be building robots that move, sense, and maybe even think on their own.


Discussion (0)
Be the first to comment.