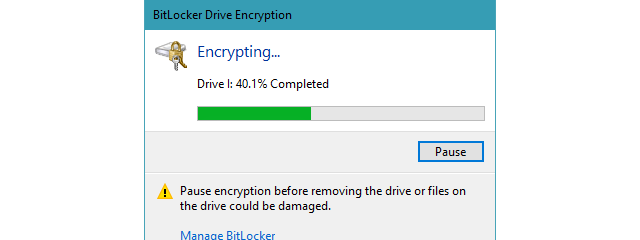
Protecting the data on your external hard drive or USB memory stick with BitLocker To Go is a smart move to ensure that your files are not available to anyone who gets their hands on your drive. While it does take a while for BitLocker To Go to encrypt the data, after the initial setup, you should have no trouble using the encrypted drive. All you have to do is to unlock it by entering the BitLocker password that you have set initially. Here's how the process works:
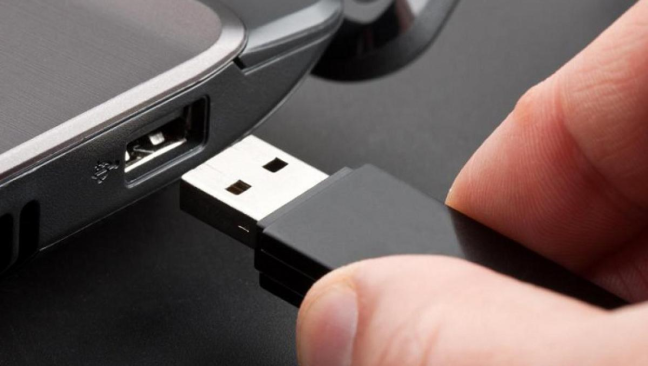
Step 1. Plug in the encrypted BitLocker drive (USB, external hard drive, pen drive, etc.)
The first step is to take the drive that's encrypted with BitLocker, and plug it into your PC. It can be anything: a USB memory stick, an external hard drive, a pen drive, etc.
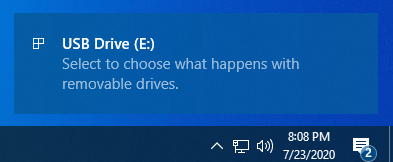
Wait for Windows 10 to recognize the drive that you plugged in. When you are asked to select what happens with the drive, don't click on anything, and ignore the notification.
Step 2. Unlock the encrypted BitLocker drive (USB, external hard drive, pen drive, etc.)
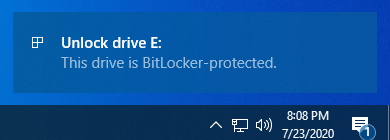
After the notification where you are asked to choose what happens with the drive that you just plugged in, you see another one, informing you that "This drive is BitLocker-protected."
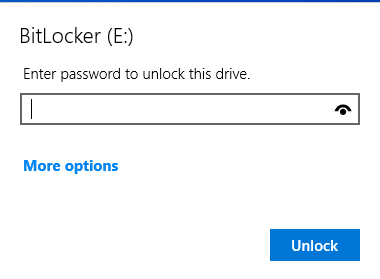
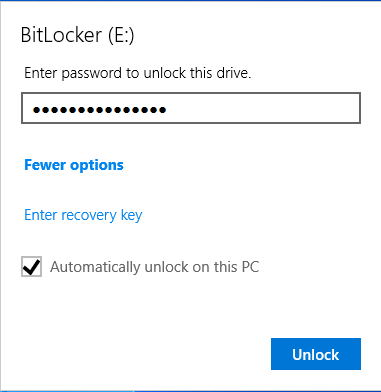
Click or tap on this "Unlock drive" notification to see the dialogue for entering the BitLocker password shown below. Enter the password and, if you want Windows 10 to automatically unlock the drive each time you plug it into the same computer, click or tap "More options."
Check the box that says "Automatically unlock on this PC," and then press Unlock.
TIP: You need to enter the password that you set when the drive was encrypted with BitLocker To Go. For more details, read: Encrypt a USB drive with BitLocker To Go in Windows 10.
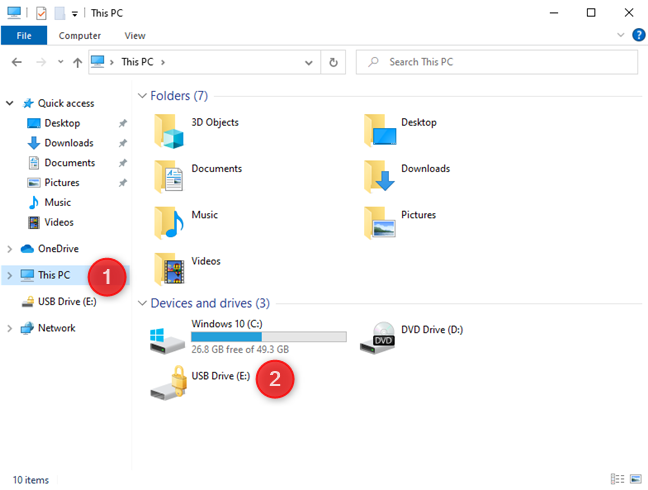
If you don't see the notification for unlocking the encrypted drive, do not worry. All you have to do is open File Explorer. A quick way is to press the Windows + E keys on your keyboard. In File Explorer, go to This PC, and double-click (or double-tap) on the encrypted drive, found under "Devices and drives." The BitLocker drive should have a lock on its icon, like in the screenshot below.
Then you are asked to enter the BitLocker password, as shown earlier in this section.
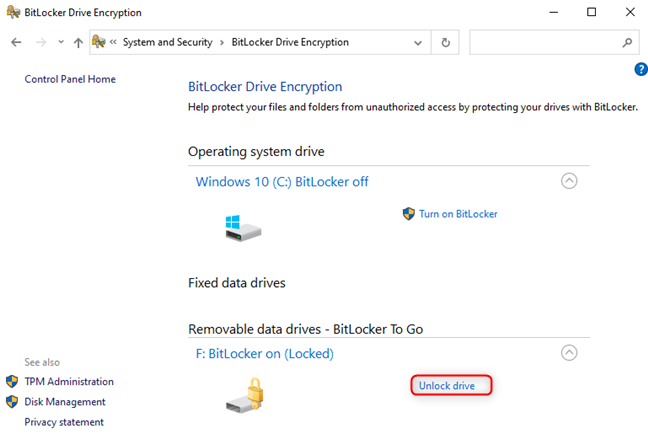
You can also use the Control Panel to unlock a BitLocker drive. Open Control Panel, and go to "System and Security," followed by "BitLockerDrive Encryption." Under "Removable data drives - BitLocker To Go" click or tap on the encrypted drive that you want, and then press on the Unlock drive link next to it.
Then, you are asked to enter the BitLocker password, as shown previously.
TIP: If you do not know the BitLocker password, you can unlock the BitLocker drive only using its recovery key. See: How To Rescue Your Data From a BitLocker Encrypted Flash Drive.
Step 3. Use the unlocked BitLocker drive and eject it when done
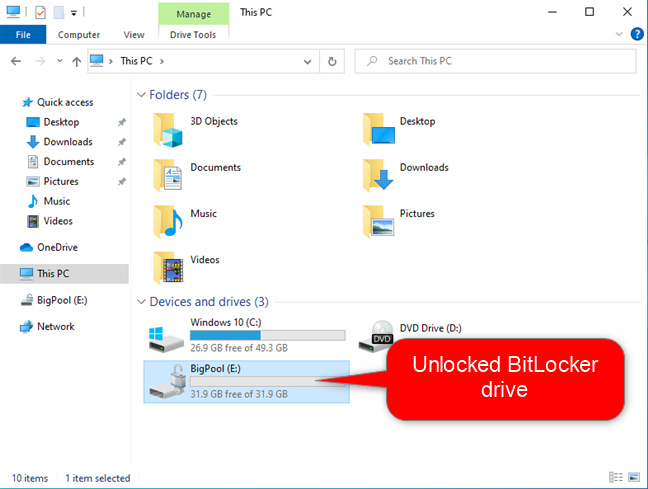
After you enter the BitLocker password, the USB drive can be opened from File Explorer and used like any other drive. Notice that its drive icon has an open lock symbol, as shown below.
When you are done working with the BitLocker-encrypted drive, it is a good idea to eject it using the "Safely Remove Hardware" feature in Windows.
TIP: If you no longer want to use BitLocker To Go on an encrypted drive, read How to disable BitLocker To Go encryption and remove the unlock password.
Do you use BitLocker To Go to protect the data on your removable flash drives?
People and companies who work with sensitive data should consider using BitLocker to encrypt the USB memory sticks, hard drives, or pen drives that are used to transfer data between computers and devices. BitLocker To Go not only makes it easy to encrypt any USB drive, but also helps you unlock it if you know the encryption password. Before closing this tutorial, tell us if you have any problems and whether you enjoy using BitLocker To Go.


