




The DeepCool Captain 240 RGB is a 240 mm liquid cooler that improves CPU temperatures, reduces noise, and adds customizable lighting. This guide shows you how to install it correctly and set up the fans, pump, and RGB cables for stable long-term performance.
Table of contents
- 1) Understanding the DeepCool Captain 240 RGB
- 2) Preparing your PC for installation
- 3) Installing the mounting hardware
- 4) Mounting the radiator and fans
- 5) Installing the pump block
- 6) Connecting power and RGB
- 7) Testing and verifying installation
- Troubleshooting common issues
- Tips: Maintenance and long-term use
- FAQs
- Summary
1) Understanding the DeepCool Captain 240 RGB
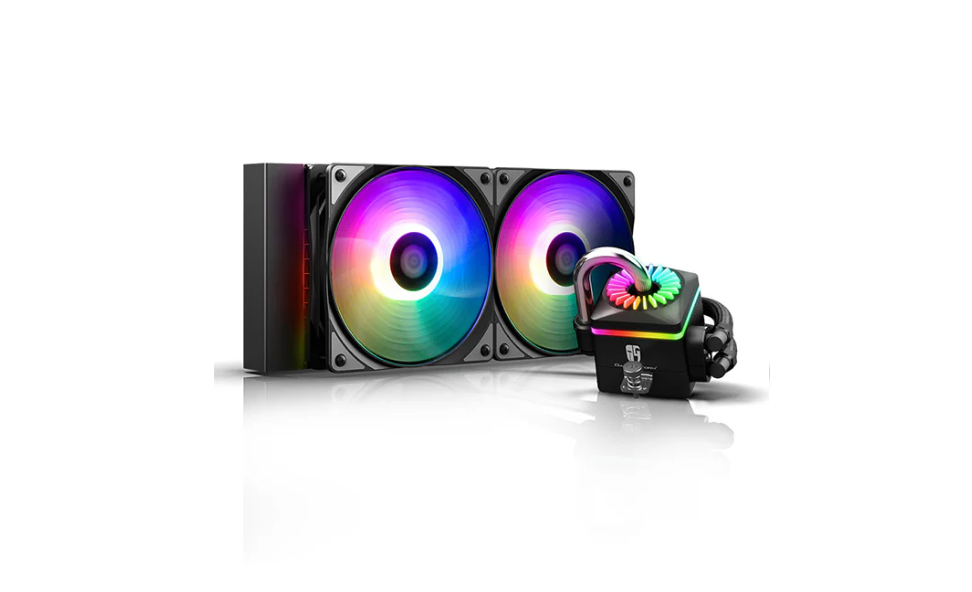
This cooler includes a radiator, pump block, fans, RGB components, and mounting hardware. Knowing each part helps you mount it correctly and avoid installation mistakes.
What’s in the box
You’ll find the 240 mm radiator, two 120 mm fans, the pump block, mounting brackets, screws, backplates, and the RGB controller. Check all hardware before starting installation.
Supported sockets and compatibility
The cooler supports most Intel and AMD desktop sockets. This helps you confirm whether your system needs the Intel or AMD installation hardware.
2) Preparing your PC for installation
A quick inspection of your PC case and CPU area prevents clearance issues and makes installation easier.
Checking case radiator support
Most mid-tower and full-tower cases support 240 mm radiators. Confirm whether your case has mounting points at the top or front.
Removing old cooling hardware
Remove your previous cooler and its mounting bracket. This protects the CPU and leaves room for the new hardware.
Cleaning the CPU surface
Use isopropyl alcohol and a microfiber cloth to clean old thermal paste. A clean surface improves heat transfer.

3) Installing the mounting hardware
Correct mounting hardware ensures the pump sits evenly on the CPU.
Setting up Intel brackets
Install the Intel backplate behind the motherboard and attach the standoffs. Tighten each screw gently to keep the plate aligned.

Setting up AMD brackets
Install the AMD brackets or use the stock retention frame depending on your socket. Keep the frame steady so the pump applies even pressure.
4) Mounting the radiator and fans
Radiator placement affects airflow and temperatures, so choose the right location based on your case layout.
Choosing the best radiator position
Most users mount the radiator at the top or front of the case. Top mounting supports better heat exhaust, while front mounting can improve GPU airflow.
Aligning and securing fans
Install the fans in either a push or pull configuration. Keep airflow direction consistent for the best cooling performance.
Cable routing for a clean build
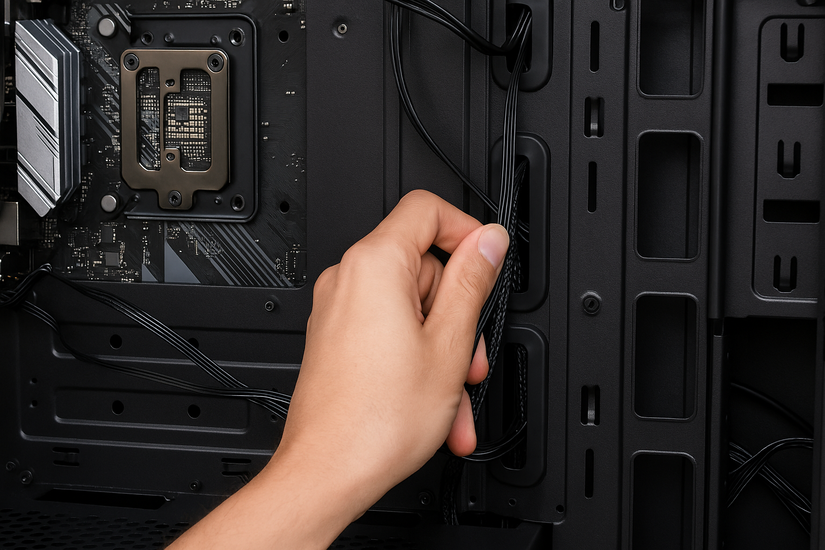
Run fan and pump cables along case edges or behind the motherboard tray. Clean cable routing improves airflow and keeps the system neat.
5) Installing the pump block
The pump block connects directly to the CPU, so proper installation is essential for stable cooling.
Applying thermal paste
Apply a pea-size amount of thermal paste to the center of the CPU. This covers the CPU evenly once the pump is mounted.
Securing the pump
Place the pump head over the standoffs and tighten the screws in a cross pattern. Even pressure prevents gaps and improves cooling performance.
6) Connecting power and RGB
Correct wiring ensures the pump runs properly and the RGB lighting responds to your controls.
Connecting the pump power
Connect the pump to the AIO_PUMP or CPU_FAN header on the motherboard. This keeps the pump running at a stable speed.
Connecting fan power
Connect fans to CPU_FAN or a dedicated fan hub. This helps the system regulate temperature and noise.
Setting up RGB lighting
Connect RGB cables to the included controller or your motherboard’s RGB header. Sync lighting with your preferred RGB app.
7) Testing and verifying installation
Turning on the PC lets you check pump activity, temps, and lighting before sealing the case.
First boot checks
Make sure the pump vibrates slightly, fans spin, and temps stay stable. This confirms everything is powered correctly.
Monitoring temperatures
Use your preferred system monitor to check the CPU temperature, both idle and load temps. Proper installation keeps your CPU within safe operating ranges.
Troubleshooting common issues
- Pump not spinning: Check the power header and make sure the pump cable is firmly connected. Using the wrong header can prevent the pump from starting.
- RGB not working: Verify that the RGB connectors match your controller or header type. Incorrect voltage can prevent lighting from turning on.
- High CPU temperatures: Re-seat the pump or reapply thermal paste. Make sure the radiator fans pull or push air in the right direction.
Tips: Maintenance and long-term use
- Remove dust from the radiator every few months. Clean airflow improves cooling efficiency.
- Listen for unusual noise and check CPU temperatures. These signs help you detect early pump wear.
- If temps rise over time, re-seat the pump and apply new thermal paste. This restores performance.
FAQs
How long does the DeepCool Captain 240 RGB last? Most users can expect three to five years of stable performance depending on workload and environment.
Can I mount the radiator in the front of my case? Yes, front mounting works well in many cases and often improves GPU airflow.
Why are my fans loud after installation? The system might run them at full speed. Adjust your fan curve in the BIOS.
Does the pump need its own power header? Yes, the pump must run from an AIO or CPU power header for stable operation.
Summary
- Prepare your PC and clean the CPU surface.
- Install the correct Intel or AMD mounting hardware.
- Mount the radiator and fans in the best airflow position.
- Install the pump block and apply even pressure.
- Connect pump, fan, and RGB cables, then test performance.
The DeepCool Captain 240 RGB manages heat effectively when you install it correctly. A clean mount, proper airflow, and correct wiring keep your CPU cool for gaming and productivity workloads.


Discussion (0)
Be the first to comment.