



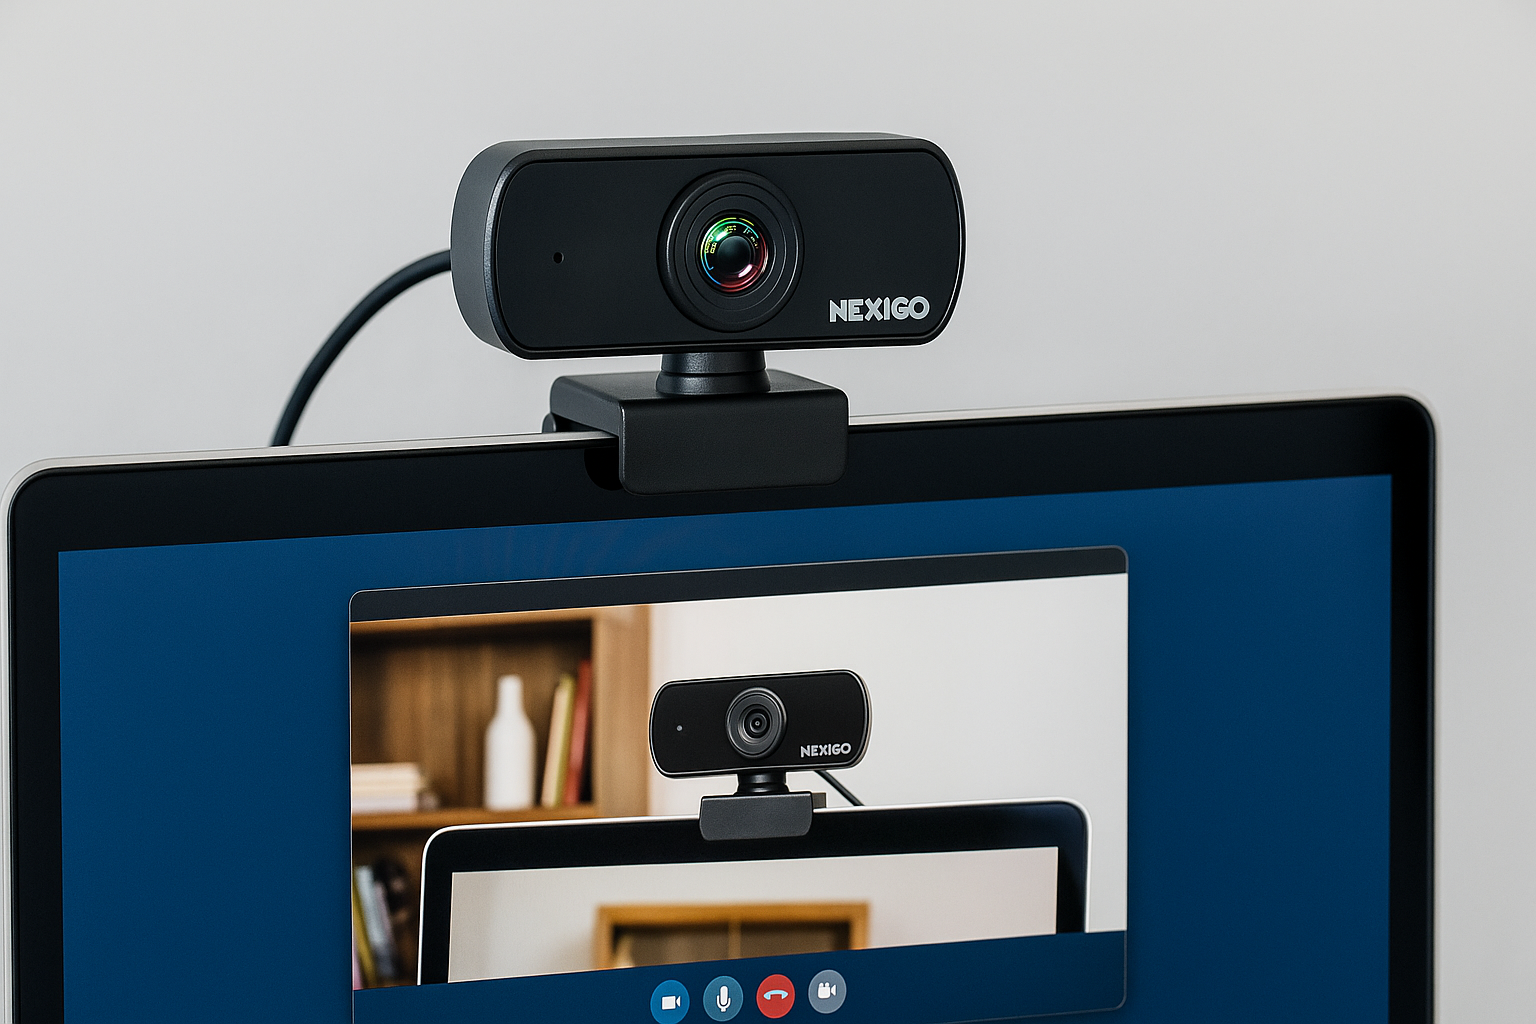
NexiGo webcams are designed for quick plug-and-play setup on Windows, macOS, and ChromeOS. Still, some users run into driver, permission, or lighting issues the first time they connect one. Here’s how to get your NexiGo webcam ready for work calls, streaming, or casual video chats without frustration.
Step 1: Check compatibility and unbox your NexiGo webcam
Before connecting anything, confirm your NexiGo webcam works with your operating system. Most models support Windows 10/11, macOS, and ChromeOS. Check if your computer has the right port - USB-A or USB-C - and make sure it supports at least USB 2.0 speeds for stable video transmission.
Inside the box, you’ll typically find the webcam, a USB cable, a privacy cover, and a quick start guide. Verify all parts are included before you continue.
Step 2: Mount and connect the webcam
Open the adjustable clip on the bottom of the webcam. Set it on top of your monitor or laptop screen, ensuring the camera faces your eyes directly. If your model supports a tripod mount, screw it in securely for more flexible angles.
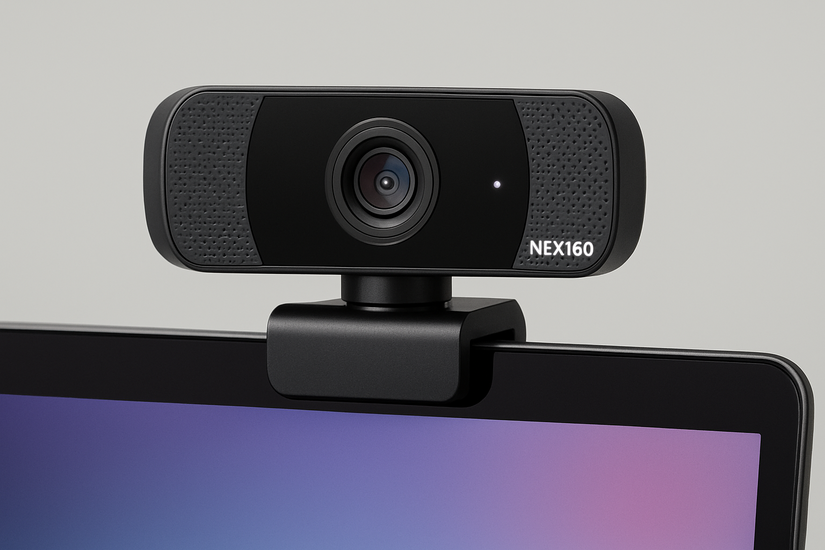
Next, connect the webcam directly into a powered USB port on your PC or Mac. Avoid using unpowered USB hubs - they often fail to deliver enough power. If your camera’s LED light turns on, the system has detected the device.
Step 3: Let the operating system detect the device
On Windows 10 or 11
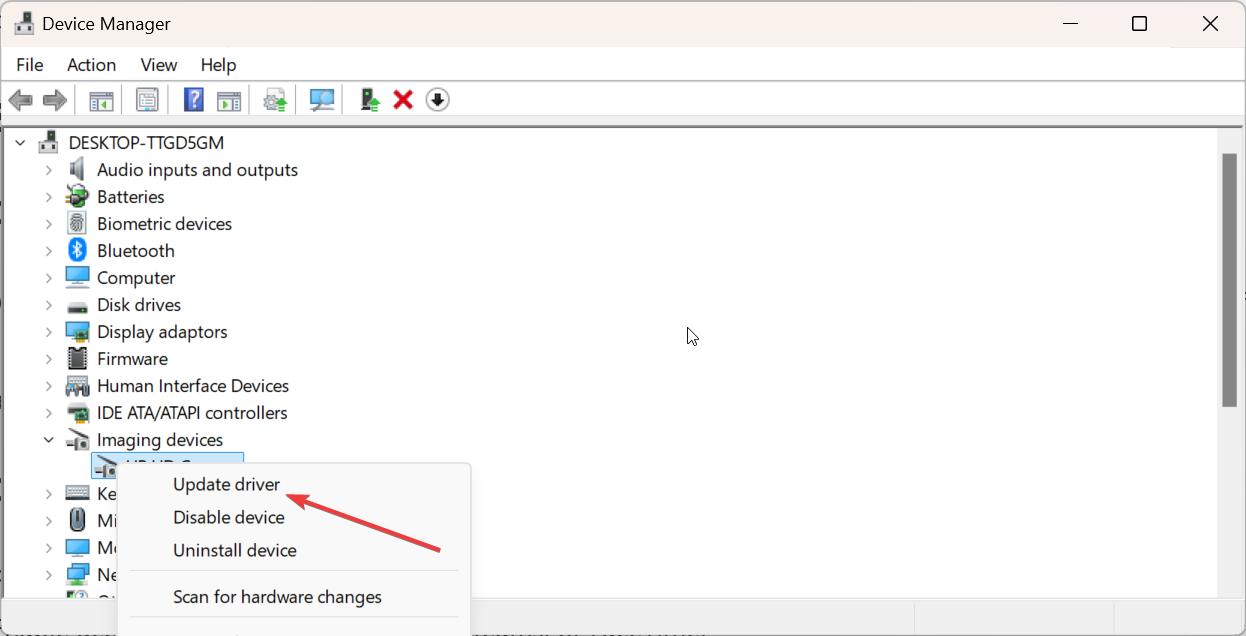
Windows installs generic camera drivers automatically. Once connected, open the Camera app to test it. If the webcam doesn’t appear, open Device Manager > Imaging Devices, right-click your NexiGo webcam, and choose Update Driver.
On macOS
Plug in your webcam and allow apps to use it by going to System Settings > Privacy & Security > Camera. Enable access for video apps like Zoom, Teams, or FaceTime.
On Chromebook
Chromebooks usually detect webcams instantly. Open the built-in Camera app or a browser-based platform to confirm it’s working. If you don’t see an image, check site permissions under the address bar camera icon.
Step 4: Install or update NexiGo webcam software (optional)
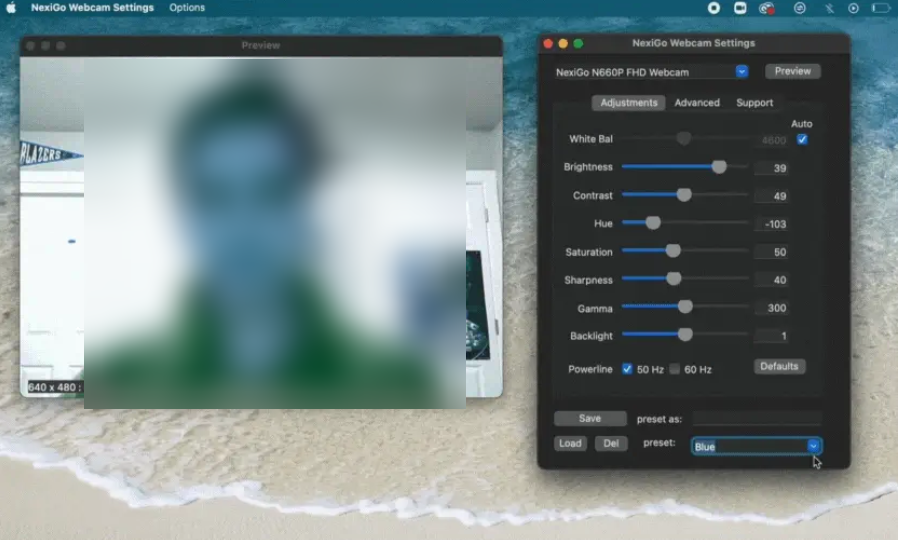
NexiGo provides optional software for fine-tuning image quality, focus, and color. It’s ideal if you want more control than the basic OS settings. You can adjust exposure, white balance, and zoom for better call quality or recording results.
Step 5: Configure the camera in your favorite apps
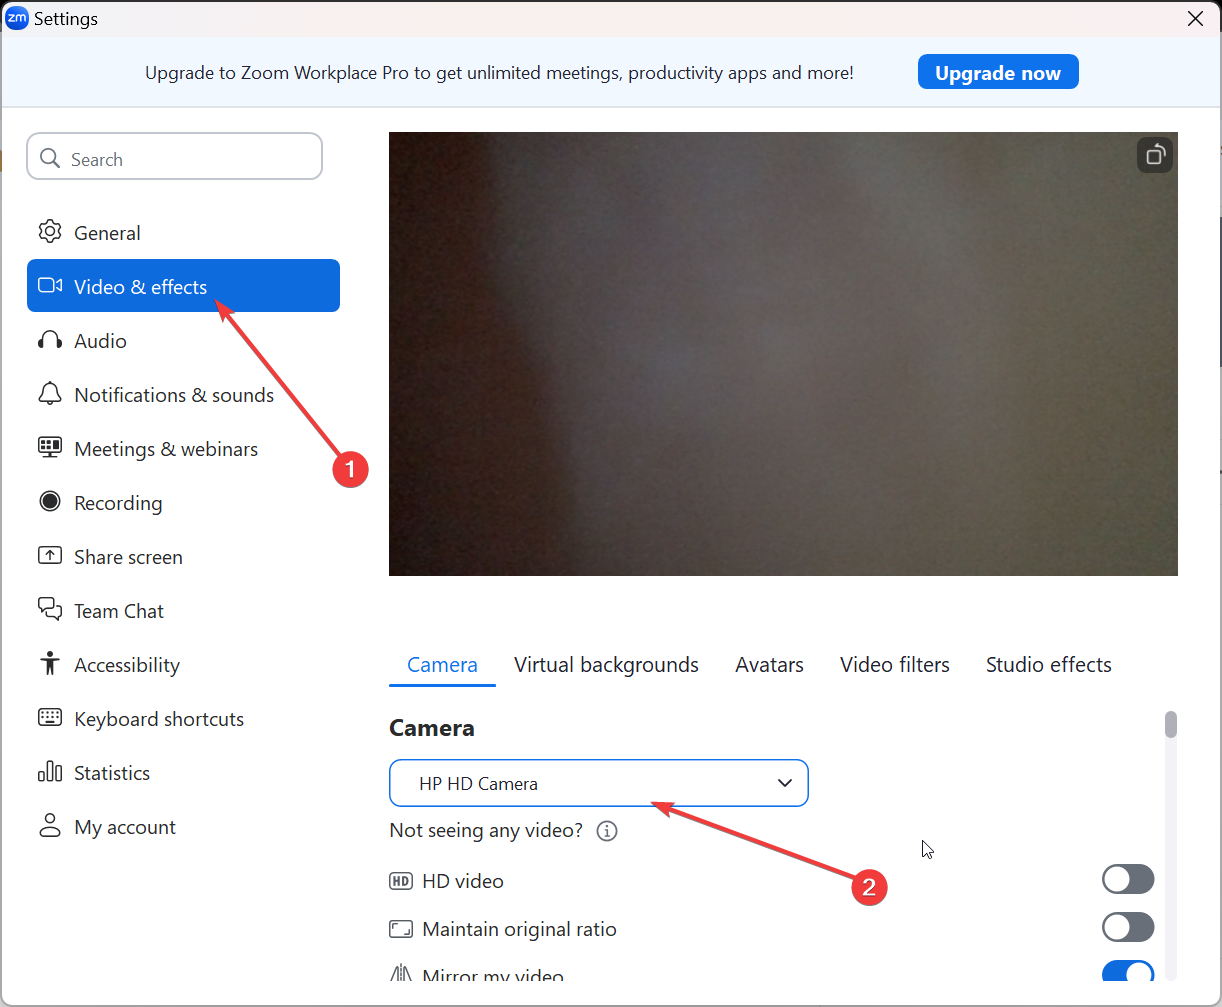
On meeting tools like Zoom, Teams, or Google Meet, open your app’s video settings and select NexiGo Webcam from the list of cameras. Disable any built-in laptop camera to prevent accidental switching. Adjust resolution settings for 1080p if supported.
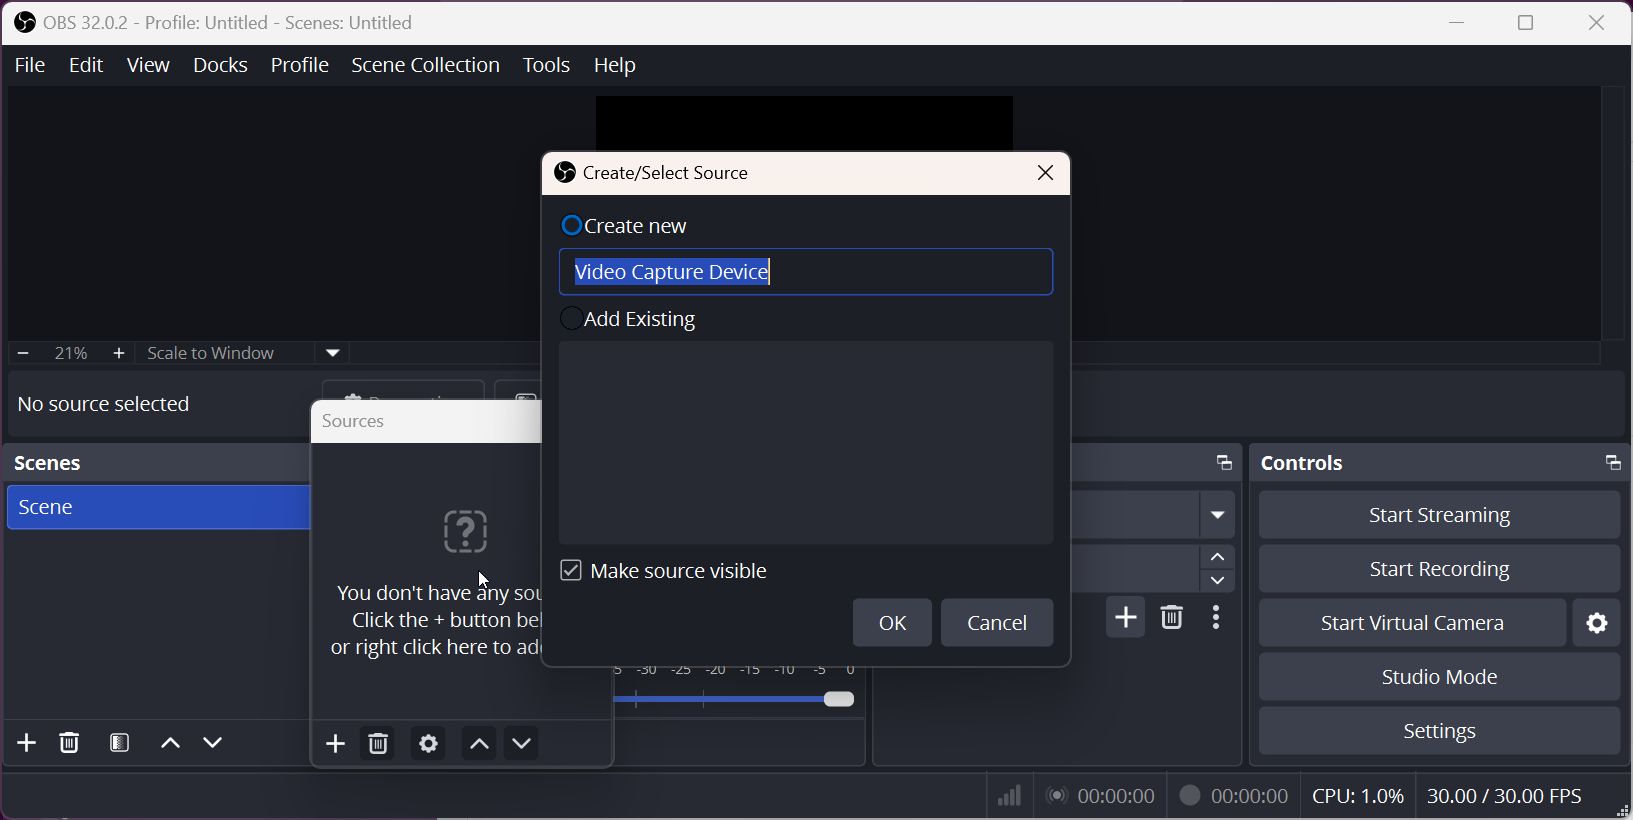
If you are using streaming tools like OBS, open the tool, add a new Video Capture Device, and choose the NexiGo webcam. Set the desired frame rate and resolution to match your stream requirements. Save the configuration to keep these settings for future sessions.
Troubleshoot common setup problems
- Webcam not recognized: Unplug and reconnect the device using a different port. Restart your PC and ensure Windows privacy settings allow camera use. If that fails, update USB drivers under Device Manager and reboot again.
- Camera works but no video in apps: Permissions are usually the issue. Go to Settings > Privacy > Camera on Windows or browser permissions for web apps, then toggle camera access back on for the app you’re using.
- Poor image or focus: Clean the lens gently and ensure there’s enough light in the room. For autofocus models, let the camera refocus by moving slightly back. You can also fine-tune brightness and contrast in the NexiGo software.
Tips for getting the best out of your webcam
- Check for firmware updates periodically using NexiGo’s support tools
- Store your webcam in a clean, dust-free area when not in use
- Use the lens cover to protect against scratches and maintain sharp video over time.
- Use soft, even lighting to reduce harsh shadows
- Keep the webcam at eye level for natural framing
- If your NexiGo webcam includes a microphone, test audio quality; otherwise, use a dedicated mic for clearer sound.
FAQs
- Do NexiGo webcams need drivers? No - most models work automatically with standard system drivers.
- Can I use it with my Smart TV or console? Only some Android-based TVs detect USB webcams; check your model’s specs.
- How do I fix mirrored video? Adjust orientation inside your app’s video settings.
- Can I switch between built-in and external cameras? Yes - most video apps list both. Just select NexiGo from the drop-down input list.
Summary
- Check your NexiGo webcam’s compatibility
- Mount the webcam securely on your monitor or tripod
- Let your operating system install drivers automatically
- Configure video input in your preferred apps
Conclusion
To set up a NexiGo webcam, mount it properly, connect it to a powered USB port, allow system permissions, and test video output. If problems occur, check device recognition and privacy settings before updating drivers. Once configured, tweak lighting and angles for the best picture quality.

Discussion (0)
Be the first to comment.