


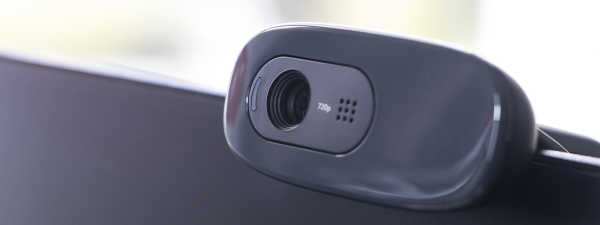
The Logitech C920 is one of the most popular webcams for Windows 10 users who want sharp, reliable video for streaming, meetings, or content creation. This guide shows how to install the Logitech C920 Webcam on Windows 10 properly, including driver setup, software installation, and quick troubleshooting. Follow these bullet-style steps to get your webcam running smoothly.
Check System Requirements
Before you install the Logitech C920 Webcam, make sure your PC meets the basic system requirements. This helps prevent driver or compatibility errors.
- Operating system: Windows 10 (64-bit preferred)
- Processor: 2.4 GHz dual-core or faster
- RAM: At least 2 GB
- USB port: One available USB 2.0 or USB 3.0 port
- Internet: Required for driver or firmware updates
- Graphics card: DirectX 9.0c compatible or higher
If your computer meets these requirements, you can proceed to download and install the official software. This ensures your Logitech C920 Webcam setup on Windows 10 includes all the latest features and updates.
Download Logitech C920 Webcam Software
To access all features such as autofocus, light correction, and stereo audio, you’ll need the Logitech software package. Here’s how to download it:
- Open your preferred browser and visit the official Logitech Support website.
- Use the search bar to look up “Logitech HD Pro Webcam C920.”
- Go to the Downloads section and select the software for Windows 10.
- Click Download to get the installer (Logi Options+ or Logitech Capture).
- Once the download finishes, locate the
.exefile in your Downloads folder.
At the time of writing, Logitech recommends using Logi Options+ for advanced webcam control, or Logitech Capture for stream and recording support.

Install the Logitech C920 Software on Windows 10
Once you’ve downloaded the installer, follow these steps to install your Logitech C920 Webcam drivers and control software:
- Double-click the installation file to launch the setup wizard.
- Accept the license terms and follow the on-screen instructions.
- Wait for Windows 10 to install the software and related drivers.
- When prompted, restart your computer to apply all changes.
During installation, keep your webcam disconnected to prevent conflicts. You’ll connect it once the driver setup finishes.

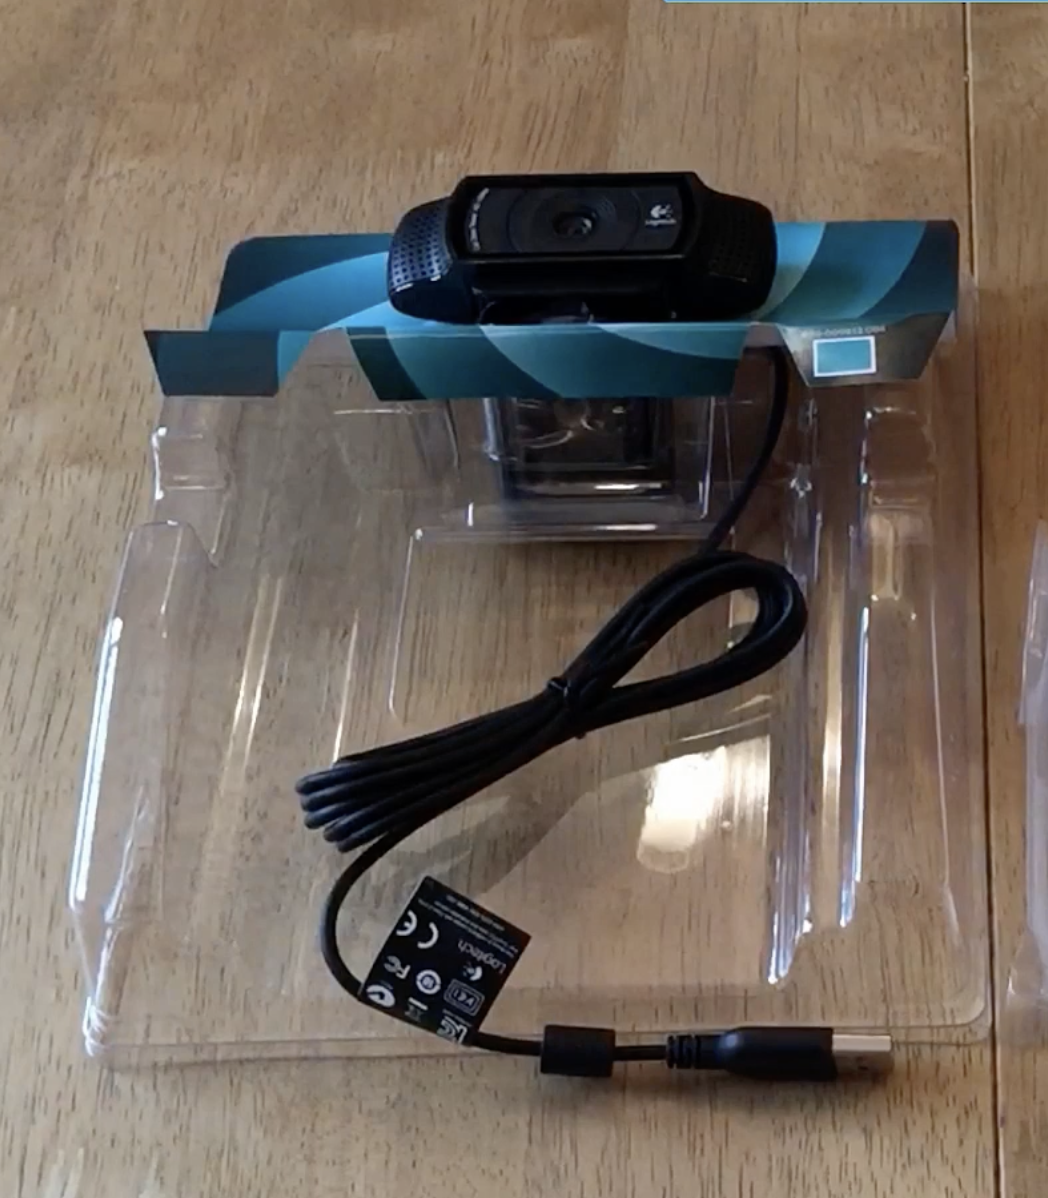
Connect Your Logitech C920 Webcam
After the software is installed, connect the webcam to your PC using the included USB cable:
- Plug one end of the cable into the webcam and the other into your PC’s USB port.
- Wait for Windows to automatically detect and configure the device.
- You’ll see a pop-up saying “Setting up a device” followed by “Device ready.”
- To confirm, open the Camera app—your live video should appear immediately.
If your webcam is not detected, try switching USB ports, especially between USB 2.0 and 3.0, or use a powered USB hub.
Adjust Logitech C920 Webcam Settings
Once your Logitech C920 is connected, fine-tune your settings for the best quality. Here’s how:
- Launch Logi Options+ or Logitech Capture from the Start menu.
- Adjust resolution (up to 1080p), exposure, zoom, and focus.
- Set microphone gain levels and background noise reduction.
- Test brightness and color balance with your lighting setup.
- Save your profile so the same settings apply to all video apps.
These settings optimize your Logitech C920 Webcam on Windows 10 for calls, streaming, or content creation. You can also adjust them directly within apps like Zoom, Microsoft Teams, or OBS Studio.
Test Your Webcam
Before using your webcam for meetings or streaming, verify it’s working correctly:
- Open the Camera app from the Start menu.
- Confirm that you see live video and hear audio input.
- Use Device Manager → Cameras to confirm “Logitech HD Pro Webcam C920” is listed without a warning icon.
- If video doesn’t appear, reinstall drivers from the Logitech Support page.
Troubleshooting Logitech C920 Webcam Issues
If your Logitech C920 Webcam doesn’t work correctly on Windows 10, these quick fixes usually help:
- Unplug and reconnect the webcam, then restart your computer.
- Update the webcam driver via Device Manager → Cameras → Update driver.
- Check app permissions under Settings → Privacy → Camera.
- Ensure no other app is currently using the webcam.
- Reinstall Logitech Capture or Logi Options+ from the official site.
For persistent issues, consult Logitech’s official HD Pro Webcam C920 Support page for updated drivers and firmware fixes.
Conclusion
You’ve now learned how to install Logitech C920 Webcam on Windows 10 and optimize it for crystal-clear video. By checking requirements, downloading the right drivers, and adjusting settings, your webcam will perform at its best for video calls, online classes, or live streams. Keep your Logitech software up to date to maintain stability and feature support.
Whether you use the C920 for remote work, recording, or social media streaming, it delivers excellent HD clarity and consistent autofocus. Remember: good lighting and software updates make all the difference in image quality.

Discussion (0)
Be the first to comment.