




Logitech Capture is a free video recording and streaming tool for Logitech webcams. It helps you control every aspect of your video — from brightness and focus to overlays and scenes — all in one dashboard.
This guide shows you how to install, set up, and use Logitech Capture on Windows or macOS. You’ll also learn how to record or stream, fix camera detection issues, and optimize your settings for the best video quality.
Step 1: Check system and device compatibility
Before downloading, make sure your computer meets the basic requirements. Logitech Capture runs on Windows 10 or 11 (64-bit) and macOS 10.14 or later.
Confirm that your webcam is supported - popular models like the C920, C922, Brio, and StreamCam work best. Update your webcam drivers if they’re outdated to avoid setup errors.
Step 2: Download and install Logitech Capture
Go to Logitech’s official software page and download Logitech Capture for your OS. Run the installer and follow the on-screen steps.

When prompted, allow the app to access your camera and microphone. These permissions are required for video and audio recording to work correctly.
Step 3: Add and configure your camera source
Click the Source dropdown and select your Logitech webcam. You can choose the resolution (720p or 1080p) and frame rate (30 or 60 fps).
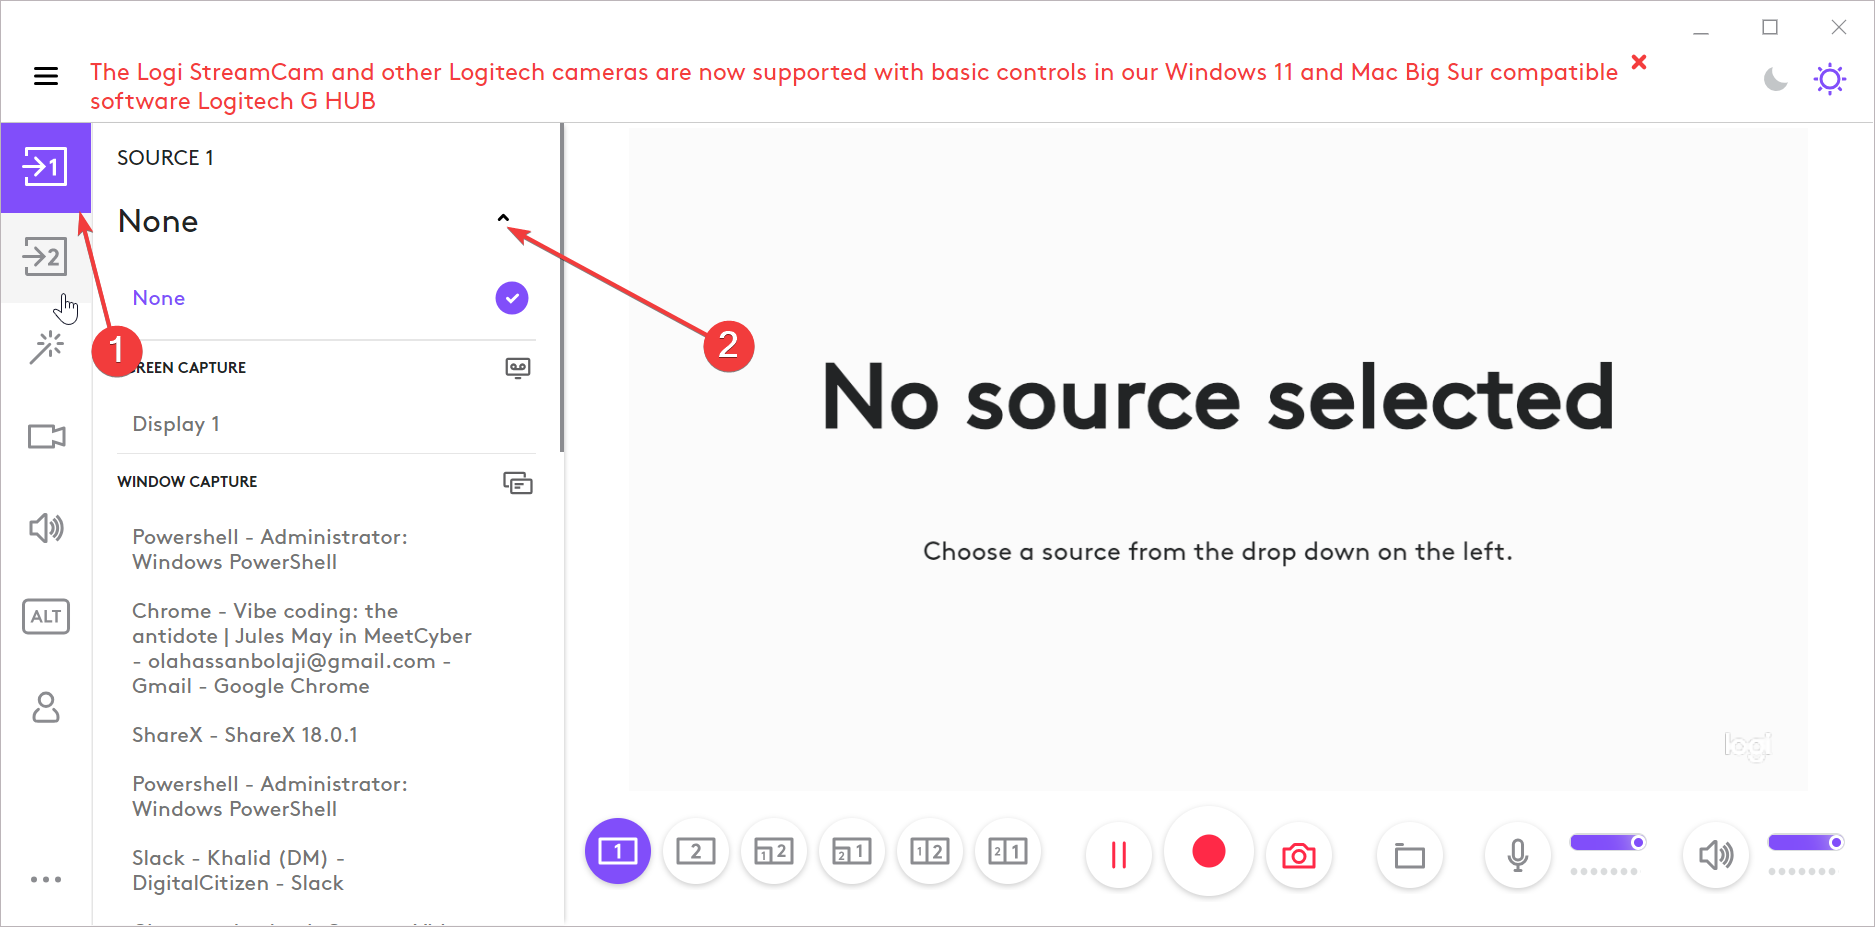
Use the Image tab to adjust brightness, contrast, saturation, and white balance. For sharp results, disable autofocus and manually set focus if the lighting is stable. You can also manage camera angles, as Logitech Capture supports two active sources.
You can use one camera for your face and another for your desktop or product close-ups. So feel free to switch scenes or enable picture-in-picture mode from the layout menu. This feature helps streamers and educators create more dynamic visuals.
Step 4: Adjust audio and microphone Settings
Open the Audio tab to select your input device. Choose your Logitech webcam mic or an external USB microphone for clearer sound.
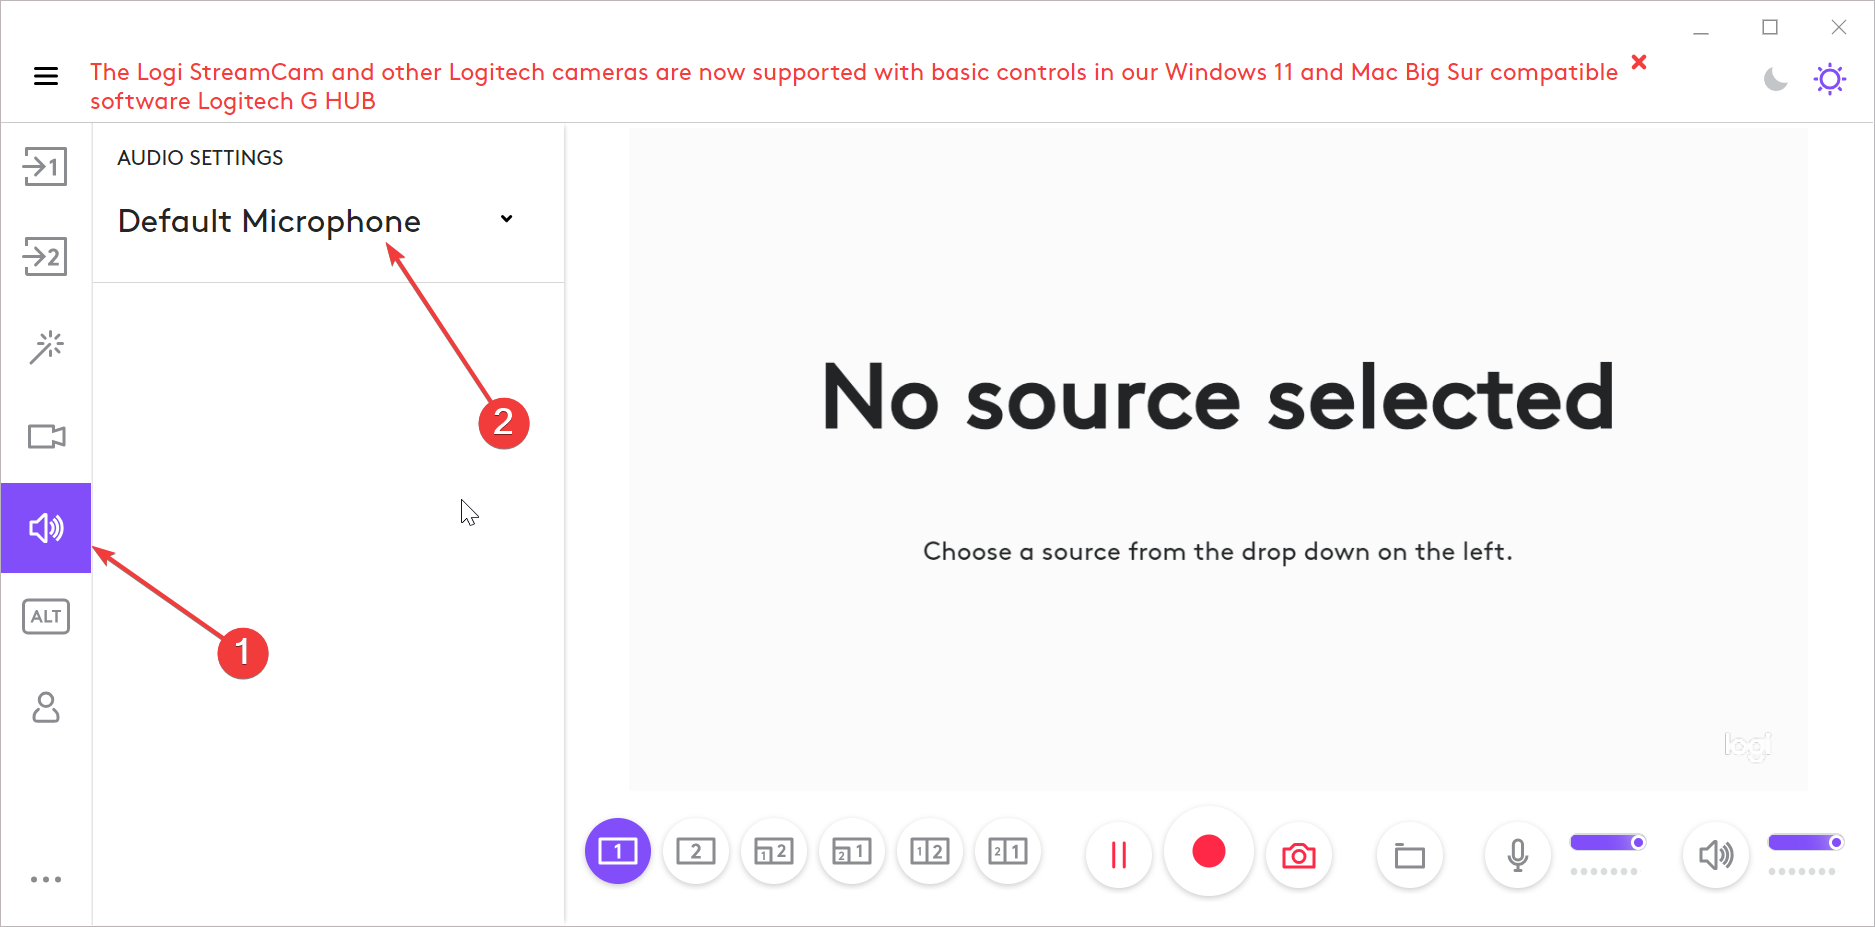
Set the input level around 75% to avoid clipping. You can monitor sound levels on the live meter and mute the mic when needed.
Step 5: Create scenes and overlays
Scenes let you mix video, text, and images. Click the plus (+) icon to create a new scene and add multiple layers.
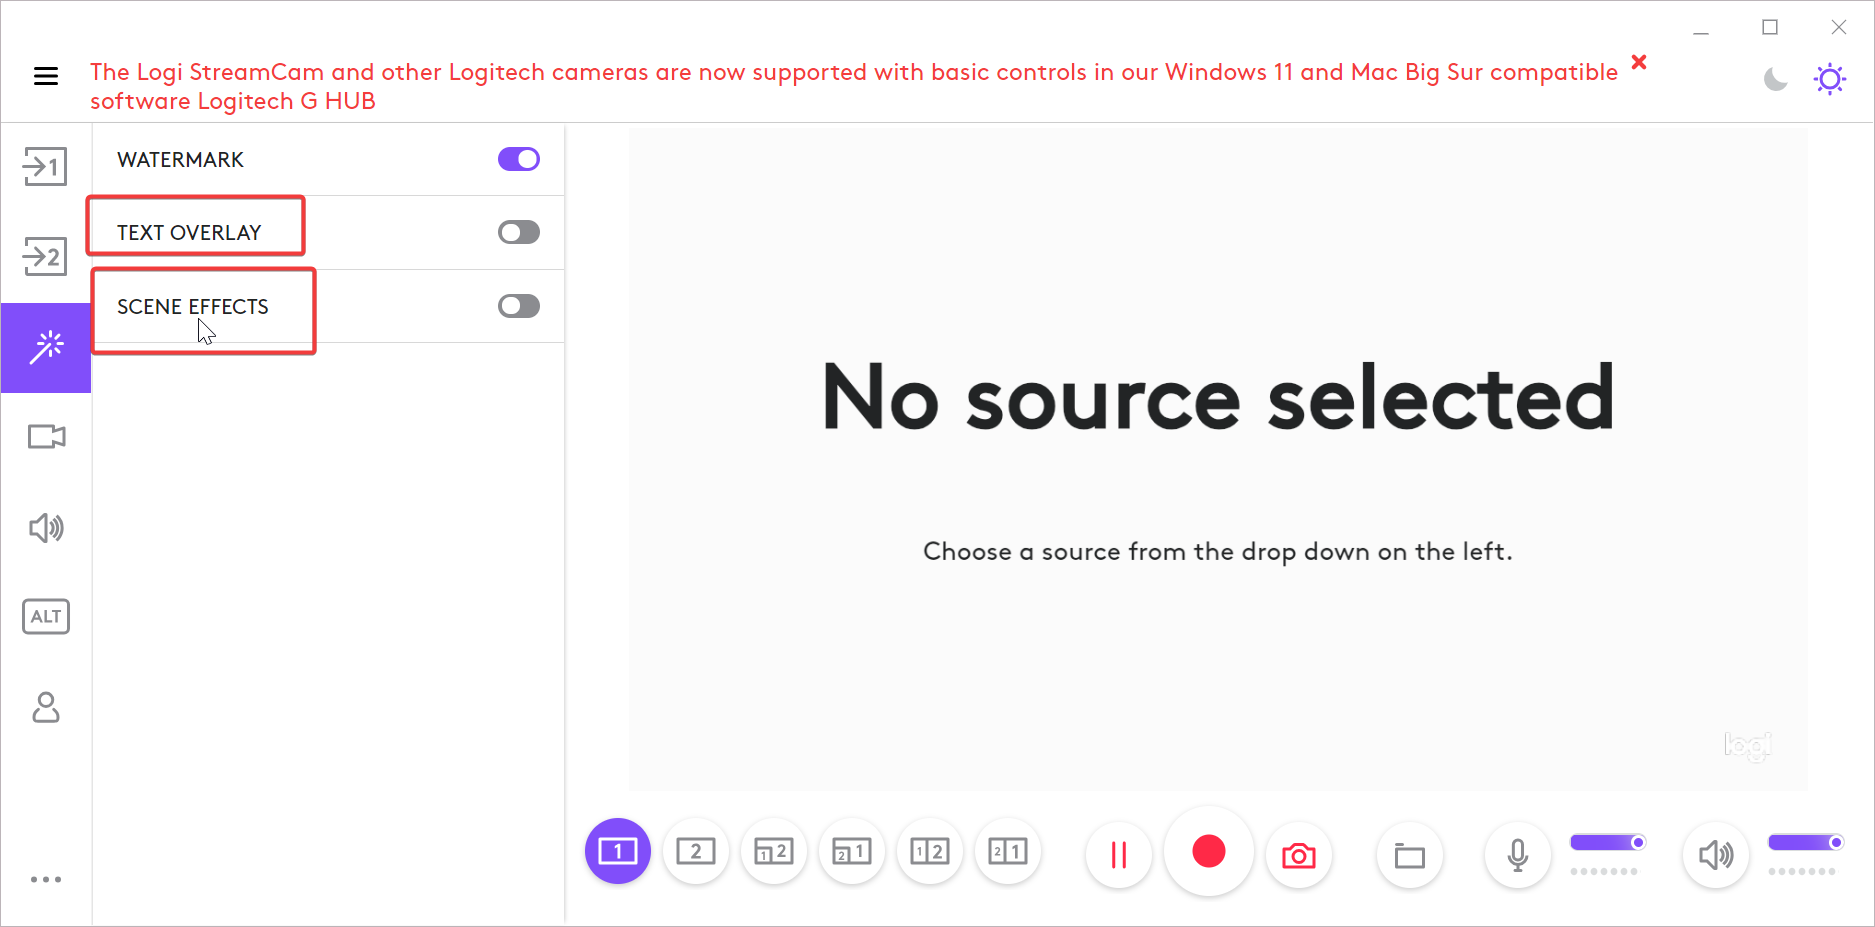
Use overlays to display titles or your channel name. You can also position windows side by side or blend sources with transparency effects.
Add branding and onscreen text
Add your logo or watermark by importing an image overlay. Use the text tool to add lower-thirds with your name or social handle.

This gives your videos a consistent, professional look - ideal for online courses, product demos, or branded content.
Step 6: Record or stream with Logitech Capture
When you’re ready, click the Record button in the top-right corner. Choose your recording format (MP4) and the save location from the settings panel.
You can also switch to Streaming mode and connect Logitech Capture to your preferred platform using the virtual camera feature.
Use Logitech Capture as a Virtual Camera
Enable Virtual Camera under the Output menu. Then, open Zoom, Teams, or OBS and select “Logi Capture” as your camera source.
This allows you to use Capture’s custom layouts and filters in any video call or broadcast software.
Step 7: Save and reuse profiles
Profiles let you store your favorite settings. Create one for streaming, another for tutorials, and one for vertical social videos.
To load a profile, click the dropdown in the upper-left corner and select it before recording.
Step 8: Customize hotkeys and shortcuts
Go to Settings → ALT to view and customize shortcuts. You can assign keys to start or stop recording, switch scenes, or mute audio.
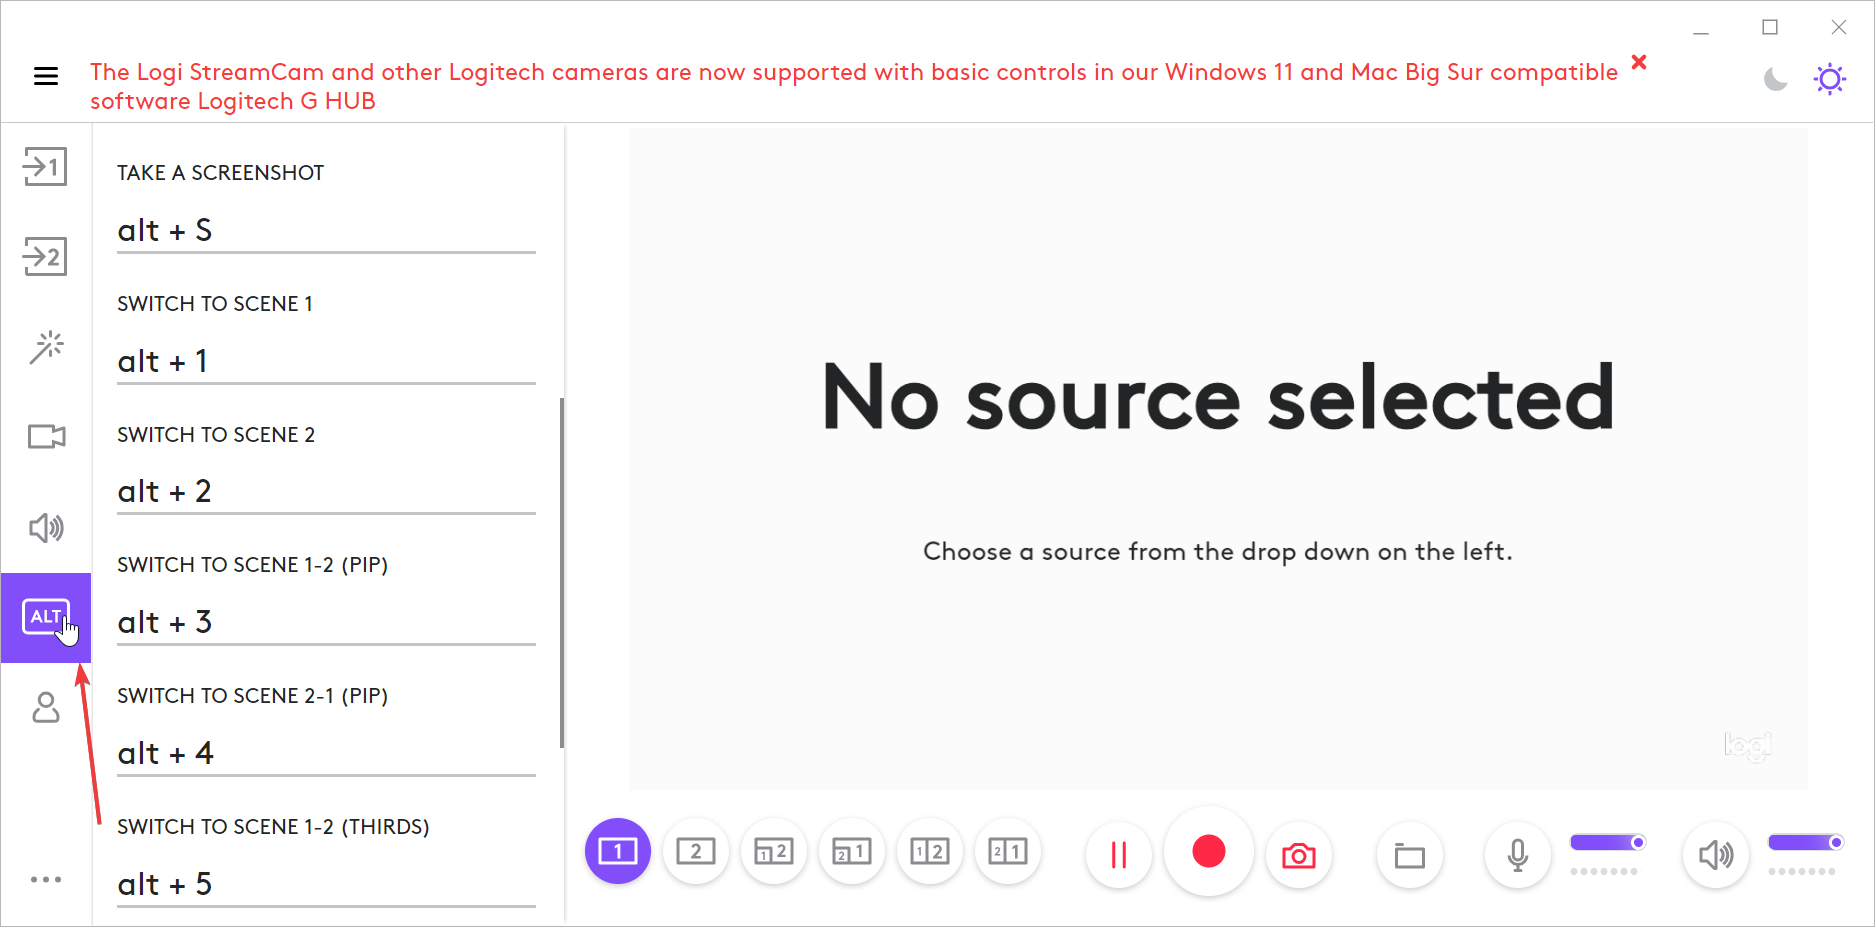
This helps creators work faster without using the mouse while on camera.
Step 9: Export and edit your recordings
All recordings save to your default Videos folder unless changed. You can open them directly in editing software such as Clipchamp or DaVinci Resolve for trimming and color correction.
Troubleshooting Common Issues
- Logitech Capture not detecting camera: Check if your webcam appears in Device Manager under Imaging Devices. Right-click → Update driver → Search automatically. If it still doesn’t appear, unplug and reconnect the webcam, then restart the app.
- Virtual camera not appearing in Zoom or OBS: Close all other apps using your webcam, then restart Logitech Capture as Administrator. In OBS, go to Sources → Video Capture → select Logi Capture. Reinstalling the Capture driver may also restore the virtual camera output.
Logitech Capture tips and best settings
- For clean, natural lighting, keep brightness around 55% and contrast near 50%.
- Set frame rate to 60 fps for gaming and 30 fps for conferencing.
- Use 1080p resolution for full-screen clarity
- Enable Auto White Balance only if lighting changes frequently.
FAQs
Can you use Logitech Capture without a Logitech webcam? No. It’s designed for Logitech cameras, though virtual camera mode can still send Capture’s output to other apps.
Is Logitech Capture compatible with Windows 11? Yes, but ensure the latest Logitech drivers are installed. Older versions may crash or fail to open.
How do you switch to vertical video mode? Go to Settings → Resolution → Aspect Ratio and choose 9:16. Perfect for TikTok or Instagram.
How to fix blurry video output? Manually adjust focus in the Image tab, clean your lens, and make sure lighting is even on your face.
Summary
- To use Logitech Capture effectively, install the app, connect your webcam, configure lighting, and audio
- Then start recording or streaming
- Save your best settings as profiles and assign hotkeys to speed up production.
- With updated drivers and optimized lighting, Logitech Capture can turn any Logitech webcam into a capable mini-studio for creators, teachers, or anyone recording from home.
Conclusion
Logitech Capture remains one of the easiest ways to control and enhance your webcam recordings. With just a few clicks, you can adjust lighting, frame rate, and scene layouts while keeping everything organized in profiles that fit your workflow.
Whether you’re a content creator, teacher, or business professional, learning how to use Logitech Capture helps you record sharper, more engaging videos without extra gear or complicated setups. Once configured, it’s a reliable all-in-one tool that streamlines video production on any Logitech webcam.
Discussion (0)
Be the first to comment.