


Setting up your Logitech webcam takes just a few minutes and helps you get the best video quality for meetings, streaming, or recording. This guide walks you through every step - from plugging it in to adjusting advanced settings - on both Windows and macOS.
But before connecting, verify that your computer meets the webcam’s requirements. Most Logitech webcams work on Windows 10/11 and macOS 10.15 or later. Using a USB 3.0 port ensures full video resolution and smooth frame rates. If your PC meets these specs, carefully follow the steps below to set up your webcam.
Step 1: Connect your Logitech webcam
Plug your webcam into a working USB port. On both Windows and macOS, the operating system installs the driver automatically. Wait until you see the notification that setup is complete before opening any app.
If your webcam doesn’t light up or show activity, try another USB port or a direct connection to your PC instead of a hub. You can also check the cable for damage or debris.
Step 2: Adjust privacy and camera permissions
Modern systems block camera access by default until you approve it. On Windows, open Settings > Privacy & Security > Camera and toggle access for apps like Camera or Teams. On macOS, go to System Settings > Privacy & Security > Camera and enable access for your preferred apps.
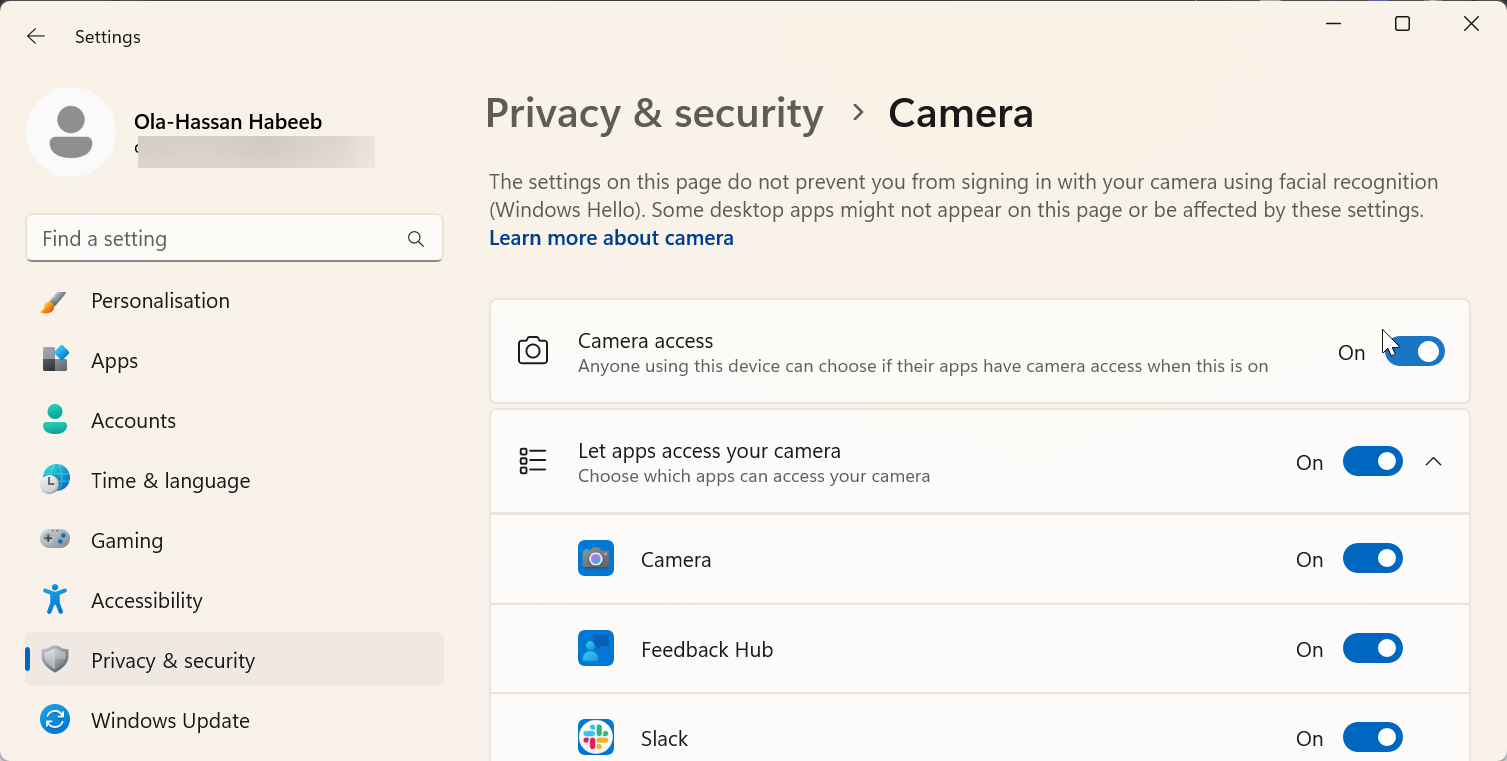
Granting these permissions ensures that your webcam appears in conferencing or streaming tools.
Step 3: Test the webcam on built-in apps
Before installing extra software, confirm the webcam works correctly. On Windows, open the Camera app. On macOS, launch FaceTime or Photo Booth. You should see live video from your Logitech device right away.
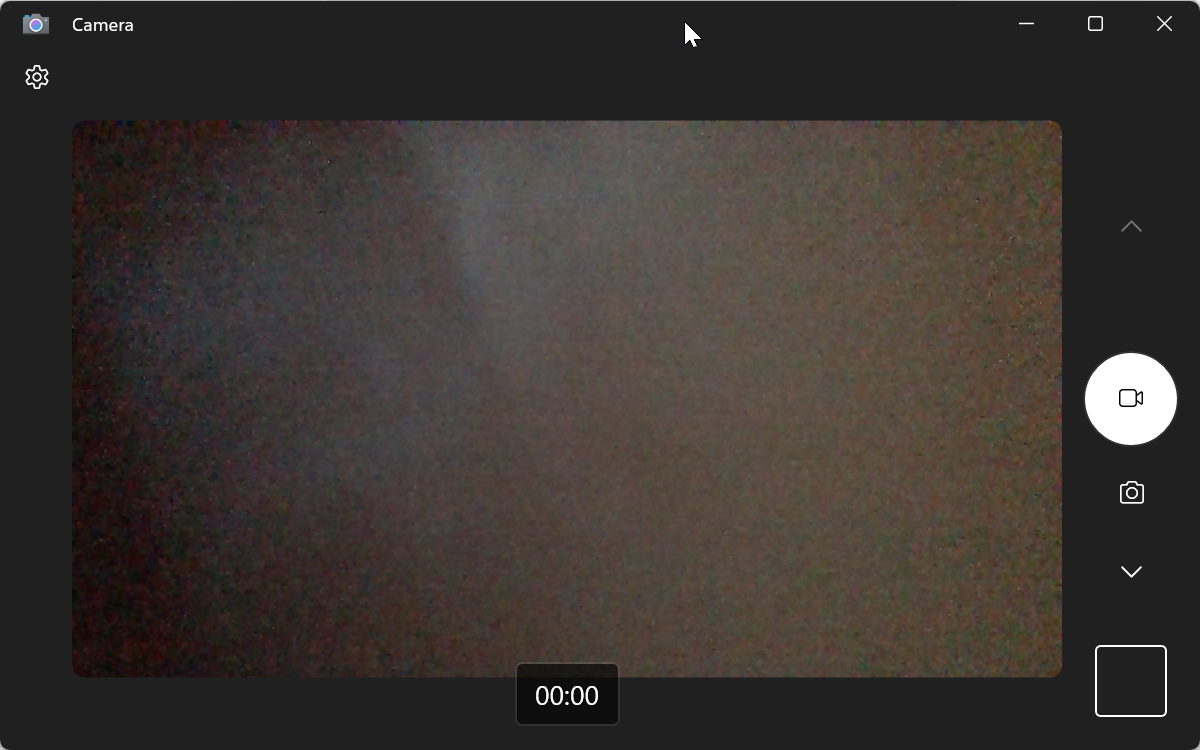
If there’s no preview, restart your PC and test again.
Step 4: Install Logitech software (optional but recommended)
To unlock full control of your webcam, install Logi Tune or Logitech G Hub. These apps let you adjust zoom, exposure, and focus, apply filters, and update firmware. G Hub is ideal for gaming webcams, while Logi Tune fits productivity models like the C920 or Brio.
Once installed, open the software and follow on-screen prompts to detect your camera and apply updates.
Step 5: Mount and frame your webcam
Mount the webcam on top of your monitor, attach it to a tripod, or place it on a desk stand. Keep the lens at eye level for natural framing. Make sure your background is clutter-free and use front lighting for best results.
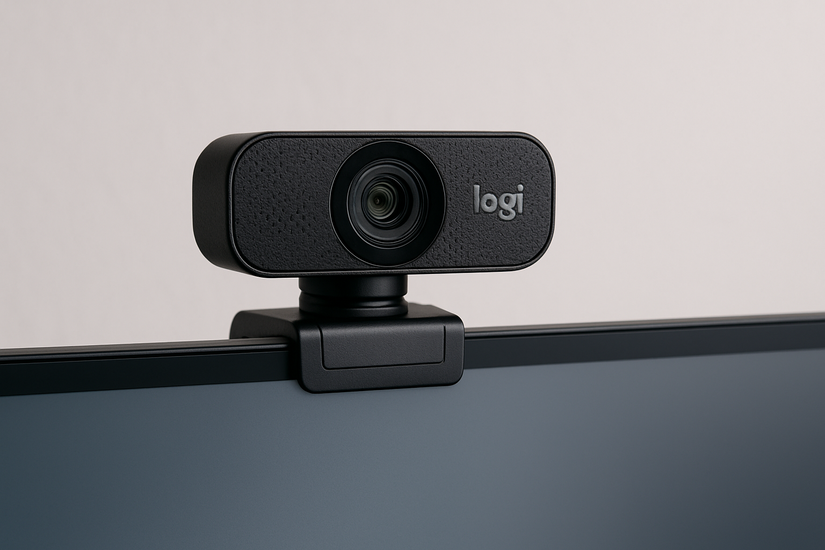
A simple LED ring light or desk lamp positioned behind the webcam improves brightness without glare.
Step 6: Configure the webcam in popular apps
Most conferencing and streaming tools require you to select your camera manually. In Zoom, go to Settings > Video and choose your Logitech model. For Microsoft Teams, open Settings > Devices and select both the camera and microphone from Logitech. In OBS Studio, add a new Video Capture Device and select the same model from the list.

This step ensures that all apps use the correct video and audio source every time.
Step 7: Fine-tune image and audio settings
In Logi Tune or G Hub, you can tweak brightness, contrast, and exposure until the picture looks balanced. For most users, 1080p at 30 FPS provides sharp, smooth video. Leave white balance on auto and make sure autofocus is enabled for moving subjects.
If audio sounds distant, verify that the webcam’s built-in microphone is selected in your app’s audio settings. For improved quality, consider pairing it with a dedicated USB mic.
Troubleshooting common issues
- Webcam not detected: Try another port, reboot, or update drivers in Device Manager.
- Video flickering: Switch the anti-flicker setting to 60 Hz (US standard).
- Microphone not working: Enable microphone access in system privacy settings.
- Dark or grainy image: Add front lighting or reduce camera exposure.
Tips for Better Video Quality
- Use daylight or a soft front light to eliminate harsh shadows.
- Keep the lens clean and avoid bright light sources behind you.
- Position the webcam slightly above eye level for a flattering angle.
- Test your setup before important meetings or streams.
FAQs
Why isn’t my Logitech webcam showing up? Check that privacy settings allow camera use and that you’re using a direct USB connection. Outdated or conflicting drivers can also cause this issue.
Do I need Logitech software to use my webcam? No, it works automatically after connecting. However, installing Logitech G Hub or Logi Tune lets you adjust image quality and update firmware easily.
How can I use my webcam for streaming? Open OBS Studio or Logitech Capture, add your webcam as a source, and adjust the resolution to 1080p. This gives you professional-looking live streams or recordings.
Summary
- Connect the Logitech webcam to a USB port.
- Allow camera and microphone permissions.
- Test it using Camera or FaceTime apps.
- Install Logitech software for advanced controls.
- Adjust lighting, framing, and audio for clear results.
Conclusion
Setting up your Logitech webcam is simple and takes only a few minutes. Once you connect it, grant the right permissions, and install optional Logitech software, you’ll get professional-quality video for calls, recordings, and streams.
If your image looks off or the webcam doesn’t appear, a quick check of drivers, lighting, and privacy settings usually fixes the problem. With the right placement and settings, your Logitech webcam can deliver crisp visuals and clear audio for any use - from remote meetings to content creation.


Discussion (0)
Be the first to comment.