


Connecting to WiFi should feel simple, but many devices fail to join a network for basic reasons. This guide shows how to connect on Windows, macOS, iPhone, Android, Chromebooks, and smart TVs, and includes router fixes when devices refuse to connect.
But before jumping to the connection steps, ensure your device's WiFi is turned on, verify the router is powered and transmitting, and confirm the correct network name (SSID). These checks prevent wasted troubleshooting time.
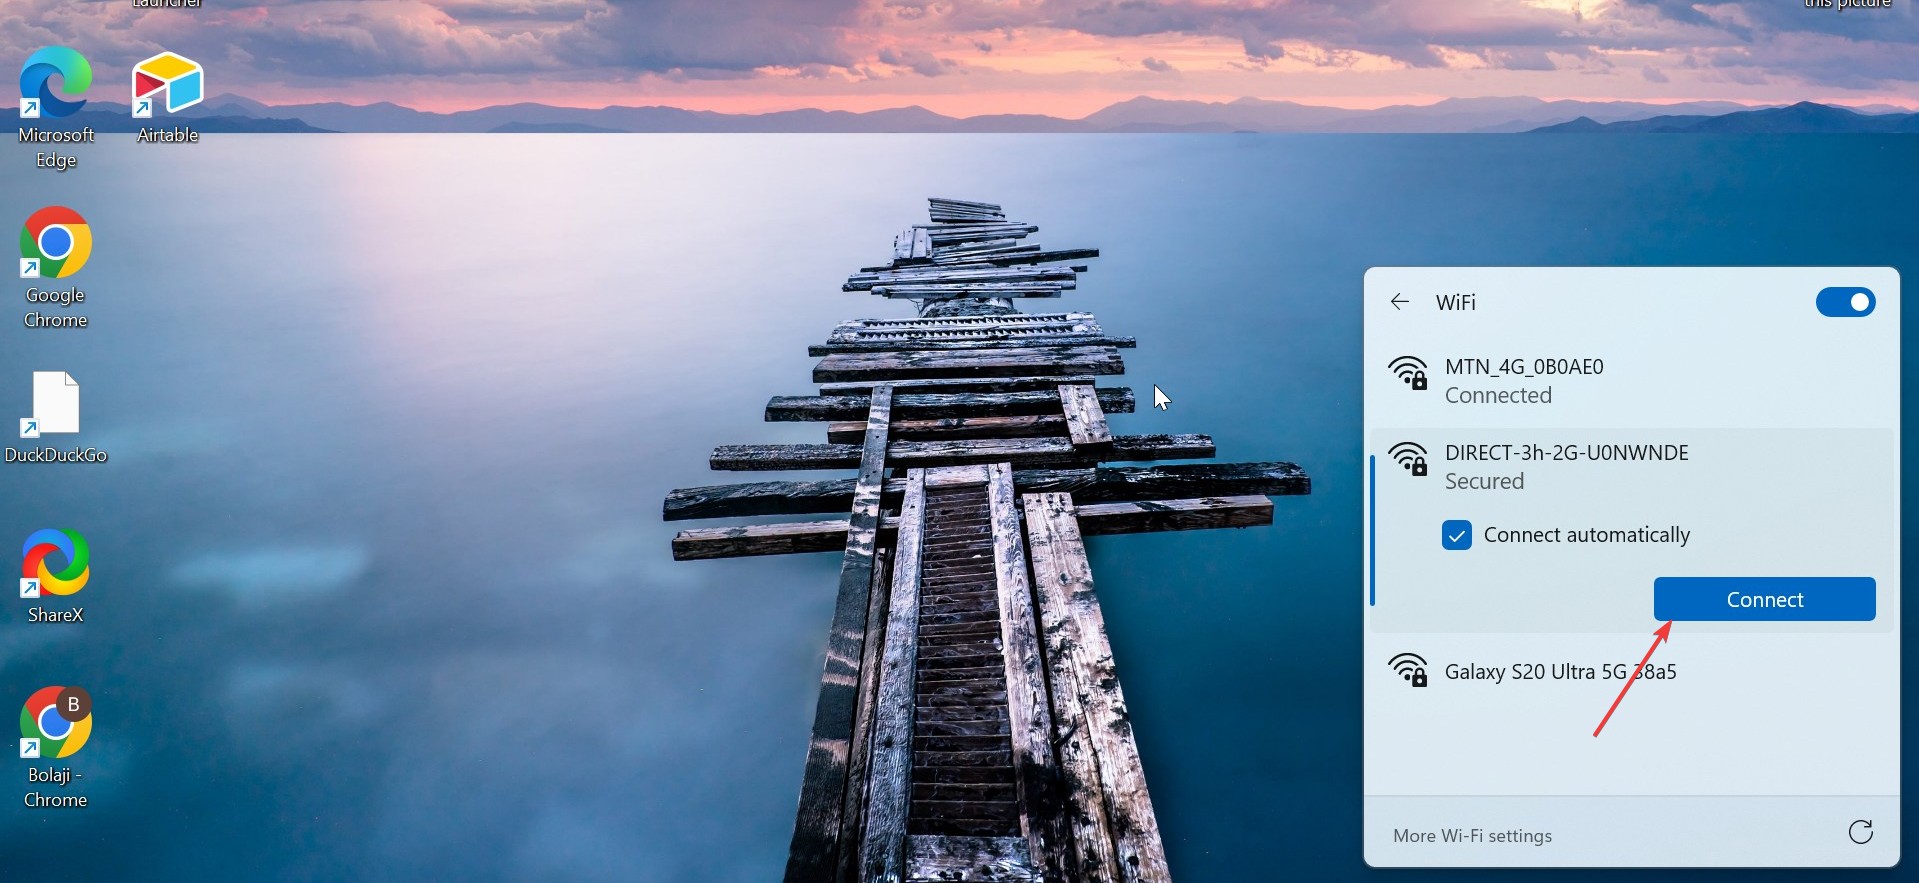
1) Connect to WiFi on Windows
Windows devices use a unified network menu that makes joining a network quick and simple.
Use the taskbar network menu
Follow these steps to connect from the taskbar:
- Select the Network icon on the taskbar.
- Choose your WiFi network from the list.
- Select Connect, then enter the password.

Note that passwords are case-sensitive, so recheck every character. A small typo causes failed attempts.
Reconnect using Forget network
If you still cannot connect, remove the saved network and reconnect:
- Open Settings.
- Go to Network & internet.
- Select Wi-Fi and choose Manage known networks.
- Select your network and choose Forget.
Reconnect with a fresh password entry to clear outdated credentials.
2) Connect to WiFi on macOS
macOS provides simple WiFi access from the menu bar. These steps help both new and experienced Mac users.
Join from the menu bar WiFi icon
- Select the WiFi icon at the top-right.
- Choose a network.
- Enter the password and select Join.
You see signal strength indicators before joining.
Use System Settings for deeper control
Open System Settings > WiFi to manage saved networks and connection priority. This helps users who switch between home, office, and public hotspots.
3) Connect to WiFi on iPhone and iPad
iOS offers straightforward steps and reliable automatic detection.
- Open Settings.
- Select Wi-Fi.
- Choose your network and enter the password.
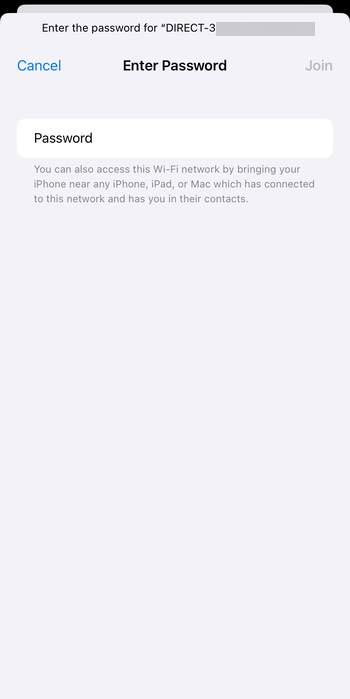

iPhones automatically reconnect once you join a network.
4) Connect to WiFi on Android
Connecting an Android to WiFi largely follows the same process on major brands, despite varying layouts. Below is a quick way to do it:
- Swipe down from the top of the screen.
- Press and hold the WiFi tile.
- Select a network and enter the password (if required).


This method works across Samsung, Pixel, Motorola, and other devices.
5) Connect to WiFi on Chromebooks
Chromebooks use simple menus designed for fast access.
Use the status tray to join networks
- Select the status tray at the bottom-right corner.
- Select WiFi.
- Choose a network and enter the password.
The tray also shows signal quality before joining.
Check managed device restrictions
School- or work-managed Chromebooks may block network changes. If a network does not appear, restrictions may be in place.
6) Connect to WiFi on smart TVs
Smart TVs rely heavily on WiFi, but the steps differ slightly across brands.
Use TV network settings
- Open Settings with your remote.
- Select Network or WiFi.
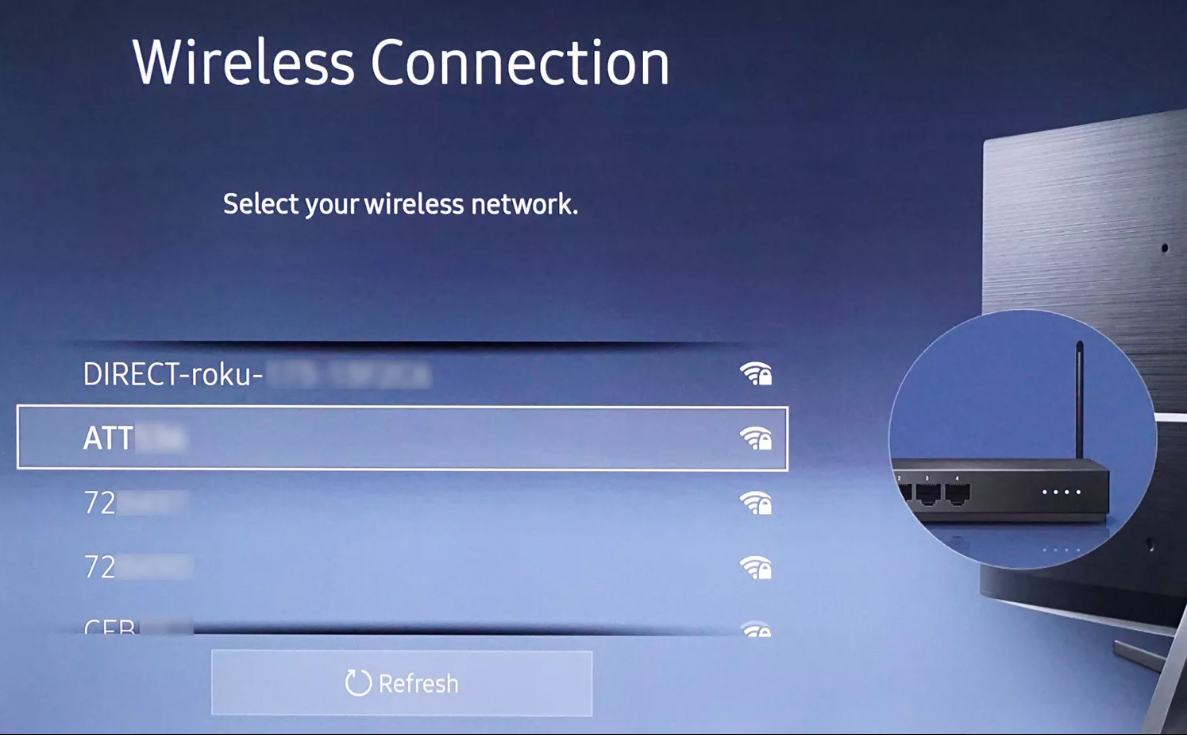

- Choose your network and enter the password.
Most TVs group WiFi options under the same category.
Use WPS when available
Press the WPS button on your router, then select WPS on your TV. This connects without entering a password.
7) Router-side fixes when devices can’t connect
Many WiFi problems come from the router rather than the device itself.
Reboot the router properly
Unplug the router for 10 seconds and plug it back in. A reboot clears internal errors and restores stable broadcasting.
Check the 2.4 GHz and 5 GHz bands
Some older devices only support 2.4 GHz. If you only see your 5 GHz network, enable the 2.4 GHz band in your router settings.
Reset the WiFi password or SSID
Updating your SSID or password fixes credential conflicts. Devices must reconnect with the new details.
Reduce interference
Move the router away from microwaves, thick walls, and cordless phones. Better placement improves range and stability.
8) Troubleshoot common WiFi errors
- Incorrect password errors: If you repeatedly see a password error, tap Forget network and re-enter the password. This removes saved data that may be outdated.
- Can’t connect to this network on Windows: This message often results from cached settings or drivers. Forget the network or update your network adapter in Device Manager.
- Captive portal not loading: Open a browser and try any URL. This forces the network’s login page to appear.
- No internet even when connected: If the status shows “Connected, no internet,” reboot the router. If that fails, switch the DNS to a reliable provider and try again.
Tips for connecting to WiFi
- Keep WiFi toggles enabled on all devices.
- Use strong, memorable WiFi passwords.
- Restart devices after major system updates.
- Avoid public WiFi for sensitive tasks.
- Use a WiFi analyzer to find the best channel.
FAQ
Why can’t I see my WiFi network? Hidden SSIDs, long distances, or heavy interference may hide the network. Check your router’s visibility settings and move closer.
Why does my device keep disconnecting? Power-saving modes or unstable signals cause frequent drops. Disable aggressive battery settings on phones and laptops.
Do I need both 2.4 GHz and 5 GHz enabled? Yes. Dual-band setups give better compatibility and allow devices to pick the best frequency for speed or range.
What is a captive portal? A captive portal is a login page used on public networks. It unlocks internet access after you accept terms or sign in.
Summary
- Make sure WiFi and the router stay active.
- Connect through the device’s WiFi menu.
- Enter the correct password.
- Use Forget network if connection fails.
- Reboot the router or adjust bands when issues persist.
Most WiFi issues start with simple oversights, and these steps fix the majority of connection problems. A stable router position, correct credentials, and updated software ensure reliable long-term WiFi performance.


Discussion (0)
Be the first to comment.