

If you’re using a Windows 11 or Windows 10 computer, you may want to know how to open OneDrive in File Explorer as soon as you start the latter app. Furthermore, maybe you’re using another cloud storage solution, such as Dropbox or iCloud, and you want File Explorer to open to that folder. Or why not, maybe you want File Explorer to start in any other folder you hold in great importance on your PC. Without further ado, here’s how to set File Explorer to open to OneDrive or in any folder of your choosing:
NOTE: This guide applies to Windows 11 and Windows 10. If you intend to open OneDrive, Dropbox, or iCloud in File Explorer as soon as the latter starts and you’re using Windows 11, read the first chapter. If you want File Explorer to open in a different folder than the ones mentioned, or if you’re using Windows 10, read the second chapter of this tutorial.
 File Explorer in Windows 11
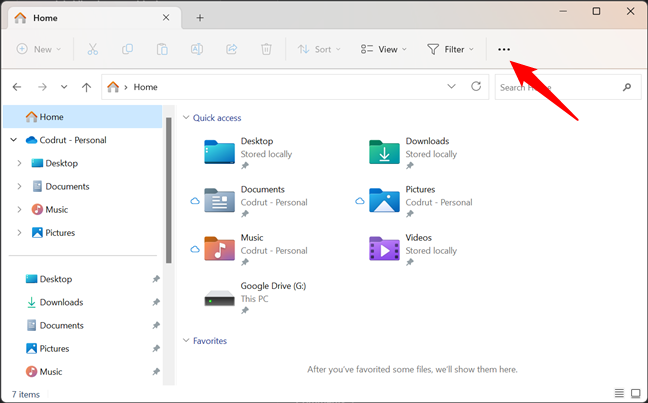
In the top toolbar of File Explorer, click or tap the See more button (the ellipsis icon).
File Explorer in Windows 11
In the top toolbar of File Explorer, click or tap the See more button (the ellipsis icon).
 Click or tap the See more button
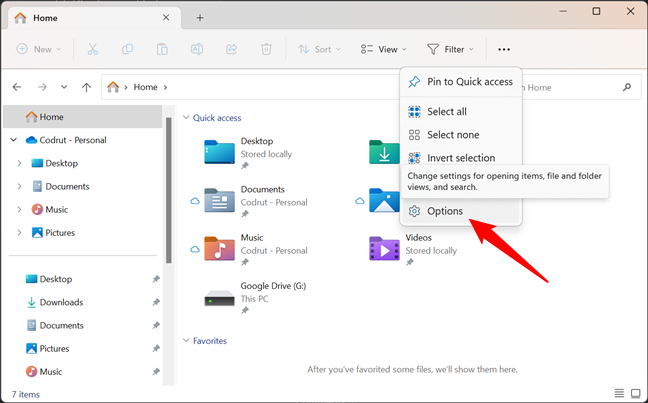
In the menu that shows up, select Options.
Click or tap the See more button
In the menu that shows up, select Options.
 Go to Options
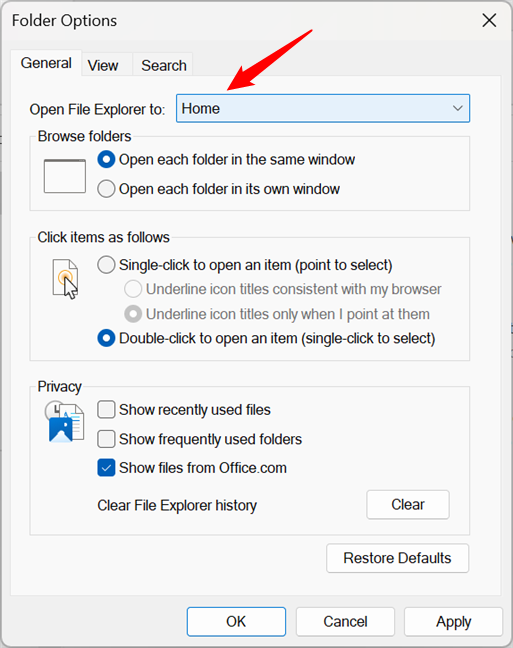
The previous action opens the Folder Options window. In its General tab, click or tap on the drop-down list next to “Open File Explorer to.” By default, the value selected for this setting should be Home.
Go to Options
The previous action opens the Folder Options window. In its General tab, click or tap on the drop-down list next to “Open File Explorer to.” By default, the value selected for this setting should be Home.
 File Explorer's default starting page is Home
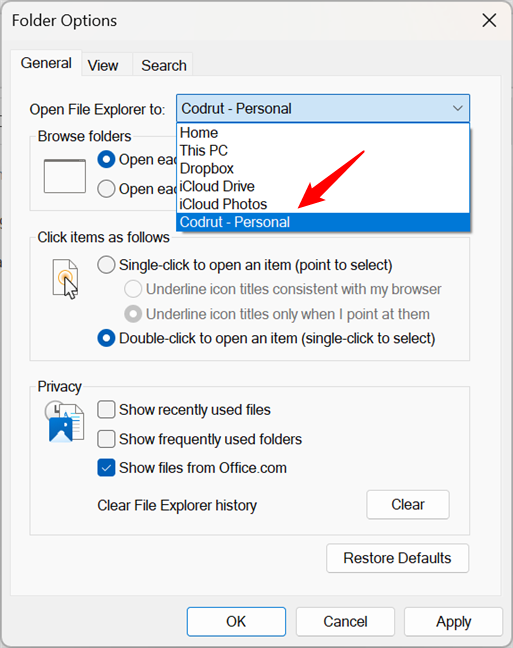
Once opened, the drop-down list should include options for Home, This PC, and OneDrive. If you want to add OneDrive to (File) Explorer as the initial starting place of File Explorer, select it in the list.
Note that the OneDrive option might not be named exactly that, but rather your name followed by Personal (if you have a personal OneDrive account) or Business (if you have a business OneDrive account).
File Explorer's default starting page is Home
Once opened, the drop-down list should include options for Home, This PC, and OneDrive. If you want to add OneDrive to (File) Explorer as the initial starting place of File Explorer, select it in the list.
Note that the OneDrive option might not be named exactly that, but rather your name followed by Personal (if you have a personal OneDrive account) or Business (if you have a business OneDrive account).
 Open OneDrive in File Explorer by default
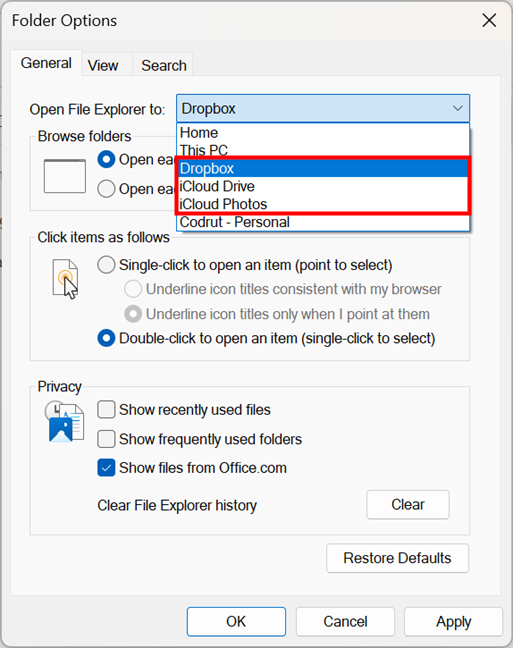
As you might have noticed in the previous screenshot, you can also make File Explorer open to Dropbox or iCloud (Drive or Photos). If that’s what you want, simply select the cloud service you use instead of OneDrive.
Open OneDrive in File Explorer by default
As you might have noticed in the previous screenshot, you can also make File Explorer open to Dropbox or iCloud (Drive or Photos). If that’s what you want, simply select the cloud service you use instead of OneDrive.
 Open Dropbox or iCloud in File Explorer by default
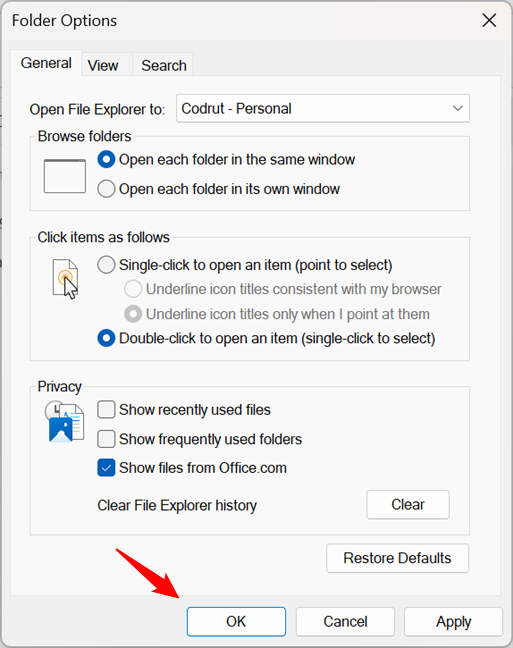
Either way, once you’ve chosen the starting page for File Explorer, be that OneDrive, Dropbox, or iCloud, click or tap the OK button in the bottom right corner of the Folder Options window to save your settings.
Open Dropbox or iCloud in File Explorer by default
Either way, once you’ve chosen the starting page for File Explorer, be that OneDrive, Dropbox, or iCloud, click or tap the OK button in the bottom right corner of the Folder Options window to save your settings.
 Press OK to save the settings
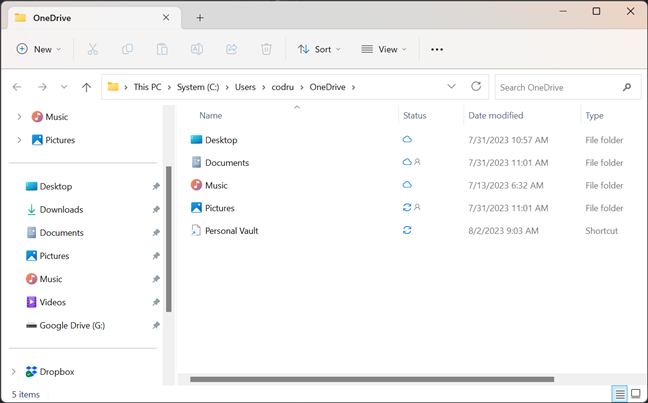
That’s it! The next time you start File Explorer, it opens in OneDrive or any other cloud storage service you selected earlier.
Press OK to save the settings
That’s it! The next time you start File Explorer, it opens in OneDrive or any other cloud storage service you selected earlier.
 File Explorer opens in OneDrive
NOTE: If you’re using Windows 10 instead of Windows 11, the previous steps don’t work, as the File Explorer app is not the same in these two operating systems. To see the steps required in Windows 10, check the next section in this guide. Do the same if you want to set Windows 11’s File Explorer to open to a cloud storage solution like Google Drive or another folder on your computer, different from OneDrive, Dropbox, or iCloud. Speaking of Google Drive, here’s how to add it to File Explorer.
File Explorer opens in OneDrive
NOTE: If you’re using Windows 10 instead of Windows 11, the previous steps don’t work, as the File Explorer app is not the same in these two operating systems. To see the steps required in Windows 10, check the next section in this guide. Do the same if you want to set Windows 11’s File Explorer to open to a cloud storage solution like Google Drive or another folder on your computer, different from OneDrive, Dropbox, or iCloud. Speaking of Google Drive, here’s how to add it to File Explorer.
 See the path of the folder
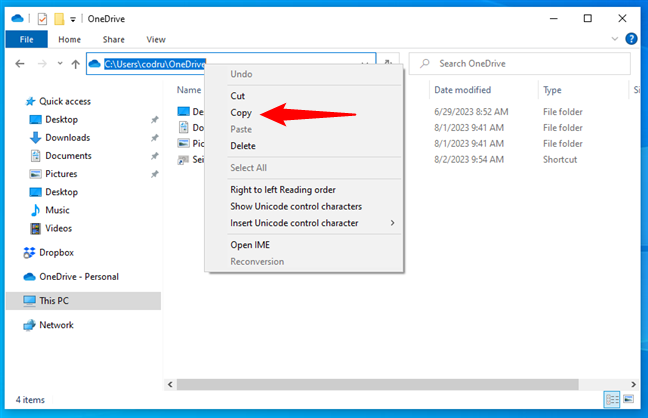
Right-click (or press and hold) the folder path in the address bar and select Copy in the context menu.
See the path of the folder
Right-click (or press and hold) the folder path in the address bar and select Copy in the context menu.
 Copy the folder's path
Windows now stores the path to your folder in the clipboard. Ensure you do not copy anything else to the clipboard until you finish this tutorial. It will override the information that you just copied.
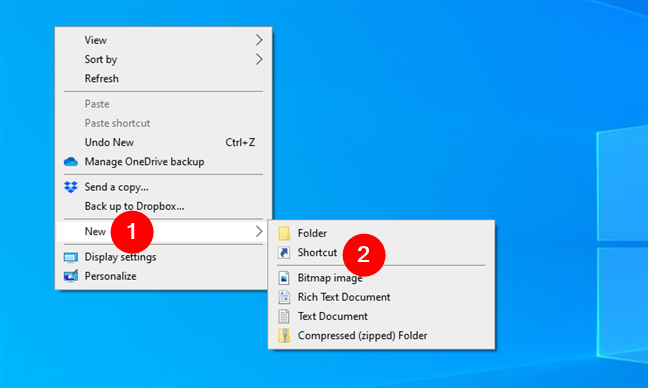
Next, create a new File Explorer shortcut: you need it in order to be able to customize the app’s starting place. Unfortunately, you can’t modify existing ones, such as the one on your taskbar or the one in Start Menu. Right-click or tap and hold on an empty space on your desktop and select New > Shortcut in the context menu.
Copy the folder's path
Windows now stores the path to your folder in the clipboard. Ensure you do not copy anything else to the clipboard until you finish this tutorial. It will override the information that you just copied.
Next, create a new File Explorer shortcut: you need it in order to be able to customize the app’s starting place. Unfortunately, you can’t modify existing ones, such as the one on your taskbar or the one in Start Menu. Right-click or tap and hold on an empty space on your desktop and select New > Shortcut in the context menu.
 Create a new shortcut to File Explorer
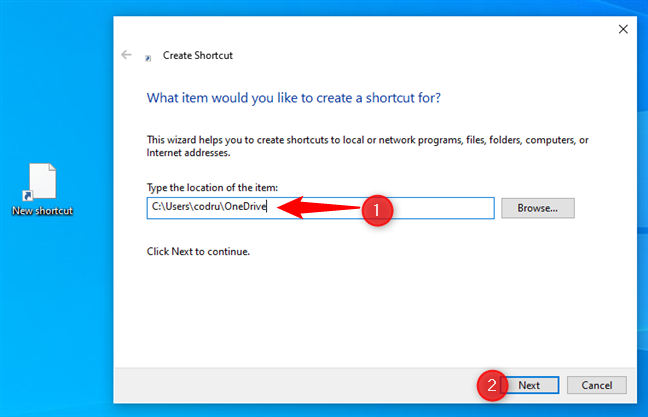
The Create Shortcut wizard pops up. In the “Type the location of the item” field, paste the folder path you copied earlier. To do that, right-click in this field and choose Paste from the right-click menu, or press CTRL + V on your keyboard. The location should now point to the folder you want to open each time you start File Explorer. Then, press Next.
Create a new shortcut to File Explorer
The Create Shortcut wizard pops up. In the “Type the location of the item” field, paste the folder path you copied earlier. To do that, right-click in this field and choose Paste from the right-click menu, or press CTRL + V on your keyboard. The location should now point to the folder you want to open each time you start File Explorer. Then, press Next.
 Paste the location of the folder and press Next
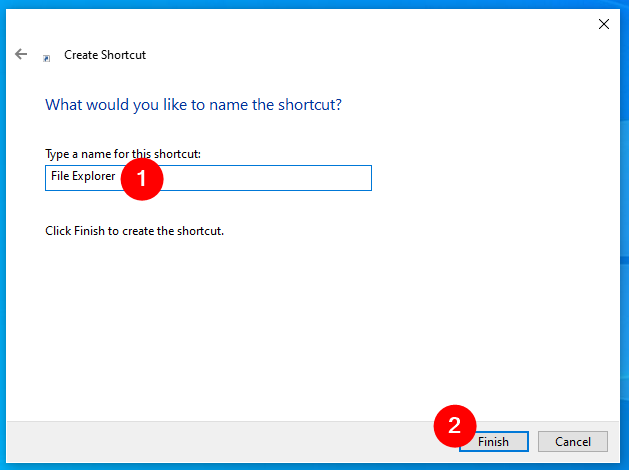
On the next step, type a name for the shortcut: File Explorer will do if you want to replace the default File Explorer shortcuts later. Once done, press Finish to save the shortcut.
Paste the location of the folder and press Next
On the next step, type a name for the shortcut: File Explorer will do if you want to replace the default File Explorer shortcuts later. Once done, press Finish to save the shortcut.
 Set a name for the new File Explorer shortcut
Try the new File Explorer shortcut that you made. It should open the folder you’ve set, regardless of whether that’s OneDrive, Dropbox, Google Drive, or any other.
Set a name for the new File Explorer shortcut
Try the new File Explorer shortcut that you made. It should open the folder you’ve set, regardless of whether that’s OneDrive, Dropbox, Google Drive, or any other.

 The new File Explorer shortcut was created
TIP: The shortcut you’ve made opens File Explorer exactly where you wanted. However, during its creation, Windows might assign it an icon that’s different from the default File Explorer one. If you want to modify it, follow the steps in this tutorial: How to change a shortcut icon in Windows 11 and Windows 10.
The new File Explorer shortcut was created
TIP: The shortcut you’ve made opens File Explorer exactly where you wanted. However, during its creation, Windows might assign it an icon that’s different from the default File Explorer one. If you want to modify it, follow the steps in this tutorial: How to change a shortcut icon in Windows 11 and Windows 10.
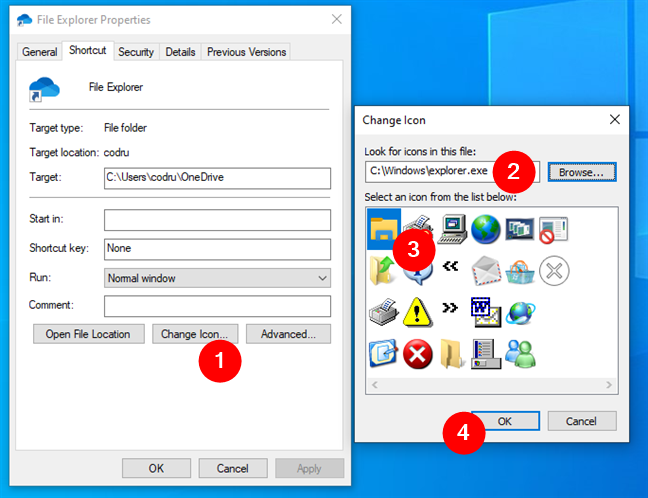
 Change the icon of the File Explorer shortcut
Last but not least, if you want to, you can replace the default File Explorer shortcut from your taskbar with the new one that you’ve created so that it will always open to OneDrive or the folder you’ve chosen. To do that, first, unpin the original File Explorer from the taskbar; then, drag and drop the customized File Explorer shortcut to your taskbar.
Change the icon of the File Explorer shortcut
Last but not least, if you want to, you can replace the default File Explorer shortcut from your taskbar with the new one that you’ve created so that it will always open to OneDrive or the folder you’ve chosen. To do that, first, unpin the original File Explorer from the taskbar; then, drag and drop the customized File Explorer shortcut to your taskbar.
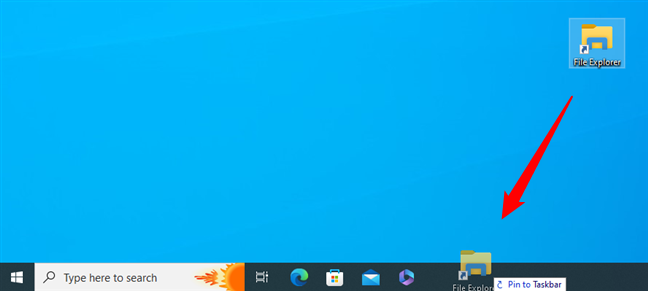
 Place the new File Explorer shortcut on the taskbar
That’s it: enjoy your new File Explorer that opens to OneDrive, Dropbox, or your other favorite folder!
Place the new File Explorer shortcut on the taskbar
That’s it: enjoy your new File Explorer that opens to OneDrive, Dropbox, or your other favorite folder!
How to make File Explorer open to OneDrive, Dropbox, or iCloud in Windows 11
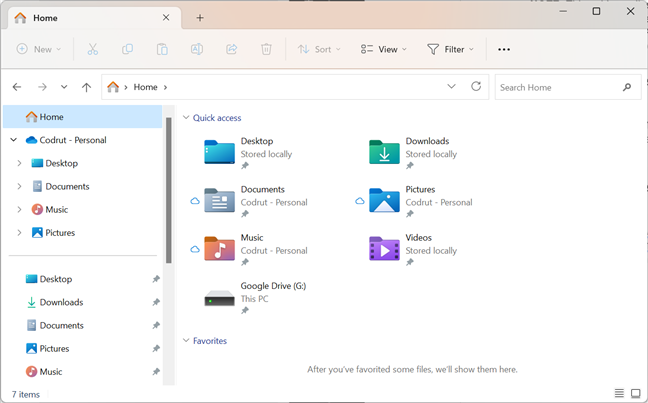
If you’re using Windows 11, when you launch File Explorer, it starts by default in the Home tab. This view gives you fast access to your pinned folders and recent files. If you want to open OneDrive in File Explorer as soon as the latter starts, follow the next steps.How to make File Explorer open to any folder, in Windows 10 & Windows 11
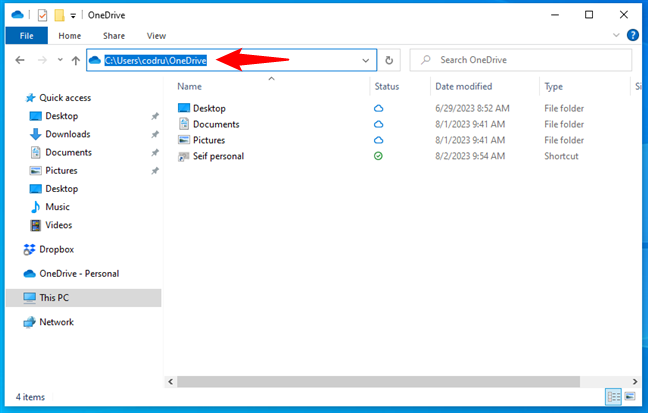
Open File Explorer and locate the folder you want to use as its future home page. After you’ve opened that folder, click or tap inside the address bar on the top side of the window. You should see the full path to the folder, like in the screenshot below.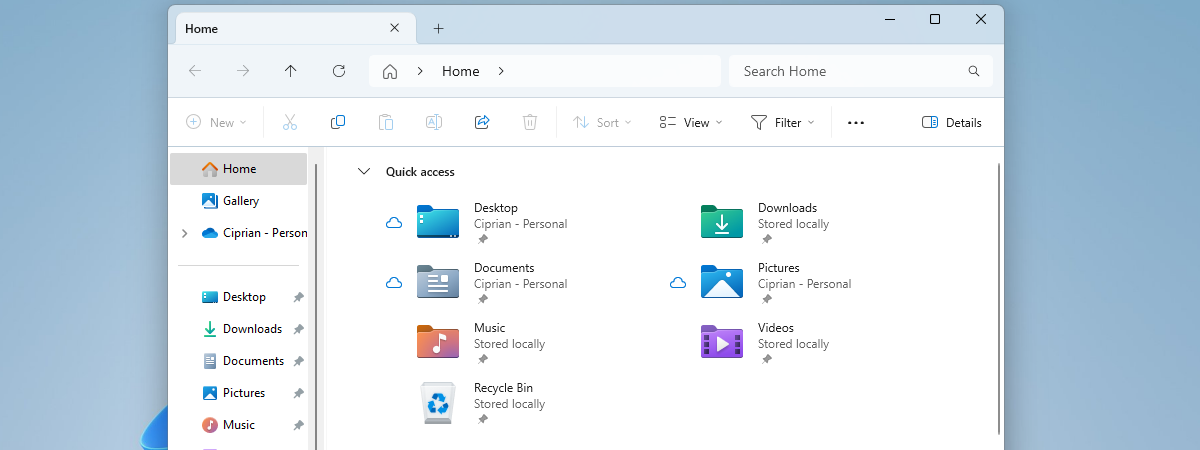


Discussion (6)
Thanks for the turtorial guide, OneDrive is now my deafult file explorer. Best regards Anders sweden
Happy to have helped. If you like our content, don’t hesitate to subscribe to our e-mail newsletter. It’s free and, if you don’t like our stuff, you can unsubscribe at any time. Details, here: https://www.digitalcitizen.life/newsletter/
I found the article very informative and answered a question I have had for a long time, ‘Why does this folder act different than other folders.’ I recognized that some folders appear at other places on the directory tree. Thank you for the great lesson.
Whereas you present a nice solution in this article, it seems much easier just to drag the path from an explorer address bar down to the explorer icon in the task bar and set up the folder as a pinned link. I have about a dozen or so pinned links and a simple right click opens the list. A dozen or so explorer shortcut icons on my desktop is not something I want to see. But thanks very much for the article – it is nice all the same and will work well for those who don’t have the mess of folders needed to get their work done as I do.
Some people do not want a pinned link. This article is for them.
I’m a Windows 7 user, who needs to start using OneDrive. After entering the correct text with my user name in the “Target” field, I get the following message:
The name .c:Usersdekkers42OneDrive’ specified in the target box is not valid. Make sure the path and file name are correct.