18.03.2025
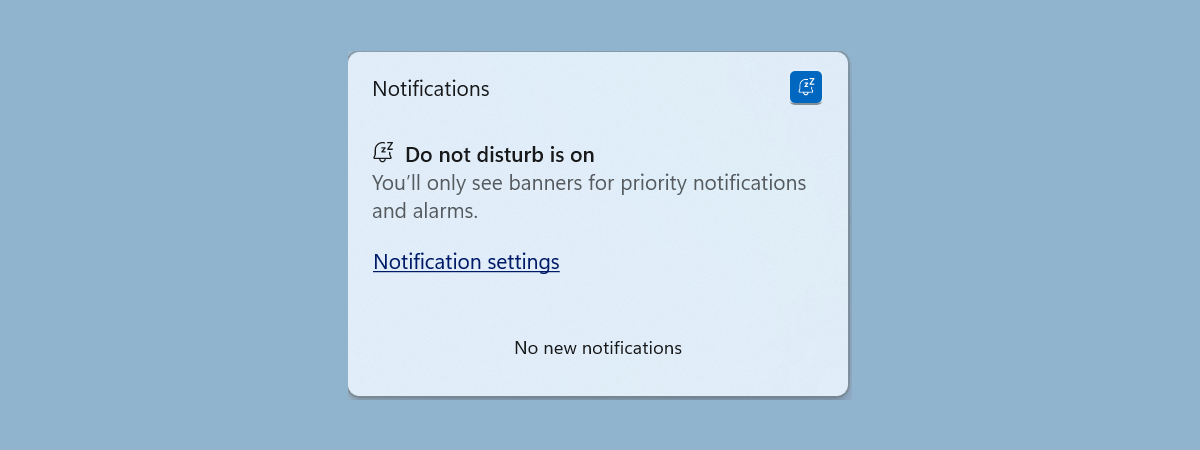
Whether you’re working, attending a virtual meeting, gaming, or simply trying to focus, constant notifications can distract you and interrupt your workflow. Luckily, Windows 11 provides a built-in Do not disturb mode to help you manage notifications effectively by silencing alerts while still keeping them accessible in the notification center for later review. This guide provides information about Do not disturb in Windows 11, including how it works, how to turn it on or off, and how to schedule it to align with your daily routine:
What is Do not disturb and what does it do?
Do not disturb is a feature in Windows 11 designed to minimize distractions by silencing notifications from apps, system alerts, and other sources. Notifications don’t pop up on your screen or play sounds when this mode is enabled. However, they are still stored in the notification center, so you can check them later, at your convenience.
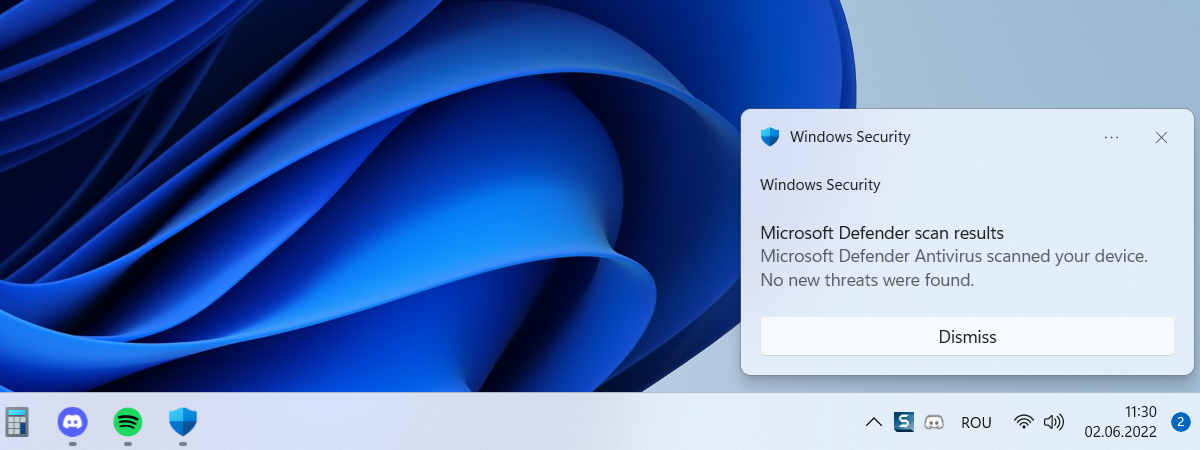
When you enable Do not disturb in Windows 11, its icon is displayed in the system tray, next to the clock on the right side of your taskbar. The icon disappears as soon as you disable the feature.
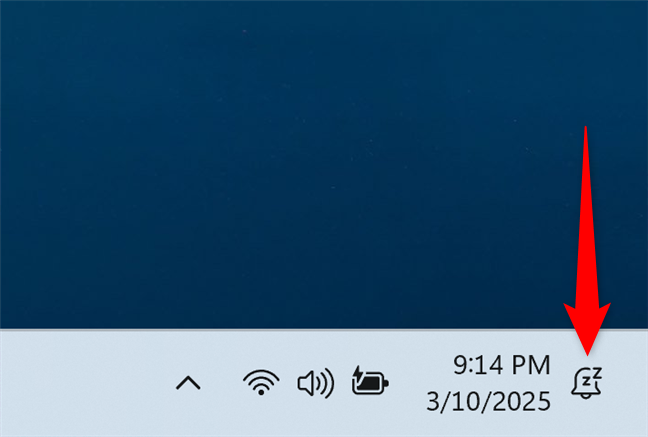
Do not disturb in Windows 11
This feature is useful in many situations. It helps maintain focus during work, prevents distractions in meetings, enhances gaming immersion, and ensures peace during personal time. By customizing Do not disturb, you can ensure that you only get high-priority notifications like calls, reminders, or alerts from selected apps while filtering out less urgent messages.
How to toggle Do not disturb in Windows 11
Windows 11 offers multiple ways to turn on Do not disturb, allowing you to silence notifications quickly whenever needed. Let’s go through them one by one:
How to turn on Do not disturb from the notification center
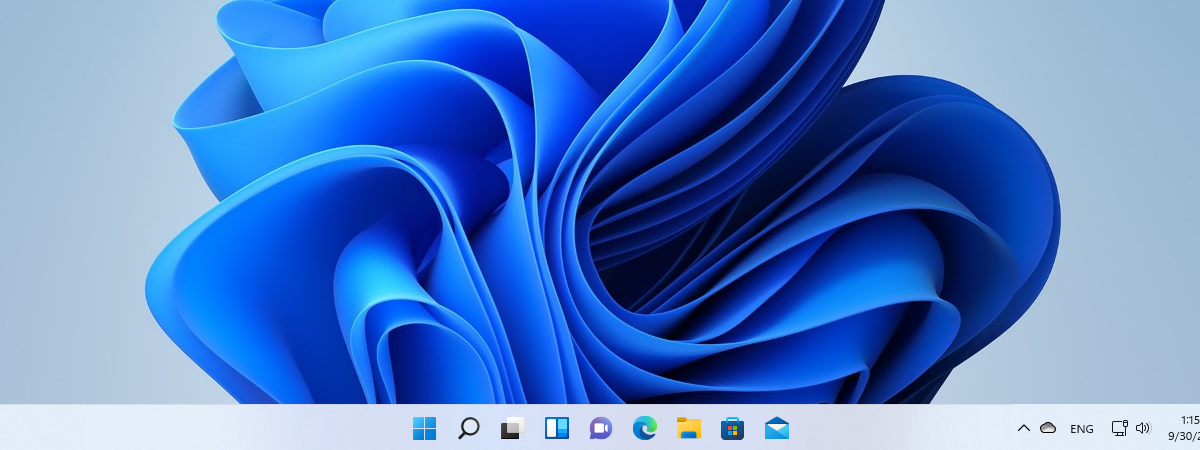
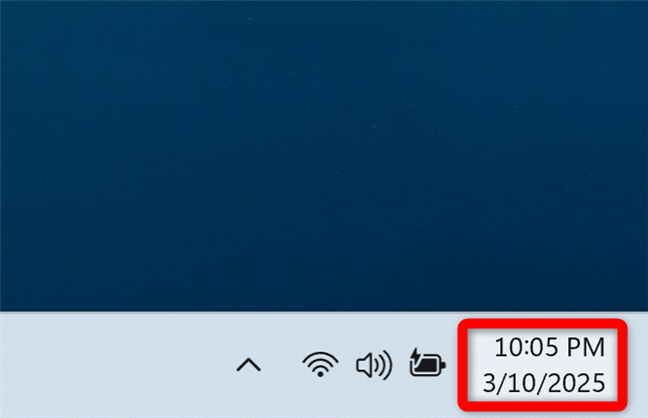
The fastest way to enable Do not disturb in Windows 11 is through the notification center. First, click or tap the time and date button in the system tray to open the notification center.
Access the notification center
Then, click or tap the Do not disturb bell icon in the top-right corner of the notification center.
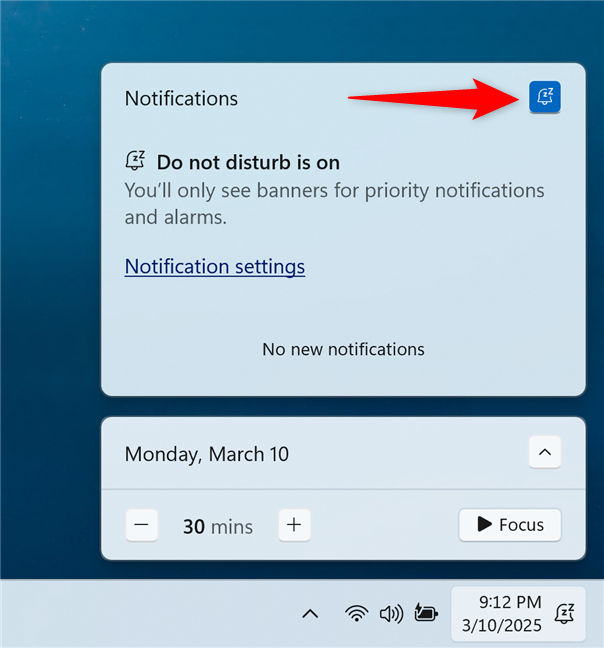
How to turn on Do not disturb using its notification center shortcut
Do not disturb is immediately enabled, and notifications are silenced until you turn it off.
How to turn off Do not disturb using the notification center
You can also use the Do not disturb shortcut next to the time and date to bring up the notification center and disable the feature.

Click or tap Do not disturb in Windows 11
Then, click or tap the bell icon in the notification center to turn off Do not disturb in Windows 11.
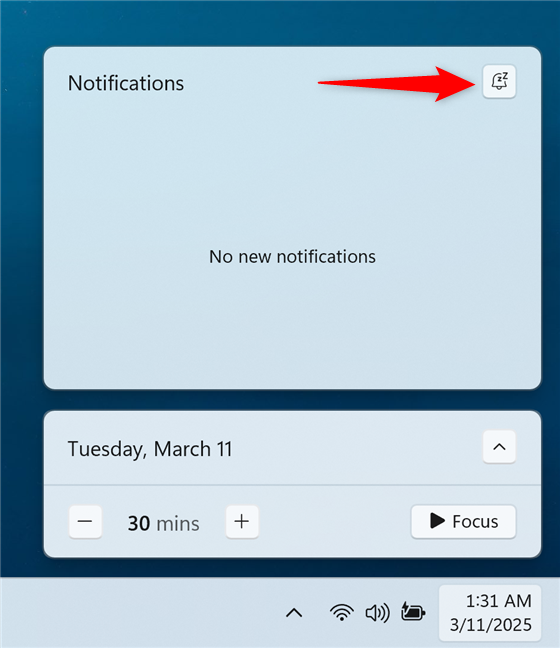
Use the Do not disturb icon to disable the feature
Windows 11 is now bothering you again with notifications from apps. 🙂
How to enable Do not disturb from the Windows 11 Settings
The Settings app offers several ways to control how Do not disturb works in Windows 11. Open Settings by pressing Windows + I on your keyboard. Then, access System in the left sidebar and click or tap Notifications on the right.
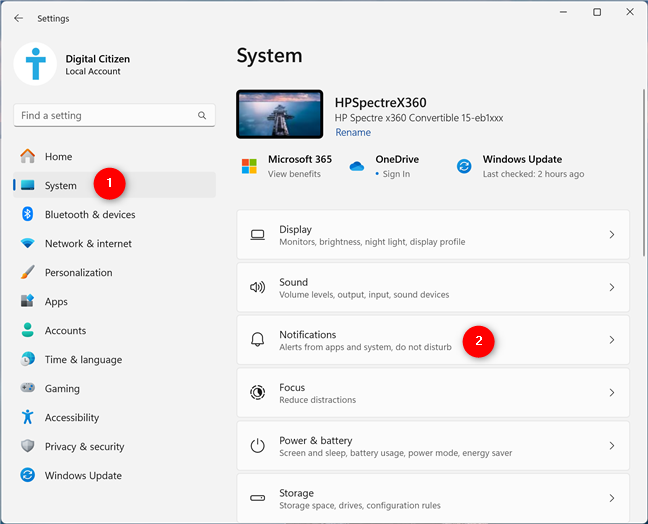
Go to System > Notifications in the Windows 11 Settings
Turn on the Do not disturb switch to enable the feature and silence notifications.
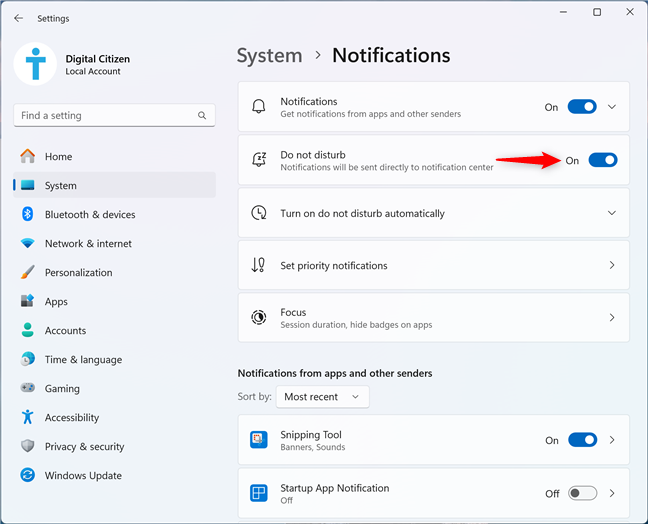
Enable the Windows 11 Do not disturb from Settings
How to disable Do not disturb from the Windows 11 Settings
As you probably guessed, clicking or tapping the same switch turns off Do not disturb in Windows 11.
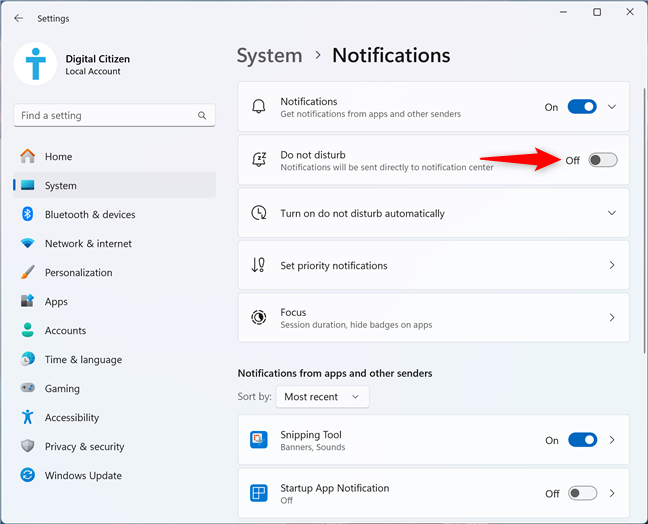
How to turn off Do not disturb in Windows 11 from Settings
In case Do not disturb keeps turning on in Windows 11, click or tap the Turn on do not disturb automatically section to expand it. Then, take a look at the available options. Disable the ones you want, or if you’re unsure why the feature keeps turning on, uncheck all the boxes, as seen below.

Uncheck everything to make sure Do not disturb stays off
As you may have noticed, the Settings app also offers options for scheduling Do not disturb. Let’s see what that’s all about.
How to turn on and turn off Do not disturb automatically
Do not disturb can also help you maintain discipline by scheduling quiet hours for focused, distraction-free work. After expanding the Turn on do not disturb automatically section, check the During these times checkbox. Then, insert the times you want and decide if you want to Repeat this schedule Daily, on Weekends, or on Weekdays.
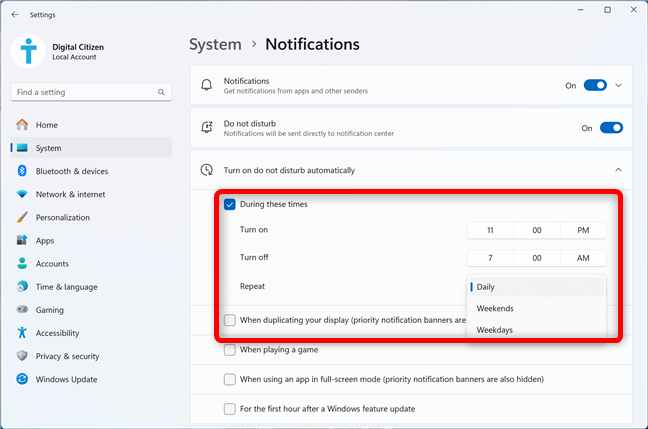
Schedule Do not disturb in Windows 11
You can also use the options below to decide which events enable Do not disturb in Windows 11:
- When duplicating your display (priority notification banners are also hidden)
- When playing a game
- When using an app in full-screen mode (priority notification banners are also hidden)
- For the first hour after a Windows feature update
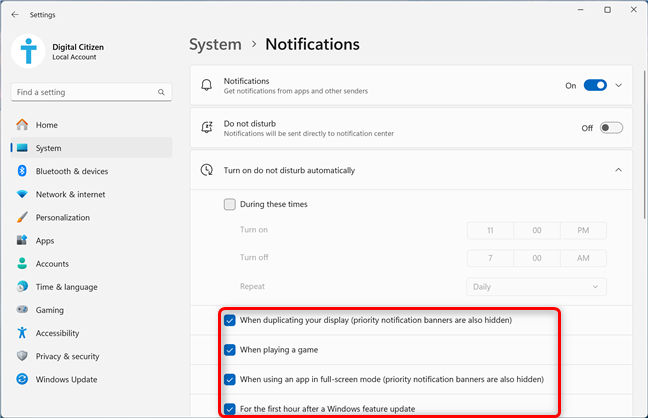
Decide when to Turn on do not disturb automatically in Windows 11
Use Focus sessions to toggle Do not disturb in Windows 11
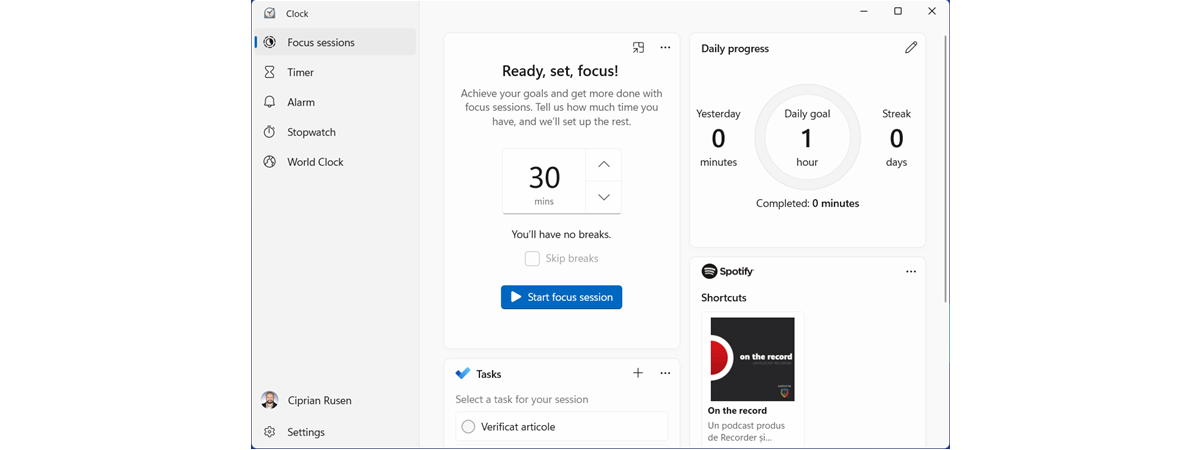
Focus sessions is a tool designed to help you concentrate by enabling Do not disturb in Windows 11. You can find it in the Clock app, but you also get a shortcut when you open the notification center. Click or tap the time and date in Windows 11, choose the duration of your session, and click or tap Focus.

Start a Focus session to enable Do not disturb in Windows 11
When you start a Focus session, Windows 11 automatically enables Do not disturb. The feature is turned off automatically at the end of your Focus session. I have been using Focus sessions ever since I wrote a guide on it, and I highly recommend it. If you want to learn more, check out my article on how to use Focus sessions in the Windows Clock app.
How do you use Do not disturb in Windows 11?
The Windows 11 Do not disturb helps you stay focused by silencing notifications when needed. Whether you enable it manually, schedule quiet hours, or use it with Focus sessions, this feature improves productivity and minimizes distractions. How do you use Do not disturb in your daily workflow? Let me know in the comments section below.