You may need to frequently run an app that requires administrator permissions, which always triggers a UAC (User Account Control) prompt. You do not want to click Yes or enter the administrator password every time, and you do not want to disable UAC either, because it protects your computer. This is especially annoying when using app updaters, command line tools or game launchers for online games like Fortnite or League of Legends. Game launchers update the game you are playing to the latest version, and often they trigger a UAC prompt. Here is how to stop UAC from asking for your permission for specific apps and games, without disabling UAC:
Step 1. Start the Task Scheduler
Log in with a user that as administrator permissions. Then, run the Task Scheduler. If you do not know how we have published a separate guide on this subject: 9 ways to start the Task Scheduler in Windows (all versions).

If you do not feel like reading another guide, a quick method is to search for "task scheduler" in Windows and click or tap the appropriate search result.
Step 2. Create a scheduled task for the app, game or file that you want to run without UAC prompts
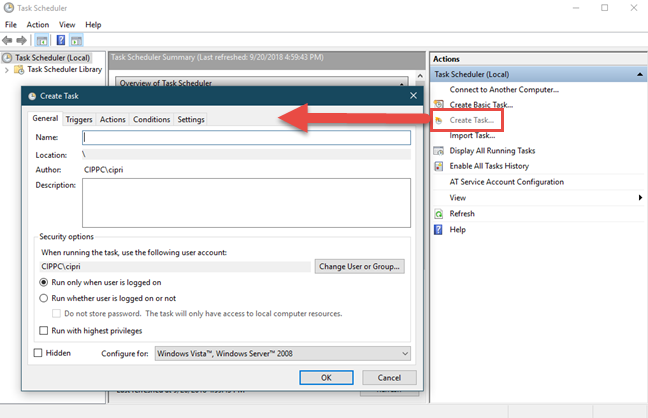
In the Task Scheduler window, click or tap "Create Task" in the Actions column on the right. The Create Task window is shown, where you create advanced tasks for your Windows computer.
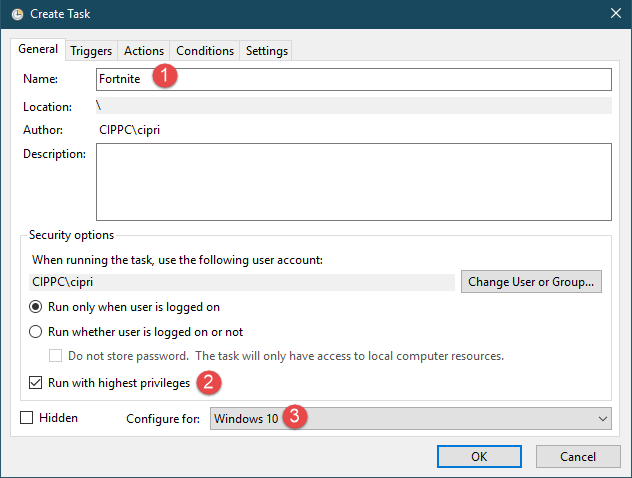
In the General tab of the Create Task window, type a name for your task in the Name field. Make it something short and easy to remember. You need the task name later, so write it down, if you tend to forget quickly. Then, make sure to check the box that says "Run with highest privileges" so that the task is run with administrative permissions. Then, use the "Configure for" drop-down list to select the version of Windows that you are using. In our case, it is Windows 10.
Go to the Actions tab in the Create Task window. There, click or tap the New button, to set an action that is performed by the task. The New Action window is shown.
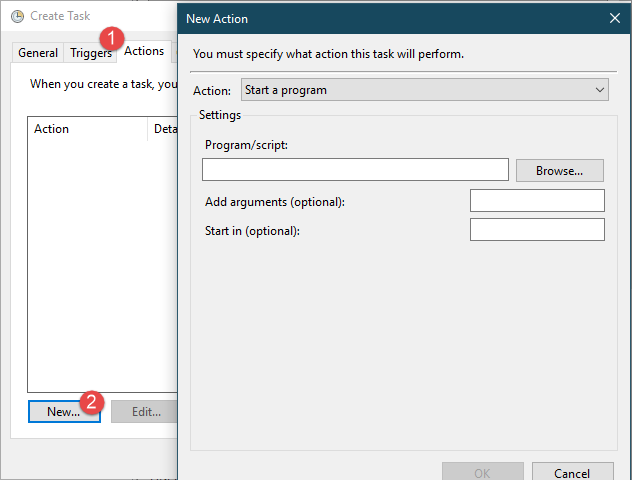
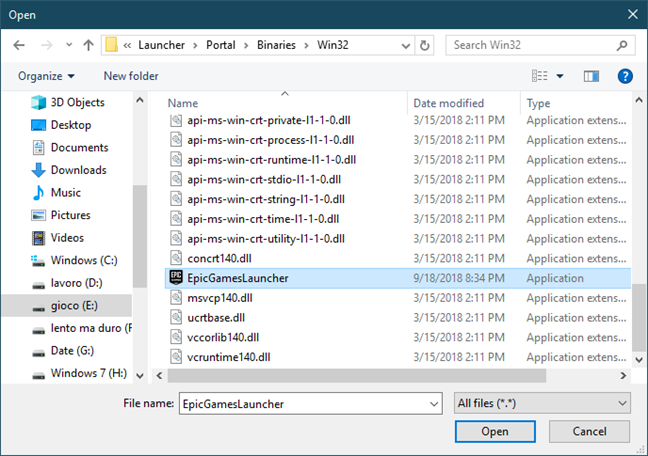
Click or tap Browse and choose the path to the file that you want the task to run. This can be the executable file of an app or game that you want to run without UAC prompts. In our example, we chose the EpicGamesLauncher.exe used in the Fortnite game. After you select the file, press Open.
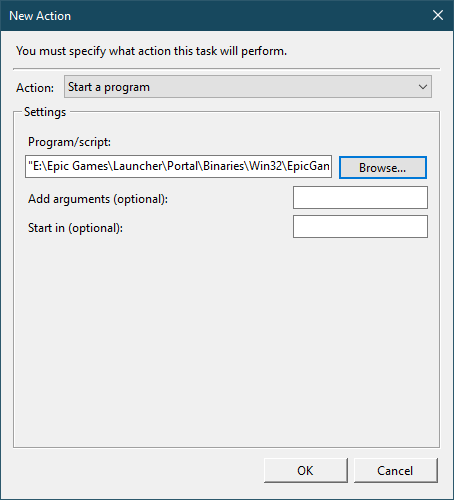
You are back to the New Action window. Here you see the path towards the file that you just selected. Press OK.
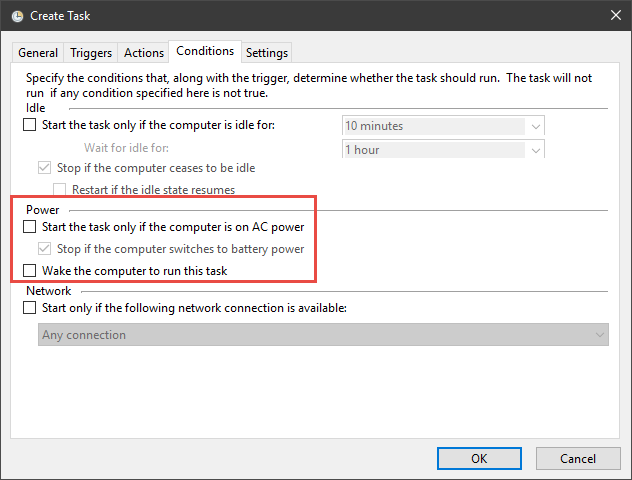
If you are scheduling the task on a laptop, tablet or some other device with a battery, go to the Conditions tab in the Create Task window. There, look for the Power section and uncheck the setting that says "Start the task only if the computer is on AC power." This ensures that the task runs at all times, no matter whether your laptop or tablet is using the battery or it is connected to a power plug.
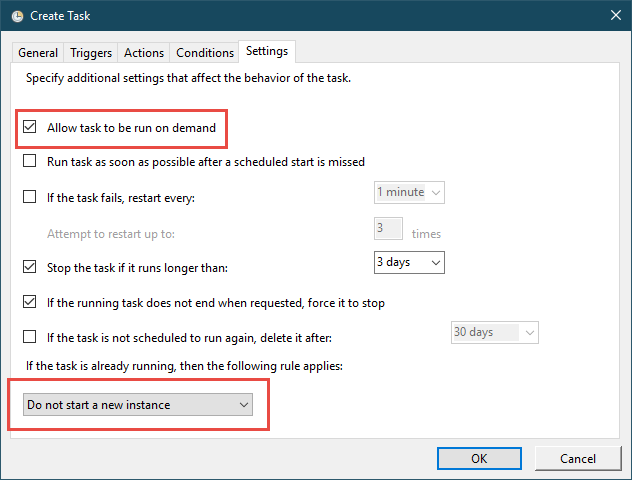
Go to the Settings tab in the Create Task window. Here make sure that the option "Allow task to be run on demand" is checked. This ensures that when you double-click on the shortcut that you create at the next step, the task is run. Also, on the bottom, choose "Do not start a new instance" if the task is already running. Click or tap OK.
The task is created with the name and settings that you have provided.
Step 3. Test if the task runs well
In Task Scheduler, double-click (or double-tap) on the Task Scheduler Library, in the column on the left. In the middle of the app window, you see all the tasks that exist. Find the one you created and click or tap on its name. Then, in the Actions panel on the right, click or tap Run.
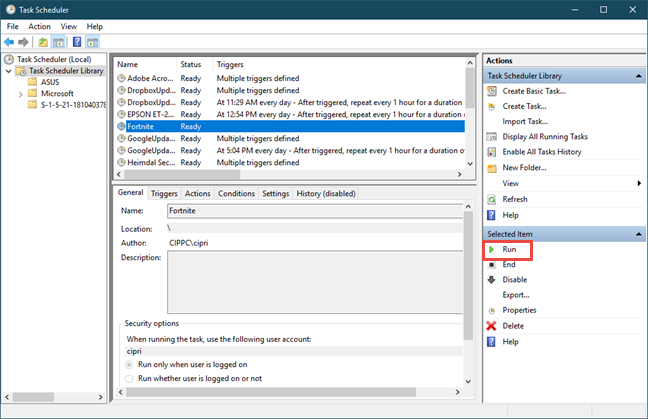
The task should run and launch the file that you selected, with administrative permissions, and without a UAC prompt. If it does not do that, then you should start over and pay attention to all our instructions, so that you do not miss something.
Step 4. Create a shortcut to the scheduled task
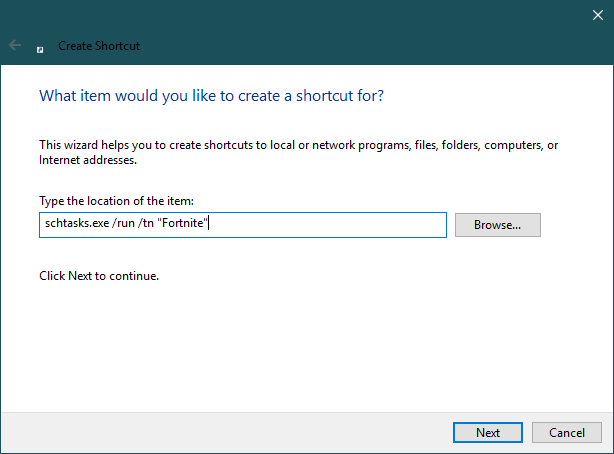
The next step is to use the Create Shortcut wizard to create a shortcut to the task you just created. We explain in detail how to create shortcuts in this guide: How to create shortcuts for apps, files, folders and web pages in Windows. When you create the shortcut, in the "Type the location of the item" field, type: schtasks.exe /run /tn "Task Name". Task Name needs to be the actual name of the task. In our case, we typed: schtasks.exe /run /tn "Fortnite".Then, press Next.
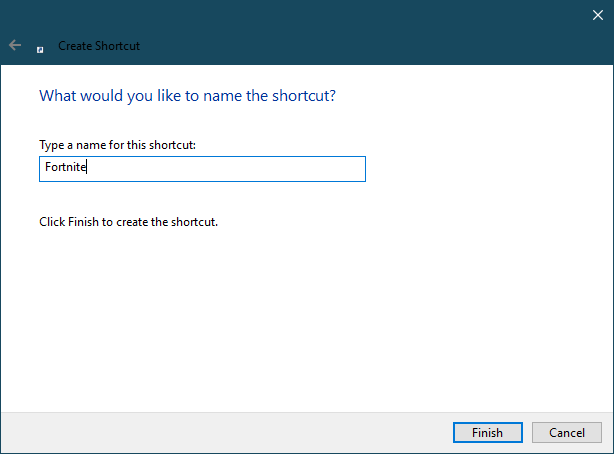
Type a name for your shortcut and press Finish.
The shortcut is created, but it has an ugly icon. You can change it to anything you wish, using the instructions from this guide: How to change the icon of any shortcut in Windows.
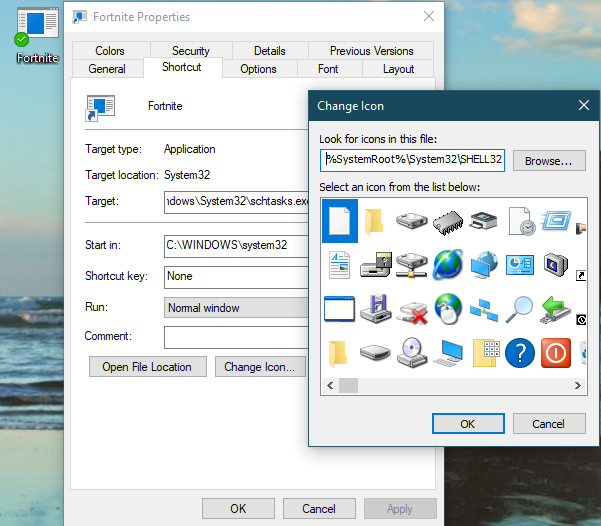
When you double-click or double-tap on the shortcut, it runs the selected file with administrator permissions, without triggering a UAC prompt. Enjoy!
What app, game or file do you run with this method?
This wasn't that hard, was it? A bit time consuming but definitely worth the effort, especially if you are often working with apps or files that require administrative permissions. This can be especially useful if you are a network administrator who runs Powershell as admin. Before closing this tutorial, tell us in a comment, which apps you are running using this method. We are curious to know.