

There are times when you might want to record your Zoom meetings, like when you're a teacher and want to save the online lessons you're having with your students. Whatever your reasons, in this tutorial, we'll show you how to make Zoom meetings recordings. If you want to learn how to do that, as well as find answers to some common questions such as "Can you record on Zoom for free?", "How long can you record on Zoom?", or "Why can't I record my Zoom meeting?" read on:
What you should know about recording Zoom meetings
Before we show you how to record a Zoom meeting, there are a couple of things you should know about the recording features available in Zoom:
- Zoom lets you record entire meetings for free, but only if you're recording locally, on a Windows PC, MAC, or Linux computer.
- You can record meetings from an Android smartphone or an iPhone but only in the cloud, and the cloud recording feature is not free. Cloud recording works only on paid Zoom plans (Pro, Business, or Enterprise accounts).
- The Zoom local recording feature is available only if you have a Zoom account.
- To be able to record Zoom meetings, you need to use the Zoom app for Windows, macOS, or Linux. You can't record Zoom meetings from a web browser.
If you're the host of the Zoom meeting, you can record the meeting following the steps from the next section of this guide.
If you're just a participant, you must first ask the host to allow you to record the Zoom meeting. Read the "How to allow participants to record a Zoom meeting" section from this tutorial to see how to let others record a meeting in which you're the host.
How to record a Zoom meeting
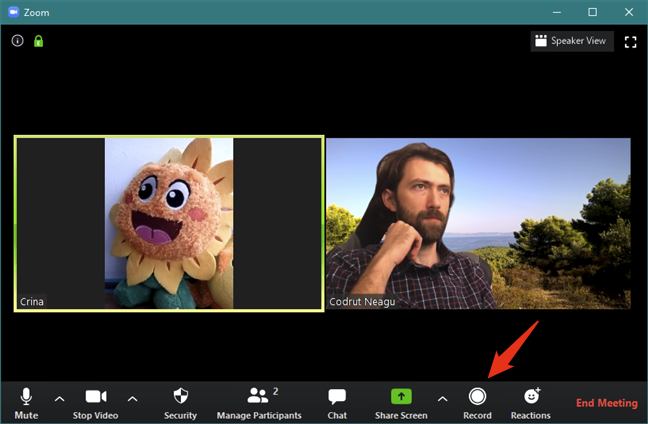
After you join a Zoom meeting, look at the toolbar from the bottom of the window. If you don't see the toolbar, move your mouse cursor a bit, and it should appear. On it, click or tap on the Record button.
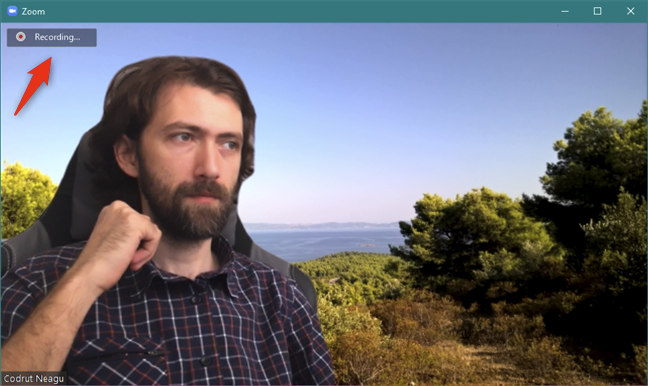
As soon as you've pressed Record, the Zoom app starts recording your meeting. For as long as it does that, you can see a Recording… message on the top-left corner of the app's window.
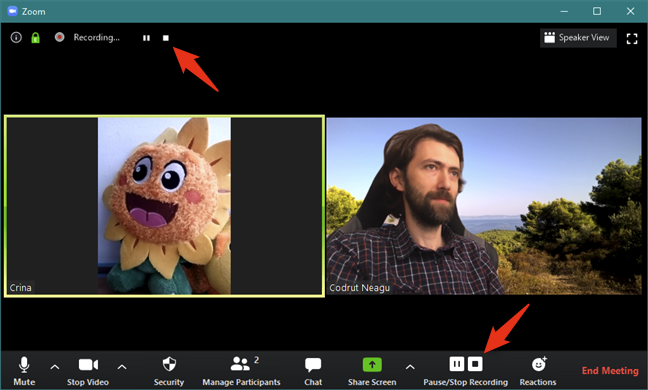
If you move the mouse cursor a bit, Zoom also displays two controls for the recording: Pause and Stop Recording. Furthermore, these buttons are shown both on the toolbar and the top-left corner of the window.

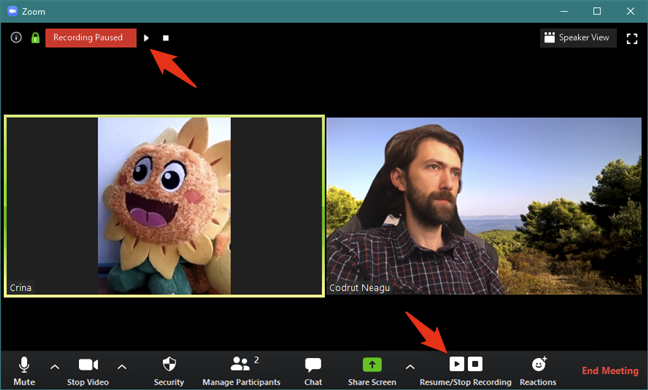
If you want to interrupt the recording for a while, click or tap on Pause. When you do that, Zoom shows a Recording Paused message, and the Pause button changes into Resume. Obviously, to continue the recording, press the Resume button.
To stop recording the Zoom meeting, push the Stop Recording button, either on the top-left corner of the app or on the toolbar from the bottom.
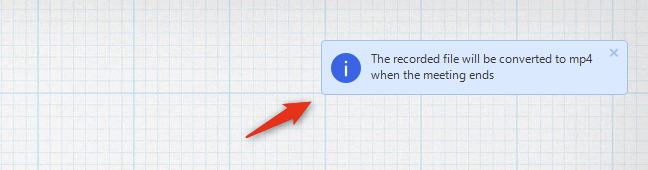
For a short while, after you stop a meeting recording, Zoom displays a notification on your desktop in which it tells you that "The recorded file will be converted to mp4 when the meeting ends".
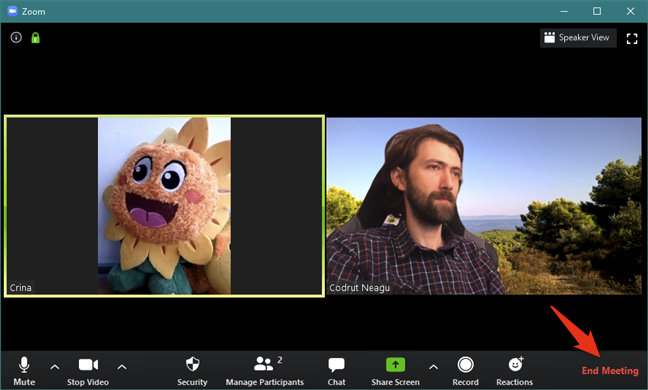
When you've gone through every subject planned in your Zoom meeting, you can close it with a click or tap on the End Meeting button from the bottom-right corner of the app.
Once the meeting is over, Zoom starts "Converting the meeting recording." You can monitor this process in the new window bearing the same name that's automatically opened by Zoom. Wait for the conversion to finish.
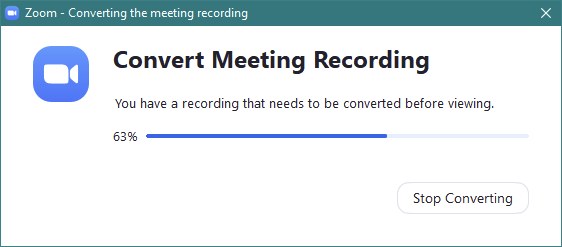
Note: You can also Stop Converting the recording, but then you're going to do it manually using a video converter app. If you want to be able to play the meeting recording as soon as possible, wait for Zoom to convert it.
How to see your Zoom meetings recordings
After the meeting recording has been converted, Zoom launches File Explorer and automatically takes you to where the video and audio files were saved. By default, in Windows 10, the location of Zoom meetings recordings is C:UsersUser NameDocumentsZoom. Inside the Zoom folder, every meeting recording gets its own subfolder with a name that includes its date, time, and topic. For every meeting recorded, you should get at least three different files:
- audio_only.m4a contains the audio recording of the Zoom meeting
- playback.m3u is a playlist file that automatically loads the audio file
- zoom_0.mp4 is the video file of the Zoom meeting, including both video and audio

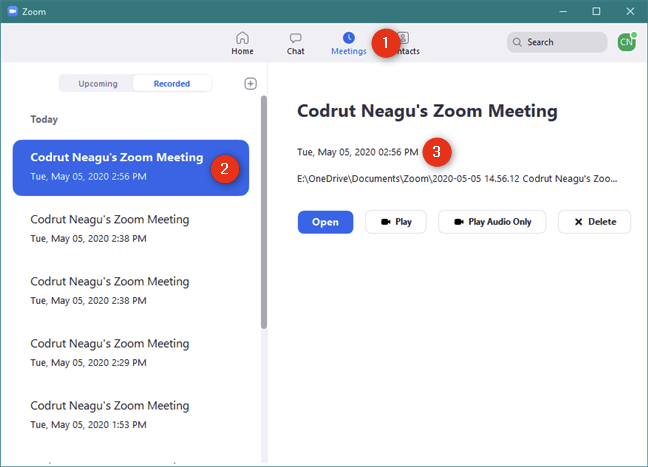
Alternatively, you can easily see and manage all your Zoom meetings recordings directly from the Zoom app. In Zoom, select Meetings on the top, and then click or tap on Recorded on the left panel. There, you get the complete list of meetings that you've recorded, ordered by date. Selecting any of them makes Zoom show you some details and options for it, on the right side of the window:
- You can see the name of that Zoom meeting and when you've recorded it
- The path to the folder in which it's saved
- You also get options to Open the recorded meeting folder, Play it using your default media player, Play Audio Only, and Delete the recording (its entire folder goes away)
How to allow participants to record Zoom meetings
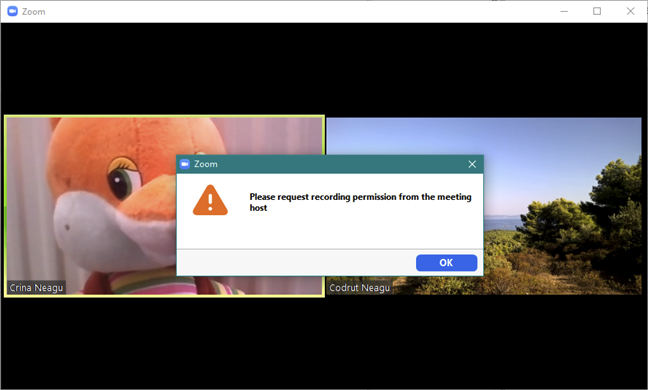
If you are in a Zoom call and want to record it, but you're not the host, pressing the Record button does not work. That's when you are probably going to ask yourself: "Why can't I record my Zoom meeting?". You get your answer in the message shown by Zoom: "Please request recording permission from the meeting host." 🙂
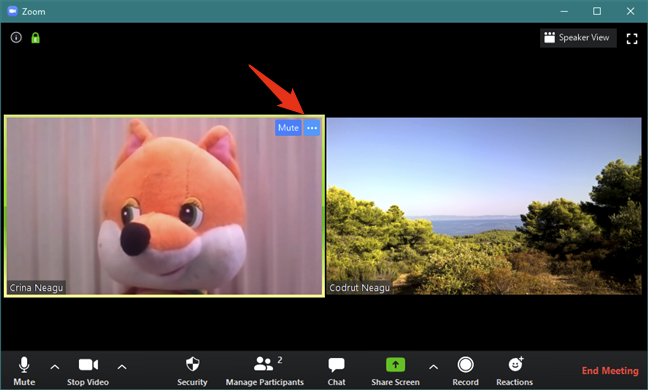
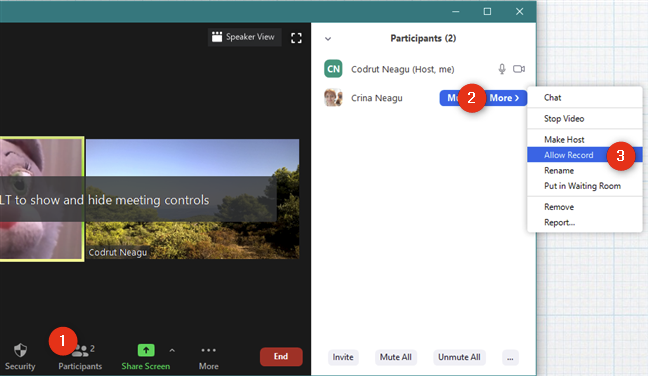
If you are the host of the Zoom meeting and someone asked you to allow him or her to record it, you can do so without leaving the call. Hover your mouse cursor on top of that person and click or tap on the small "three-dots" button.
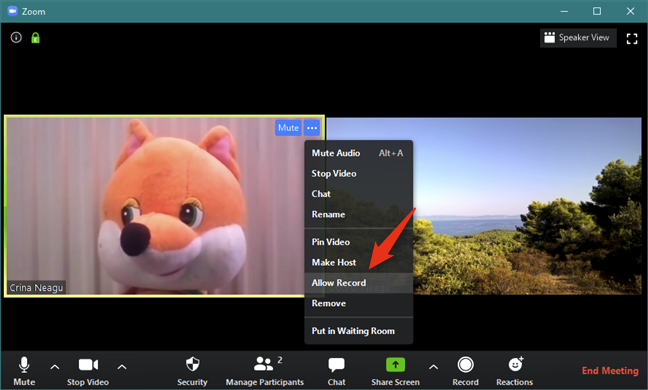
In the contextual menu, select Allow Record. As soon as you do it, that person can start recording the Zoom meeting.
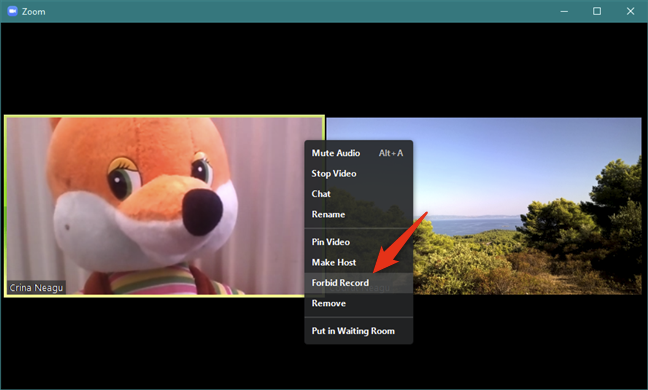
If you change your mind and no longer want someone in the Zoom meeting to be able to record it, follow the same steps, and select Forbid Record on the menu.
There's also an alternative way of allowing or denying participants to record a Zoom meeting. In Zoom's window, click or tap on the Participants button from the toolbar on the bottom. Then, in the Participants panel that shows up, click or tap More on the right of the person you want to allow or disallow to record the meeting.
This opens a new menu, where you can choose to Allow Record or Forbid Record, depending on the current permissions you have given to that person.
How to see who's recording a Zoom meeting
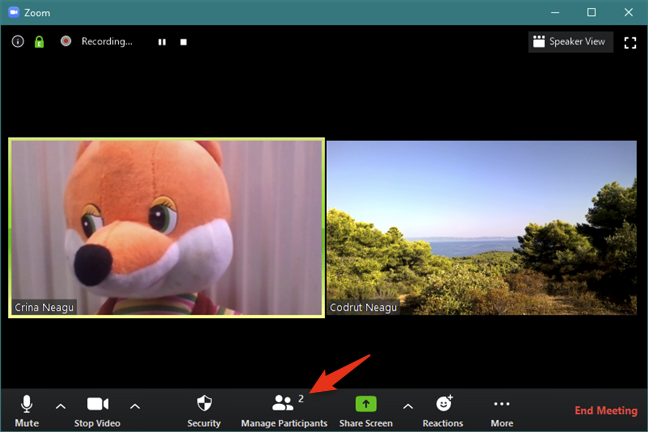
Knowing whether and which of the participants of a Zoom meeting also record it can be useful at times. For example, if you're a teacher, you might want to know which of your students are recording your class. To see who's recording a Zoom meeting, first, click or tap on the Manage Participants button from the bottom toolbar.
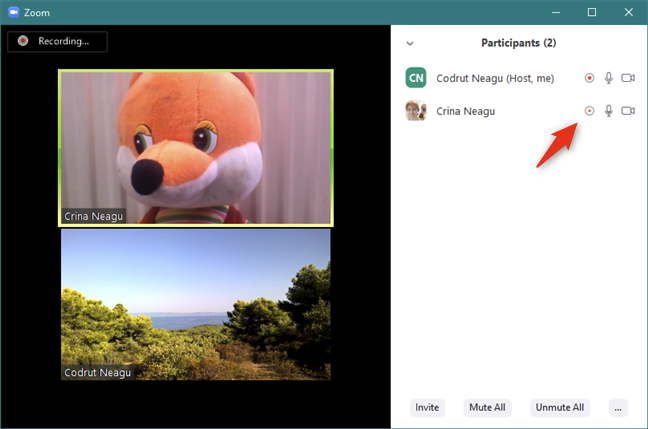
In the Participants panel, all the people that are recording the Zoom meeting are marked with a small red icon.
How to change the settings for Zoom meetings recordings
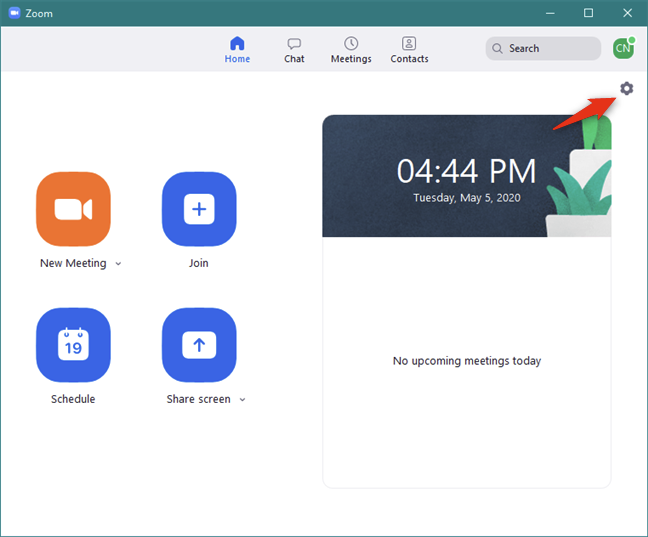
The Zoom app includes a few recording configuration options that you might want to check and adjust. To get to them, open Zoom and click or tap on the small gear icon from the top-right corner of your dashboard (Home).
In the Zoom Settings window, select Recording on the left.
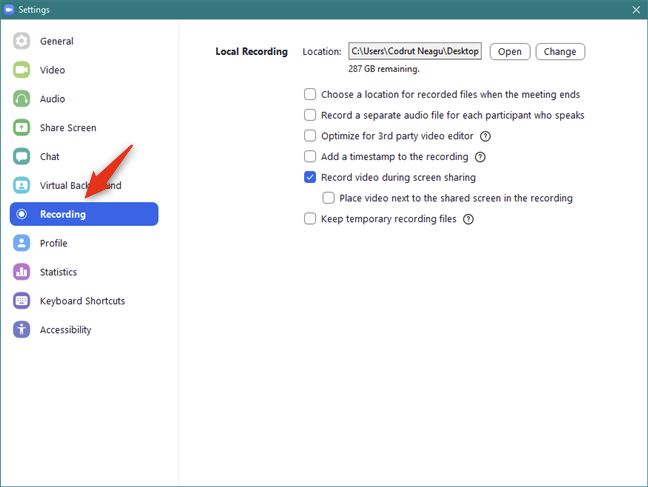
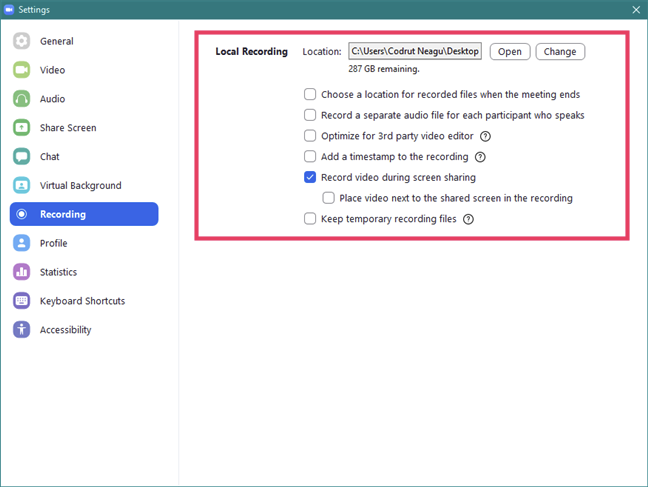
Then, on the right side, you see all the Local Recording options:
- Location shows you where the Zoom meetings recordings are saved, and also lets you change the default folder in which the next ones are going to be saved. If you select another place on your computer or device, previously recorded meetings are left in their original location.
- "Choose a location for recorded files when the meeting ends." If you enable it, instead of automatically saving the recordings of the meetings in the default location, Zoom asks you where to save each of them after they end.
- "Record a separate audio file for each participant who speaks." Instead of creating an audio file with all participants' audio, you can make Zoom record each person individually.
- "Optimize for 3rd party video editor" saves the meeting video file so that it's more compatible with video editing apps.
- "Add a timestamp to the recording." Every Zoom meeting recording gets a label with its date and time on the video.
- "Record video during screen sharing." Zoom continues to record video from call participants even when they're sharing their screens.
- "Place video next to the shared screen in the recording." When the previous setting is enabled, Zoom records the participants' video and shared screen side-by-side.
- "Keep temporary recording files." If you enable this setting, Zoom keeps the temporary files created while recording meetings, which could be useful for troubleshooting purposes.
That's it!
How often are you recording Zoom meetings?
As you've seen, recording Zoom meetings is relatively easy. Basically, all you have to do is press the Record button in the Zoom desktop app. However, if you're a simple participant, the host must permit you to record. Before closing this tutorial, tell us if you record Zoom meetings regularly. If you have something to add to our tutorial, or if you have any questions, get in touch with us in the comments section below.


Discussion (1)
Hello! I always record my Zoom sessions as I write meeting minutes. But, in my case, I use AceThinker Screen Grabber Pro, I can use its annotation to highlight important notes during the discussion. Plus, the videos and the audio are both clear and in high quality.