



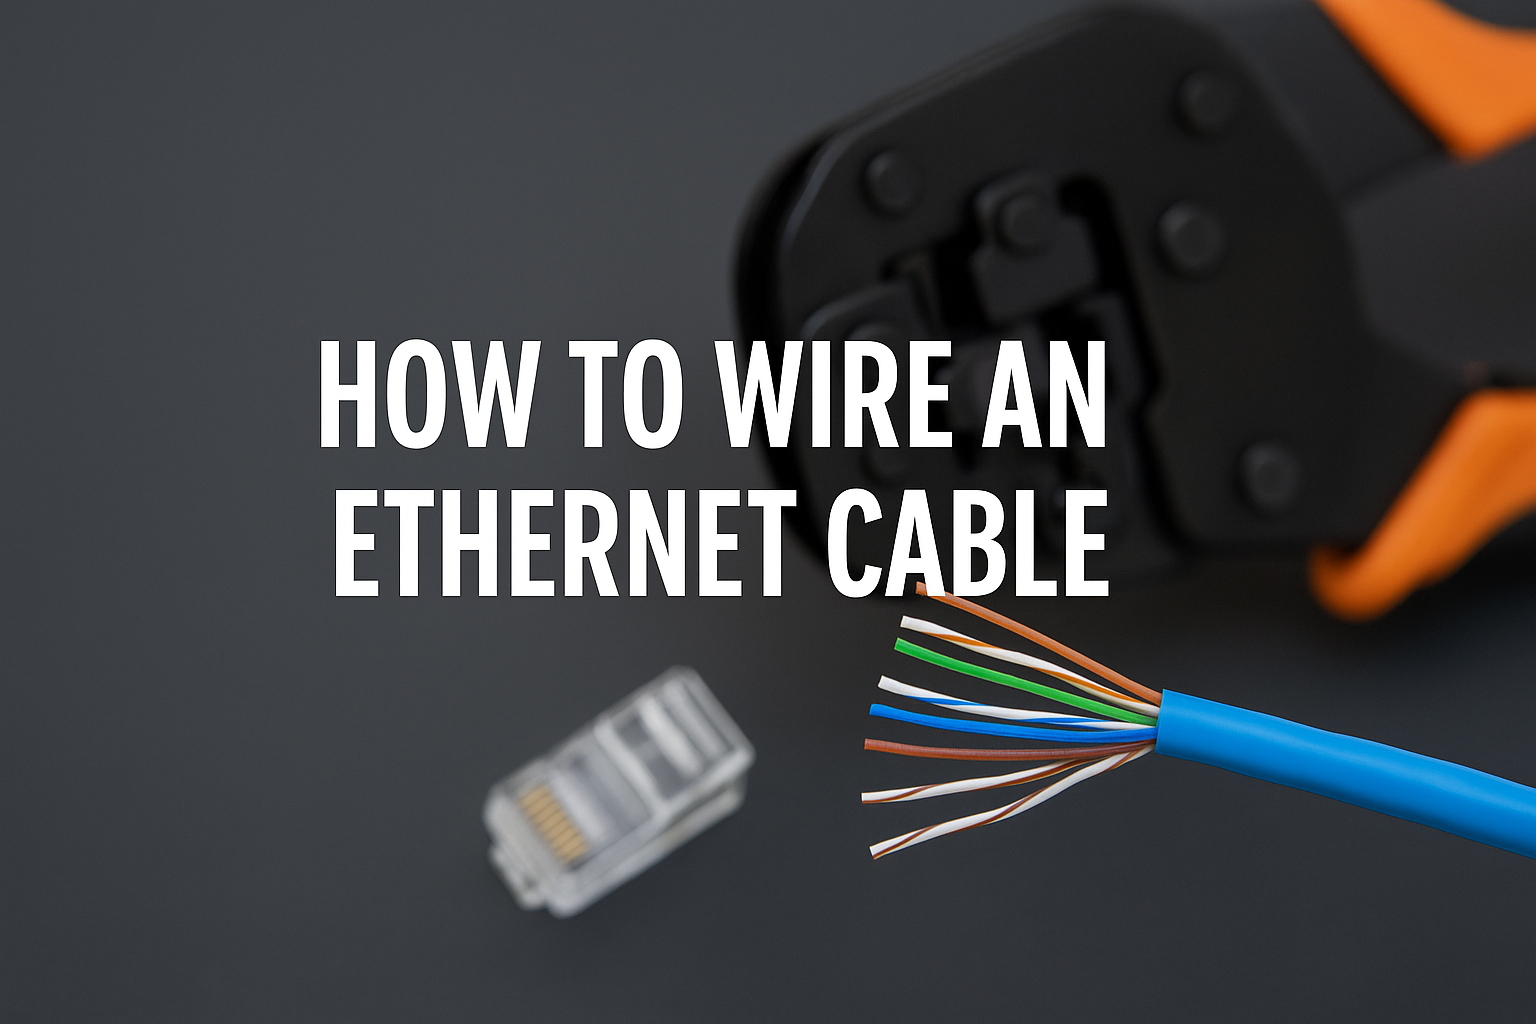
Wiring your own Ethernet cable is a practical way to get a stable and fast internet connection. Whether you’re connecting a gaming PC, a home office, or a network switch, creating your own cables ensures exact lengths and professional reliability.
With a few inexpensive tools and the right steps, you can build high-quality Cat5e or Cat6 cables that perform just as well as store-bought ones. Follow this guide carefully to avoid common mistakes and get a clean, strong connection.
1) What you need before wiring an Ethernet cable
You’ll need a few basic items: a crimping tool, a cable stripper, and RJ-45 connectors. Make sure you have a good-quality Ethernet cable (Cat5e, Cat6, or Cat6A) and a cable tester to check your work afterward.
Optional items like cable boots and punch-down tools can make your installation more professional, especially if you plan to route cables through walls. Keeping a pair of wire cutters and small pliers nearby can also help manage clean cuts and adjustments.
Understanding Cable Types (Cat5e vs Cat6 vs Cat6A)
Cat5e cables are ideal for basic home setups supporting speeds up to 1 Gbps. They’re flexible and easy to work with, making them a great choice for shorter runs or small networks.
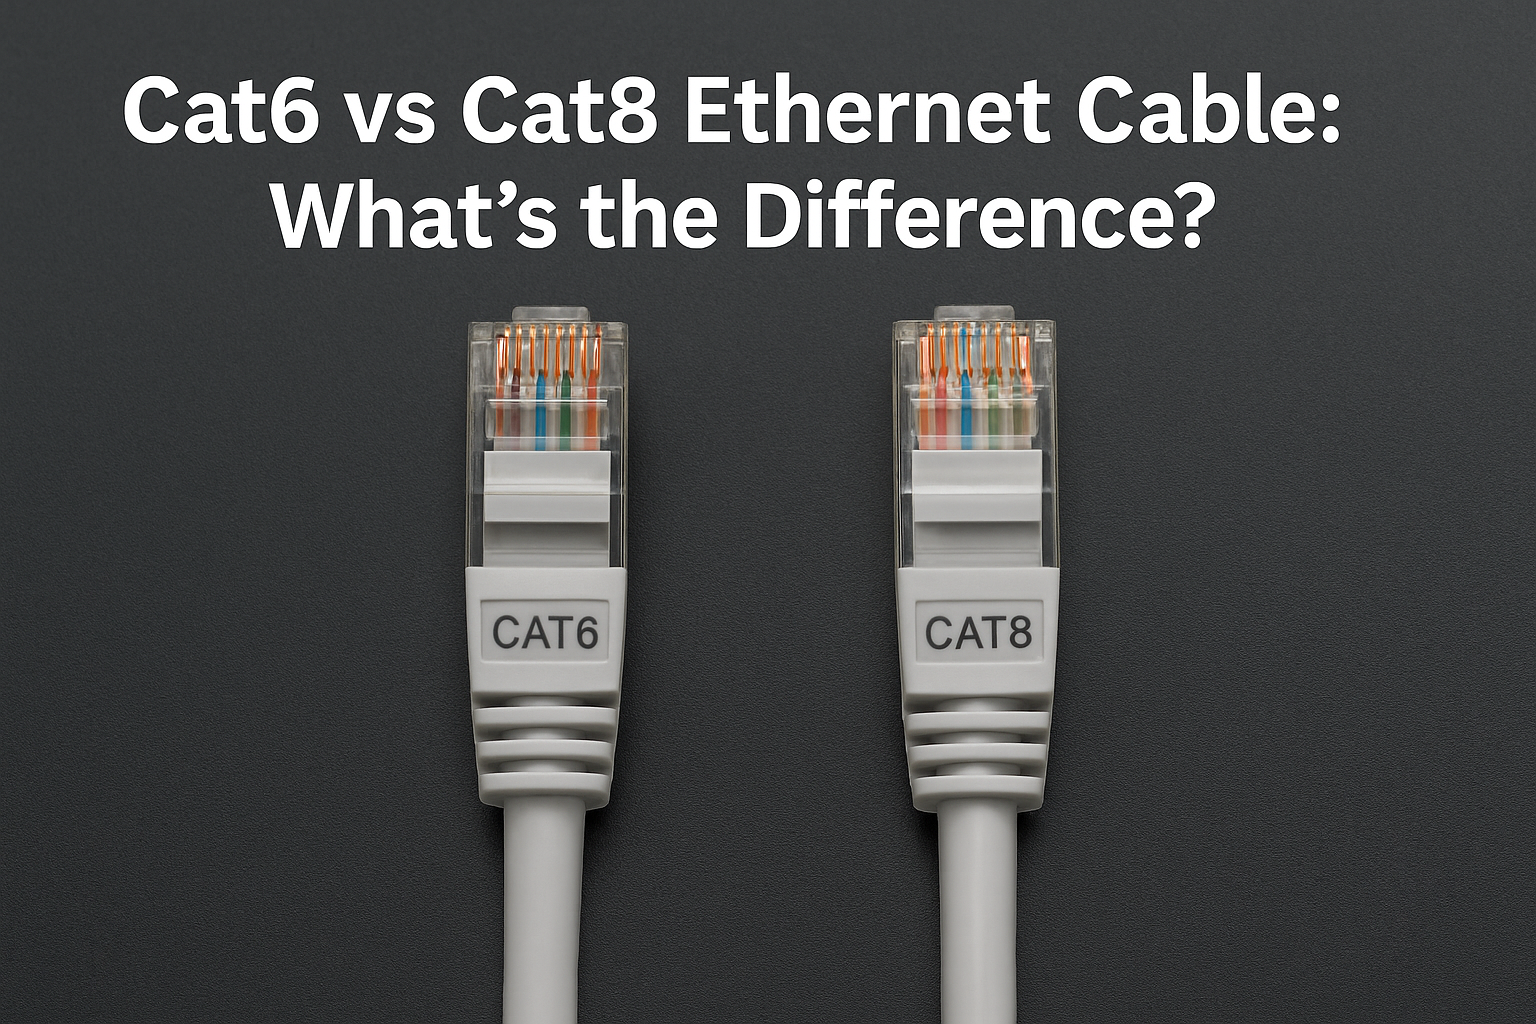
Cat6 cables reduce crosstalk and support 10 Gbps over shorter distances, making them more future-proof. Cat6A, although slightly stiffer, can maintain 10 Gbps speeds for longer runs, which is ideal for large homes or office installations.
2) How to Wire an Ethernet Cable Step by Step
Now that you understand the standards, it’s time to build the cable. The process involves cutting, stripping, arranging, inserting, and crimping the wires correctly.
Work slowly and double-check the color order before crimping. Even a single misplaced wire can cause the entire cable to fail.
Step 1: Measure and cut the cable
Use a tape measure to determine how long your cable needs to be. Add at least 2 inches on both ends to give yourself room for handling and connector installation. Cut the cable cleanly with a sharp wire cutter to prevent frayed or uneven edges.
Step 2: Strip the outer jacket
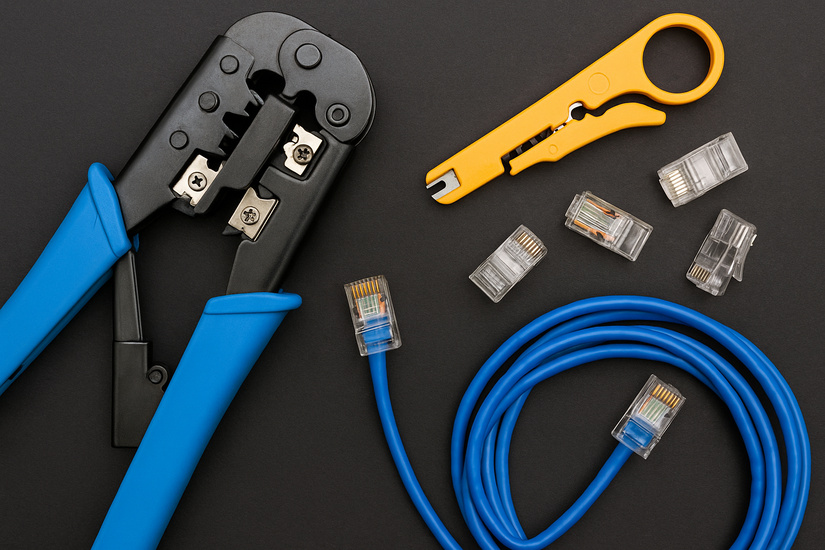
Use your wire stripper to remove about 1 inch of the outer jacket from one end of the cable. Rotate gently while applying light pressure to avoid cutting into the inner wires. If you see any small nicks or cuts on the colored pairs, cut that section off and strip again.
Step 3: Untwist and arrange wire pairs
Inside the cable are four twisted pairs of wires - orange, green, blue, and brown. Carefully untwist each pair only as much as needed, about half an inch, to keep the signal integrity strong. Flatten the wires between your fingers and arrange them in the correct T568B order.
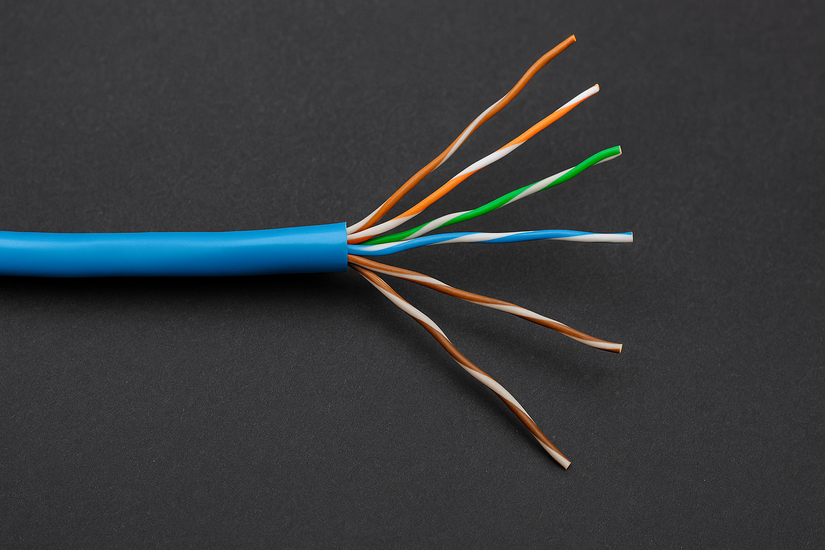
Step 4: Trim and insert into the RJ-45 connector
Once arranged, trim the wires evenly so that only about half an inch extends beyond the jacket. Straight, uniform ends make it easier to insert them into the connector.

Hold the RJ-45 connector with the clip facing down and insert the wires gently. Push firmly until each wire touches the end of the connector’s channel.
Step 5: Crimp the connector
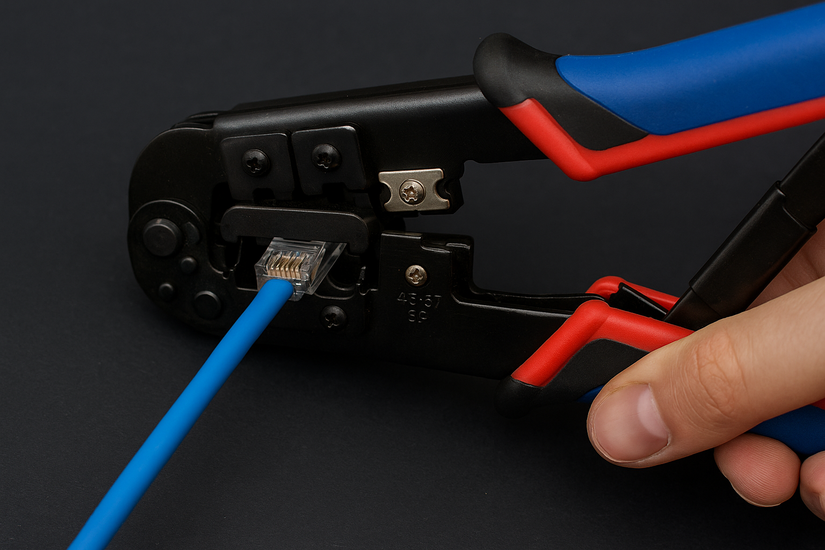
Place the connector into your crimping tool and press down with steady pressure until you hear a click. This secures the wires and ensures each copper contact pierces its matching wire. Check that the jacket is caught by the strain-relief tab inside the connector to prevent wires from pulling loose if the cable is bent or tugged.
3) How to Test Your Ethernet Cable
Use a basic cable tester
Connect one end of your cable to the main tester unit and the other end to the remote module. Turn on the tester and watch the indicator lights for each pin.
The lights should sequence from one to eight without skipping. If any light fails to turn on, the connection for that pin is broken or miswired.
Verify speed and stability
After passing the tester, connect the cable to your computer and router. In Windows, open Settings > Network & Internet > Ethernet to confirm that the link speed shows 1 Gbps or 10 Gbps, depending on your cable.

If your device shows a lower speed or drops connection, check for physical damage or replace one of the connectors. A properly crimped and tested cable should stay stable even under heavy use.
4) Common mistakes and how to avoid them
- Untwisting the wire pairs too far: This increases crosstalk and signal loss. Always keep the twists as close to the connector as possible.
- Mixing the T568A and T568B standards on opposite ends: This creates a crossover cable, which won’t work properly in most home setups.
- Misaligned or uneven wires: Causes partial connections inside the RJ-45 plug. Always check the color order and that all wires reach the connector’s end before crimping.
- Avoid cable runs longer than 100 meters (328 feet). Beyond this distance, signal degradation becomes noticeable even on high-quality Cat6A cables.
5) Troubleshooting Ethernet connection problems
- New cable doesn’t work: Start by checking that all eight wires are seated correctly inside the connector and the color order matches on both ends.
- One pin doesn’t make contact: Cut off the connector and re-crimp it. RJ-45 plugs are inexpensive, and replacing one is better than relying on a faulty connection.
- Slow or unstable connection: Keep Ethernet cables away from fluorescent lights, power cables, or wireless transmitters. If the problem persists, test the cable with another device or upgrade to Cat6A for better shielding and performance. Using high-quality connectors and tools also reduces signal loss.
Safety and maintenance tips
- When working with crimping tools and cutters, wear safety glasses to protect your eyes from wire fragments.
- Keep your workspace organized to avoid accidental snags or cuts.
- Label both ends of every cable so you know exactly where each line goes.
- Dispose of damaged cables responsibly - many recycling centers accept electronic waste.
- Proper maintenance helps your network stay reliable for years.
FAQs about wiring Ethernet cables
Can I mix Cat5e and Cat6 cables in the same network? Yes, but your speed will default to the slower cable. Always use matching categories for consistent performance.
Do I need shielded cables at home? Not usually, unless your cables run near heavy electrical equipment. Shielded cables are better suited for industrial or high-interference environments.
How long can an Ethernet cable be? The maximum recommended length for any Ethernet cable is 100 meters (328 feet). Beyond that, you’ll need a switch or repeater to maintain signal strength.
Summary: Quick steps to wire an Ethernet cable
- Cut the Ethernet cable to length.
- Strip about one inch of the jacket.
- Arrange wires in T568B order.
- Insert the wires into the connector.
- Crimp the connector and test the cable.
Conclusion
Wiring your own Ethernet cables gives you full control over your home or office network. With careful preparation, the right tools, and proper technique, you can create reliable connections that perform just like professional installations.
Once you’ve mastered the process, you’ll never need to buy pre-made cables again. You’ll also have the skills to fix or customize any cable to fit your exact setup.


Discussion (0)
Be the first to comment.