


If you want to upgrade your system easily, you can use Windows 11 Installation Assistant to install or upgrade to Windows 11 without complicated steps. It is an official tool from Microsoft designed to help users move to Windows 11 smoothly.
This method is ideal if your PC is compatible and you want a straightforward upgrade process without using bootable media.
What Is Windows 11 Installation Assistant?
The Windows 11 Installation Assistant is a Microsoft tool that helps you upgrade your existing Windows 10 system to Windows 11.
It checks your system compatibility and guides you through the installation process automatically.
With this tool, you can:
- Upgrade from Windows 10 to Windows 11
- Install the latest version of Windows 11
- Avoid manual ISO or USB installation
It is one of the easiest ways to install Windows 11.
When Should You Use Windows 11 Installation Assistant?
You should use this tool if:
- Your PC meets Windows 11 requirements
- You are currently on Windows 10
- You want a simple upgrade process
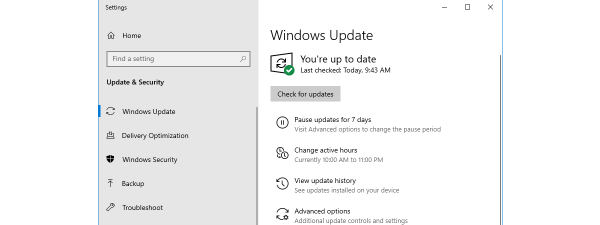
- Windows Update is not offering the upgrade
It is not meant for clean installations on a blank system.
Requirements Before You Start
Before you use Windows 11 Installation Assistant, make sure:
- Your PC supports Windows 11
- TPM 2.0 is enabled
- Secure Boot is enabled
- You have stable internet connection
- At least 20 GB free storage
You should also back up important data.
How to Use Windows 11 Installation Assistant
Follow these steps to upgrade your system.
Step 1: Download Installation Assistant
- Open your browser
- Go to the official Microsoft website
- Download Windows 11 Installation Assistant

Step 2: Run the Tool
- Open the downloaded file
- Accept the license terms
The tool will check system compatibility.
Step 3: Start Installation
- Click Install
- The tool will download Windows 11
- Installation will begin automatically
This may take some time depending on your internet speed.
Step 4: Restart Your PC
Once the process completes:
- Restart your computer
- Windows 11 will finish installing
Your files and apps will remain intact.
What Happens During Installation
While you use Windows 11 Installation Assistant:
- Your system downloads required files
- Files are prepared for upgrade
- Your PC restarts multiple times
- Windows 11 replaces Windows 10
You do not need to perform manual steps.
Benefits of Using Installation Assistant
This method offers several advantages.
- Easy and guided process
- No need for USB or ISO
- Keeps your files and apps
- Official and safe method
- Minimal technical knowledge required
It is suitable for most users.
Limitations of Installation Assistant
There are a few limitations to consider.
- Only works for upgrading from Windows 10
- Requires compatible hardware
- Cannot be used for clean install
- Needs stable internet connection
For fresh installations, you need other tools.
Alternative Methods to Install Windows 11
If Installation Assistant is not suitable, you can use:
- Windows Update
- Media Creation Tool
- Bootable USB drive
These methods offer more flexibility.
Final Thoughts
Learning how to use Windows 11 Installation Assistant makes upgrading your PC simple and hassle-free. It is the easiest official way to move from Windows 10 to Windows 11 without dealing with complex setup steps.
For most users, this tool provides a smooth and reliable upgrade experience.
FAQs
What is Windows 11 Installation Assistant?
It is a Microsoft tool used to upgrade Windows 10 to Windows 11.
Does it delete my files?
No. Your files and apps are preserved during the upgrade.
Can I use it for clean install?
No. It is only for upgrading existing systems.
Is it safe to use?
Yes. It is an official Microsoft tool.

Discussion (0)
Be the first to comment.