



The Blue Snowball iCE is one of the easiest USB microphones to use for streaming, podcasting, and online calls. It’s plug-and-play, so you can get crisp, clear audio without installing extra drivers. Here’s how to set up and fine-tune your Snowball iCE on Windows or macOS for the best sound quality.
1) Check what comes in the box
Before you start, make sure your microphone package includes everything you need. You should find the Blue Snowball iCE microphone, a tripod stand, and a USB cable. If any part is missing, replace it before setup to avoid instability or connection issues.
2) Assemble and position the microphone
Attach the tripod stand
Place the tripod on a flat surface and screw the microphone into it until it’s secure. Keep the mic about 6–8 inches from your mouth to maintain a natural tone while avoiding distortion.
Adjust the angle for best pickup
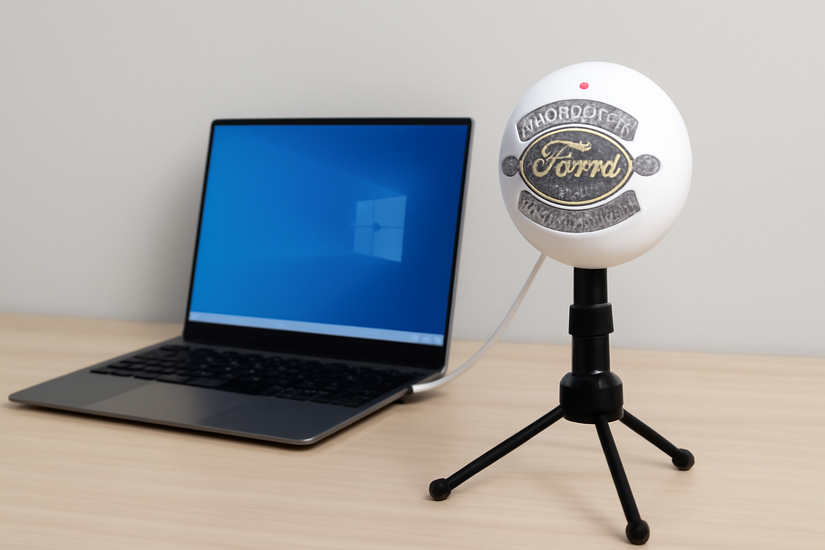
Tilt the microphone slightly upward toward your face. This helps capture a clear signal and minimizes room noise. Remember, the front side with the Blue logo should face you for proper sound pickup.
3) Connect the microphone to your computer
Use the included USB cable
Plug one end of the USB cable into the microphone and the other into a direct USB port on your computer. Avoid using USB hubs, as they can sometimes cause power or recognition issues.
Wait for automatic installation
Both Windows 10/11 and macOS automatically install the required drivers. Wait a few seconds until your system recognizes the Blue Snowball iCE and confirms it’s ready to use.
4) Set the Blue Snowball iCE as your input device
On Windows 10 or 11
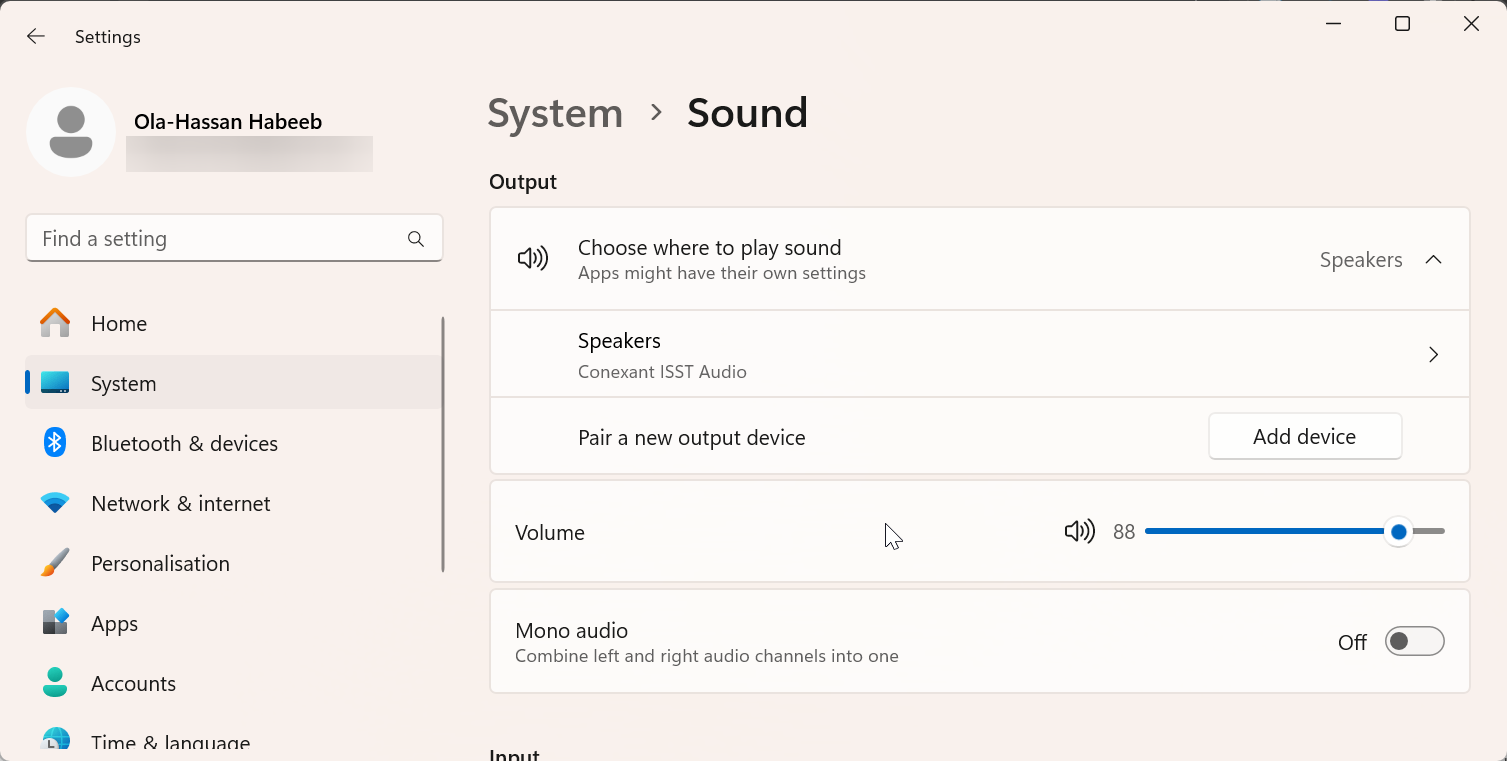
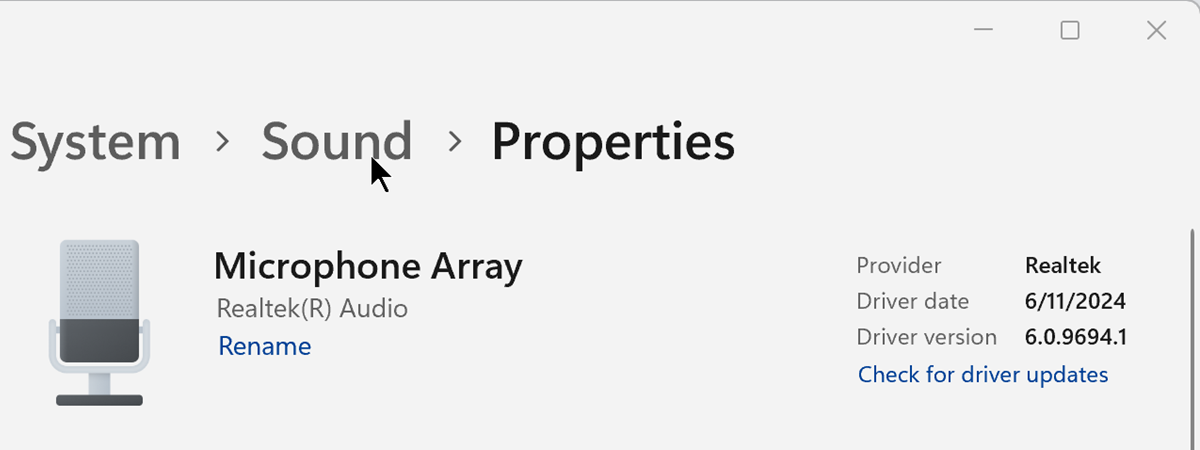
Open Settings > System > Sound and look for the Input section. Select Blue Snowball iCE from the drop-down list. Speak into the mic to test your levels - the input bar should move when it detects your voice.
On macOS
Go to System Settings > Sound > Input and choose Blue Snowball iCE as the input source. Adjust the input volume slider so your voice stays clear but doesn’t peak in the red zone.
5) Test and adjust audio levels
Use recording software
Open a free tool like Audacity or your preferred DAW. Speak normally and monitor the levels. Aim for peaks just below the maximum range to avoid clipping while keeping the volume strong and consistent.
Listen to the playback
Play back your test recording to check sound clarity. If your voice sounds muffled or distant, move the mic closer or adjust its angle. If it’s too loud or distorted, lower the input gain slightly.
6) Optimize for streaming or calls
Configure in apps
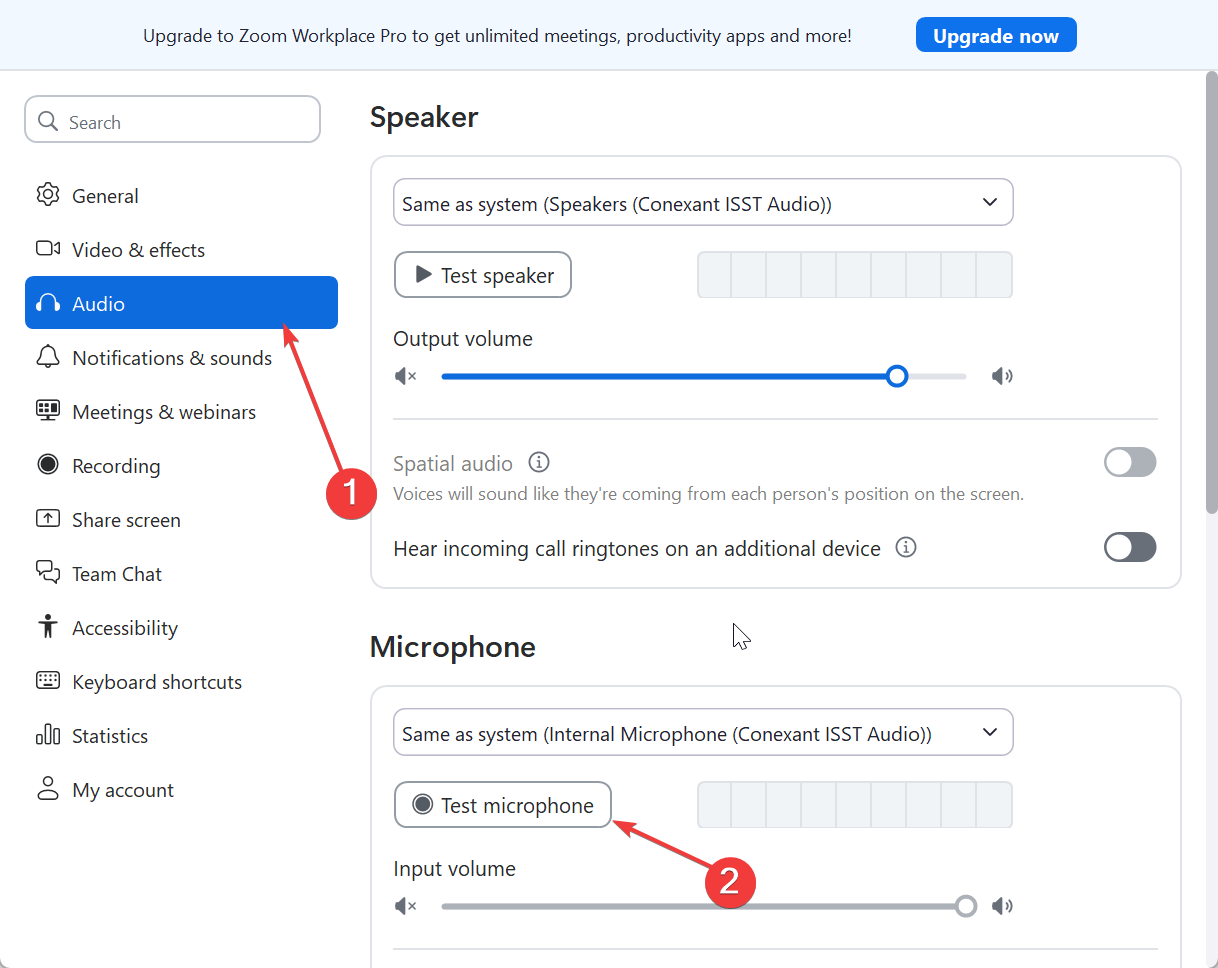
Open your streaming or call app - such as OBS, Discord, or Zoom - and go to Audio Settings. Set Blue Snowball iCE as the default input device. Enable any built-in noise suppression or echo cancellation options available in each app.
Use proper mic technique
Speak directly into the front of the mic, not the top or back. Keep your voice steady and avoid touching the mic or stand during recording to reduce vibrations and handling noise.
7) Fix common Blue Snowball iCE problems
- Mic not detected: If the mic isn’t recognized, try another USB port or cable. On Windows, go to Privacy > Microphone and make sure app access is allowed. Restart the PC if the issue persists.
- Sound too quiet or distorted: Lower your input volume and maintain a consistent distance from the mic. Speaking too closely or too loudly can cause distortion. Make sure you’re using the front-facing side for recording.
- Echo or background noise: Record in a quiet space or add a pop filter and foam windscreen. Turn off room fans or background devices that might introduce ambient noise.
Tips for best audio quality
- Use a pop filter to reduce plosive sounds.
- Record in a smaller room to minimize echo.
- Disable system sound enhancements for cleaner capture.
- Place the mic on a shock mount if you move your desk often.
Summary of steps
- Unbox and mount your microphone on the stand.
- Connect the USB cable to your PC or Mac.
- Select Blue Snowball iCE as the input device.
- Adjust gain and test your recording levels.
- Configure the mic in your streaming or call apps.
- Troubleshoot common detection or quality issues.
Conclusion
Setting up your Blue Snowball iCE takes just a few minutes. Once positioned correctly and calibrated, it delivers clear, broadcast-quality audio for calls, recordings, or streams. With simple adjustments and good mic technique, you’ll sound professional on any platform.

Discussion (0)
Be the first to comment.