




If you want a big-screen streaming setup without a smart TV, learning how to set up Roku on projector is one of the easiest options. At the time of writing, every current Roku streaming device connects over HDMI, which makes it a natural match for most modern projectors. Once the Roku is plugged in, powered, and connected to Wi-Fi, you can stream Netflix, Hulu, or live TV on a wall or projector screen in just a few minutes.
Before you start, confirm that your projector has an HDMI input or that you have the right adapter for older VGA or Component inputs. You will also need a stable Wi-Fi connection for Roku streaming, and either built-in projector speakers or an external sound system connected to the projector or Roku.
How To Set Up Roku On Projector
Use these steps for most Roku Stick, Roku Express, and Roku Ultra models when connecting to a home or classroom projector.
- Place the projector where you plan to use it and point it at your screen or wall.
- Check the back or side of the projector for an HDMI port; if it only has VGA or Component inputs, connect an HDMI adapter that matches your projector.
- Plug the Roku device into the projector’s HDMI port or into the HDMI side of your adapter.
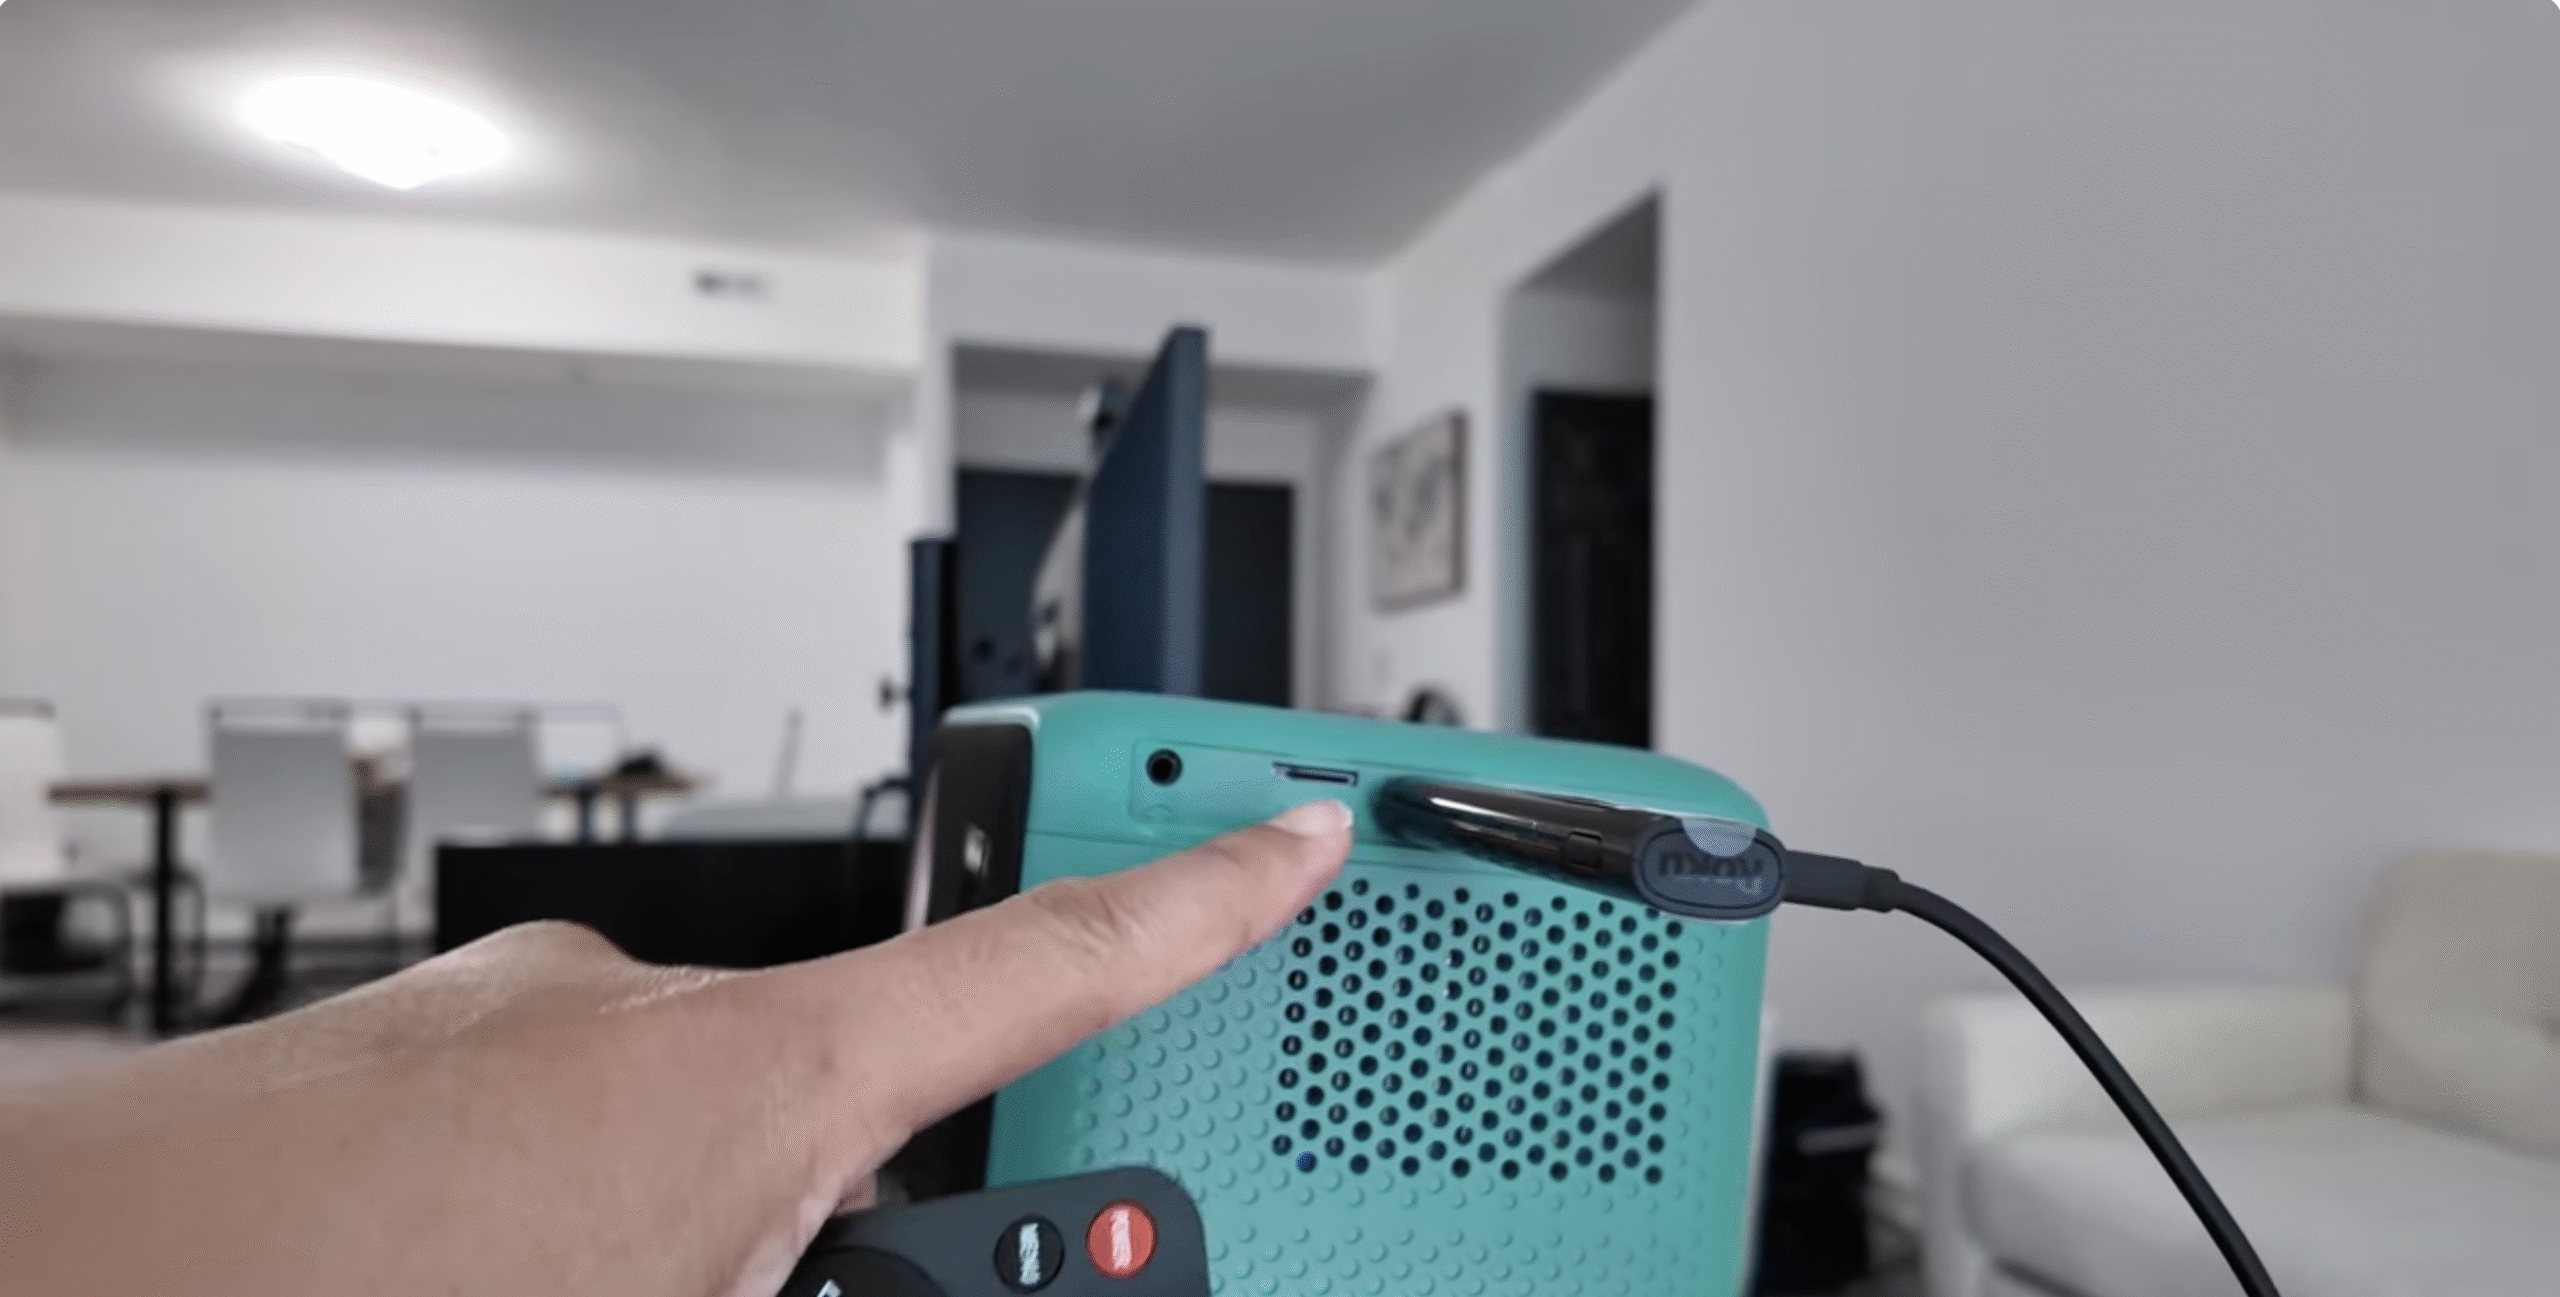
- Connect the Roku power cable to a USB power adapter or to a powered USB port on the projector, if available.
- Turn on the projector and select the HDMI input that matches the port used by the Roku.

- Wait for the Roku welcome screen to appear; if you see “No Signal,” double-check the input source and HDMI connection.
- Use the Roku remote to choose your language and region on the first setup screens.
- Connect the Roku to your Wi-Fi network from the on-screen Network menu, or plug in an Ethernet cable if your Roku and projector setup supports wired networking.
- Sign in to your existing Roku account or create a new one when prompted.
- Enter the activation code shown on the projector screen at the Roku link page on your phone or computer.
- Allow the Roku to download updates and add the default streaming channels to your home screen.
- Open a streaming app like Netflix or YouTube to test video and adjust the projector’s focus and keystone so the image looks sharp and squared.

- Connect external speakers or a soundbar to the projector’s audio output or to the Roku (if your model supports separate audio out) for better sound in larger rooms.
Once everything is configured, your Roku projector setup works just like a Roku connected to a regular TV, with the same home screen, streaming apps, and remote controls.
Troubleshooting Common Problems
- No video on the screen: Verify that the projector is on the correct HDMI input and that the Roku is fully inserted into the port or adapter.
- “No Signal” message: Try a different HDMI cable or adapter, and make sure the projector supports the resolution selected in the Roku display settings.
- Image looks blurry or crooked: Adjust the projector focus ring and keystone control, then reposition the projector so it sits level with the screen.
- No sound from the projector: Check the projector volume, confirm audio is not muted in the Roku interface, and make sure you are using the correct audio output (projector speakers or external speakers).
- Roku keeps buffering: Move the projector and Roku closer to the Wi-Fi router or switch to wired Ethernet if your Roku model supports it.
Tips
- Use a short, high-quality HDMI cable or a direct plug-in Roku Stick to reduce signal issues in your Roku projector setup.
- Choose a darker room or use blackout curtains to improve picture contrast from budget projectors.
- Enable auto-adjust display settings in Roku to let the device pick the best resolution for your projector.
- Mount the projector on the ceiling or a stable shelf to avoid bumping it and knocking the image out of alignment.
FAQ
Can I use Roku on any projector? You can use Roku with any projector that accepts HDMI or that can work with an HDMI adapter for older inputs.
Do I need Wi-Fi to run Roku on a projector? Yes. Roku streaming devices need internet access, usually over Wi-Fi, to load channels and play movies or TV shows.
Will Roku work with a portable mini projector? Most portable projectors with HDMI ports support Roku streaming sticks as long as they provide enough power or you use an external USB power adapter.
How do I get better sound from my projector setup? Connect powered speakers or a soundbar to the projector’s audio output, or use your Roku model’s supported audio options with an external receiver.
Summary
- Confirm that your projector supports HDMI or use an appropriate adapter.
- Connect the Roku to the projector’s HDMI input and supply power.
- Select the correct HDMI input and follow the on-screen Roku setup steps.
- Connect to Wi-Fi, activate your Roku account, and install streaming apps.
- Fine-tune image and audio settings for the best projector viewing experience.
Conclusion
Setting up Roku on a projector only takes a few quick steps once you have the right ports and cables. After you plug in the Roku, join your Wi-Fi network, and adjust the display, the projector behaves like a giant streaming TV that can follow you from room to room. With a solid network connection and a simple audio upgrade, your Roku projector setup can handle movie nights, sports watch parties, and presentations without the cost of a full home theater system.


Discussion (1)
Hmmmm I purchased a new Roku streaming stick- completed 5 steps (language, wifi, etc) but now I am stuck on projector screen that is – Your Roku remote can control the power and volume of your TV. Continue (recommended) or Advance setup. So projectors are not TVs so not sure how I can navigate/bypass this portion. I have looked online, chatted with Roku bot but alas cannot complete Roku set up on my projector.