




Making a projector at home gives you a fun way to enjoy movies and photos without buying expensive hardware. You can build a simple version with items you already own, or aim for a brighter design with better optics.
Homemade projectors work best in dark rooms. They rely on basic light and lens principles, so proper setup improves sharpness and brightness.
1) How a DIY projector works
A magnifying lens enlarges the image from your device and sends it to your wall. Light from your screen passes through the lens and forms a projection at a distance. When you understand this process, you adjust your setup with better accuracy.
2) Materials you need (beginner build)
You only need basic items: a shoebox, a large magnifying lens, tape, scissors or a craft knife, and your smartphone. Most households already have these materials available, so this entry-level project costs very little.
3) How to make a basic shoebox smartphone projector
Prepare the shoebox
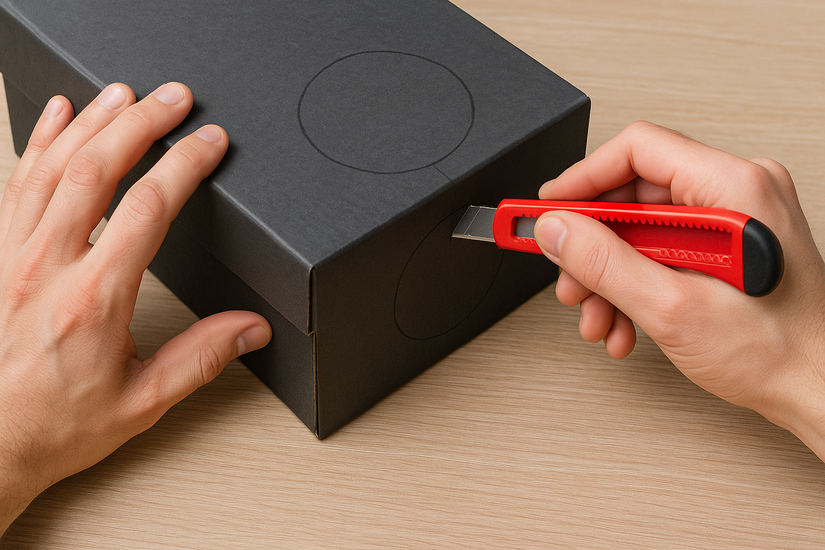
Place the magnifying lens on one side of the box and trace around the lens, then cut out the circle. Next, clean the edges so the lens sits flat and passes light without distortion.
Mount the lens
Insert the lens through the hole, then tape or glue it firmly to stop light leaks. Make sure the lens faces the correct direction for a sharper image.
Build a sliding phone stand
Fold the cardboard pieces into a small tray that fits your phone. Now, place the tray inside so you can move it forward and backward to focus the image.
Darken the box interior
Paint the inside of the box black or add dark paper. This reduces glare and increases image contrast. A darker interior also helps the lens capture more usable light.
Position and project
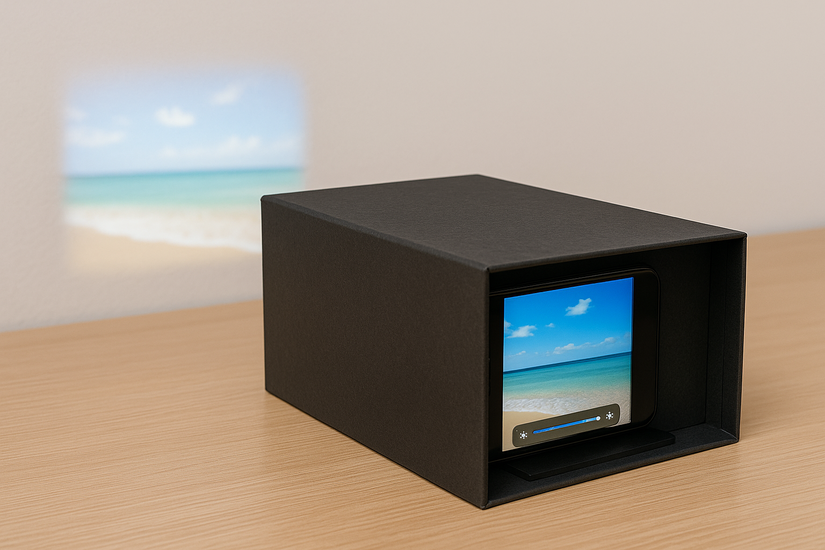
Place your phone inside with the brightness set to maximum. Next, rotate the screen orientation upside down so the projected image appears upright. Aim the box toward a white wall and adjust the distance until the image sharpens.
4) How to improve brightness and image quality
A large lens gathers more light, so you get a brighter picture with better edges. You also improve clarity by shortening the throw distance and using a brighter phone screen. These simple tweaks help your basic projector feel smoother and more usable.
5) Intermediate build: LED light source + convex lens
This build delivers a much brighter image than a shoebox model. It uses a dedicated LED module and a convex lens with a known focal length. You get a clearer image and a larger projection.
Parts you need
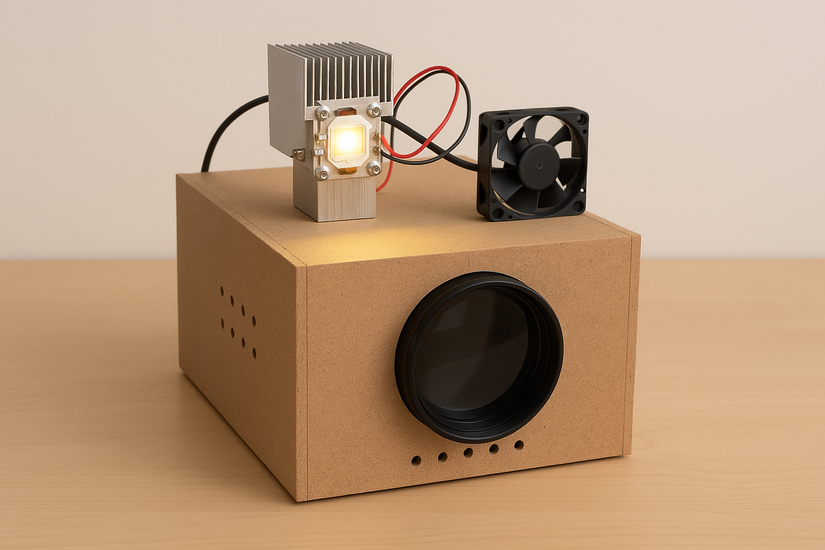
Gather a high-brightness LED, a heatsink, a small cooling fan, a convex lens, and a sturdy box or enclosure. These items provide stronger performance than a simple smartphone build.
Steps overview
Mount the LED on its heatsink to prevent overheating. Position the lens at the correct focal distance from the LED. Add ventilation holes or a fan to keep temperatures stable. After assembly, move the enclosure slightly until the picture sharpens.
6) Projector distance and screen size guide
Your screen size grows as you move the projector farther from the wall. A simple rule: doubling the distance roughly doubles the image size. Adjusting distance and ensuring proper alignment gives you a cleaner focus and a more comfortable viewing angle.
7) Recommended upgrades
You improve projection quality by adding a Fresnel lens, a Bluetooth speaker for better audio, or a reflective interior coating. You also get smoother results by pairing your setup with a basic projector screen. These additions raise the viewing experience without increasing complexity.
Troubleshooting common problems
- Image appears upside down: Set your phone to rotate the screen before placing it inside the box. You can also flip the phone physically if the orientation locks.
- Image looks blurry: Move the phone stand slightly forward or backward until the picture snaps into focus. Confirm that the lens sits perfectly flat against the box.
- Picture is too dim: Lower the room lights, reduce the throw distance, or upgrade the lens size. Even small changes in ambient light make a major difference.
- Edges look warped: Center your phone behind the lens to reduce distortion. A properly aligned lens improves symmetry immediately.
Safety tips for DIY projectors
- LED modules and enclosed boxes create heat, so add ventilation holes or a cooling fan during intermediate or advanced builds
- Use safe cutting tools when preparing cardboard or plastic
- Never leave a bright LED module running unattended
Summary
- Build the beginner shoebox projector with basic materials.
- Improve brightness by upgrading lenses, reducing light leaks, and darkening the box.
- Move to intermediate or advanced builds if you want stronger LEDs and sharper images.
- Use troubleshooting steps to solve common blur and brightness issues.
- Add optional upgrades for a more polished viewing setup.
Conclusion
A homemade projector lets you experiment with optics, creativity, and low-cost entertainment. Start with the simplest design and improve it with brighter light sources or better lenses when you feel ready. With careful setup, you enjoy a surprisingly usable projection system without buying dedicated hardware.


Discussion (0)
Be the first to comment.