



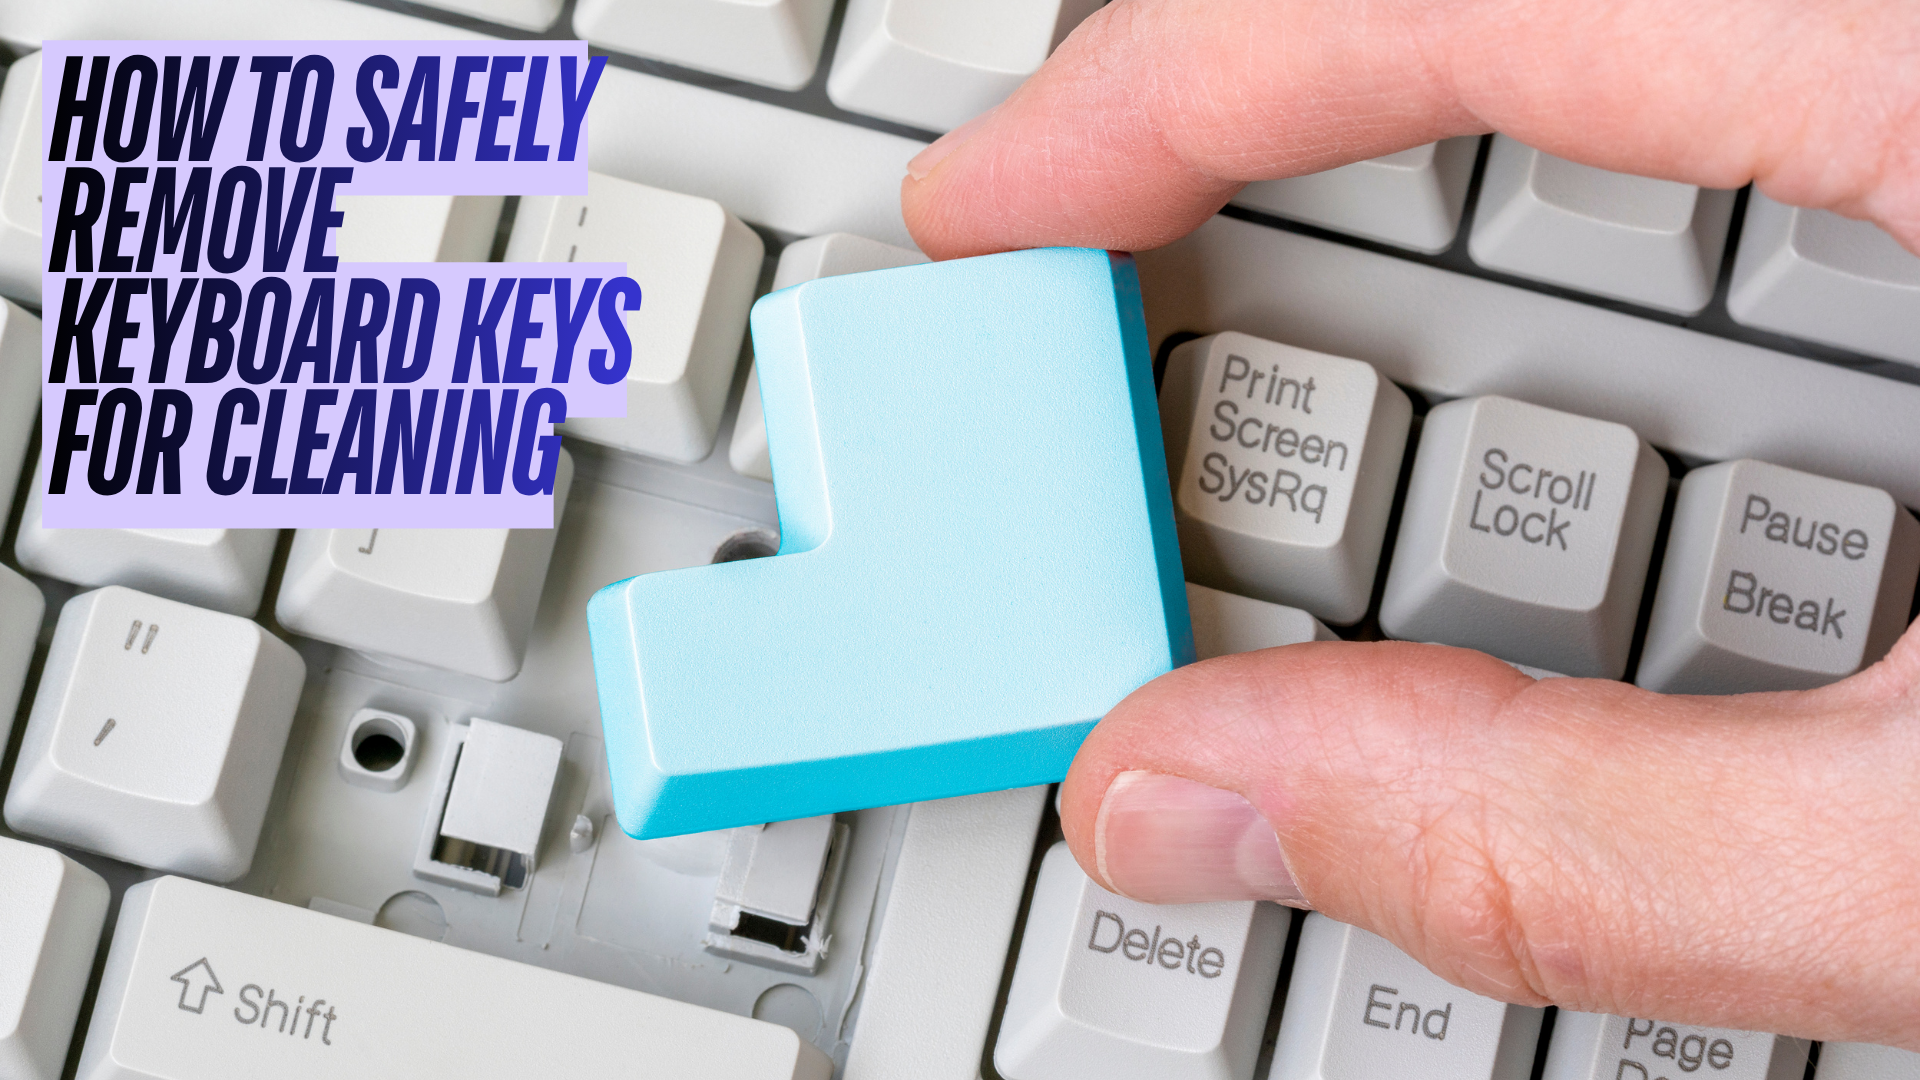
Dust, crumbs, and sticky spills slowly ruin even the best keyboard. If you want a deep clean, you eventually need to learn how to remove keyboard keys safely and properly without breaking anything.
This guide shows you how to remove keyboard keys on mechanical keyboards, desktop membrane boards, Windows laptops, and Mac laptops. You will also see when it is safer to clean a keyboard without removing any keys.
Follow the steps carefully, use the right tools, and you can remove keycaps, clean under the keys, and put everything back together without drama.
What Keyboard Keys And Switches Actually Do
Every keyboard keycap sits on top of a switch or rubber dome that sends a signal when you press it. The cap gives you something comfortable to press. The switch or dome handles the actual electrical contact.
Mechanical keyboards use individual switches for each key. Membrane keyboards use a rubber sheet that presses onto a printed circuit. Most laptop and MacBook keyboards use low-profile scissor or butterfly mechanisms that are much more fragile.
When you remove keyboard keys, you only want to remove the plastic keycaps. If you pry up too far or push sideways too hard, you can damage stems, scissor clips, or metal stabilizer bars and end up with loose or dead keys.
Should You Remove Keyboard Keys Or Just Clean Around Them
Before you start pulling keys, decide whether you really need to remove them. In many cases, surface cleaning is enough and much safer for laptop keyboards.
When It is Safe To Remove Keycaps
You can usually remove keyboard keys safely and properly when you have one of these setups:
- A mechanical keyboard with removable keycaps and a standard keycap puller.
- A full-size desktop membrane keyboard that uses taller keys and visible stems under each keycap.
- A single stuck key on a laptop that you understand how to disassemble based on the manufacturer's manual or a model-specific guide.
When You Should Avoid Popping Keys Off
In some cases, trying to remove laptop keys can do more harm than good. Use surface cleaning only if:
- You have an ultra-thin laptop or MacBook with very low-profile keys that feel delicate.
- You only want routine cleaning, not a repair for a broken or stuck key.
- The manufacturer's documentation specifically warns against removing keycaps.
If you are not sure whether your laptop's keys are removable, clean around them rather than pulling them off.
Tools You Need To Remove Keyboard Keys Safely
Gather your tools before you start. Having the right gear makes it much easier to remove keyboard keys safely and properly.
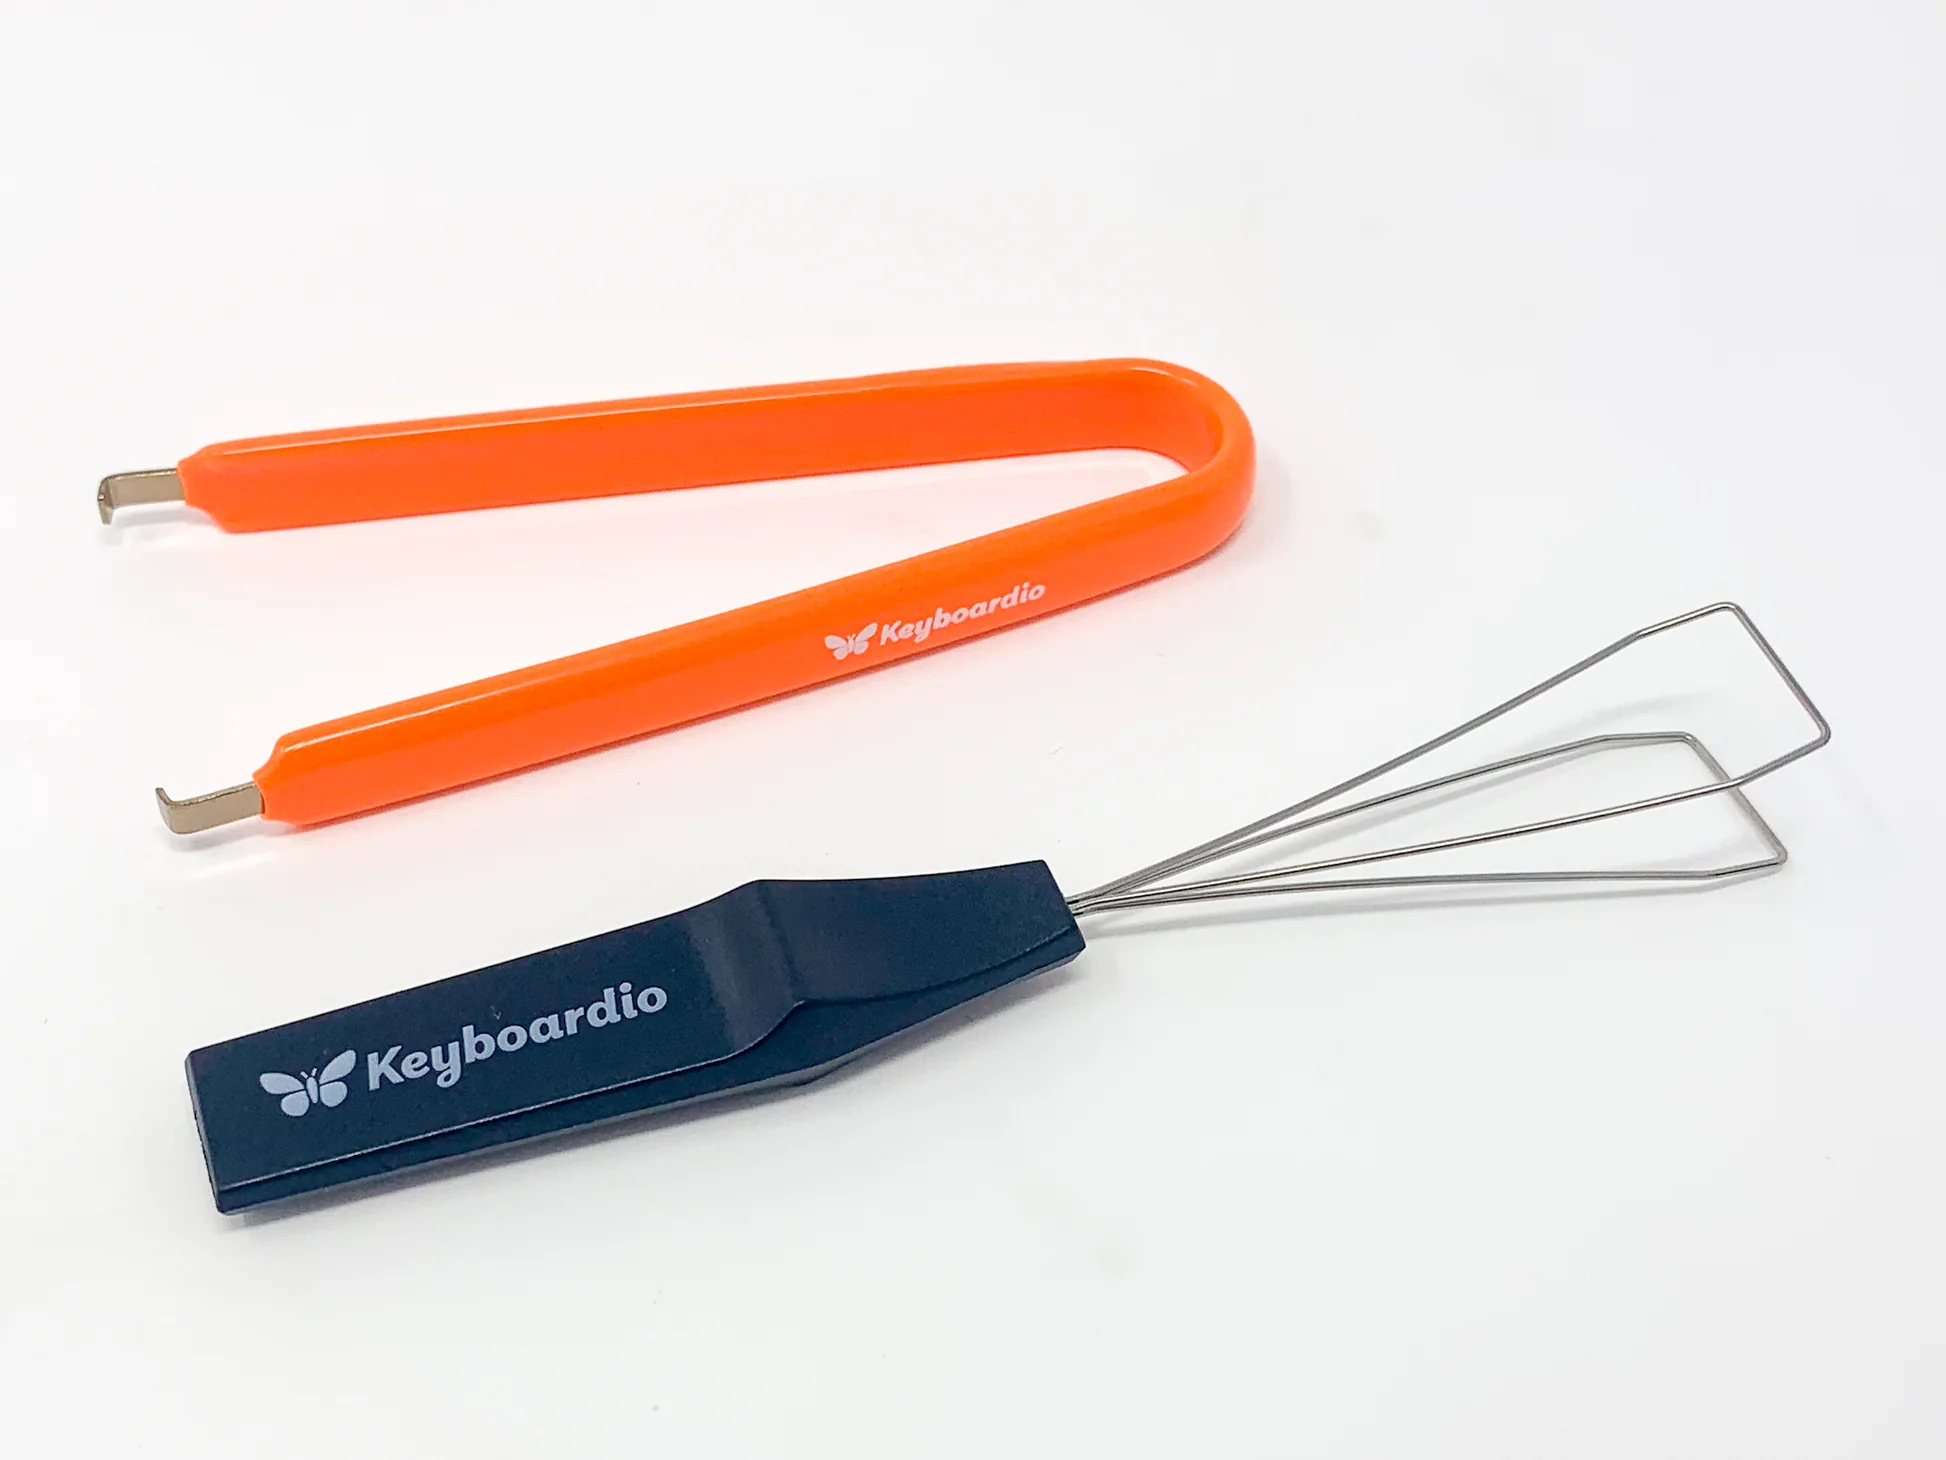
- Keycap Puller - Best choice for mechanical keyboards. A wire keycap puller grips keycaps without scratching them.
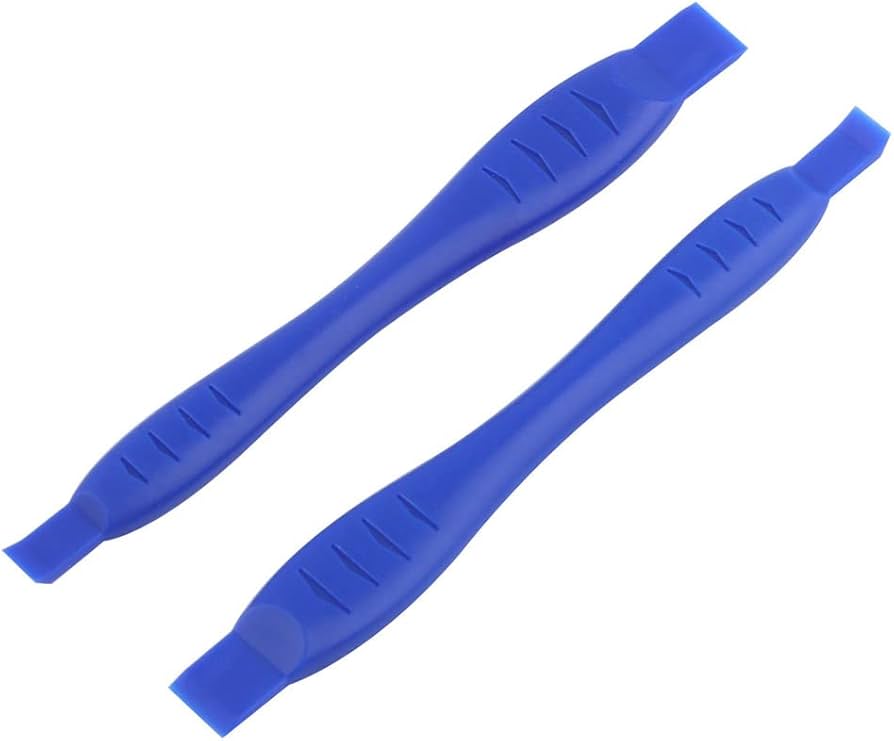
- Plastic Spudger Or Guitar Pick - Helpful for lifting desktop membrane keys and fragile laptop keys without digging into the plastic.
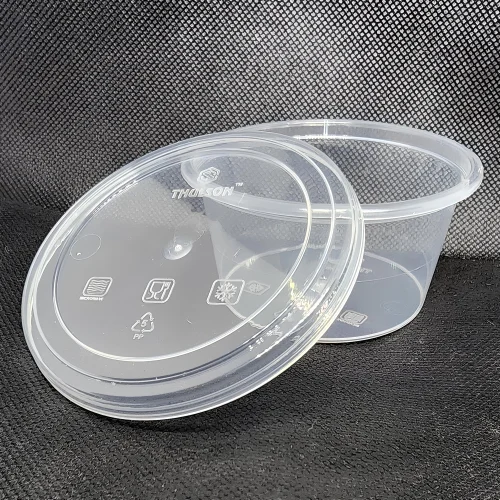
- Small Containers Or Bowls - Keep keycaps organized while you clean. Separate modifier keys and function keys.
- Microfiber Cloth - Wipe dust and fingerprints from keycaps and the keyboard frame.
- Compressed Air - Blow loose dust and crumbs away from switches and under laptop keys.
- Cotton Swabs - Spot clean around stems and stabilizers.
- Isopropyl Alcohol - Use a small amount on a cloth or swab to dissolve sticky residue. Aim for 70 percent or higher, but never pour it directly on the keyboard.
Unplug a wired keyboard and turn off Bluetooth keyboards and laptops before you start removing keycaps.
How To Remove Keys From A Mechanical Keyboard
Mechanical keyboards are the easiest and safest place to practice removing keyboard keys for deep cleaning or keycap upgrades.
Prepare Your Mechanical Keyboard
- Turn off the computer and unplug the keyboard or remove its batteries.
- Take a clear photo of the keyboard layout so you can reinstall each key in the right place later.
- Hold the keyboard upside down and gently shake it over a trash can to dislodge loose debris.
- Use compressed air to blow dust out from between the keys before you start pulling caps.
Pull Off The Keycaps
- Slide the wire keycap puller over the sides of a keycap so the wires catch under opposite edges.
- Pull straight up with steady pressure until the keycap pops off the switch stem.
- Drop the removed keycap into a container and move on to the next key.
- Remove regular letter and number keys first. Leave larger keys like Space, Enter, and Shift for last because they use stabilizer bars.
- When you remove a large key, pull slowly and watch for the metal stabilizer to avoid bending it.
Clean And Reinstall The Mechanical Keycaps
- Wipe dust from the exposed keyboard plate and switch housings with a dry microfiber cloth.
- Use a cotton swab lightly dampened with isopropyl alcohol to clean around any sticky switch stems.
- Clean keycaps with warm soapy water in a bowl if the manufacturer says they are washable, then dry them completely.
- Line up each keycap with the switch stem and press straight down until it clicks into place.
- For large keys, align the stabilizer bar first, then press evenly across the key to seat both clips.
Once everything is dry and reinstalled, plug your mechanical keyboard back in and test every key.
How To Remove Keys From A Desktop Membrane Keyboard
Many desktop membrane keyboards also have removable keycaps, but the plastic stems and rubber domes can be easier to damage. Work slowly and gently.
Check Whether Your Membrane Keys Are Removable
- Unplug the keyboard from your computer.
- Press a corner of a keycap and gently wiggle it to see if it feels like a separate piece sitting on a stem.
- Search for your keyboard model online and confirm that people have successfully removed keycaps for cleaning.
- If keys feel completely flat and fused with the top plate, do not pry them off. Use surface cleaning only.
Remove Membrane Keyboard Keys Safely
- Use a plastic spudger, guitar pick, or a DIY keycap puller made from a bent paperclip if you do not have a proper puller.
- Slide the tool gently under the top edge of a keycap, not the side that faces the space bar.
- Lift straight up with even, gentle pressure until the keycap pops off the rubber dome and stem.
- Place each removed keycap into a container, grouping them by rows or sections for easier reassembly.
- Avoid twisting the keycap sideways, which can tear the rubber dome or snap a plastic clip.
Clean Under Membrane Keyboard Keys
- Use compressed air to blow away dust, crumbs, and hair from the exposed rubber domes and circuit sheet.
- Wipe the plastic around each dome with a slightly damp microfiber cloth if it looks grimy.
- Use a cotton swab with a tiny amount of isopropyl alcohol to loosen sticky spots, then let everything dry completely.
- Push each keycap straight down until it snaps back onto its dome and stem, using your reference photo as a map.
How To Remove Keyboard Keys On A Laptop
Removing laptop keys is much riskier than removing desktop keycaps. The scissor mechanisms underneath are thin and easy to bend. Only remove laptop keys when you really need to fix a stuck or broken key.
Clean A Laptop Keyboard Without Removing Keys
For routine cleaning, use this safer method instead of removing laptop keys.
- Turn off the laptop and unplug it. If possible, remove the battery.
- Hold the laptop upside down at an angle and gently shake it to dislodge loose crumbs.
- Use short bursts of compressed air between rows of keys to move dust out.
- Wipe the tops of the keys with a slightly damp microfiber cloth and a small amount of isopropyl alcohol.
- Use cotton swabs to clean around the edges of keys where dirt collects.
Remove A Single Laptop Key At Your Own Risk
If one laptop key is badly stuck and surface cleaning does not help, you can try to remove that single key. Check a model-specific guide first if you can find one.
- Turn off the laptop, disconnect power, and work in a bright, clean area.
- Take a clear photo of the full keyboard before you touch any keys.
- Choose a regular letter key, not a large key like Space or Enter, for your first attempt.
- Use a plastic spudger or guitar pick at the top edge of the keycap and gently lift until you feel a small snap.
- Move the tool to an adjacent corner and lift again so both top clips release.
- Once the top is free, lift the keycap away from the scissor mechanism without bending the tiny plastic arms.
- Remove obvious crumbs or sticky residue with compressed air and a cotton swab dampened with isopropyl alcohol.
- To reinstall, set the keycap back on the mechanism and press down evenly until it clicks into place.
If you feel strong resistance, stop and seek a repair guide or professional help. For many modern laptops, cleaning around the keys is the safer choice.
How To Remove Keys On A Mac Laptop
MacBook keys use very delicate scissor or butterfly mechanisms, depending on the generation. Apple generally treats the keyboard as non-serviceable for regular users.
If you are not comfortable working with fragile plastic clips, clean your Mac keyboard without removing keys and let an Apple technician handle serious problems.
Safer Cleaning For MacBook Keys
- Shut down the MacBook and unplug it from power.
- Hold the laptop at a slight angle and use compressed air across the keyboard in short bursts.
- Rotate the MacBook and repeat the air cleaning from different directions.
- Wipe keytops with a soft microfiber cloth dampened slightly with water or isopropyl alcohol, never with harsh cleaners.
Only users with experience and a model-specific guide should attempt to remove Mac keycaps. It is easy to break the scissor mechanism or lose tiny clips.
How To Clean Keycaps And Keyboard After Removal
Once you know how to remove keyboard keys safely and properly, you can deep clean the keycaps and the keyboard surface.
- Soak plastic mechanical keycaps in warm soapy water for several minutes, then rinse and dry them on a towel.
- Do not soak laptop keycaps, MacBook keys, or any keycaps that have attached stabilizer bars or metal parts.
- Use compressed air to clean around switch housings, rubber domes, and stabilizers on the bare keyboard.
- Lightly swab sticky areas with isopropyl alcohol and let everything dry fully before you reassemble.
- Reinstall keycaps using your reference photo and test each key as soon as you plug the keyboard back in.
Pros And Cons Of Removing Keyboard Keys
Removing keyboard keys has clear benefits but also real risks, especially on laptops.
Benefits Of Removing Keyboard Keys
- Deep clean crumbs, hair, and spills that normal wiping cannot reach.
- Fix stuck keys by removing dried liquid or debris under the keycap.
- Swap keycaps on a mechanical keyboard for better feel or a custom look.
- Extend the life of a good keyboard by keeping switches and domes clean.
Risks Of Removing Keyboard Keys
- Breaking scissor mechanisms on laptop or Mac keyboards, which can require full keyboard replacement.
- Bending stabilizer bars on large keys like Space or Enter.
- Snapping stems or clips on cheap membrane keyboards.
- Losing small parts if you do not keep keycaps and stabilizers organized.
Safety Tips For Removing Keyboard Keys
Use these quick safety tips every time you remove keyboard keys.
- Unplug or power down the device before you start.
- Take photos of the layout so you can reinstall keys correctly.
- Use proper tools like a keycap puller and plastic spudger instead of metal knives.
- Pull straight up, not sideways, to avoid snapping stems and clips.
- Do not use bleach, glass cleaner, or ammonia-based products on keycaps.
- Let all parts dry completely before powering the keyboard or laptop back on.
- Skip key removal on fragile laptops if you are not comfortable with the risk.
Final Thoughts On How To Remove Keyboard Keys Safely And Properly
When you know how to remove keyboard keys safely and properly, you can keep your favorite keyboard feeling new for years. Mechanical keyboards handle frequent keycap removal well. Desktop membrane keyboards can be cleaned carefully with the right tools. Laptop and MacBook keys demand much more caution and are often better cleaned without prying anything off.
Start with the safest methods, take your time, and learn how your specific keyboard is built before you pop any keycaps. Done correctly, removing keyboard keys lets you clean under the keys, fix small problems, and build a keyboard that looks and feels exactly the way you want.
Discussion (0)
Be the first to comment.