

Flushing the DNS cache in Windows helps fix internet connection issues, website loading errors, and problems caused by outdated or corrupted DNS records. It forces your system to request fresh DNS information from the network.
This guide explains how to flush the DNS cache in Windows 10 and Windows 11 using simple and safe methods.
What Does Flushing the DNS Cache Do
The DNS cache stores temporary records of websites you visit so Windows can load them faster next time. Over time, these records can become outdated or corrupted.
Flushing the DNS cache:
- Removes old or incorrect DNS entries
- Fixes website access errors
- Helps resolve connection issues after DNS changes
- Improves troubleshooting for network problems
It does not delete personal data or browsing history.
When You Should Flush the DNS Cache
You may need to flush the DNS cache if:
- A website fails to load but works on other devices
- You recently changed DNS settings
- You receive DNS-related errors
- A website’s IP address has changed
It is a safe step to try before more advanced troubleshooting.
Flush DNS Cache Using Command Prompt
This is the most common and reliable method.
Steps:
- Press Windows + S
- Type Command Prompt
- Right-click it and select Run as administrator
- Type the following command and press Enter:
ipconfig /flushdns
You should see a confirmation message stating that the DNS Resolver Cache was successfully flushed.
Flush DNS Cache by Restarting DNS Client Service
Another method is restarting the DNS Client service.
Steps:
- Press Windows + R
- Type
services.mscand press Enter - Find DNS Client
- Right-click it and select Restart
This refreshes DNS records without using commands.
Flush DNS Cache by Restarting DNS Client Service
Another method is restarting the DNS Client service.
Steps:
- Press Windows + R
- Type
services.mscand press Enter - Find DNS Client
- Right-click it and select Restart
This refreshes DNS records without using commands.
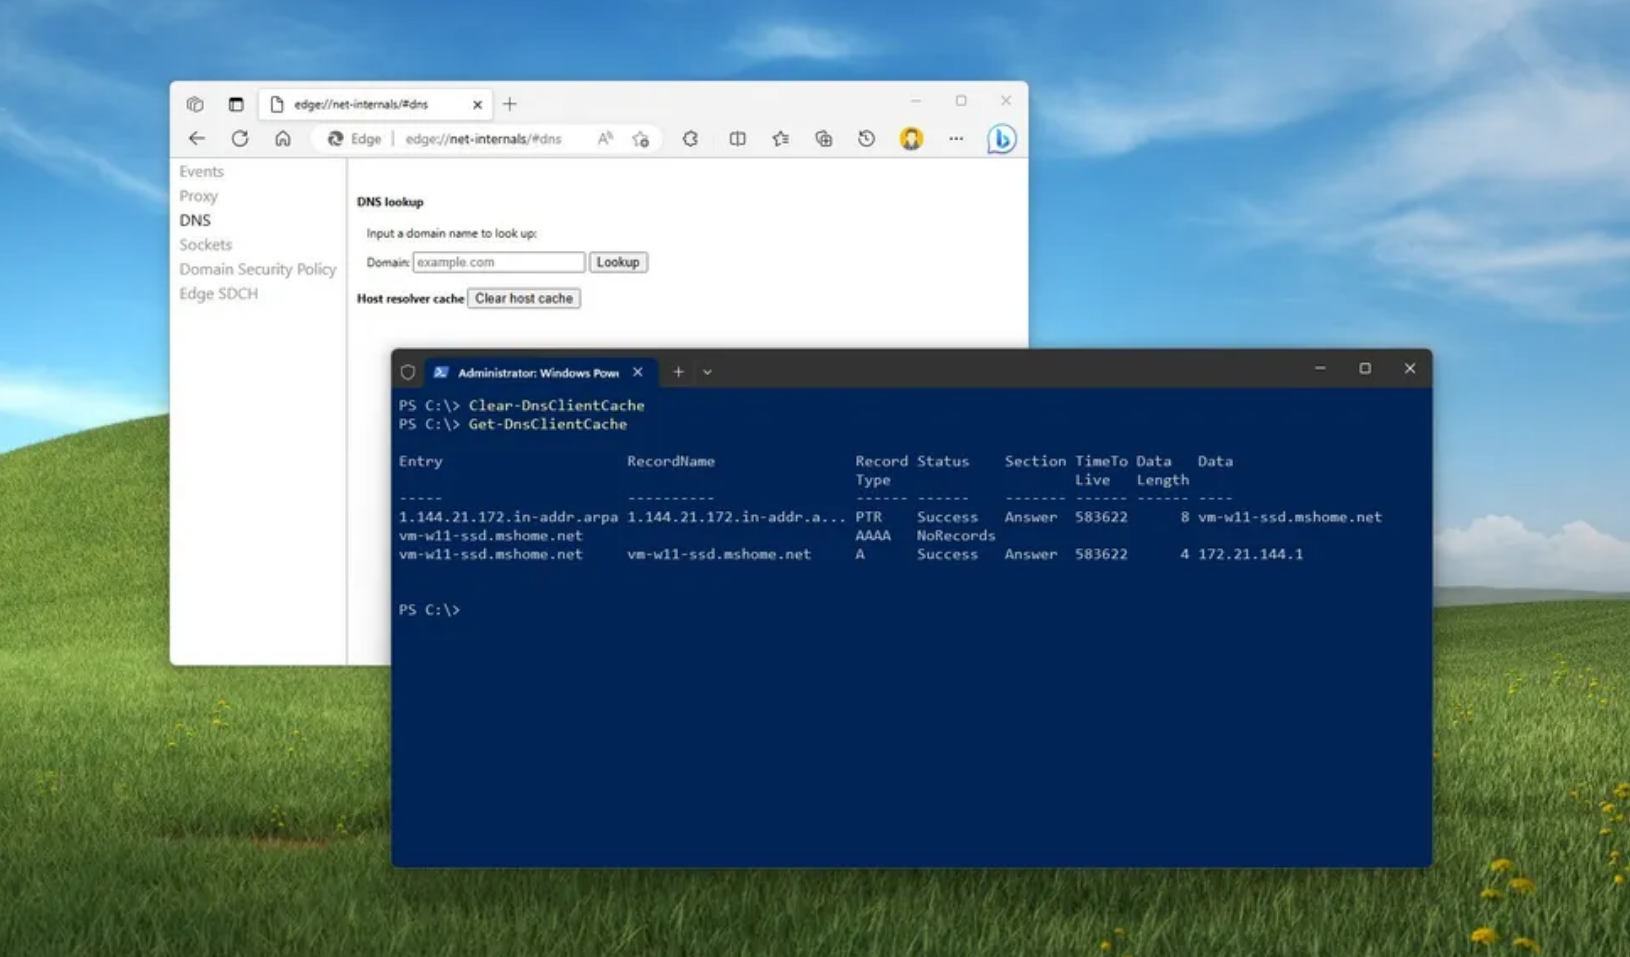
Clear Browser DNS Cache
Some browsers maintain their own DNS cache.
To clear it:
- Restart the browser
- Clear browser cache if needed
- For Chromium-based browsers, you can use internal DNS pages
This is useful if DNS issues occur only in a specific browser.
Does Flushing DNS Affect Internet Speed
Flushing the DNS cache may slightly slow down the first visit to a website because Windows needs to fetch new DNS records. After that, performance returns to normal.
There is no negative long-term impact on internet speed.
Final Thoughts
Flushing the DNS cache in Windows 10 and Windows 11 is a quick and effective way to fix common network and website issues. It is safe, easy to do, and often resolves problems without needing advanced troubleshooting.
If you experience frequent DNS-related errors, flushing the cache should be one of the first steps you try.
FAQs
Is it safe to flush the DNS cache
Yes, flushing the DNS cache is completely safe.
Does flushing DNS delete browsing history
No, it only clears stored DNS records.
How often should I flush DNS cache
Only when you experience network or website issues.
Does this work on both Windows 10 and Windows 11
Yes, the steps are the same on both versions.
Do I need admin rights to flush DNS cache
Yes, administrator privileges are required for command-based methods.


Discussion (0)
Be the first to comment.