

If you want to enable TPM 2.0 for Windows 11, you usually need to turn on the Trusted Platform Module feature from your computer’s BIOS or UEFI settings. TPM 2.0 is a security chip that provides hardware-based protection for encryption, authentication, and system integrity.
Microsoft requires TPM 2.0 for Windows 11 because it improves system security and enables features such as BitLocker encryption and Windows Hello. This guide explains how to enable TPM 2.0 on your computer.
What Is TPM 2.0?
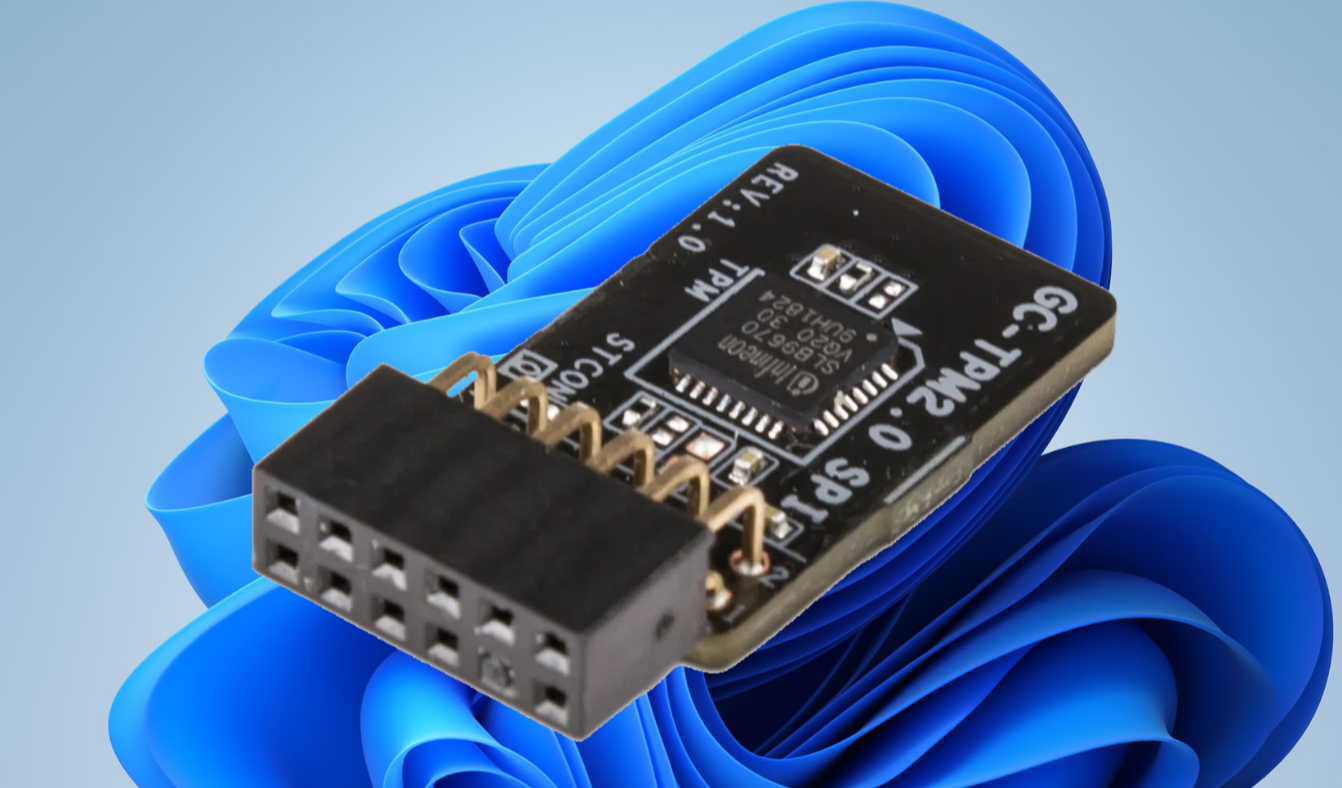
TPM 2.0 (Trusted Platform Module) is a security technology built into most modern motherboards and processors. It stores encryption keys and security data in a protected hardware environment.
TPM helps protect your system by:
- Securing encryption keys
- Protecting sensitive data
- Enabling secure boot features
- Supporting Windows Hello authentication
- Improving system integrity checks
Because of these benefits, TPM 2.0 is required for installing Windows 11.
Check If TPM Is Already Enabled
Before enabling TPM, check whether it is already active on your computer.
Steps:
- Press Windows + R to open the Run dialog.
- Type tpm.msc and press Enter.
The TPM Management window will appear.
If TPM is enabled, you will see TPM 2.0 listed with the status Ready for use.
How to Enable TPM 2.0 in BIOS or UEFI
If TPM is disabled, you can enable it in the system firmware settings.
1: Enter BIOS or UEFI Settings
- Restart your computer.
- During startup, press the BIOS key such as F2, Delete, or Esc (depends on the motherboard).
This will open the BIOS or UEFI interface.
2: Locate TPM Settings
Look for security or advanced settings.
Common TPM names include:
- TPM Device
- Trusted Platform Module
- Intel Platform Trust Technology (PTT)
- AMD fTPM
The exact location depends on the motherboard manufacturer.
3: Enable TPM
- Select the TPM option.
- Change the setting to Enabled.
- Save the changes.
4: Restart the Computer
Exit BIOS and allow the system to reboot.
Windows should now detect TPM 2.0.
Verify TPM After Enabling It
After restarting your computer:
- Press Windows + R.
- Type tpm.msc.
- Press Enter.
Confirm that TPM 2.0 is enabled and ready for use.
Alternative TPM Names for Different Systems
Different manufacturers may use different names for TPM features.
Common alternatives include:
- Intel PTT (Platform Trust Technology)
- AMD fTPM
- Security Device Support
Enabling these options activates TPM functionality.
Why TPM 2.0 Is Required for Windows 11
Microsoft requires TPM 2.0 for Windows 11 because it enhances system security.
It helps support features such as:
- Secure Boot
- BitLocker drive encryption
- Windows Hello authentication
- Secure credential storage
These features protect the system from malware and unauthorized access.
Final Thoughts
Learning how to enable TPM 2.0 for Windows 11 is important if you plan to upgrade your system or improve security features. In most cases, enabling TPM simply requires turning on the correct setting in BIOS or UEFI.
Once enabled, Windows 11 can use TPM to enhance encryption, authentication, and overall system protection.
FAQs
What is TPM 2.0 used for?
TPM 2.0 provides hardware-based security for encryption, authentication, and system protection.
Is TPM 2.0 required for Windows 11?
Yes. Microsoft requires TPM 2.0 to install Windows 11.
Where do I enable TPM?
You can enable TPM in the computer’s BIOS or UEFI settings.


Discussion (0)
Be the first to comment.