


At some point, you’ll need to know exactly what’s inside your PC. Maybe you’re planning an upgrade, troubleshooting performance issues, or checking compatibility for software or games.
Windows 10 gives you multiple ways to check your system specifications, but not all of them show the full picture. If you rely on just one method, you’ll likely miss important details.
The goal isn’t just to check specs. It’s to understand them properly.
What “Full Specifications” Actually Include
When people say “full specs,” they usually mean more than just the processor and RAM.
A complete view includes:
- CPU (processor model and speed)
- RAM (installed memory)
- GPU (graphics card)
- Storage type and capacity
- System type (32-bit or 64-bit)
- Windows version and build
No single screen in Windows shows everything clearly, which is why you need to use a combination of tools.
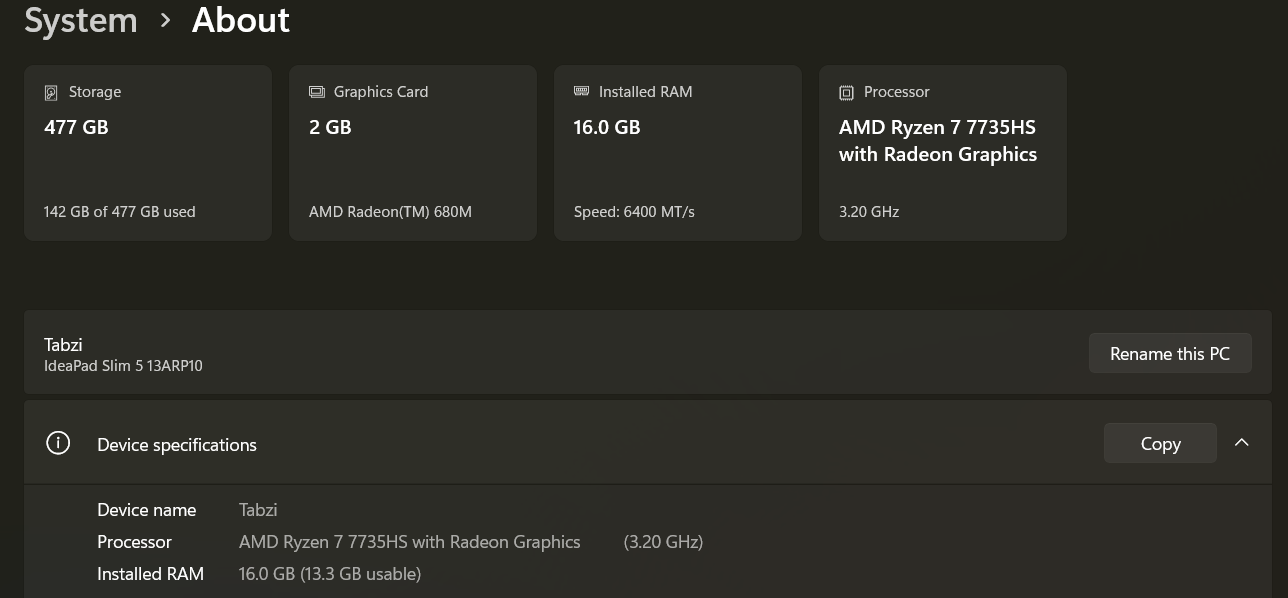
Method 1: Use Settings (Quick Overview)
This is the simplest place to start.
Go to Settings > System > About
Here you’ll see:
- Device name
- Processor
- Installed RAM
- System type
- Windows edition and version
This is useful for a quick check, but it doesn’t include details like GPU or storage specifics.
Think of it as a summary, not a full breakdown.
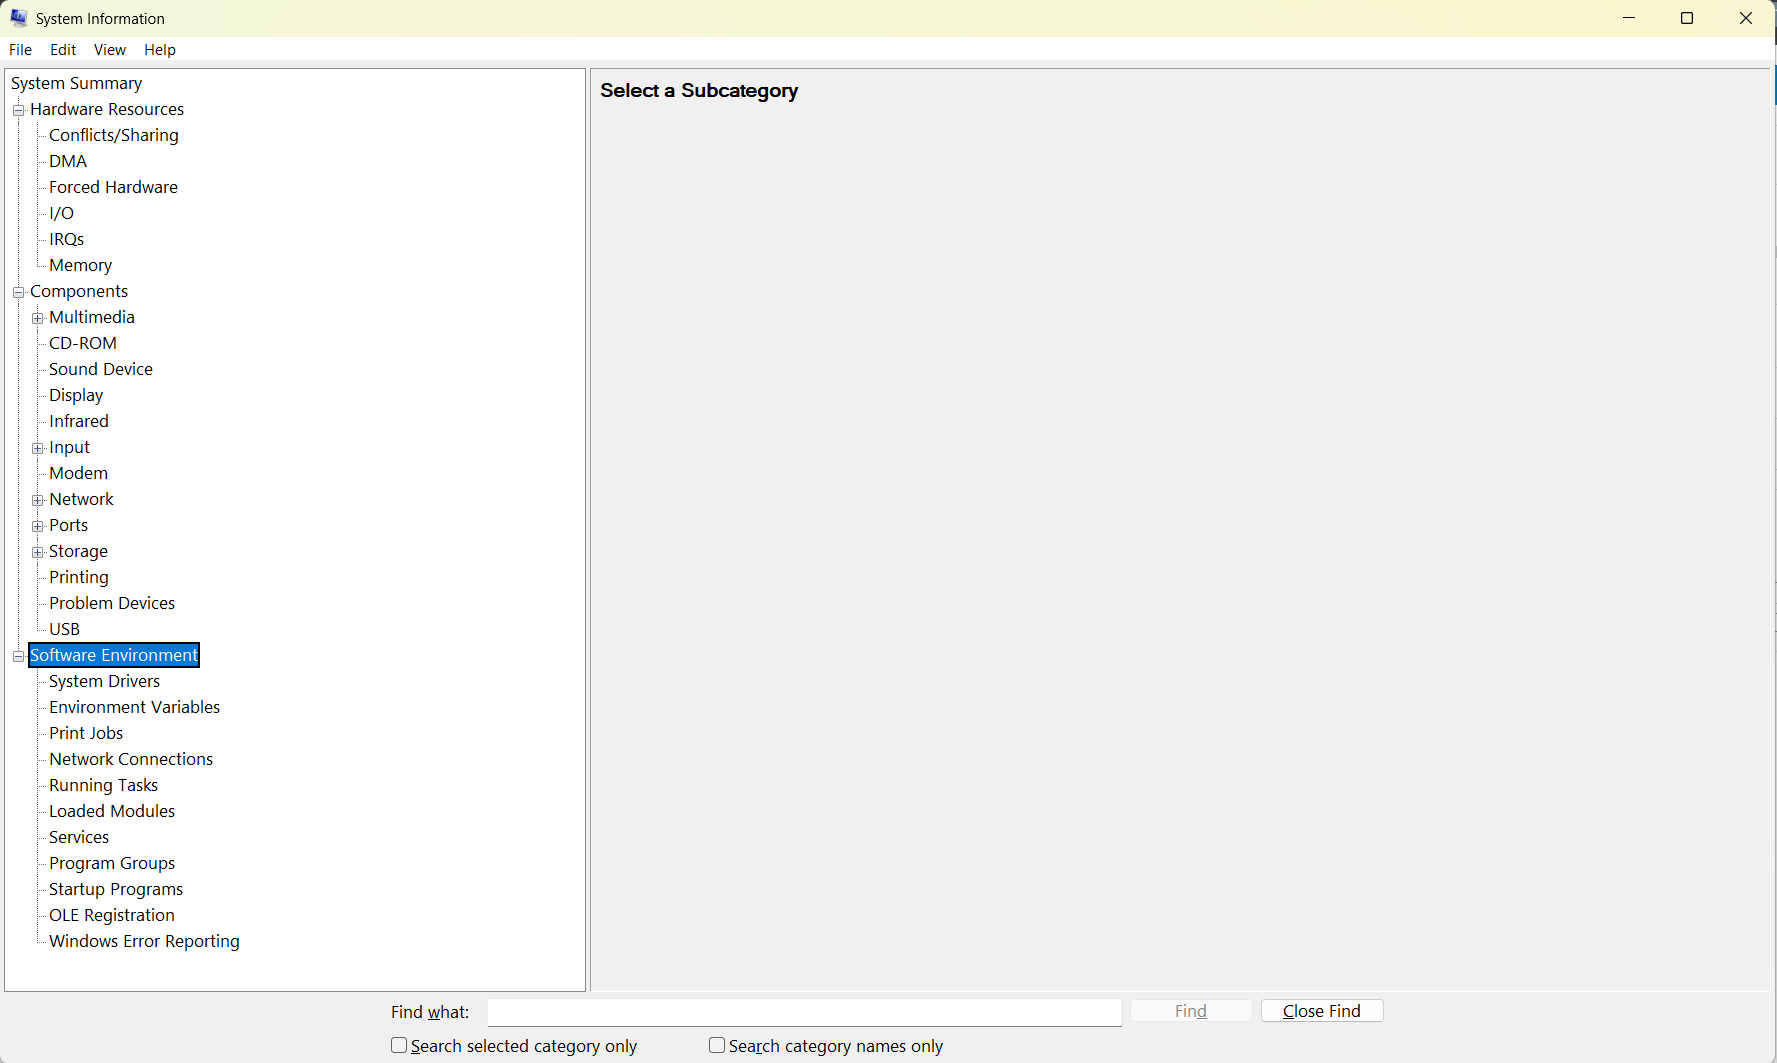
Method 2: System Information (Most Complete View)
For a deeper look, use the System Information tool.
Press Windows + R, type msinfo32, and press Enter.
This opens a detailed panel showing:
- Hardware resources
- Components (including display, storage, and network)
- Software environment
This is one of the most comprehensive built-in tools in Windows.
It can look overwhelming at first, but it’s where you’ll find most of the details you actually need.
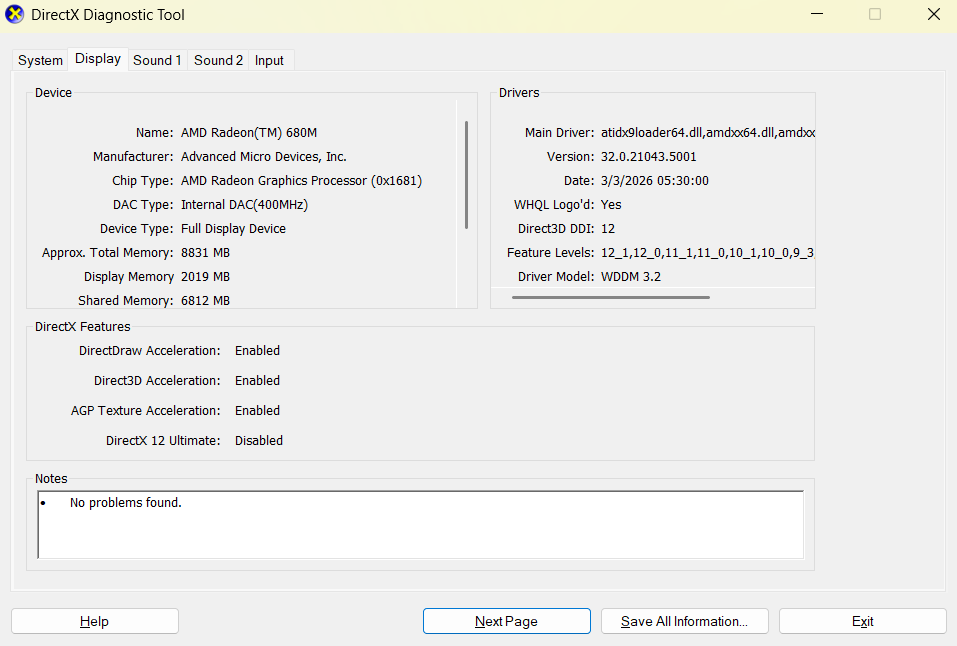
Method 3: DirectX Diagnostic Tool (Best for Graphics Info)
If you specifically want GPU details, this is the easiest method.
Press Windows + R, type dxdiag, and press Enter.
You’ll get:
- GPU model
- Driver details
- Display information
This is especially useful for gaming or troubleshooting graphics-related issues.
Method 4: Task Manager (Real-Time Performance + Basic Specs)
Task Manager isn’t just for closing apps. It also gives you a clean view of your hardware.
Open Task Manager > Performance tab
You can see:
- CPU model and usage
- RAM usage and speed
- Disk activity
- GPU usage
This is helpful because it combines specs with real-time performance data.
It shows not just what you have, but how it’s being used.

Common Mistakes to Avoid
One common mistake is assuming that basic specs tell the whole story.
For example, knowing you have “8 GB RAM” isn’t enough. You also need to know speed, usage, and whether it’s being fully utilized.
Another mistake is ignoring the GPU. Many users check CPU and RAM but overlook graphics, which can be critical depending on your use case.
Also, don’t rely on third-party tools unless necessary. Windows already provides most of what you need.
Limitations You Should Be Aware Of
Built-in tools are detailed, but they’re not always user-friendly.
Some information is buried in menus or presented in technical terms.
For advanced analysis, third-party tools can still be useful. But for most users, Windows tools are more than enough.
Final Thoughts
Checking your computer’s full specifications in Windows 10 isn’t about finding a single menu. It’s about knowing where to look for different types of information.
Once you understand which tools provide what, it becomes straightforward.
And more importantly, you’ll not just see your specs. You’ll actually understand them.
FAQs
What is the easiest way to check PC specs?
Settings > System > About gives a quick overview.
How do I see my GPU details?
Use the DirectX Diagnostic Tool by typing dxdiag in Run.
Can Task Manager show full specs?
It shows key hardware details and real-time performance, but not everything.
Is System Information safe to use?
Yes, it’s a built-in Windows tool and completely safe.
Do I need third-party software to check specs?
No, Windows provides all the essential tools you need.
Discussion (0)
Be the first to comment.