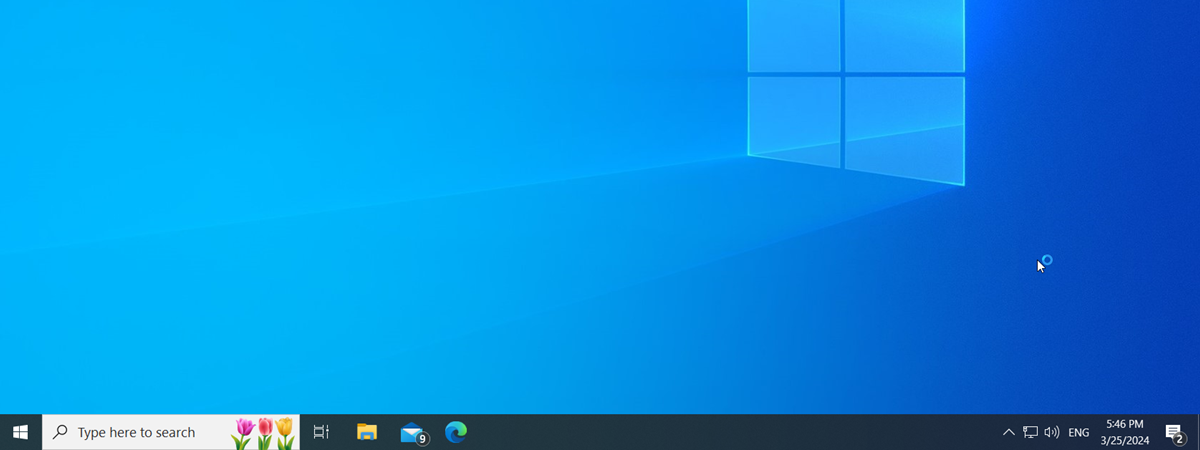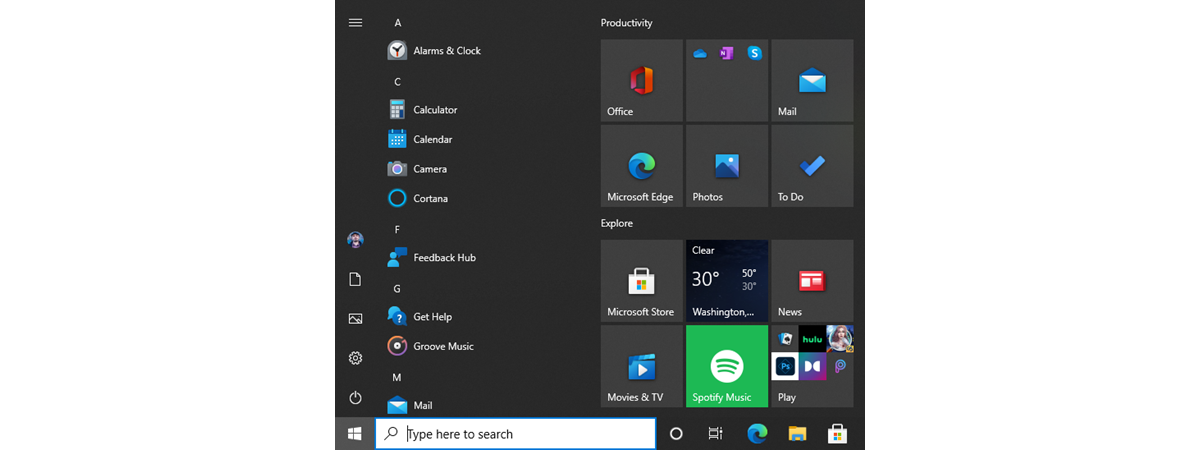
After its highly controversial removal from Windows 8, the Start Menu made a comeback in Windows 10. In an effort to please its entire user base, Microsoft redesigned the Start Menu from scratch, making it highly customizable and better than ever before. One of the best Start Menu features in Windows 10 is that it can be resized. Read this guide to find out how you can use your mouse, keyboard, or touchscreen to easily change the Start Menu's size:
NOTE: The features presented are available in Windows 10 Version 1903 (May 2019 Update) or newer. If you're using an older version of Windows 10, you might not have access to all the features. Check your Windows 10 build and, if necessary, get the latest Windows 10 update available for you.
The Windows 10 Start Menu and how to access it
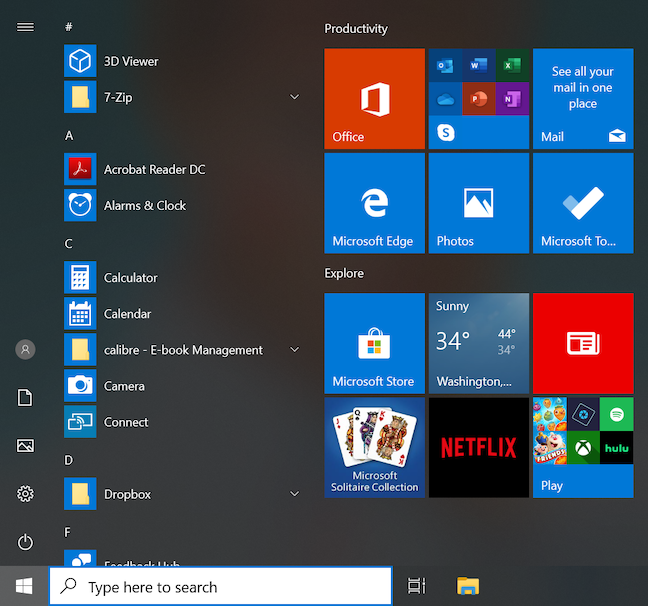
When you start Windows 10, the Start Menu is probably one of the first things you notice on the desktop. It is essentially a mix between Windows 8's tile-riddled Start screen and the classic Start Menu from Windows 7. Thus, by default, it displays a list of applications and settings on the left, and live tiles and shortcuts on the right.
However, don't think for one moment that you are stuck with this look. The Windows 10 Start Menu can be modified to fit your needs, whether you want to pin everything to it, configure the apps and items it shows, or stop it from promoting apps.
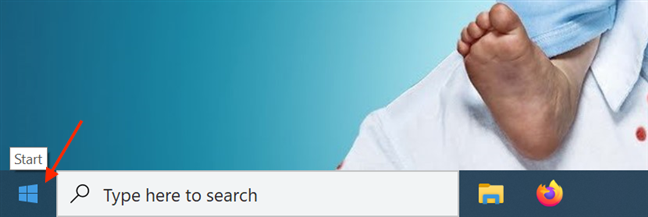
At its core, the Start Menu from Windows 10 is similar to any other app from the operating system, so, when it comes to resizing, the options available are pretty much the same. However, to follow any of the steps illustrated below and change its size, you first need to open your Start Menu. You can access it either by using the Windows key on the keyboard or by clicking or tapping on the Start button from the bottom left corner of the screen.
1. Resize the Start Menu in Windows 10 using the mouse or the touchpad
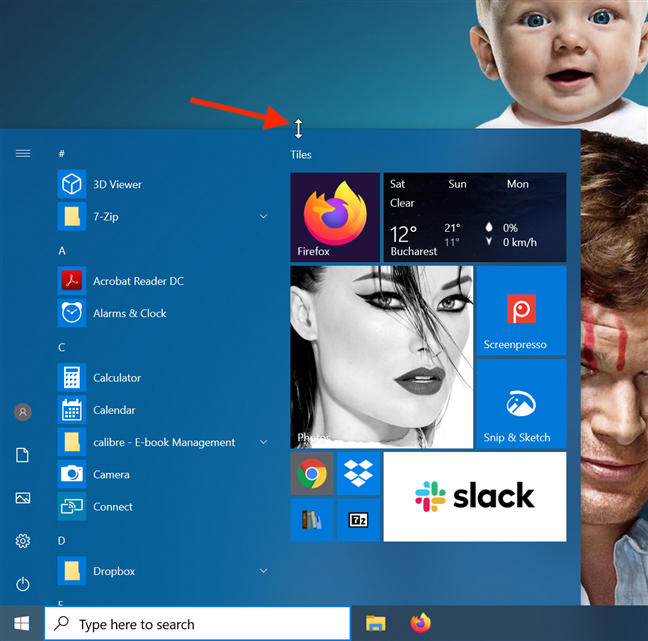
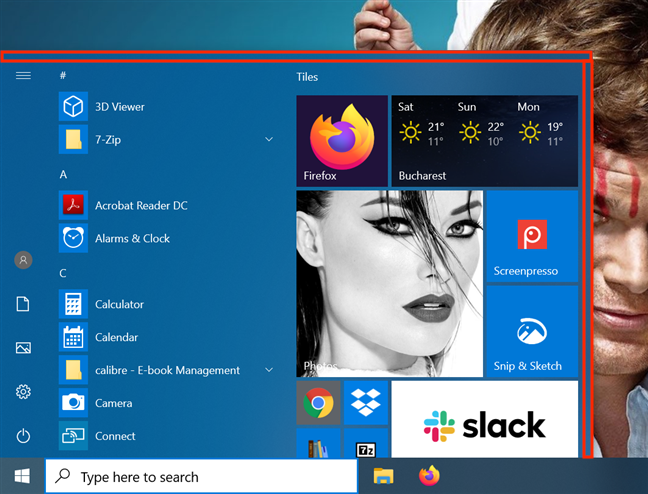
In Windows 10, the easiest way to resize the Start Menu is with the help of the mouse cursor, which allows you to adjust either its height, width, or both at the same time. To change the height of the Start Menu, hover your mouse over the upper edge until it changes into a vertical double-headed arrow (also known as the Resize icon).
Click and drag the top edge inwards or outwards to either decrease or increase the height. Release when you are happy with your choice.
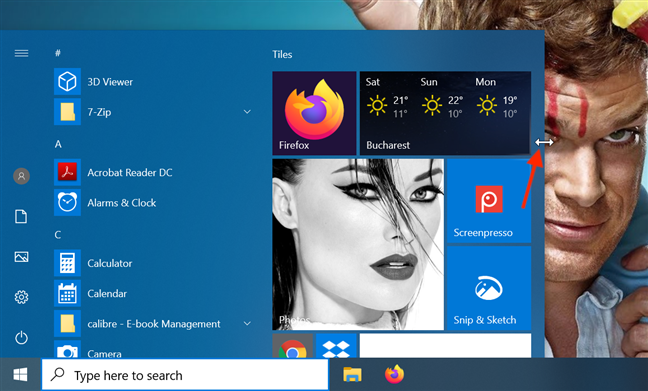
As opposed to the vertical resizing, which helps you set Start Menu's height anywhere from as high as half a screen to almost reaching the upper edge of your display, changing the width is more restrictive. The resize works in a similar fashion: grab the right edge of your Start Menu by clicking on it when the pointer changes into a horizontal double-headed arrow, and then drag it either to the left to shrink the Start Menu, or to the right to enlarge it.
Horizontal resizing is limited, as it only allows you to increase or decrease the size of the Start Menu pane by adding or removing lengths equal to the width of a group of tiles. Therefore, if you want to maximize the width, you need to increase the number of columns included in a group of tiles by choosing to display more tiles in the Start Menu.
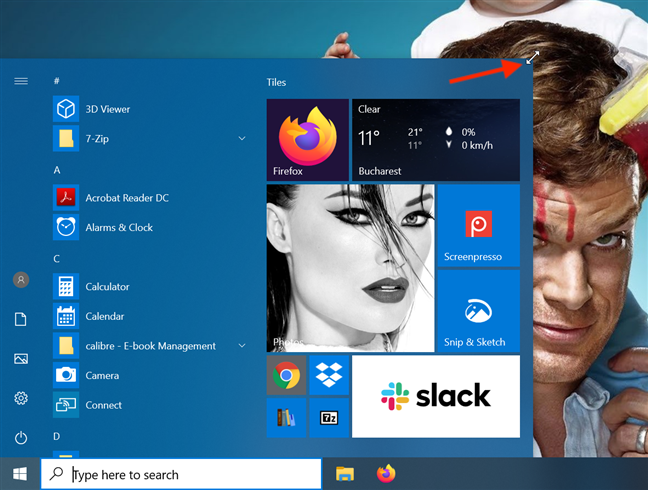
Since Windows 10 Fall Creators Update, the Start Menu can also be resized diagonally, allowing you to decide both its height and its width in one move. Hover your pointer over the upper right corner of the Start Menu. When it changes into the resize icon, click on it and then drag it according to your preferences, combining the two resizing methods illustrated above.
Note that the same limitations apply: the Start Menu resizes smoothly when it comes to its height, but it snaps into place to match the tile groups when you adjust its width.
2. Resize the Start Menu in Windows 10 using the keyboard
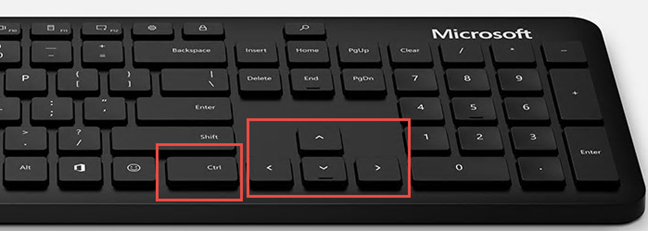
While some users are lost without their mouse, others turn up their noses at taking the fingers off the keyboard. Luckily, in Windows 10, you can also resize the Start Menu by using Ctrl and the arrow keys on the keyboard.
Holding down the Ctrl key while pressing either the Up or Down arrows lets you adjust the height. To adjust the width, use the Left or Right arrows, with the Ctrl key pressed. The change in width is limited by the size of the tile groups, and you can only use predetermined positions. While there are no similar restrictions when it comes to modifying the height of the Start Menu, using the keyboard shortcuts is not as efficient as using the mouse, if you are trying to fine-tune this aspect.
3. Resize the Start Menu in Windows 10 using your touchscreen display
If you are using a touchscreen display on a Windows 10 device like the Surface Pro, there is yet another option to resize the Start Menu. Grab either the top or the right border of the Start Menu, by pressing-and-holding on it, and then drag it inwards or outwards to adjust the height or the width.
Unfortunately, the area you need to tap in order to grab the edges is quite narrow, and we seem to end up either scrolling through Start Menu apps or tiles, or moving tile groups instead.
TIP: If you are looking to drastically change the size and appearance of your Start Menu, you might also want to read How to set the Windows 10 Start Menu to take the whole screen.
Which method do you prefer for resizing the Start Menu?
The Start Menu is one of the most used features in Windows 10, and customizing its size according to your preferences should enhance both your comfort and productivity. While using your mouse or keyboard to resize the Start Menu is simple, we had a hard time when it came to using touch. We found this option uncomfortable and challenging to use, but we included it for the sake of thoroughness. What about you? Which option do you like best? Are you a touchscreen ninja, who manages to grab the narrow border every time? Comment below and let's discuss.


 12.11.2019