



Photoshoots get expensive for simple reasons. You pay for a studio, lights, a photographer, props, product styling, and post-production. Then you pay again when you need "one more" variation for a new offer, a new audience, or a new platform.
Vmake is built for the part that usually drives those repeat costs—content variations and post work. It's a browser-based set of tools for short-form marketing video, with a focus on talking videos and quick upgrades you can apply after you shoot.
This review explains how Vmake can help users spend less on production while still shipping content that looks clean and ready for ads, Reels, Shorts, and TikTok.
Where photoshoot budgets usually leak
Most budgets don't blow up because one shoot costs too much. They blow up because you repeat the shoot, or you add services around it.
Common cost drivers:
- Reshoots because the footage looks soft, dark, or noisy
- Extra shoot days to capture more angles and B-roll
- Multiple versions for different platforms
- Extra editors for subtitles, exports, and packaging
- New assets for each language or market
Vmake's toolset targets these gaps by letting you create variations and upgrades after you already have "good enough" raw footage.
What Vmake is, in plain terms
Vmake is a web program plus mobile app that focuses on talking videos and marketing clips. It offers AI-powered editing and generation features so creators can improve quality and ship faster. Inside the platform, you'll see features grouped around:
- AI video editing (cleanup, removal tools, enhancement)
- Captions and subtitles
- Hooks and thumbnails
- Agent-led workflows for UGC-style marketing videos (listed in Vmake's feature navigation)
The budget-saving idea: Shoot less, reuse more
A cost-cutting workflow usually looks like this:
- Do one simple shoot that captures the essentials
- Use Vmake to improve quality, remove distractions, and package for multiple channels
- Use Vmake Agent-style workflows to generate variations (different hooks, different angles, different scripts), so you don't pay for new shoots each time
That approach can reduce:
- The number of shoot days
- The need for expensive retouching and manual editing
- The cost of creating multiple versions for ads
Vmake AI Review: What matters for saving money
1) AI Video Enhancer
If you've ever paid to "fix" footage in the past, this is the simplest tool to test.
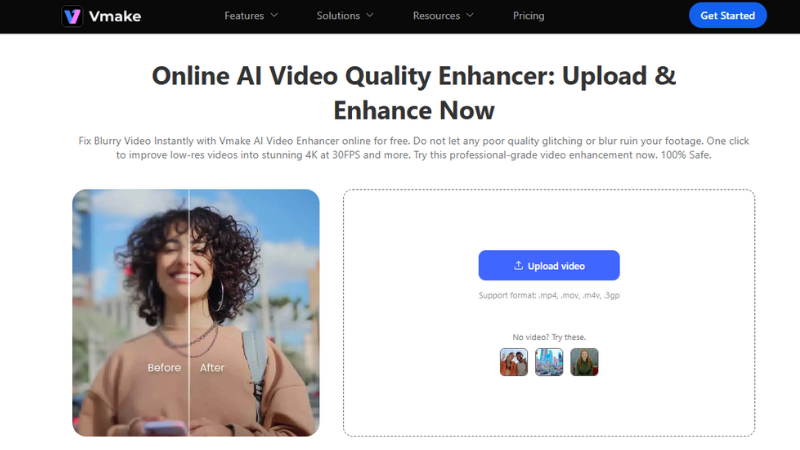
Vmake's Video Enhancer is positioned as a one-click tool that improves blurry or low-res footage and can upscale output to higher resolution, including 4K (the page mentions "4K at 30FPS and more").
In real production terms, this can help you:
- Use phone footage longer instead of re-shooting
- Save clips that are slightly soft
- Create a sharper master for ads and product pages
Vmake also describes adjustments like brightness, contrast, saturation, and sharpness as part of the enhancer flow.
2) Video Watermark Remover
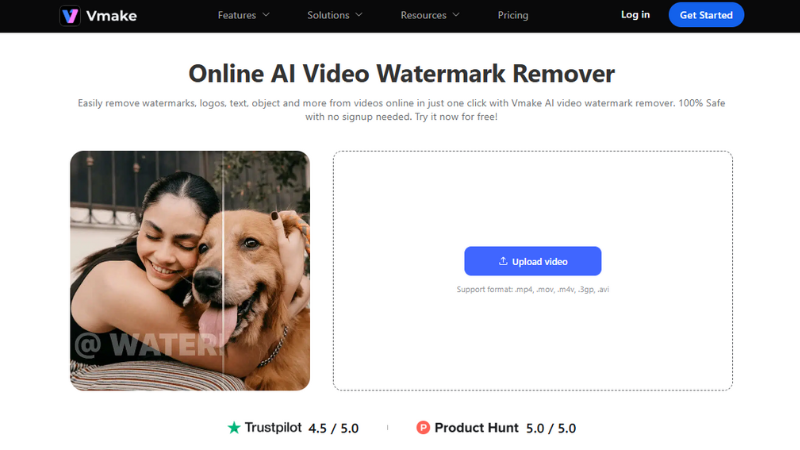
Vmake's watermark remover helps you remove watermarks from videos. It supports common formats (MP4, MOV, AVI, and others) and is designed for one-click removal of watermarks, logos, and text overlays.
From a budget view, it helps when:
- A draft has a temporary overlay that you need to remove
- You need to reuse older brand footage with outdated on-screen text
- You want a cleaner master before exporting to multiple platforms
Vmake also has "batch watermark removal" guidance in its blog, which matters when you process many clips at once.
3) Auto Captions and subtitle editing
Captions cost money when done at scale. Vmake's captions tooling sits inside its "Auto Captions & Video Editing" area.
Even when a team has an editor, captions take time:
- transcribe
- fix terms and names
- style
- export for different platforms
If Vmake reduces that time per clip, that reduction turns into direct savings.
Step-by-step: a practical workflow to cut photoshoot cost
This workflow assumes you run a small athletic footwear brand, an agency, or a creator pipeline focused on running shoe marketing. The goal is to get strong output from a smaller shoot.
Step 1: Plan a "minimum shoot" on purpose
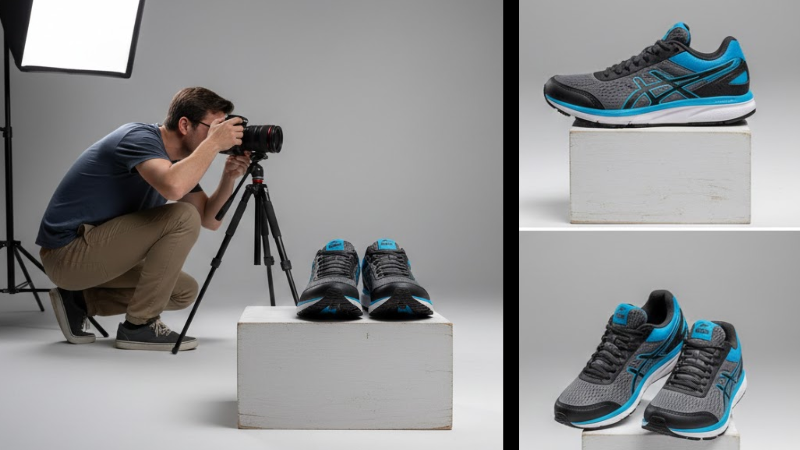
Instead of planning a full-day shoot, plan a short capture session that collects:
- clean running shoe product shots (front, side, in-hand)
- one talking clip (founder, athlete, or voiceover showcasing shoe features)
- a few utility clips (unboxing, close-up shoe texture, running use case)
Keep lighting simple. Keep the background clean (like a running track or minimalist studio). You're not chasing perfection. You're capturing foundational inputs that Vmake can upgrade later.
Step 2: Upload your running shoe footage to Vmake Video Enhancer
Go to the Vmake’s AI Video Enhancer tool page and upload your shoe clip. The page is built around "Upload & Enhance" and emphasizes fast online processing.
Use the enhancer first when:
- shoe footage looks soft
- low light made the shoe details grainy
- compression hit your shoe's detail
Export a clean enhanced version. That becomes your new "master" file of the running shoe.
Step 3: Clean overlays with the Video Watermark Remover (when needed)
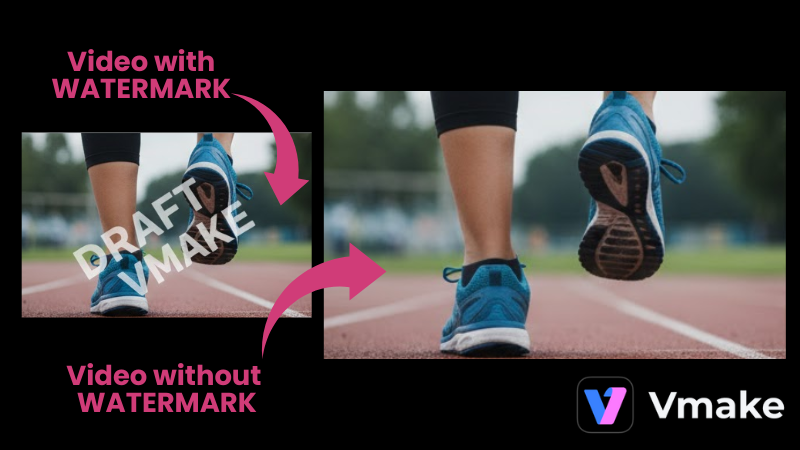
Open the Vmake's watermark remover tool page and upload your shoe clip. Vmake lists the supported formats and describes one-click removal.
Use this step for legitimate cleanup cases:
- temporary draft overlays on shoe imagery
- outdated promotional text about the shoe
- accidental logos in a corner
If the watermark is part of someone else's protected content, do not remove it unless you have explicit rights.
Step 4: Create captions for every audio clip
Use Vmake's AI Auto Captions feature.
Captioning is one of the easiest "quality signals" you can add without reshooting anything. It also improves performance on muted autoplay of shoe marketing content.
Keep the caption style simple and readable. Save a consistent caption look for the brand so every new shoe clip stays on style.
Step 5: Produce variations without booking another shoot
This is where cost savings compound.
Take your enhanced master shoe footage and make new versions by changing:
- the first 3–5 seconds (hook)
- the headline text about the shoe
- the CTA ending
- the language for a new market
Vmake's tool includes features such as AI Hook and AI Thumbnail. Even if the visuals stay similar, performance can shift a lot when the hook and packaging change for your running shoe content.
Cost comparison table: traditional shoot-heavy vs. Vmake-heavy workflow
| Cost Area | Shoot-heavy approach | Vmake-heavy approach |
| Reshoots | Common when quality is not consistent | Less frequent when enhancer can salvage near-misses |
| Post cleanup | Manual editor time for overlays | Use watermark remover for permitted cleanup |
| Captions | Manual caption labor per clip | Auto captions reduce repeated work |
| Variations for ads | New filming for each angle | Repackage the same footage with new hooks/thumbnails |
| Scale | Costs rise linearly | More content per shoot once workflow is stable |
Bottom line
If your team spends money on photoshoots mainly because content needs constant refresh, Vmake can reduce that pressure. The Video Enhancer can help rescue footage and reduce reshoots. The Watermark Remover can clean legitimate overlays fast. Auto captions reduce repetitive post tasks.
The most practical savings come from one idea: shoot a smaller set of "base" assets, then use Vmake to create many publish-ready versions from that base.


Discussion (0)
Be the first to comment.